Busy Hands, Happy Heart
|
I've turned into the woman standing at the edge of her garden willing her plants to grow. We've had quite the dry spell, and our hose is not hooked up yet, so Joel and I have been toting buckets of water out every other day or so. I'm a gardening beginner. I don't know a whole lot about growing vegetables, but I'm giving it a try! In doing some online research, I found that having a trellis for your cucumbers is important because it keeps them fresh, clean and disease free. Along with my research, I looked for trellis options I could buy and trellis options I could make. I opted to make my own by repurposing an object commonly found at yard sales and auctions. What do you see when you look at this picture? 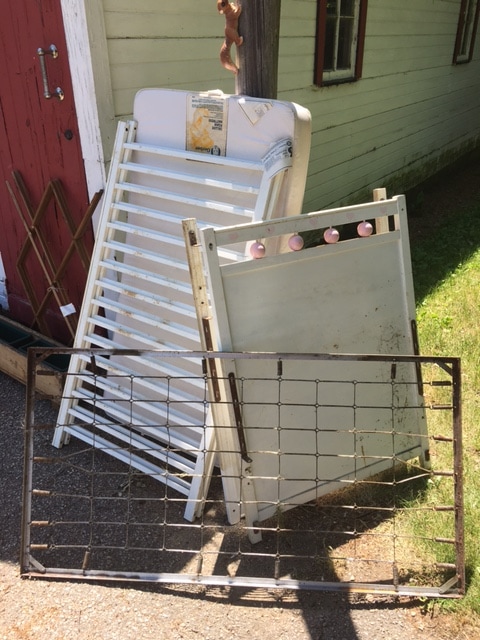 I bet you said an old baby crib, right? Yep, you got it. But I saw much more than that! I saw: a trellis (2 barred sides of crib), two signs (2 solid sides of crib) and a light fixture (mattress spring). I was SO thrilled with this find at a local yard sale for just $10! And the best part, minimal assembly was required to create my cucumber trellis out of the barred sides of the crib. After finding my material and gathering the supplies I needed, I accomplished this project in two easy steps! What You'll Need:
 Step 2: If your sides are wooden, I'd recommend wrapping a piece of garbage bag around the bottom to help prevent rot. Once that's done, figure out how wide you want your trellis to stand, dig into the dirt a few inches and bury the garbage bag wrapped bottom of the sides for stability. 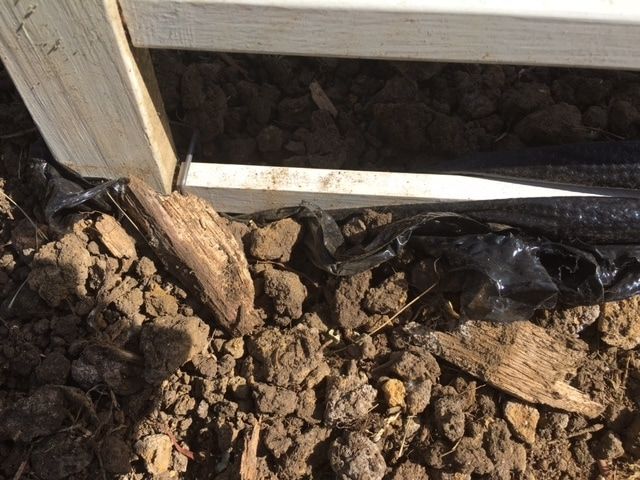 That's it! You now have a cucumber trellis, or flower trellis, or whatever kind of trellis you want it to be. Here's what it looked like in our garden at the beginning of the season in May: 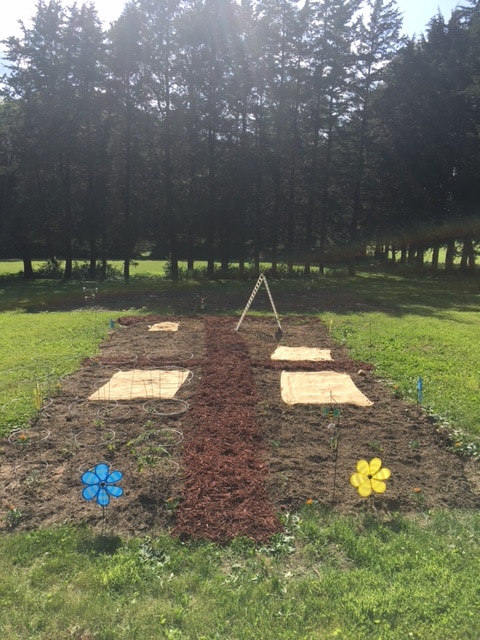 Here's what it looked like in July, just after the cucumbers really started to take off: 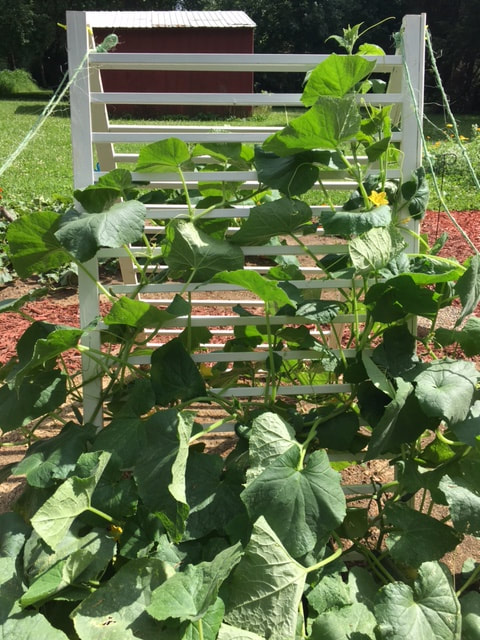
3 Comments
Playing with electricity, especially in an old house, can be a little nerve wracking. But that didn't stop us from swapping out the light fixture in our kitchen! Expert details on how to install a light fixture can be found here. Who better than Bob Vila to walk you through this? We're definitely not experts, but I'll show you some visuals and a life hack we learned from our installation below. The first and most important step is SHUTTING OFF THE BREAKER TO THE AREA YOU'LL BE WORKING ON! Next, start to carefully remove the existing light fixture.  We chose to take out the plate that extended across the electrical box and utilize the new one. We did recycle the old screws because the depth of the electrical box was more than the length of the screws that came with the new fixture.  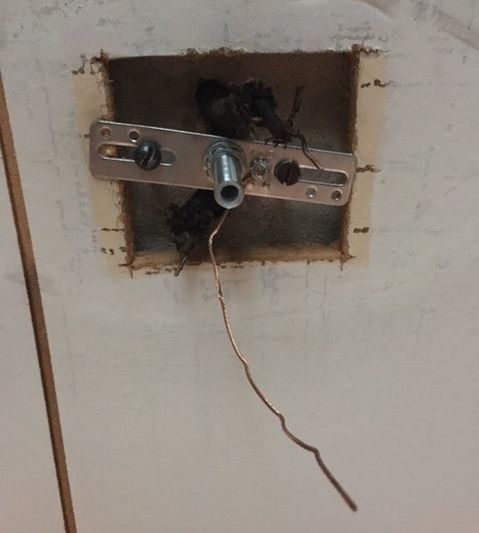 Before we began to install the fixture, we needed to trim and strip the wires at the top of the fixture where it would hang. We did not have wire strippers, so here's a life hack: You can use scissors (as long as you use them gently). I applied light and consistent pressure with the scissors on the casing of the wires until I was able to slide it off. The goal is to remove the casing without severing any of the wire. 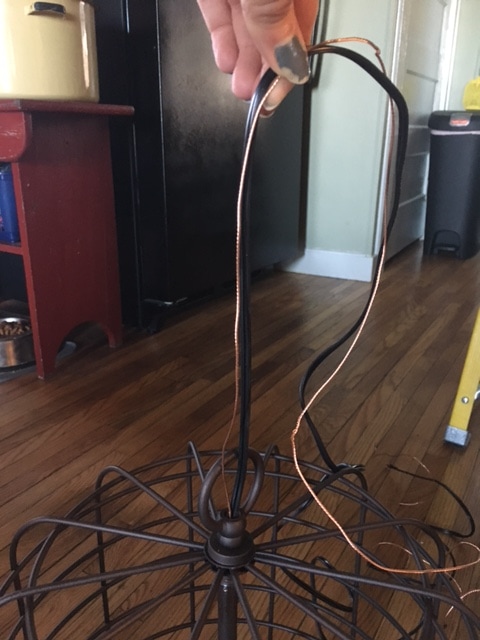 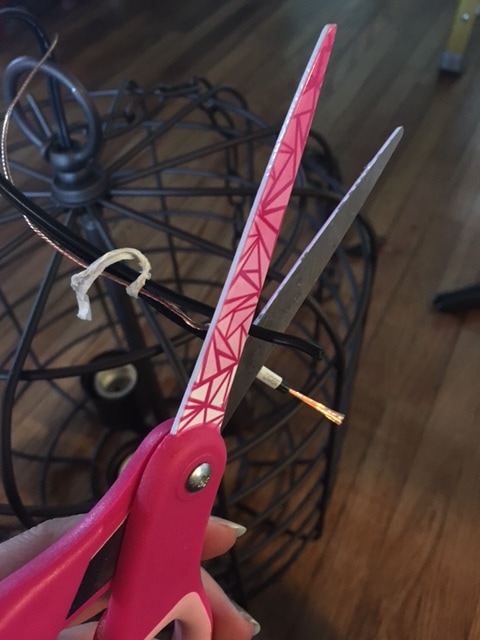 Once that was complete, we cut the chain to the desired length and wove the wire through it. 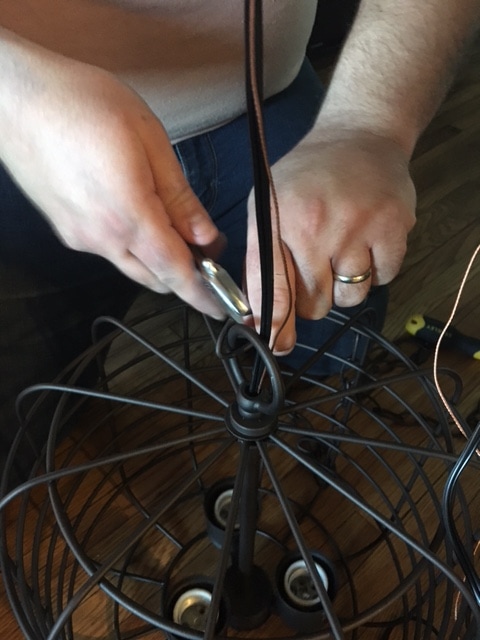 Following the instructions in the box, we connected the electrical box and fixture wires accordingly, securing them with wire nuts. The final step included fitting the fixture's base over the electrical box and securing it. 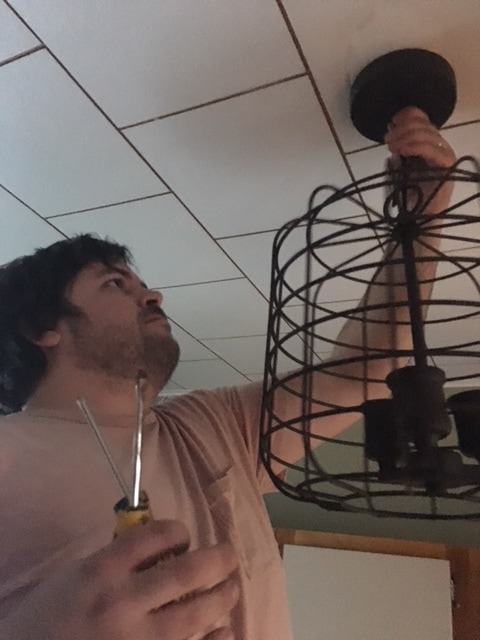 We love the warm glow of this fixture's Edison bulbs and its farmhouse style. We got this one from Menards if you're interested! 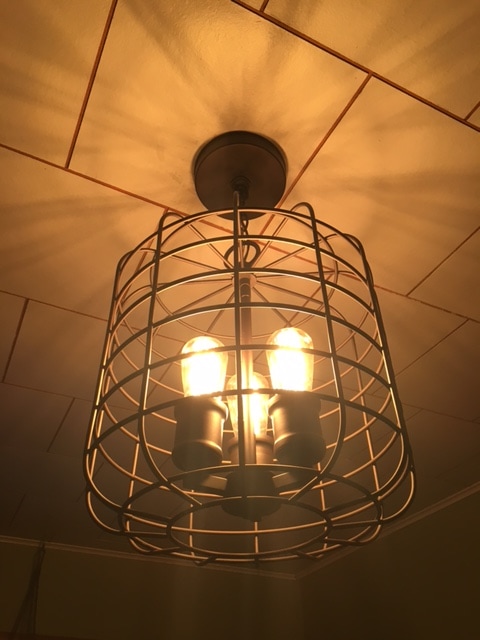 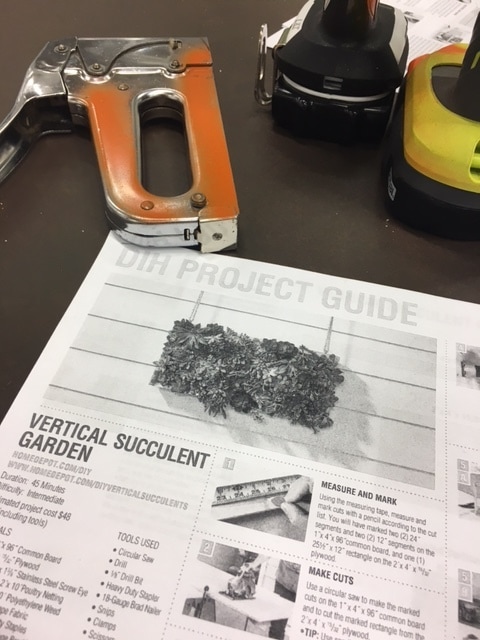 My DIY projects lately have been structured and in workshop settings. The good thing about attending workshops for the projects I'm interested in making is that I 1) learn skills from experts who know what they're doing and 2) get exposure to tools I've never worked with before. Both are so valuable in expanding my ideas and allowing me to realize what I'm capable of making with my own two hands. At this month's Do It Herself workshop at Home Depot we made a Vertical Succulent Garden. You can find step-by-step details here! This was a simple project, but I still learned a lot. My brother-in-law's girlfriend, LeeAnn, came along to this workshop and we had fun putting this project together as a team! I encourage you to watch Home Depot's official tutorial, but I'll give you a rundown of how simple this project was to make:
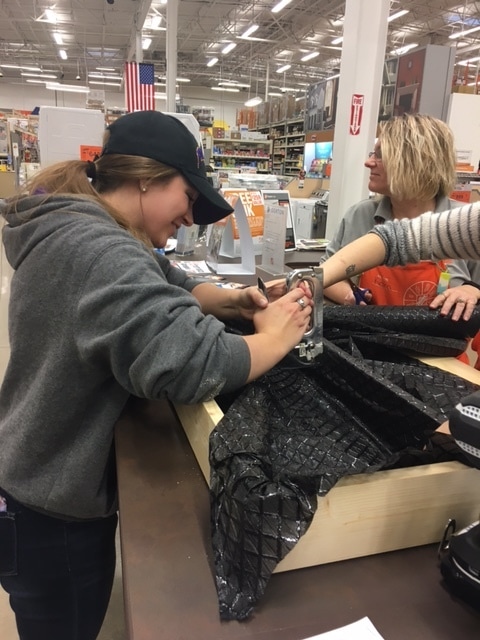 4. Pack with dirt (and I mean PACK it). 5. Close back with nails and piece of wood. 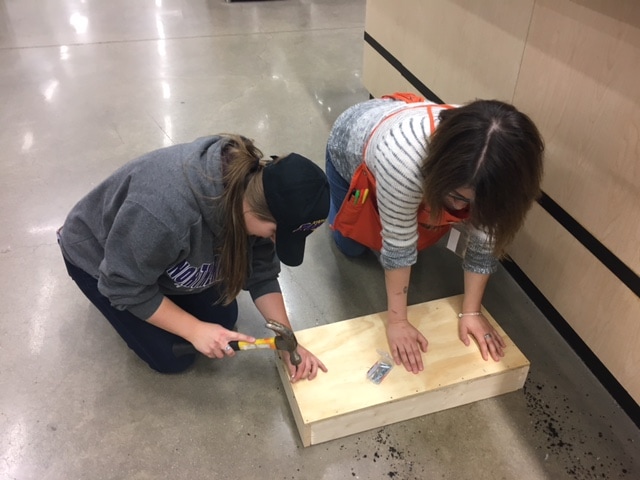 6. Add screw eyes to the top of the frame. 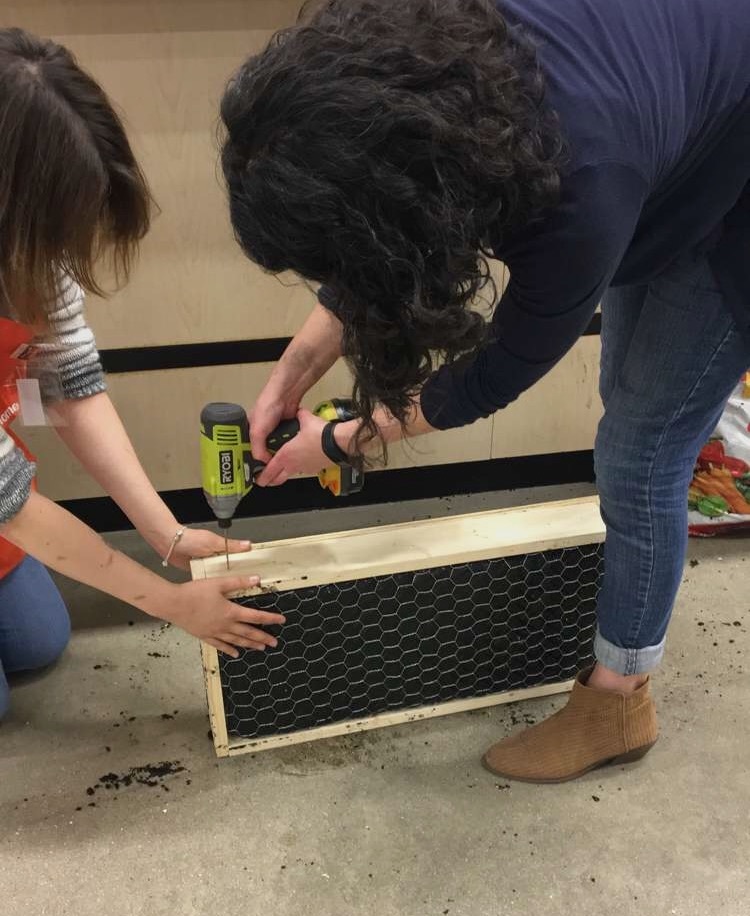 7. Add rope or chain to hang. 8. When ready to plant succulents or flowers, cut small hole in weed barrier and insert plants. As you can see. Pretty easy. We were able to finish this project in around an hour. LeeAnn got to take it home with her and before we left she bought the hardware she'll need to hang it (it's HEAVY) and some flowers to plant in it. It was the perfect project to kick-off spring! 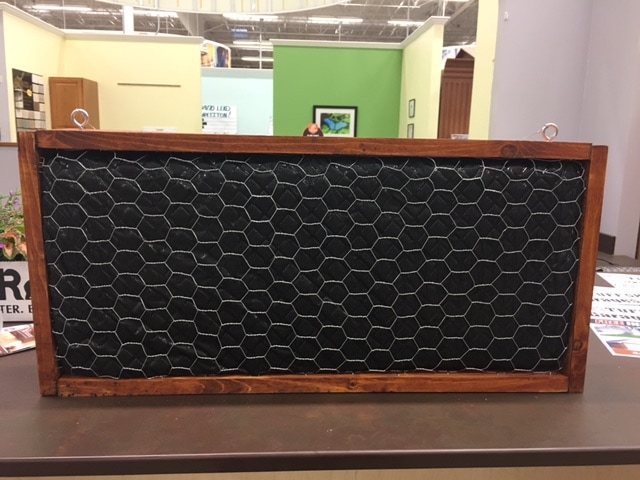  As I planned our garden for this year, I wanted to figure herbs into the equation. I don't cook a lot with herbs right now, but want to start. I have also seen some neat ideas where dried herbs can be used in candles, something I'd like to try as well. When I saw a Do It Herself workshop for a Vertical Herb Garden at Home Depot I signed up right away! I wanted to grow three of the primary herbs I'd like to use more of near the house. This project was my solution! I've provided some photos from the workshop I attended below, but you can find the full tutorial here: How to Build a Vertical Herb Garden. A few tips I'd recommend for this project that we learned while working through the steps outlined by Home Depot in the video linked above:
A few items I'd recommend you take to these workshops so you can move along faster and safer:
At this workshop, all three attendees were able to build their own herb garden. 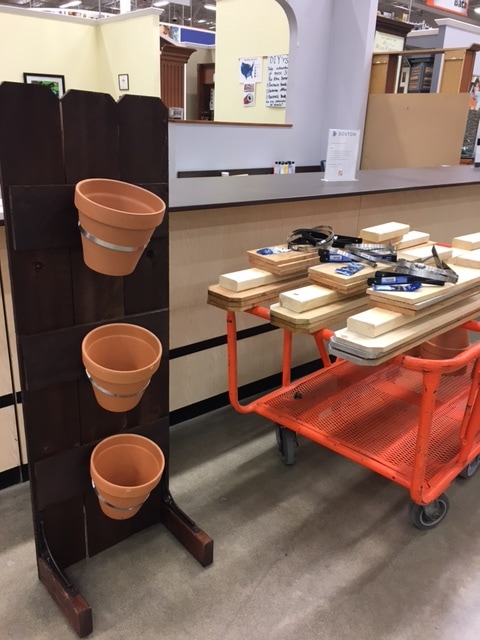 The wood was pre-cut for us. Home Depot supplied the tools and supplies we needed, including a screwdriver, nail gun and power drill. 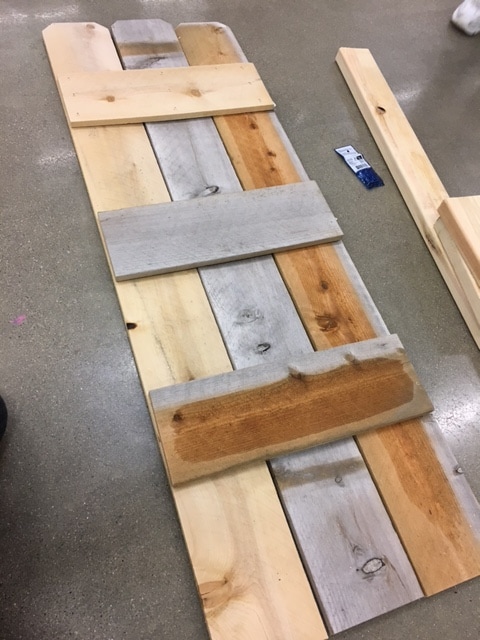 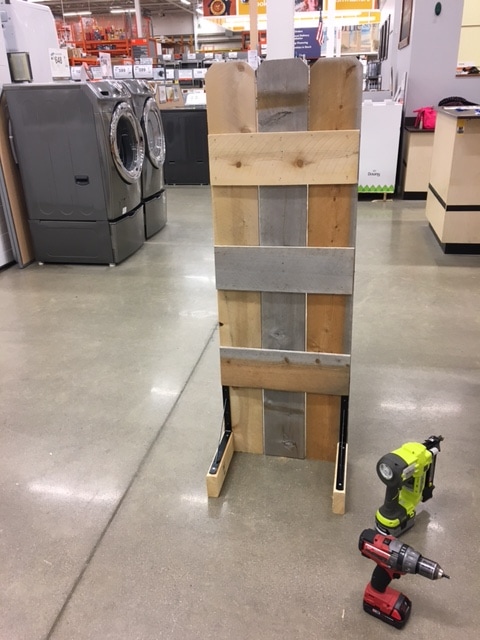 The hardest part about this project was getting the clamps drilled into the wood to hold the flower pots. See my recommendation above for what we ended up doing. 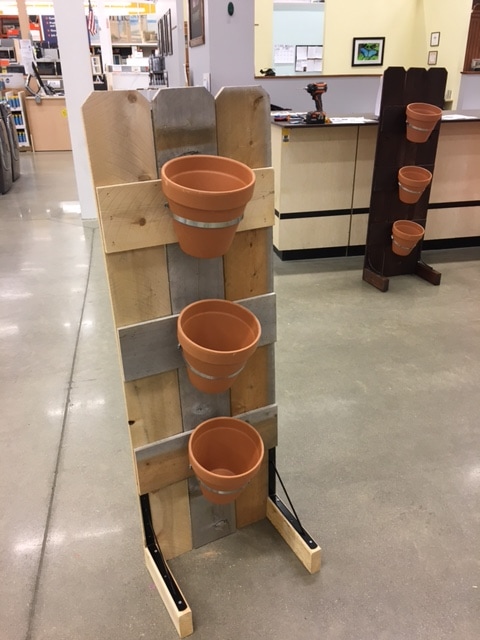 Here's the finished product in its new home! It's still a little too chilly to plant anything here in Iowa, so for now I've filled the pots with artificial floral décor. 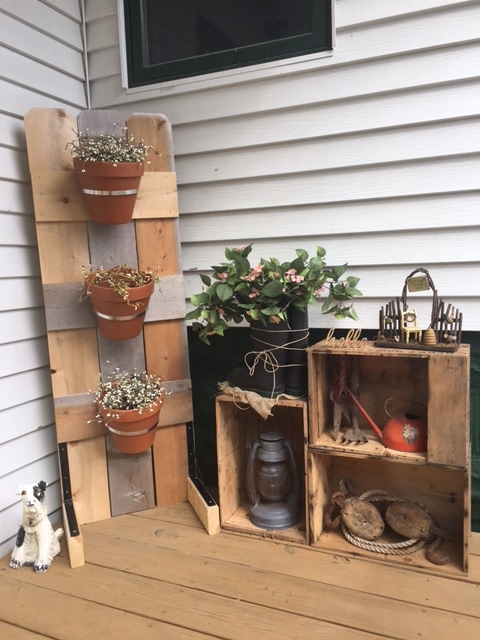 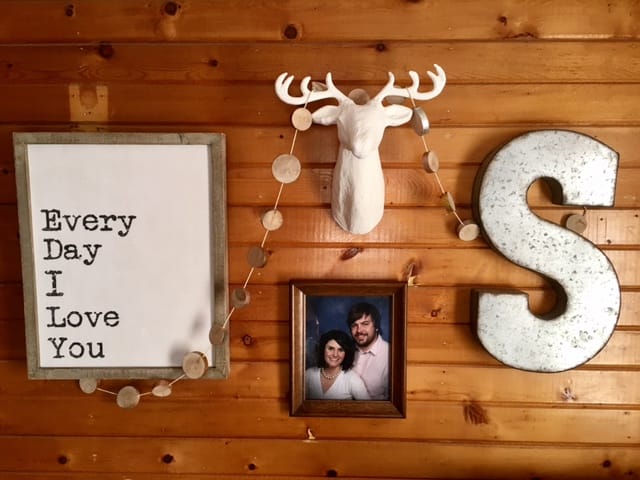 My motto is undoubtedly: "I'd rather be decorating." Indoor, outdoor, home, work, you name it, I'd prefer to be visualizing and executing the design ideas that are constantly running through my mind.
In this post, I'll share details about the wall decor I hung at our house during my Christmas break from work. I wanted to do something on the large feature wall in our dining room. As a person comes up the stairs from our mudroom, it's the first thing you see. We had some records hanging in frames which was a good place holder, but not very appealing. Thanks to some good after Christmas sales and imagination, I was able to pull together something that has impact and gives the type of first impression I want to leave when we have new visitors. I also like that this wall mixes pieces I already had with new items for a more modern look than I normally go for. I based everything around the deer head. I found this piece for 50% off at Target - final price of $15. Once I had the head centered and in place, I started holding various pieces up to the wall to see what would look best where. I knew I wanted the "Every Day I Love You" saying to be in position that it could be seen from the mudroom. I got this piece for 50% off at Hobby Lobby - final price of $20. After hanging the saying, I positioned the 'S' so it fell around the same general area on the other side of the deer head. The 'S' was gifted to me several years ago and is from Hobby Lobby. The photo of Joel and I is one of our favorites from a few years back. We look like real grown-ups in it! The finishing touch was the wooden garland. These were 50% off at Target - final price of $6 for 6 feet. I secured each end of the garland on nails hidden behind the saying and the 'S.' From there, I draped the garland as pictured. I felt like draping the garland across the decor pieces tied everything together. For hanging I used a level, small nails and a hammer. Everything was light enough so I didn't have to use any heavy duty equipment. Here's some food for thought before your next decorating project: What pieces do you already have that could be reimagined by mixing them together with other pieces you have or new items you purchase? What angles will your decor be seen from? Think about how you want your decor to be seen from every corner of your home. My Christmas decor obsession continues! This time, I upcycled a sled from Stuff Store in Waterloo. Here's what I used on this piece:
Here's what I started with:  It's a great, solid piece that I got for $12.00. Quite a score in my eyes. I used my green exterior paint to cover the blue paint that was on the sled. 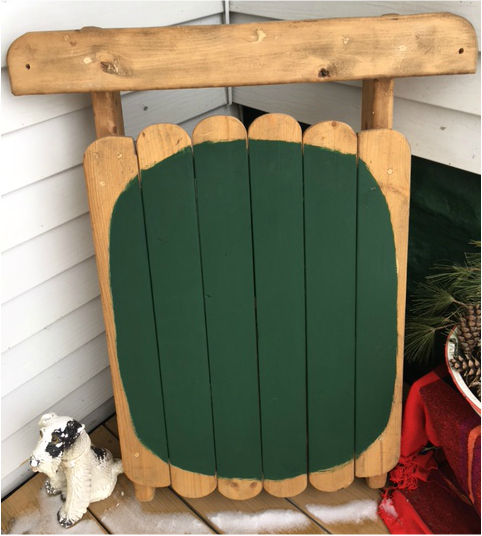 Once I chose the saying I wanted to use, I wrote it out on the sled in pencil. I then traced the pencil lines with my white exterior paint using a fine brush. When I finished the lettering (which I am still learning to do with paint, so be kind!) I had my husband take a look at it. He suggested I add some imagery. After some thought, I decided to add two "happy little trees" (Bob Ross was literally playing in the background) and some star/snowflake shapes. To top it all off, I added a strand of $5 battery powered jingle bell lights from Target for a pop of color. Here's the final product: 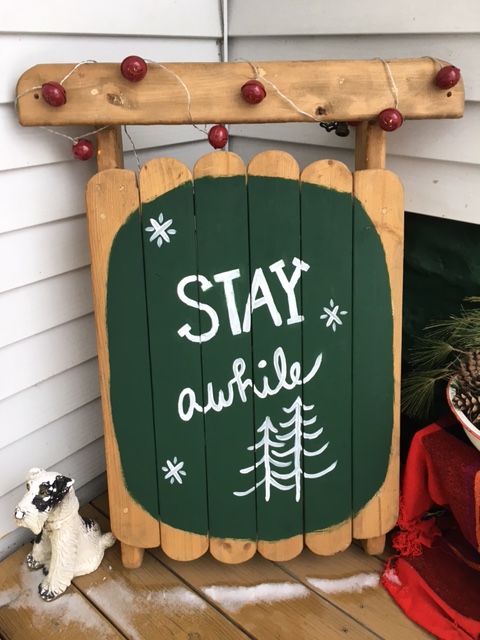 I think it turned out so cute! It only took a couple of hours on a Sunday afternoon to complete and cost under $20 for a piece that is just what I wanted for this corner of our porch.
My challenge to you - when you are at the store, start looking at items for their potential. Just because the item isn't exactly what you want in that moment, think about how you can make it so! My head has been spinning with Christmas decoration ideas since we moved to our new home. For my birthday, we explored one of my favorite places - downtown Cedar Rapids. They have such a great variety of antique, thrift, and re-purposed item shops. At one shop we went to, I was inspired by their greenery arrangement in an antique wash tub. The next day, I had a pretty Christmas-themed wash tub of my own sitting outside our house! I needed the following supplies (but didn't do a good job photographing them):
Assembly doesn't take long. I started by hooking the S-Hook to the edge of the tub and to the bow for hanging. A great place to look for holiday decor right now is at consignment/thrift shops. I got the metal bow I used from the Salvation Army for $4.00! I headed into our yard and cut small branches from two different evergreen trees. I'm hoping this greenery lasts awhile. I've never used live greenery, so it will be a learning experience! I'm sure you can find artifical greenery at the store, but I obviously chose the route of least cost. I have the luxury (and curse) of a backyard full of greenery! I placed my planter pot with rocks in the bottom of the wash tub, right in the center. I then took my greenery and arranged in the tub. I stuck some branches into the pot with rocks for stability. The rocks also made it easier to arrange the branches. I took other branches and placed them around the outside of the planting pot. The end result looks "wild" - which is what I wanted. 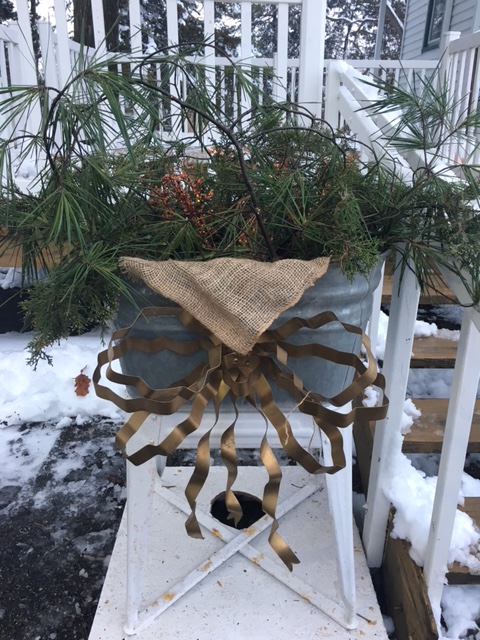 Finishing touches included a square piece of burlap, three sprigs of artificial red berries, and one branch of artificial pinecones and Cardinals. 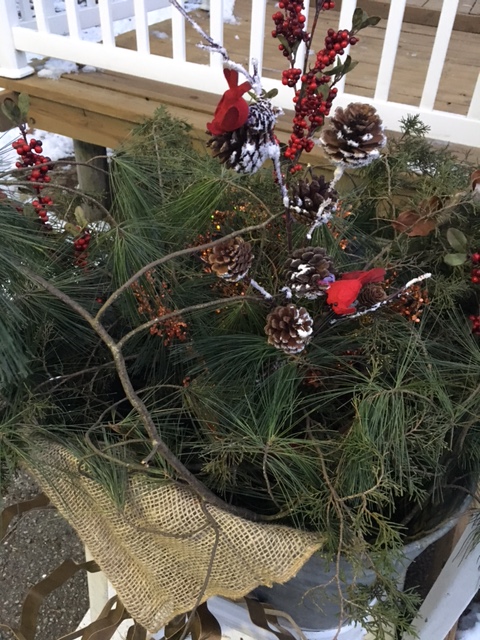 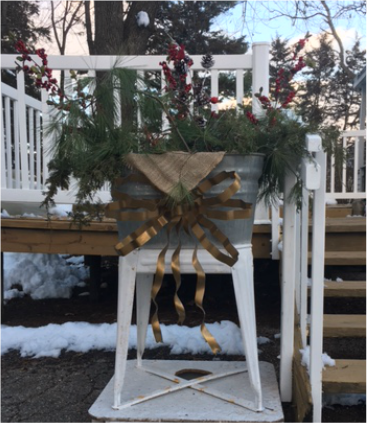 Here are some of the other Christmas touches I've added around our home! I searched and searched for Christmas ideas for the decorative area I have on top of the hill as you turn into our driveway. I didn't find a solution that 100% worked for/spoke to me, so I combined some of the visuals I saw into a project that was the best fit for our space. I ended up drawing inspiration for this project from a pallet Christmas tree I saw and made one out of wood lath instead. Here's what you'll need:
I started out by taking a piece of lath to the space I wanted to put the Christmas tree in and marking the width of how long the bottom piece should be with a pencil. Once I had the bottom piece marked, I planned to mark each piece of lath 1/1.5 inches in from the first mark (and so on) as I worked my way to the top of the tree. I laid out my lath one piece at a time, starting with the bottom and started measuring/marking where my cuts would be. You'll need a good amount of floor space. 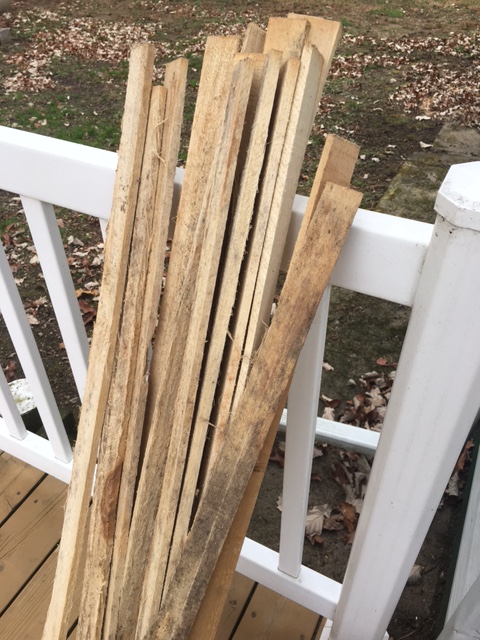 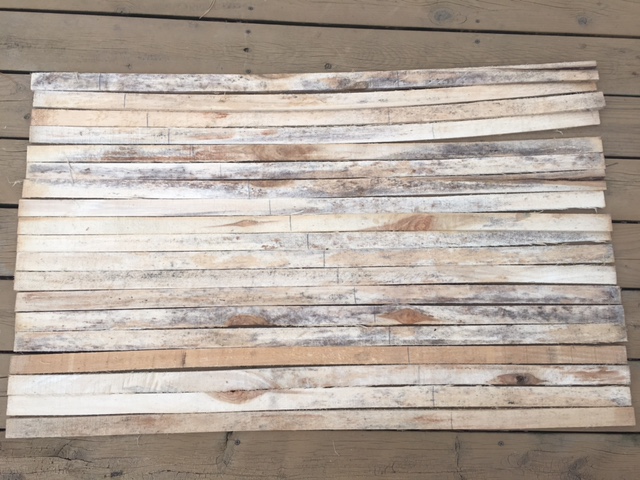 Note the pencil marks on the lath. This is where I made my cuts. Once I had each piece marked, I cut the lath using a circular saw. 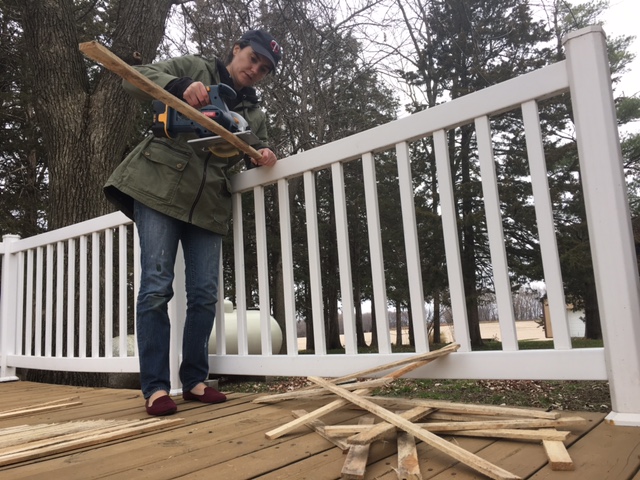 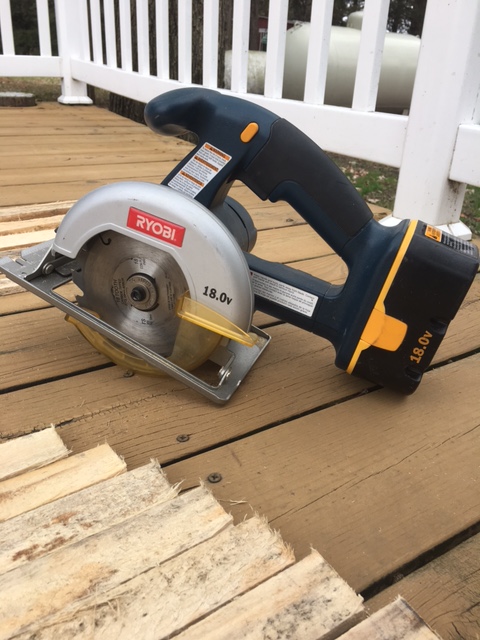 As I cut each piece, I made sure to stack them back in the same order. 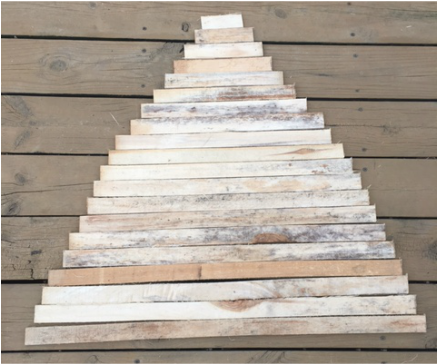 Once I was finished with the "branches" of the tree, I used another piece of lath to create the "trunk." I sawed a point on the bottom of the trunk to help secure it in the ground when it came time. 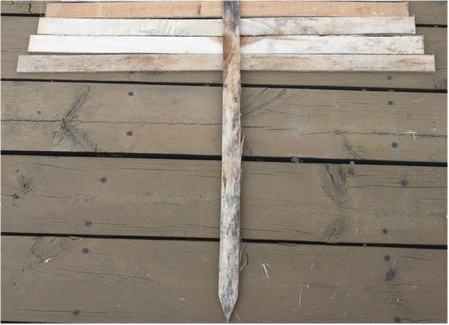 Because lath is pretty lightweight, I chose to simply glue the branches to the trunk. I used Gorilla Glue, which is extremely strong glue. With this type of glue, it is important to get the surfaces that you are gluing together wet first. I used a damp washcloth. 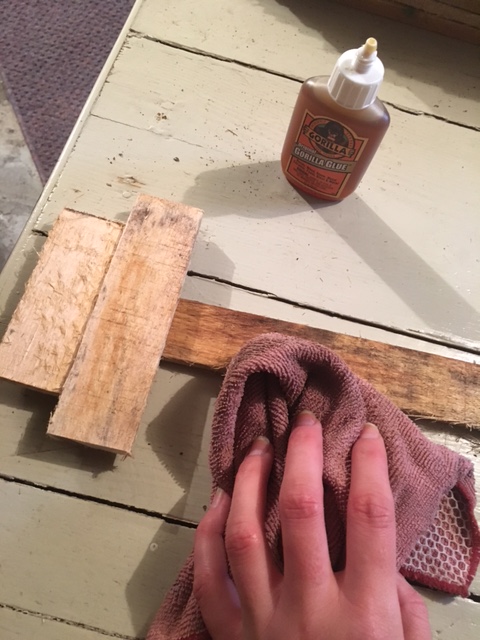 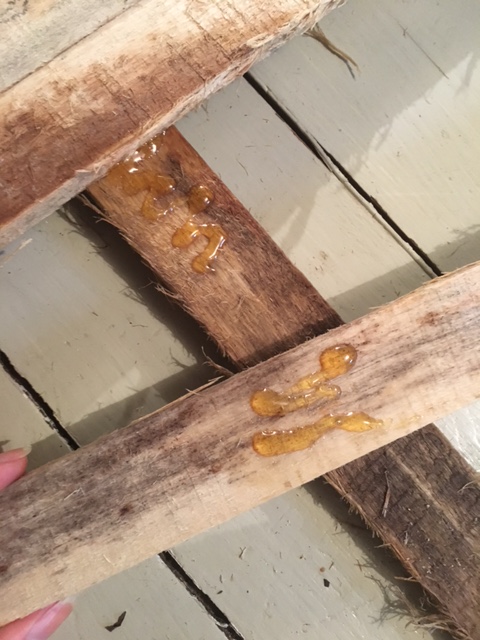 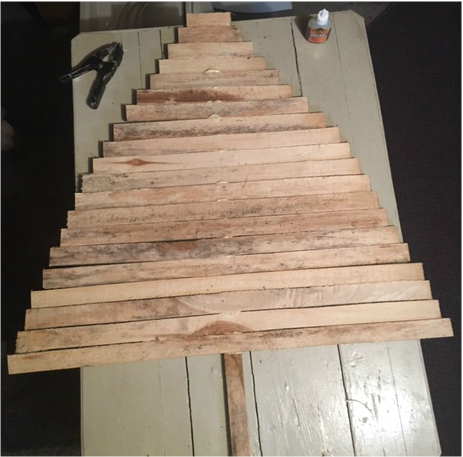 Also, with Gorilla Glue you are encouraged to clamp items together or use another type of heavy pressure to press items together. I clamped the top piece and used full paint cans down the center to press down on the rest of the lath. It worked really well. I let this project dry overnight and painted it the next morning. I used a green, matte, outdoor paint. I dressed it up a little more by adding some dots to mimic lights or ornaments with yellow, high gloss, outdoor paint. 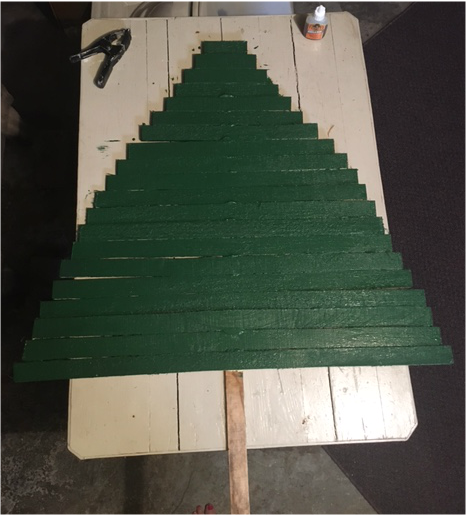 We bought a metal stake to reinforce the tree and used 20 gauge metal wire to attach the tree to the stake. We pounded both the stake and the tree into the ground before connecting with the wire. You can also see in the photo below that the Gorilla Glue expands really nicely to ensure a good bond. 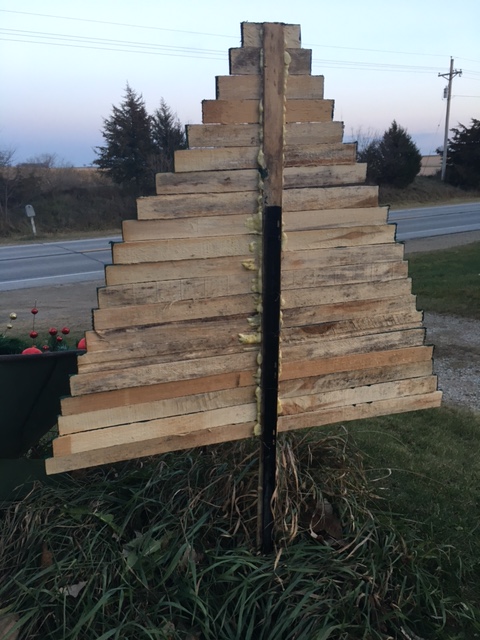 Here's the final product! I ended up adding a red bow to the top for an additional pop of color and to tie it more closely to the decor I put in the wheelbarrow. 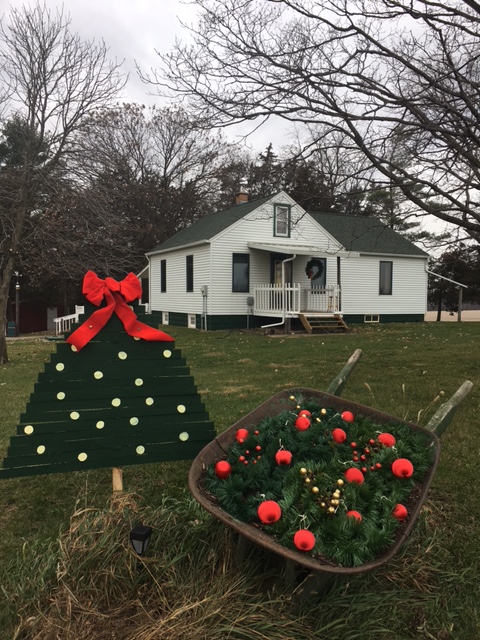 The approaching Christmas holiday inspired a few decor ideas in our household. The project I'll talk about in this post could be used for decorating your home or as a gift for someone else! What you'll need:
I salvaged a piece of wood that is around 36 inches long for this project. 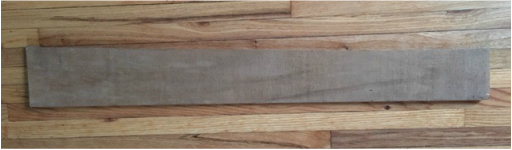 I chose a phrase that was not holiday specific so leaving it up throughout the winter wouldn't be an issue. I like winter decorations vs. Christmas decorations when I can help it to give the decor longer life. I wrote the phrase I chose out with pencil on the piece of wood before I began painting to ensure the spacing and positioning turned out right. 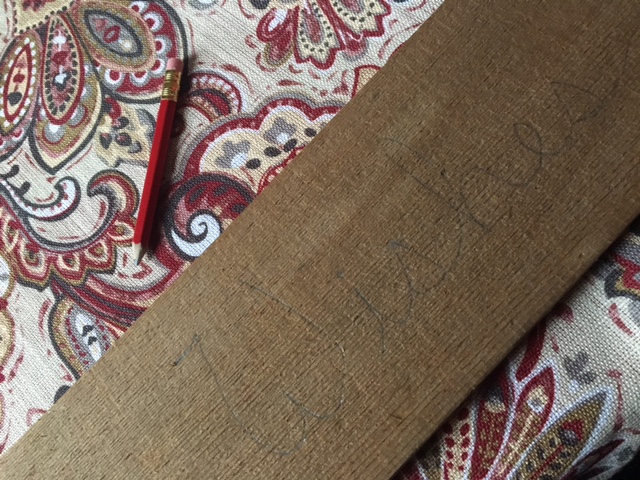 Once I had the phrase as I wanted it on the wood, I used a small paint brush and white paint to trace the pencil lines. After letting the paint dry, I hung the sign up with 3M adhesive strips with Velcro so I didn't damage the wall/create unnecessary holes for something I knew would only be up for a few months. This project took me less than 10 minutes to complete and cost me $0 because I had the supplies I needed on hand. If you needed to purchase supplies, it would easily run under $15, much less than what you would pay for an already completed sign like this in a store. Doing it yourself allows you to choose the saying, create the look, and have a personal connection to the piece - which makes it even more special if you choose to give something like this as a gift to someone you care for! Here's the finished product in its wintertime space, just below the "clothespin line" I will hang our Christmas cards from: 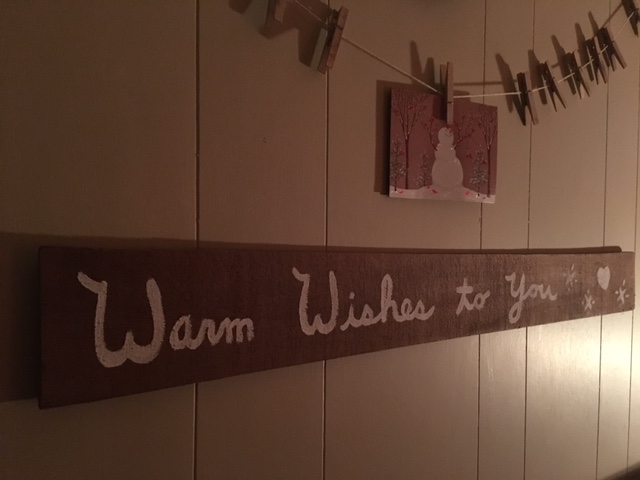 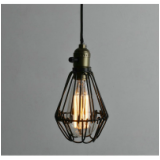 We all know industrial cage light fixtures are very popular right now. I love the look of this style along with the masses. We have an exposed light bulb in our stairwell to the basement that I thought a cage light fixture would look great on. Trouble is, it is at an odd angle near the ceiling, so I had to get creative by creating my own fixture. This is another inexpensive DIY light fixture option that cost me under $12 to create. What You'll Need:
I started off by cutting the cage in half. It was too big for me to use as it was due to the bulb's close proximity to the ceiling. This was fine with me, because I had envisioned 1/2 of a light fixture in the first place. If you are doing something similar, or like the look of hanging cage light fixtures (like the one pictured above) you could probably use the full guard cage and follow these same steps (without the cutting of course)! So as I said, first thing I did was cut the cage in half at the hinge using a razor blade. 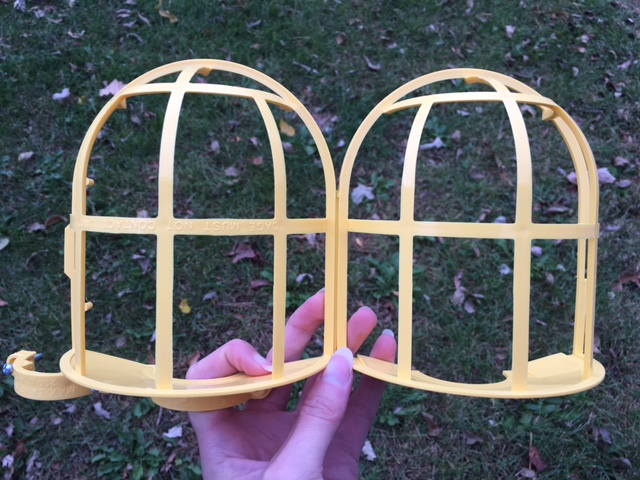 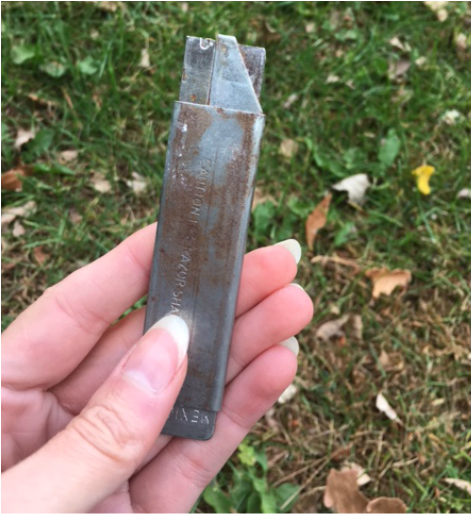 I realize this looks nasty, but I've had this razor blade for over 12 years and it's always good for a nice, clean cut! After I had the cage cut in half and removed the two screws that came with it, I spray painted it with the same oil rubbed bronze that I used for my clamp light lamp. 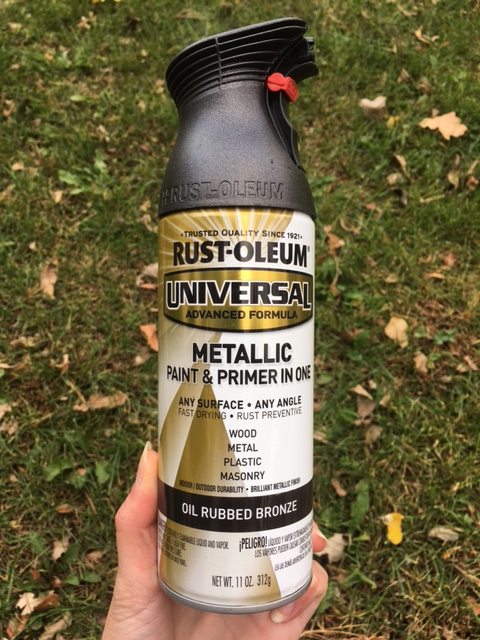 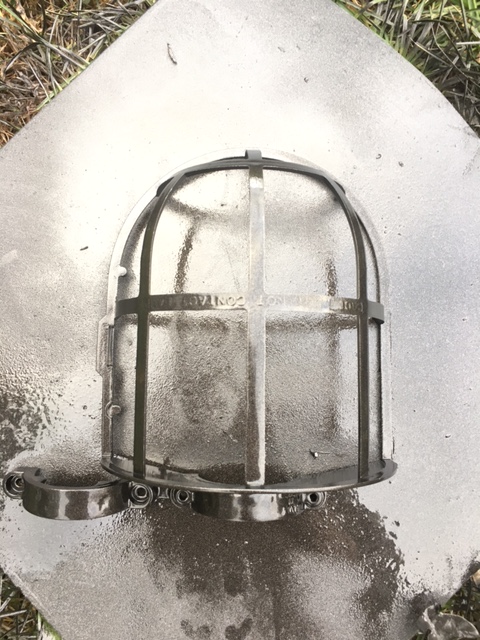 After allowing the cage to dry, it was ready for install! I swapped out the light bulb using a vintage-style Edison bulb and attached the cage to the base of the bulb using the two screws I mentioned earlier. See below for the before and after! 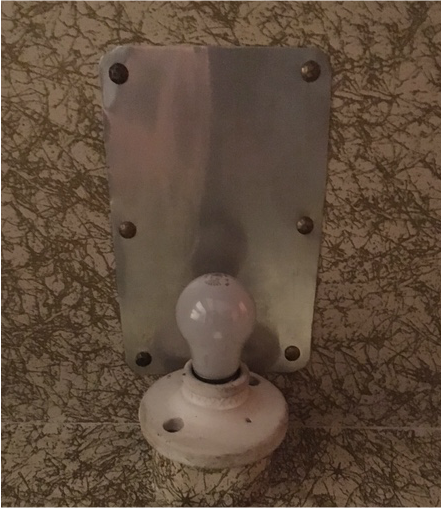 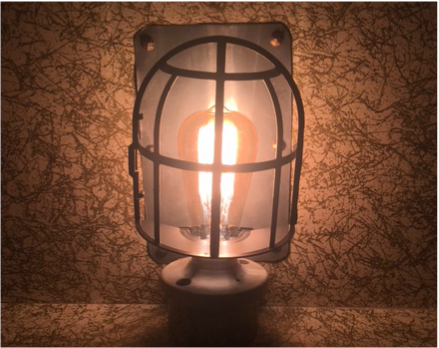 |
Archives
August 2022
Categories
All
|
 RSS Feed