Busy Hands, Happy Heart
|
Over the summer months we completed a really fun project at our family cabin - a fishing pole photo display showcasing the Miller side (my mom's side) of our family.  Here's what you'll need:
We started by marking out where we wanted to secure the pole on the wall. We used one screw between the handle and reel, and one screw at the tip of the pole after determining how far we wanted the pole to bend above the doorway. From there, we added fishing line by tying it to the loops located on the pole itself. We cut the lines to various lengths depending on where we wanted the fishing lures and photo frames to fall. Once the line was in place, we started attaching the fishing lures and photo frames. The fishing lures have small hooks that pop out of the top, so we were able to easily secure them to the lines. To make sure the photo frames stayed on the line, we placed one thin poster mounting square on the back of each photo - pinching the fishing line between the mounting square and the back of the frame - so they dangle freely vs. being stuck to the wall. Here are some close ups of this project:   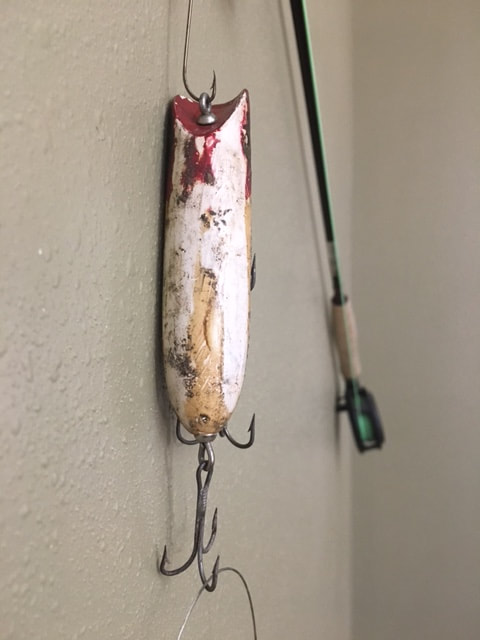 And here's my cute grandma with the finished project. We have her to thank for so many good memories at the cabin! 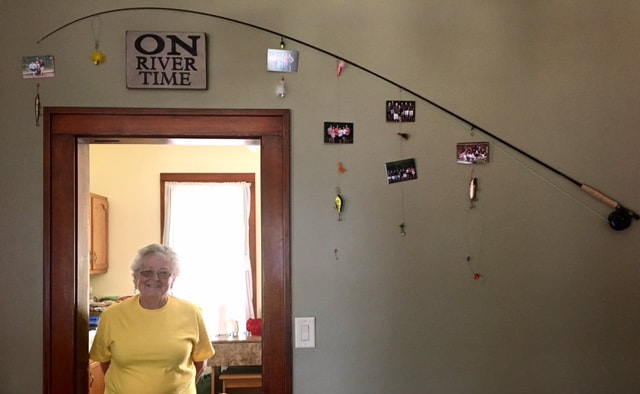
0 Comments
I'm sharing this here because it's something I didn't know about and I think it might be helpful for someone with a small pet needing fixed! We recently got a new puppy, Homer. He is a year old, but was not fixed when we adopted him from the Cedar Bend Humane Society. Part of the deal before he "officially" became ours is that he needed to be neutered. We took him in just a few days ago, and let me tell you, it was an emotional day for me. I have a tendency to jump to the worst conclusion and was so afraid something bad might happen to him during surgery. I've become quite attached to Homer in a short time and just couldn't imaging our life without him if something happened. Good news though...he lived! No issues, went perfectly fine (as I should have known it would). The humane society didn't have a cone for us to use, so we had to pick something up from the pet store. We opted for the inflatable "doughnut" type contraption vs. the traditional cone. Long story short, it didn't work. Overnight, he found his way around the doughnut and was licking his incision site, which was a BIG problem. At 6 a.m., Joel and I were up brainstorming ideas about what to do since neither of us could stay home from work to monitor his activity. No pet stores opened before 9 a.m., so we had to get creative while very not awake. Eventually, we ended up deciding that a baby onesie and safety pins was the answer. 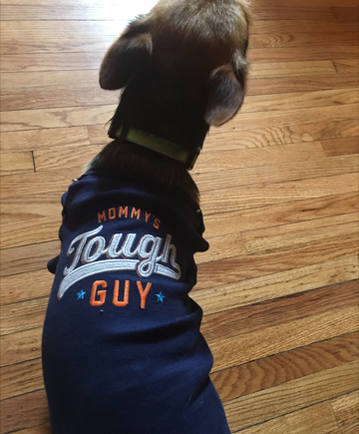 Joel made a quick run to WalMart (the only place open at the time) and purchased baby onsies, safety pins, and male puppy diapers. 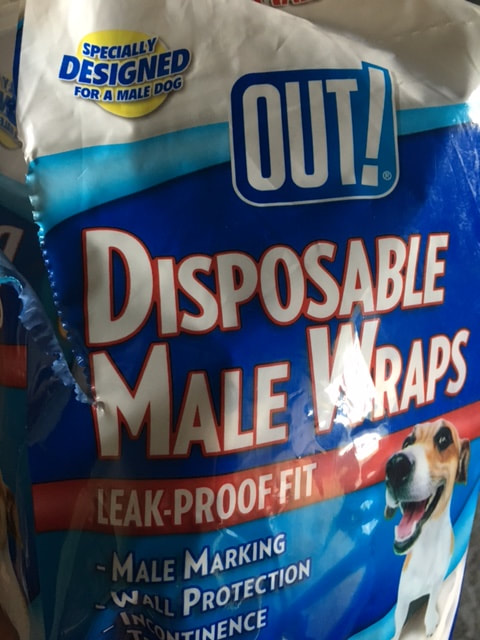 We put a diaper on him first (since we were leaving him free, out of his crate for the first time, and didn't want him to potty in the onesie). Then the onesie, with the shoulders and bottom snaps secured with safety pins. 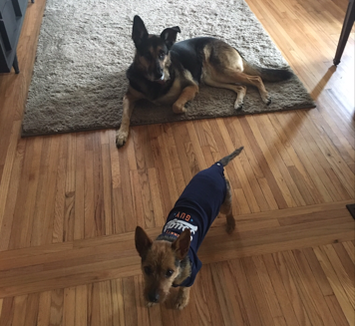 This method has worked GREAT. We put everything on him before work and bed, letting him run around "naked" when we're able to monitor him. It offers full protection and appears to be more comfortable for him than a cone.
I highly recommend this DIY method for small pets (cats and dogs) that have just been fixed over use of a "doughnut" or cone - both for the comfort of the pet and because the cuteness factor is off the charts! My Fall decorating routine is in full swing. Once September 1st hit and the temperatures started to dip, I was in the mood! When the mood struck, I also happened to be cleaning out our basement. It was great timing because I was able to "shop our house" for some décor pieces that I could use this Fall. I felt particularly inspired by these finds: 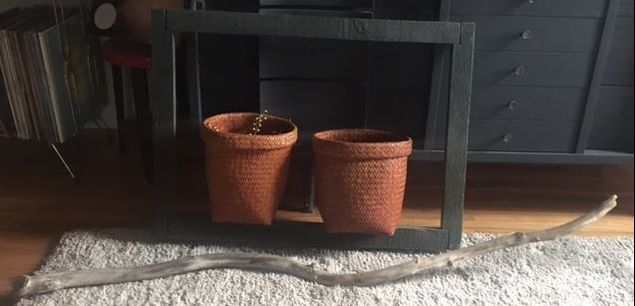 The frame and piece of driftwood were something I had hanging on the porch of our last house. The frame used to have a screen inside it, but it had come undone after being haphazardly shoved in the corner of the basement...which actually worked in my favor for this project. The baskets were finds I picked up at Gooselake Creations, but hadn't found the right spot for them yet. I played around with different ideas and really thought it would be neat to make a "3D" piece of art using the items mentioned above and some artificial flowers. Our dog, Homer, loved my vision and was interested in helping! 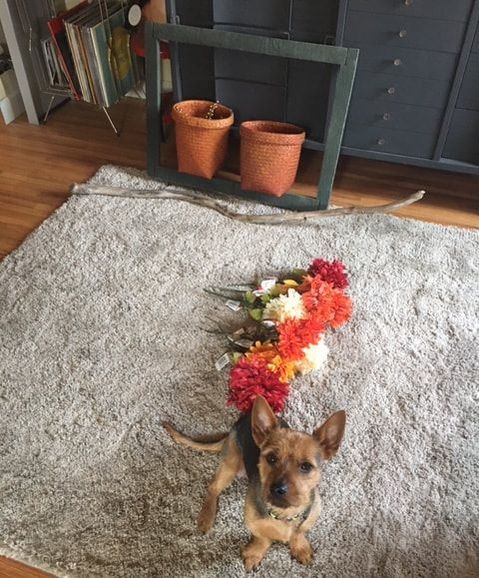 We had a large frame hanging in our entertainment center area already (see below), so I was able to utilize the existing nails for the frame. Because the baskets had some weight to them, I chose to nail them into the wall. A surprise I wasn't expecting was the outlet we added during our renovation in case we ever mount a TV to the wall. With the open frame, the outlet was not aesthetically pleasing! I chose to cover that with a piece of burlap. The burlap is optional if you do this project, it was a necessity for me! Once I had everything in place, I started arranging the flowers I purchased inside the baskets. I found some beautiful mums in cream, burgundy, orange, and yellow at Dollar Tree (one of my favorite places for artificial flowers). This project was as simple as that! See below for the finished product: 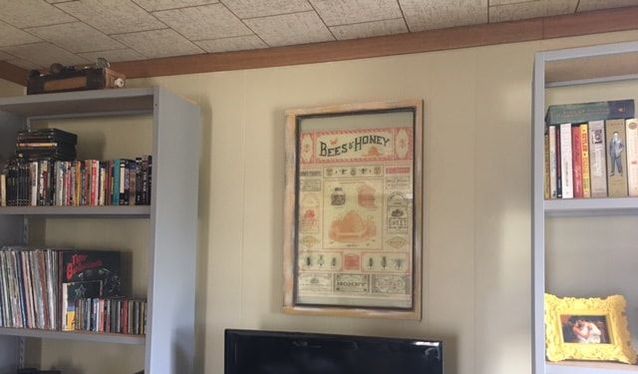 Area Before 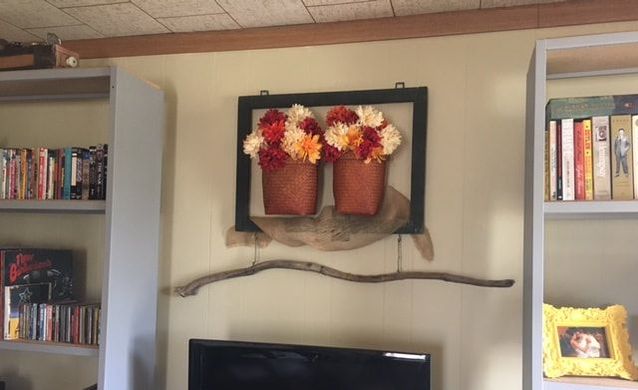 Area After 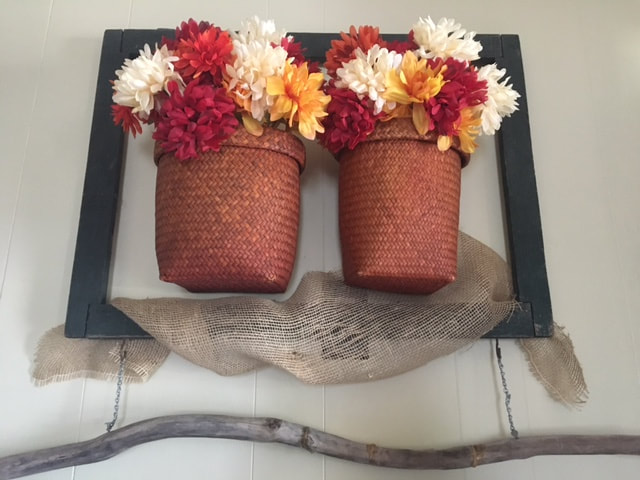 |
Archives
August 2022
Categories
All
|
 RSS Feed