Busy Hands, Happy Heart
|
This may seem like a silly DIY project to post about...but mounting something as simple as a towel bar is something I have never done on my own! There were several steps and power tools involved, so I felt like it was a legitimate project to include on the blog. I placed this particular towel bar in our kitchen next to the sink. I'll start with the supplies you'll need (because I kept having to run downstairs to get more stuff):
I started by holding up the bar to the cabinet and using the level to make sure it was positioned correctly. Holding the bar firmly in place, I traced a light pencil line around the base of each side of the towel bar. 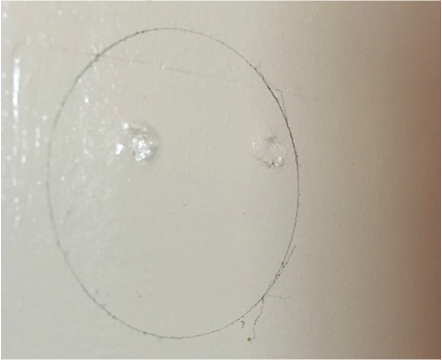 Once I had the outline traced, I held up the mounting brackets so they were centered in the middle of the circle. I made light pencil markings in each opening of the bracket so I knew where to pre-drill my holes. 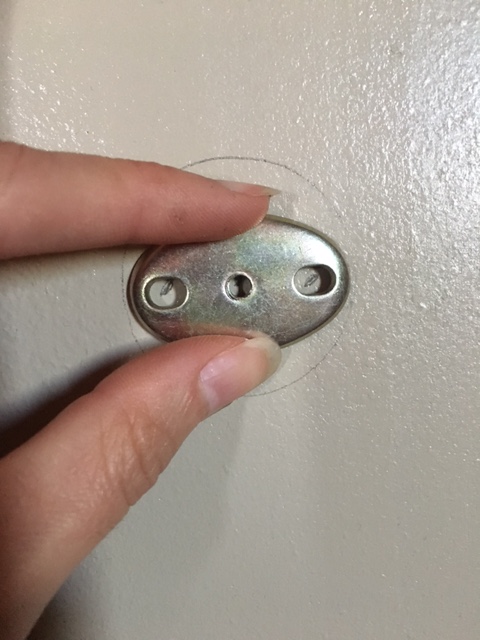  I used my drill and 1/4 inch drill bit to drill into the cabinet over my pencil markings. Because I was mounting this to wood, the instructions did not recommend the use of anchors, so I did not insert anchors before the screws. Using my drill again with a Phillips head drill bit, I screwed in the outside screws required for the mounting bracket. 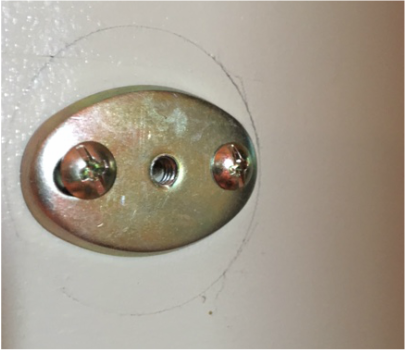 After the mounting bracket was in place, I placed the long screw provided with the kit through the two bases of the bar. This required popping off the top of the bases, which I later placed back on the bases upon finishing. 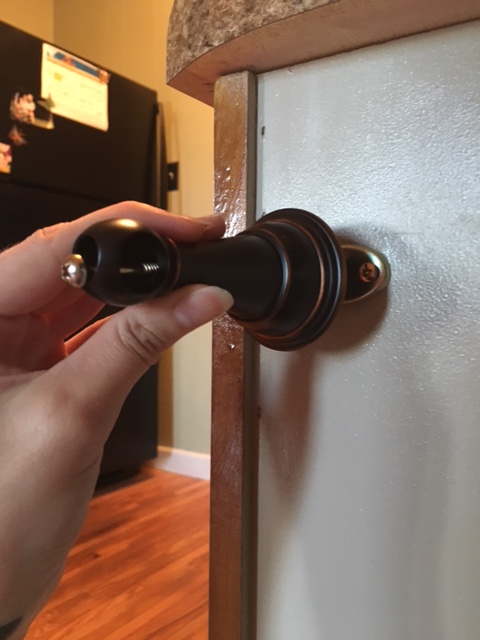 Here's where you'll use your handheld Phillips screwdriver to screw the long base screw into the middle hole of the mounting bracket. Turn screw until base is tight against the cabinet. Make sure to pay attention to the positioning of the hole the bar will be inserted into. Ensure it is facing inwards. 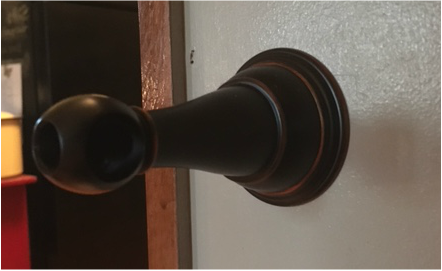 You'll do the same thing on the other side. The only difference will be is that you should have the bar inserted into both of the bases before screwing the second base in. The bar rotates and has notches in it so that you can turn the bar until there is an opening and then screw in the second base. 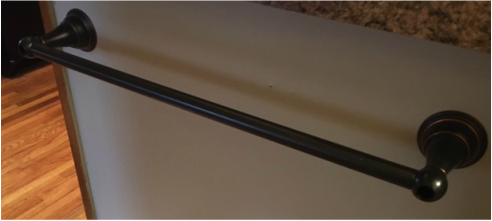 After both bases are secured, you can replace the tips of the bases that I mentioned needed to be taken off before you could insert the base screw. 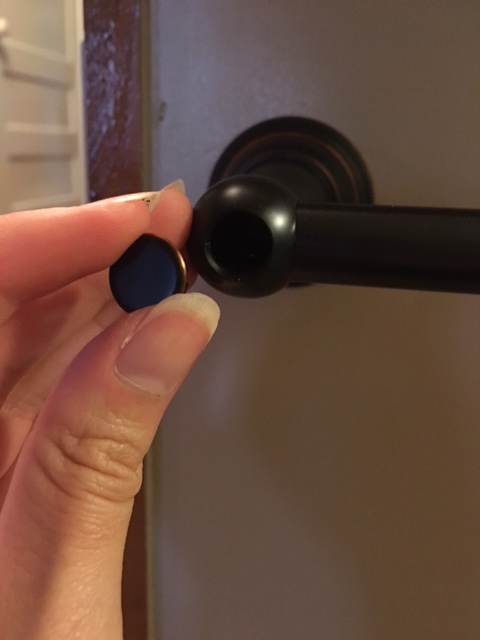 There you have it! A beautiful, functional, mostly level towel bar. I need to purchase towels that go better with our decor, but for completed project photo purposes, I pulled together a little Cowboys and Indians towel combo. 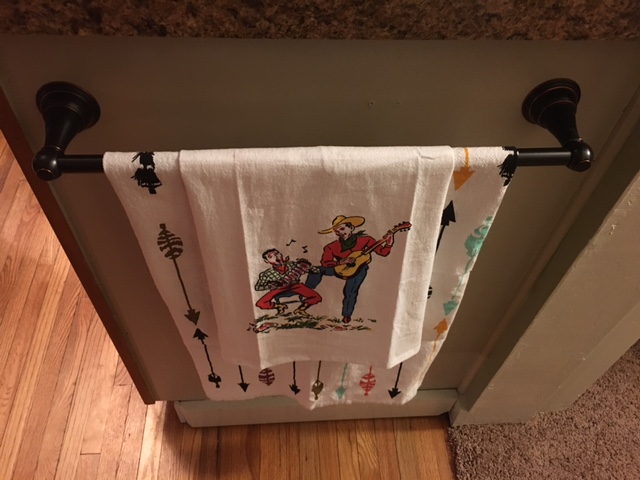
0 Comments
Creating a unique headboard for our master bedroom was one of the most satisfying projects I've completed thus far. I knew I wanted to do something unique. After looking around at different ideas, and changing my mind several times, I settled on using salvaged barn doors. I am lucky my dad is a hoarder of old items like I am. He always has a vision for what he finds and keeps, just like I do. In his corn crib, I found two halves of a barn door that worked perfectly for what I needed. To start, we needed to cut off the handle on the side of the door facing the wall so the door was flush when it came time to hang it. We used a Cutoff Saw to get the job done. 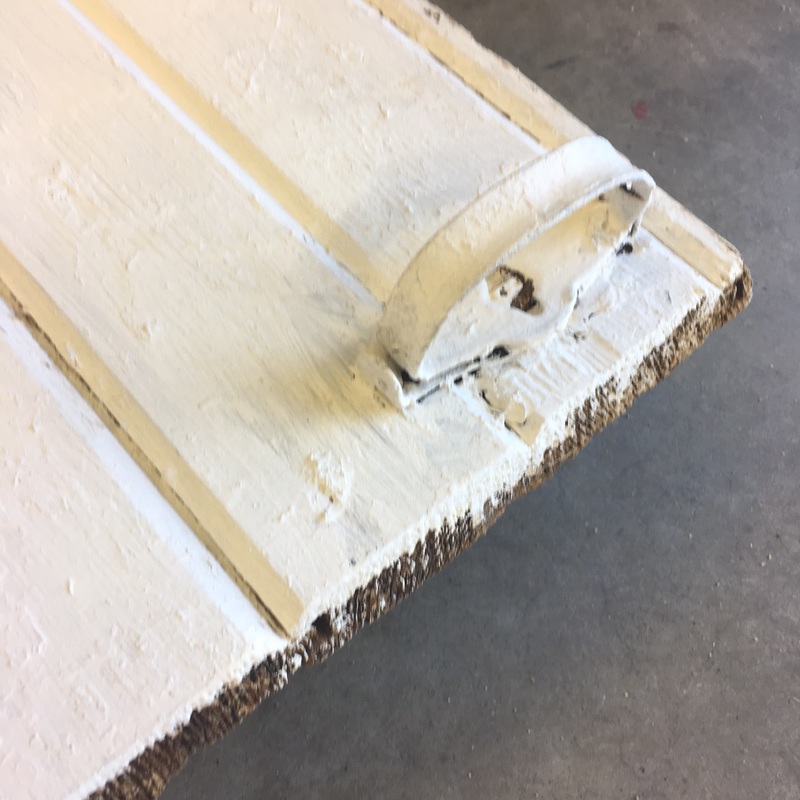 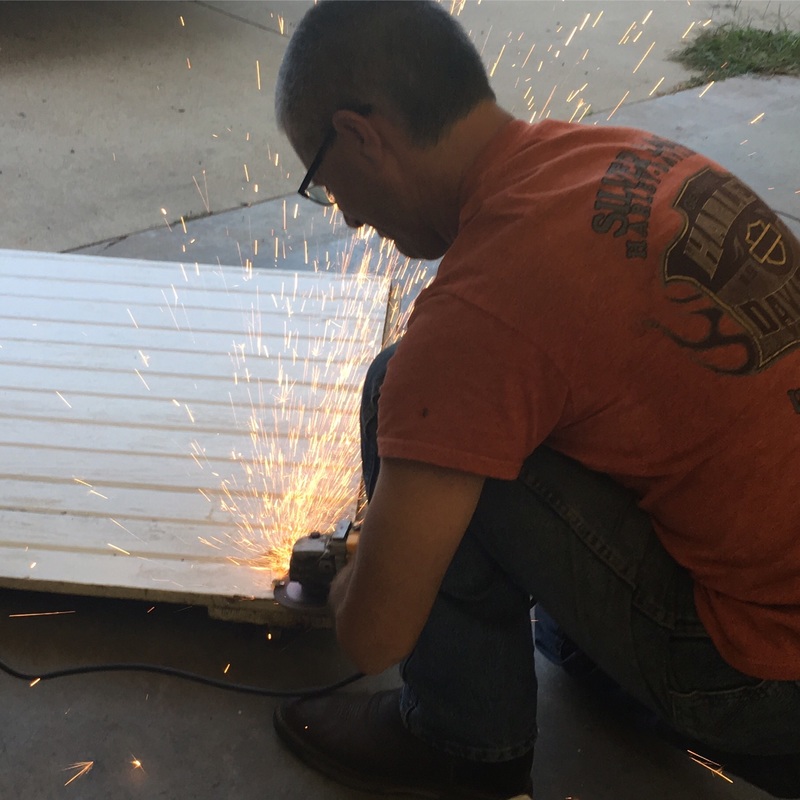 Next, I stained the doors with a stain/poly mix in the color "Honey Pine." I used the same stain that I used on our kitchen cabinets and the wood trim of the new opening to our living room for consistency in wood color throughout the house. 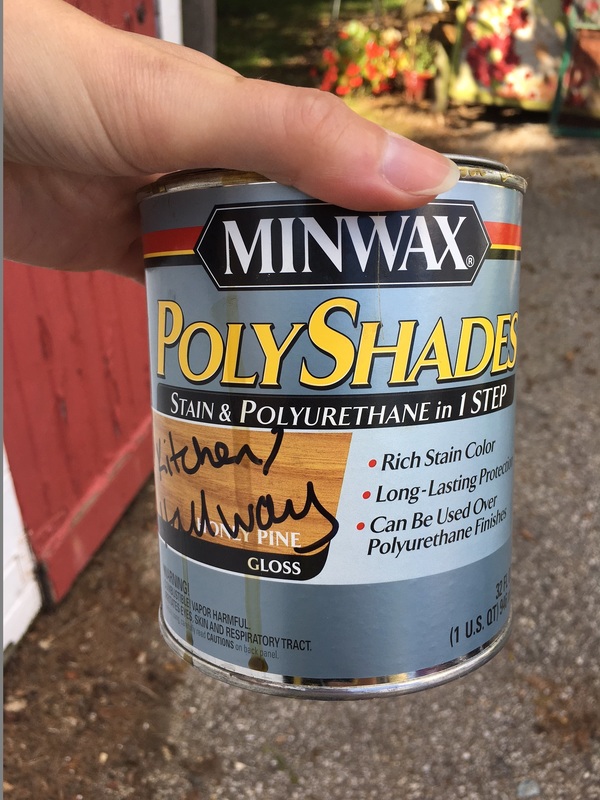 A trick I learned on HGTV is that you should wipe down the wood with a damp cloth before staining because it allows the wood to better absorb the stain. 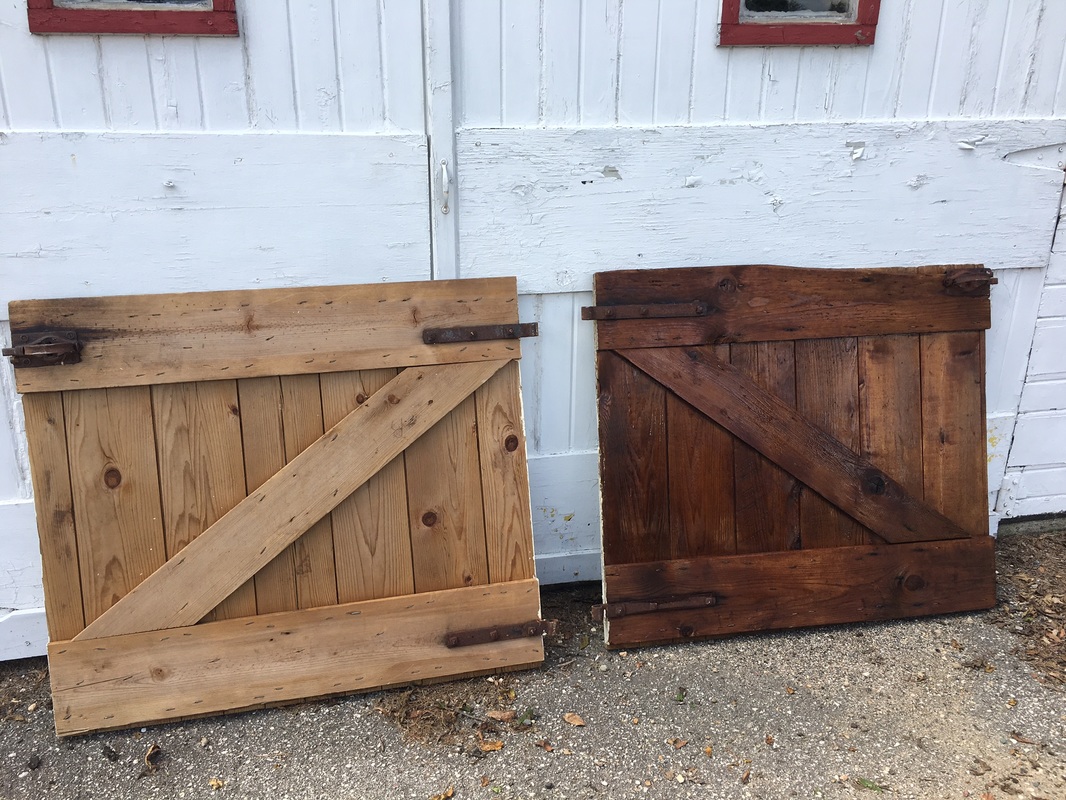 The door on the left is unstained, the door on the right is stained. 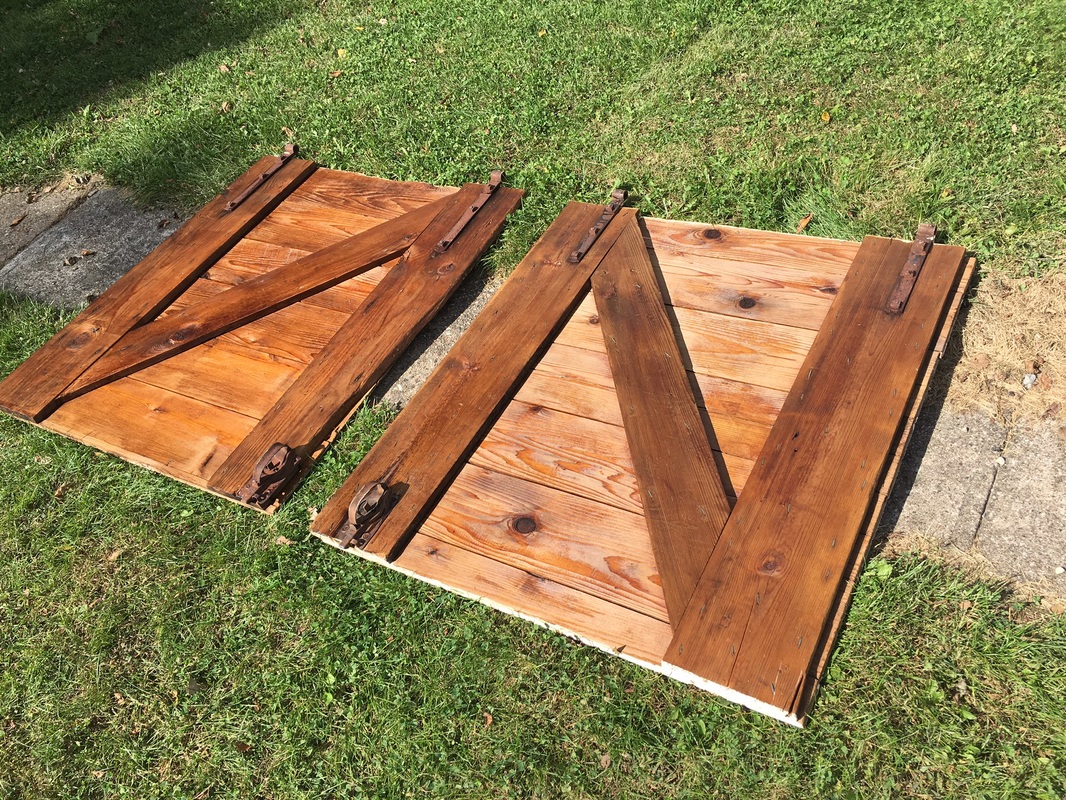 Both stained and ready to hang! Joel marked out the studs in our bedroom with our new handy, dandy stud finder. Because the weight of the doors was a bit heavier than the artwork we were used to hanging, we wanted to make sure to secure them to studs in the wall for better stability. The blue tape indicates the studs we were working with. After positioning and leveling, we started placing the long screws. (SIDE NOTE: This is a three person job! Two people holding the doors, one person placing screws.) 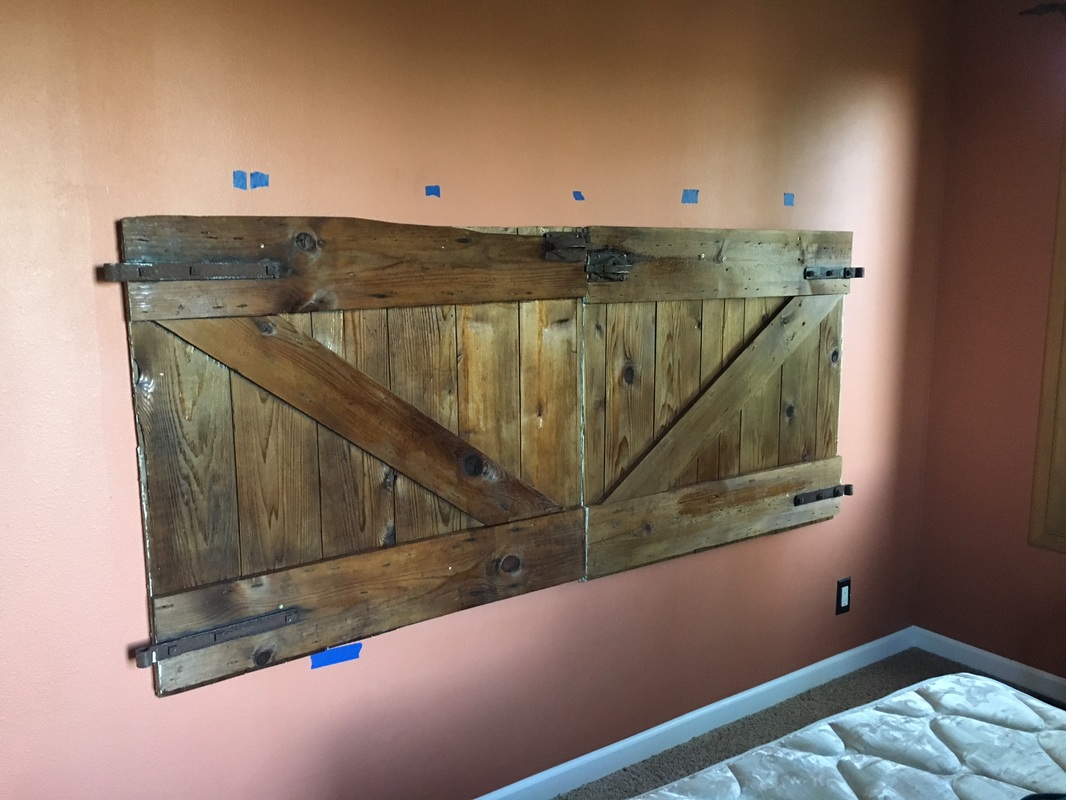 We ended up putting two screws on the top half and two screws on the bottom half, screwed into the studs. Before I moved everything back into place, I hung some screen artwork I created with leftover black paint and a salvaged screen.  When that was done, I got everything back in order and marveled at how great everything turned out! If you have any questions, feel free to reach out. My contact info is under "Contact" on my blog. Here's the final product: 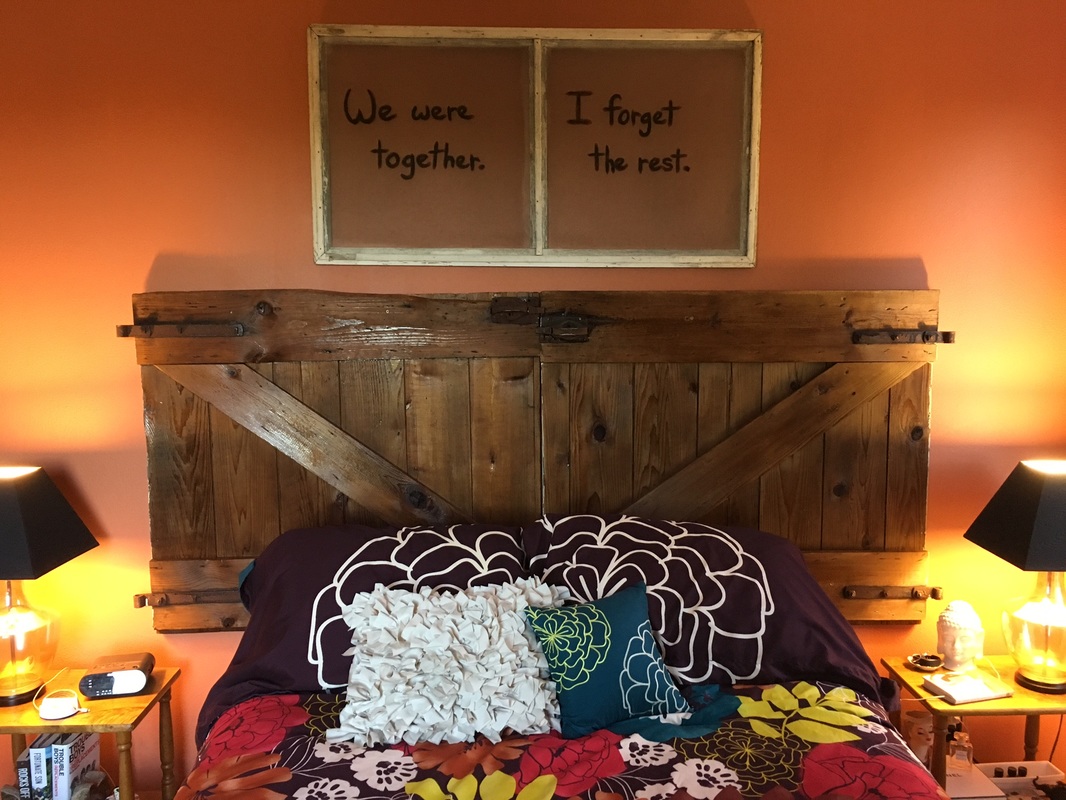 This post will be part instructional and part me gushing over how much I have come to love rocks. We found yet another amazing treasure on The Farm: a collection of over 5,000 individually cataloged and wrapped rocks. Each one more unique and beautiful than the one before. It has been a labor of love unwrapping every rock, reading the notes contained inside the packaging, and placing them into the rock garden. 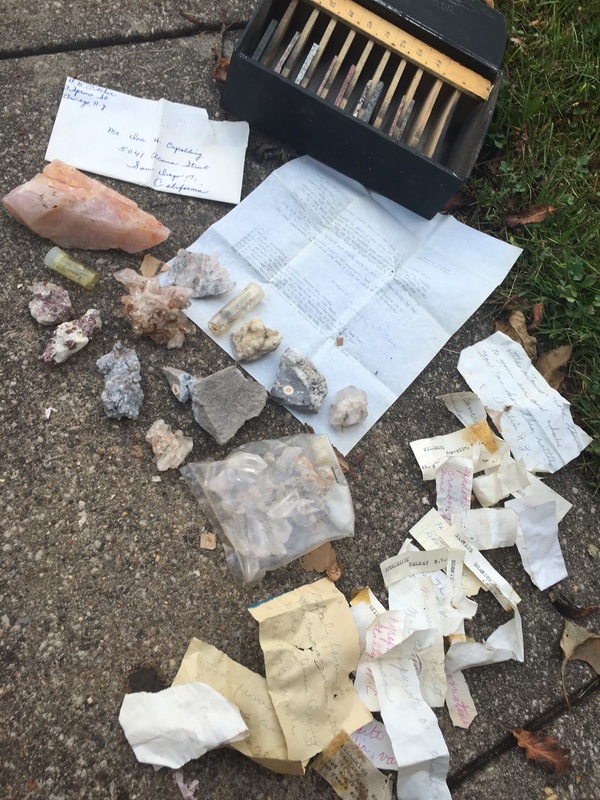 The rocks are from all over the world, every shape, every size. Many have notes that list the year found, location found, and rock type. 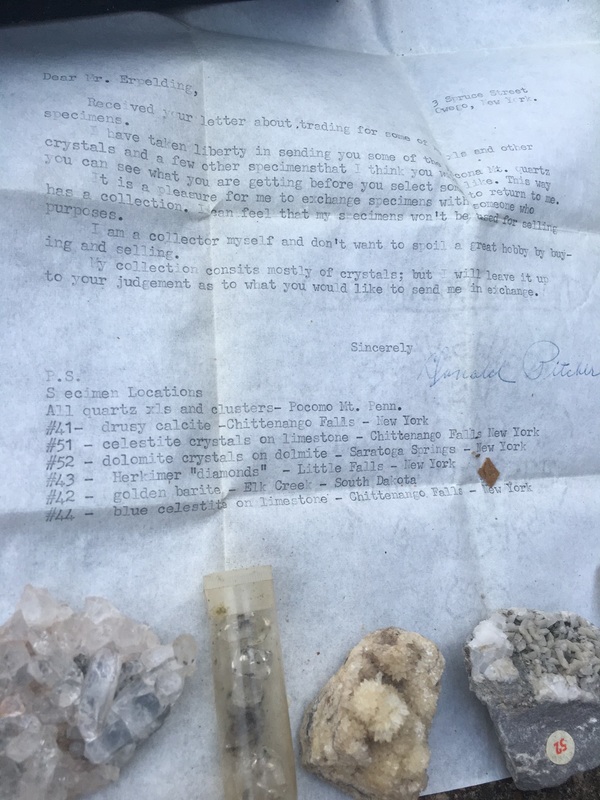 The collector made trades with other collectors. I found a letter about one of his many trades. After finding these rocks, I couldn't bare to leave them wrapped up in a dark, abandoned building. Someone (the brother of the person who previously owned our home) spent his life on this collection. I wanted to showcase it. Most of the rocks are too beautiful for landscaping, they should all be put into glass boxes on display, but that's unfortunately not realistic for us to do! Using them to spruce up the exterior of the house was the next best thing I could think of. The first step I took in creating my rock garden (after finding and being inspired by the rocks) was to clear out the space I wanted to start with. That included taking out a small retaining wall, digging out several unwanted plants, and spraying weed killer to map out the area. 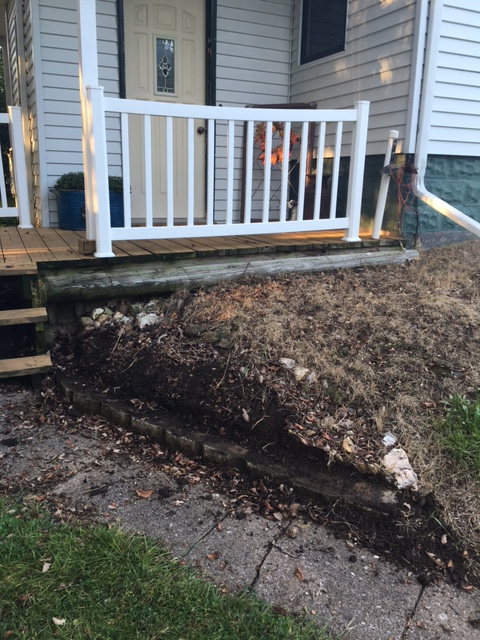 I didn't lay out a weed barrier. I am not a believer in weed barriers. I'm a believer in weed killer. When weeds peek through, I spray them until they die. I'll let you make your own decision on whether you put down a barrier first or not. Once the area was clear, I started laying in the rocks. Big rocks to the front, filling in with the smaller rocks.  I stopped part way up the slight hill because I knew I wanted to plant a bush among the rocks. I chose a Hydrangea bush and planted that in the middle of the rock garden. Now is a good time to purchase bushes and trees because it is the end of the season. I was able to purchase the bush for a little over $20. 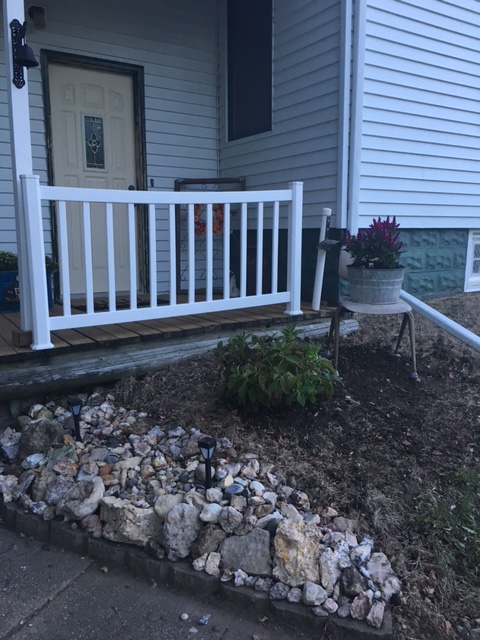 For additional visual appeal in the area, I also added two small solar lights and a chair with a bucket of flowers on it. I was able to find the chair and the bucket in our "rusty gold" stash that came with the house. The plants were under $10 combined. After I had all of these elements in place, I filled in the rest of the rocks! It took me several days and nights to complete this project due to the unwrapping process, but I absolutely loved how it turned out - and hope you do, too! 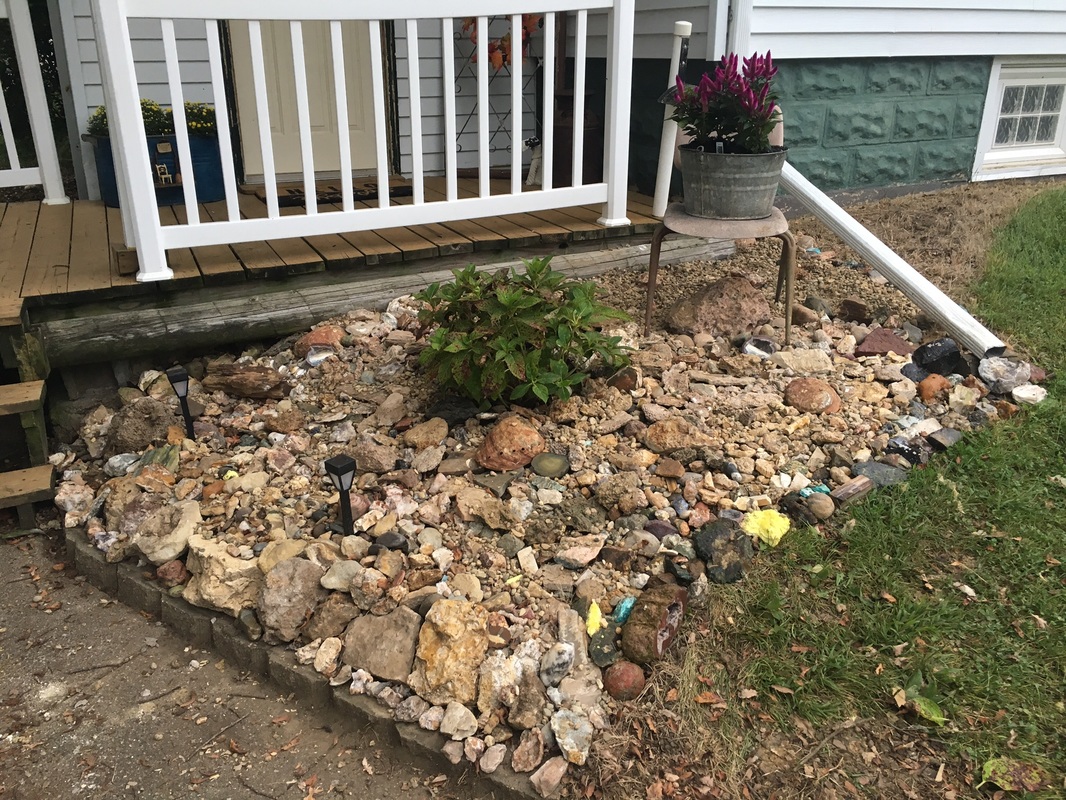 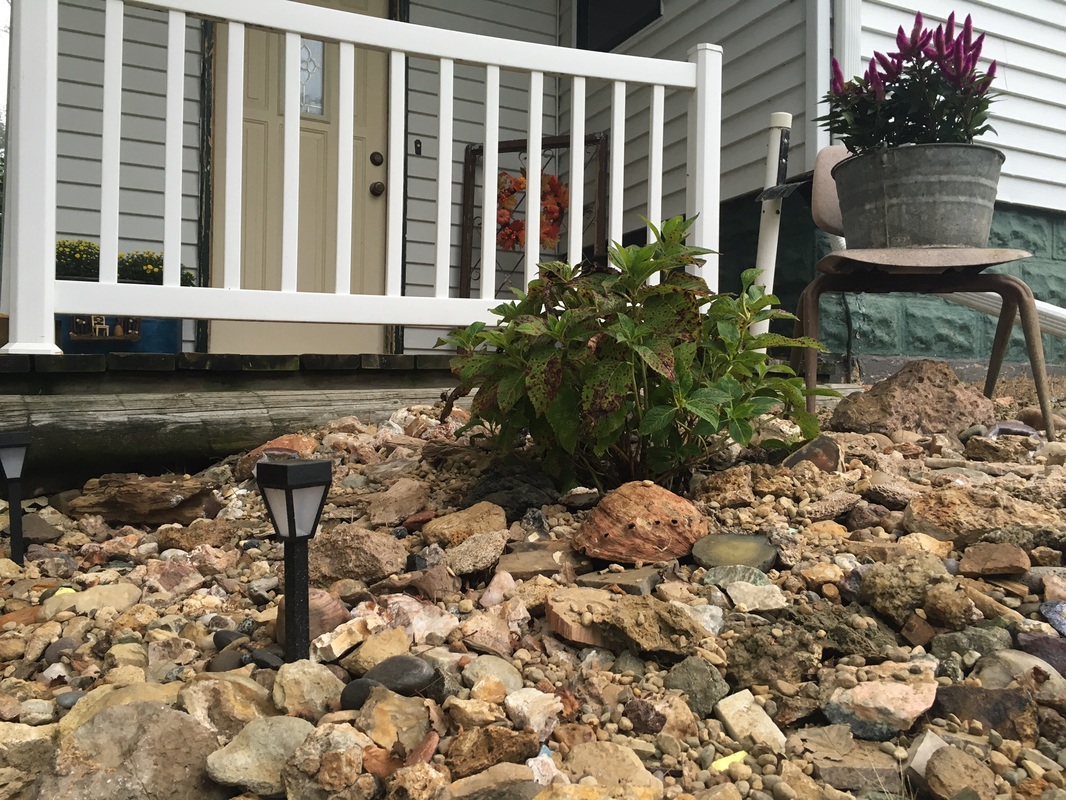 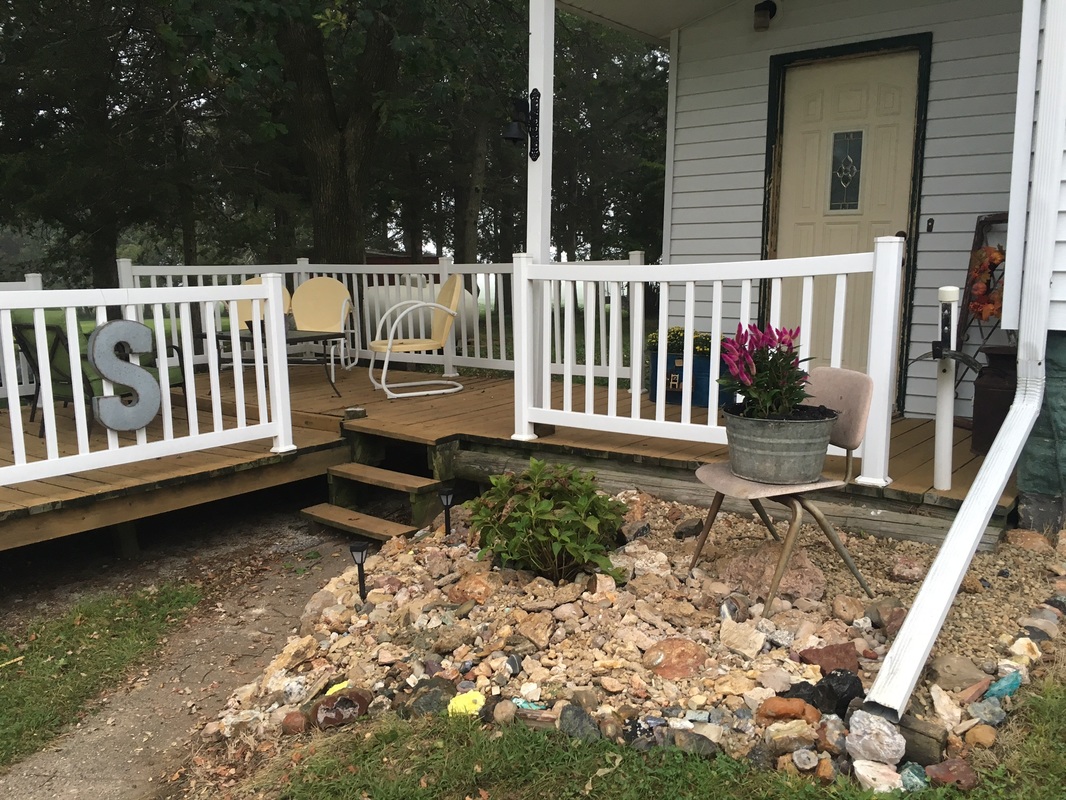 |
Archives
August 2022
Categories
All
|
 RSS Feed