Busy Hands, Happy Heart
|
Since Fall is my favorite season I get extra inspired to do decor related DIY projects. I keep my eye out for the latest trends and like to try my hand at creating my own version. This year, these caught my attention: 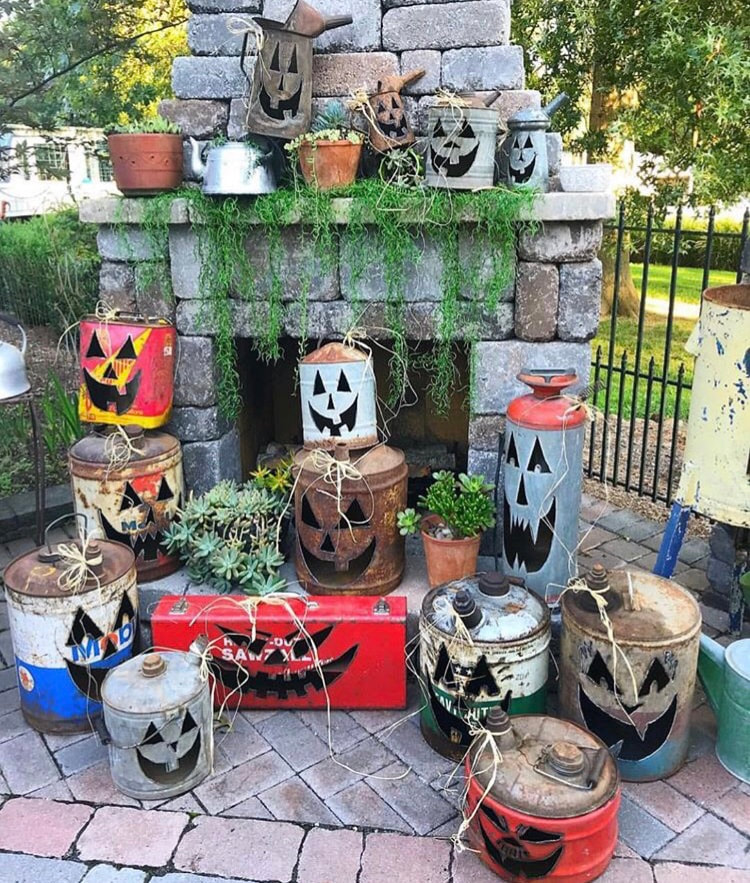 The variations are endless! I knew I had a couple of old metal items in our shed that would be perfect for this project. When I went searching for them, I found an old rusty metal canister and, believe it or not, an old muffler that I couldn’t wait to use! Quick story about the muffler - it came off my husband’s truck. Nothing gets thrown away around here. Everything has potential to be used as something else. I couldn’t wait to show Joel what I had created with the hunk of metal he had tossed aside! 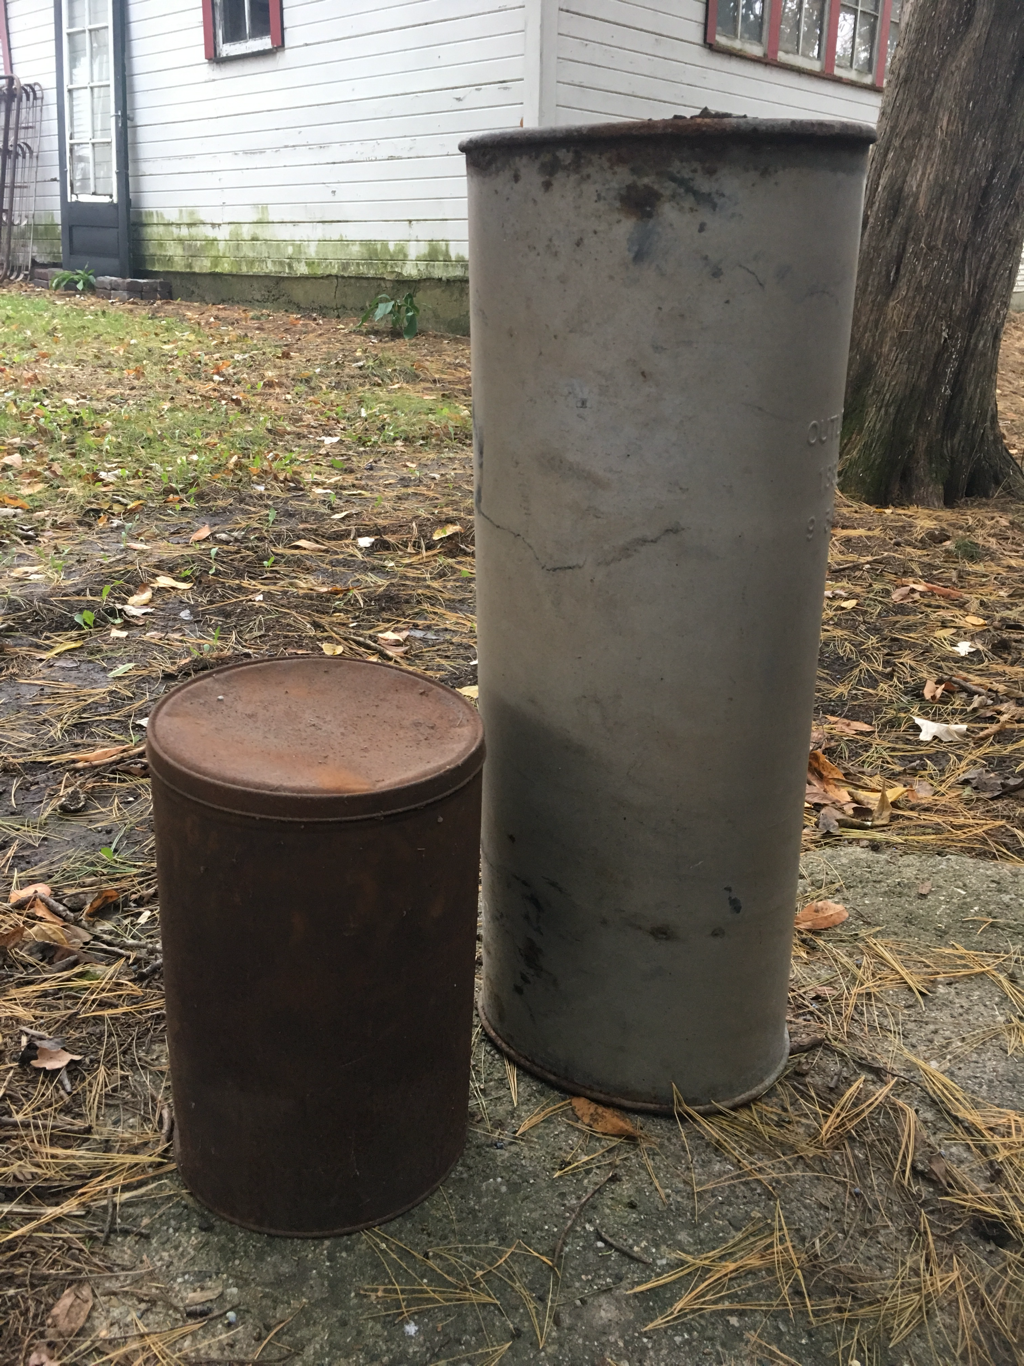 This upcycling project is quick and easy. Start by using painters’ tape to create your jack-o’-lantern’s face:  For the teeth, I liked the look of the ripped edges of the tape. Next, I attached some paper towels (you could use newspaper, regular paper, plastic, more tape, etc.) to protect the rest of the surface area from overspray:  I then used some black spray paint I had in the basement. I’d recommend using spray paint for this, but regular exterior paint would probably work as well (assuming you’ll be putting these outside).   Spray away, let the paint dry, and then the fun part, pull off the tape and paper towels!  If you couldn’t tell, the jack-o’-lantern on the right is made from the muffler!  I also tried making a mini version out of a random piece of metal (I think it was a light bulb cover of some sort). The surface had ridges, so the facial features ran a little bit. He has a face only a mother could love, but he’s still a cutie!  Can’t wait to make more of these! If you try it out, send a picture to me at [email protected] or tag me on Instagram @countrywrennest.
0 Comments
I have never had a pantry as an adult. Over the years, my food has taken up space in cabinets, a gutted antique stove, a counter top bread box, and shelving going down to a basement. Since moving to our new, smaller home, any overflow of canned goods has lived in a cardboard box in our basement. Yeah…not ideal, but we made it work. Even after admitting to this, having a pantry is still something I never thought I needed until I had the opportunity to create one and it has already brought me so much joy! This post is less of a step-by-step DIY and more of a DIY challenge. Instead of expanding your space or buying storage to accommodate your needs, how can you use a current space in a completely unexpected way? Enter, our old coal room. This sentence alone should give you a good idea as to how old our home is. Last Fall I had the genius idea of replacing the roof on this room as the old one was starting to cave in and we believed mice were getting into our house through it somehow. My quick and easy fix turned into my dad and I completely tearing it out! 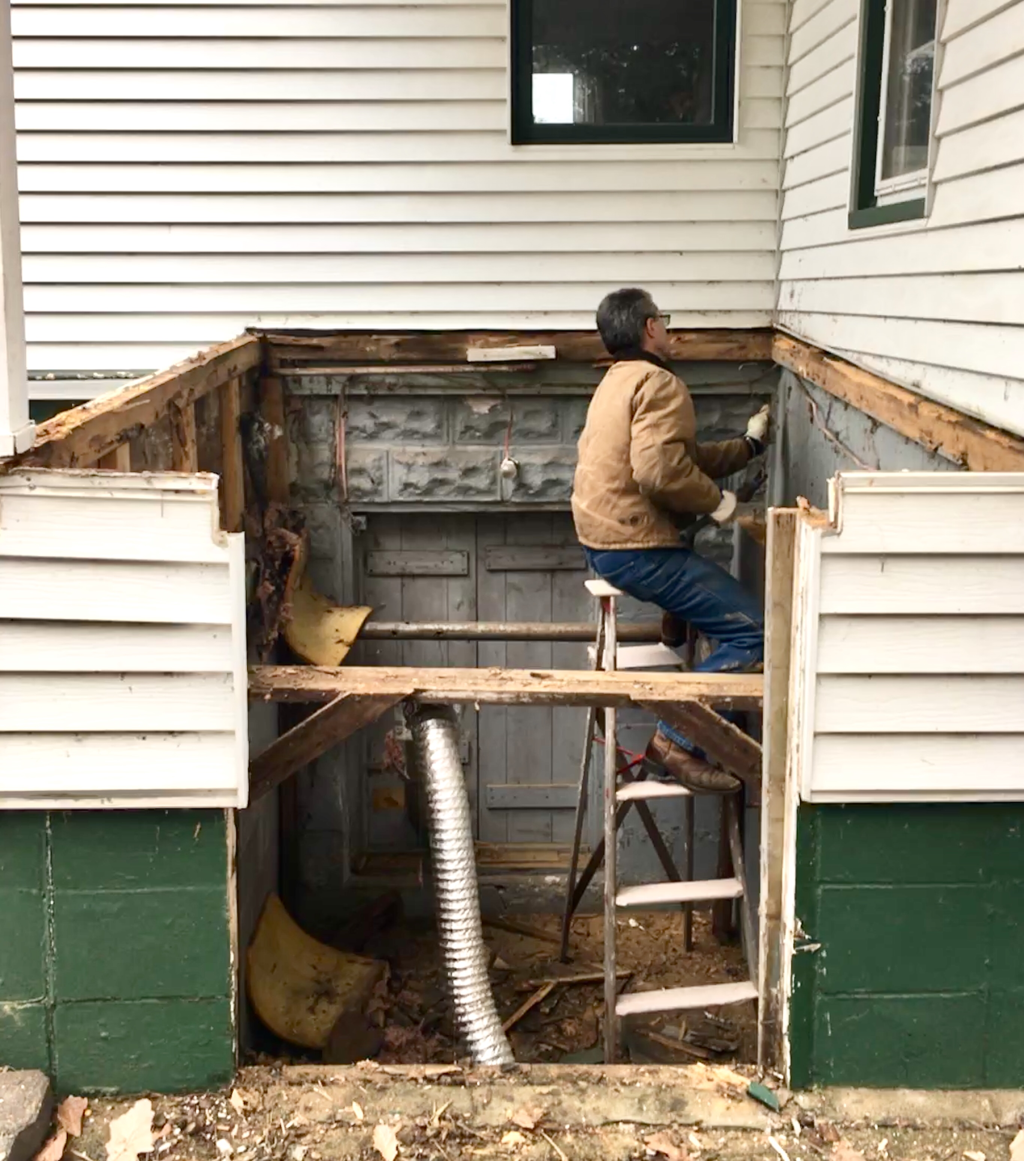 To protect our basement from the elements, we placed plywood over the door opening that led into the coal room, securing 2x4s to the interior door frame to screw the plywood into (this detail is important). I then sealed over the plywood with tar on the exterior facing side and there it sat until this Fall when we were able to track down some free fill to put in the huge hole left behind. It just so happens that at the same time we were filling the hole, we had started giving our basement a bit of a face lift. As I was painting the walls around the interior coal room double doors, I opened them up and took a good look at our handy work.  Here’s why the 2x4s are important. When screwing them in, we accidentally created THE PERFECT set of shelves…Instead of filling this space in and sealing it up, I knew I had to do something functional with it. After chatting with my dad (my DIY guru and consultant if you can’t already tell) and he thought it would work! That’s all I needed to hear! After scrubbing it out, I painted the inside a serene green with paint I had bought a while ago but never used:  I then impatiently waited for the paint to dry so I could move every package and can of nonperishable food we had into the space: 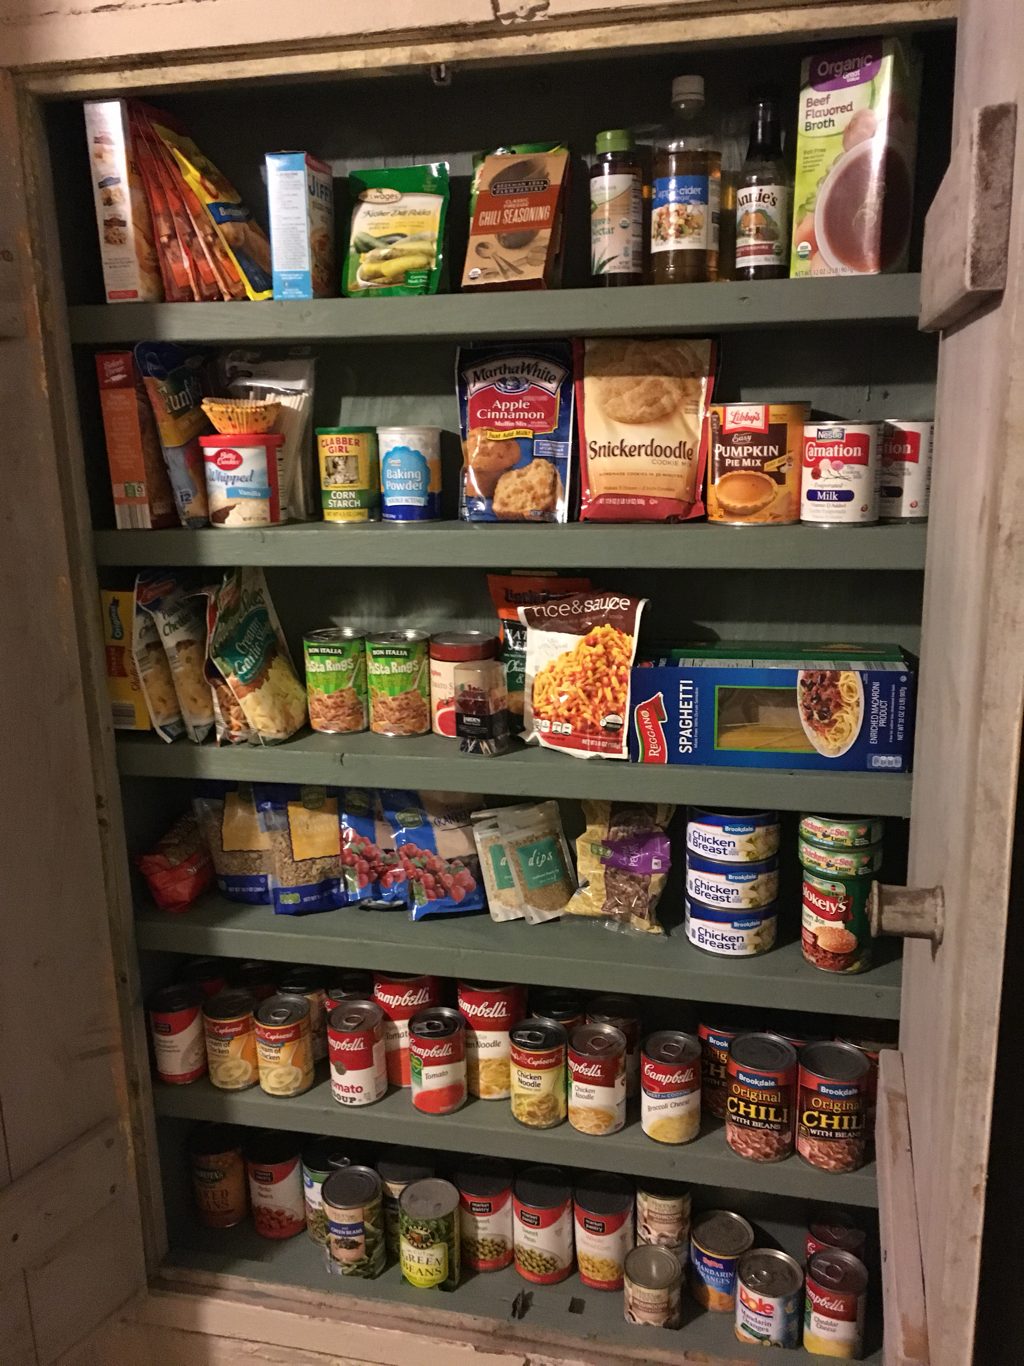 You’ll see that the area around the pantry is still a work in progress, but trust me, it’s better than it was! I also chose to not paint the insides of the double doors because I still wanted to keep a rustic farmhouse look to it. Sometimes, you just can’t recreate years of imperfect layered paint and everyday wear.
I hope this little project inspires YOU to rethink your space and to think twice about the projects on your to-do list. The first plan might not always be the best plan. Try to consider all of the possibilities! |
Archives
August 2022
Categories
All
|
 RSS Feed