Busy Hands, Happy Heart
|
When Coronavirus really started to get bad in the United States, mid-March or so and after, I joined everyone else in holing up at home and keeping an eye on the latest. I had a strange reaction to what I call the “quarantine times” we were in, and are still in to some extent. I got busy. I spent as much of my time doing things as my body would allow. House projects. Cabin projects. Personal projects. Work projects. You name it. If there was something to be done, it was on my list and I was working towards crossing it off. At one point, all I wanted to work on was cards and care packages. I spent two to three weeks planning and gathering (because it was a slow process with limited to no access to stores). The time I spent preparing, delivering, and sending out these items was the most optimistic I was during “quarantine time.” I look back on that period fondly. It seems like it was years ago at this point. My goals were to help people feel less isolated and make them smile. Fill their cup and mine at the same time. Because boy did we need some cup filling. Connect with Cards The first round of items I sent out were cards with a quick note and a cloth mask or two. These went to family and friends we hadn’t had contact with in a while, or were more isolated, like grandparents. It may not seem like much, but we received genuine expressions of thanks from everyone we reached out to. It meant a lot to them that someone was thinking about them. With COVID-19 still being a very real threat across the nation, there is still time to reach out with cards. I’m a huge card person anyway, but now is an especially good time to let people know that they matter to you.  Get Creative with Care Packages I’ve never really prepared or sent a care package before and now it’s all I want to do for others! We chose to do care packages for our friends who have children. The goal was to provide one to two things that the kids could do to give their parents a little bit of a break after non-stop togetherness. And of course, include some items for the parents to enjoy as well. I started by decorating the inside flaps of each box with a sunny message: I used yellow tissue paper to wrap all of the gifts so when they opened the box they couldn’t help but smile! Here are some examples of what I included for the kids:
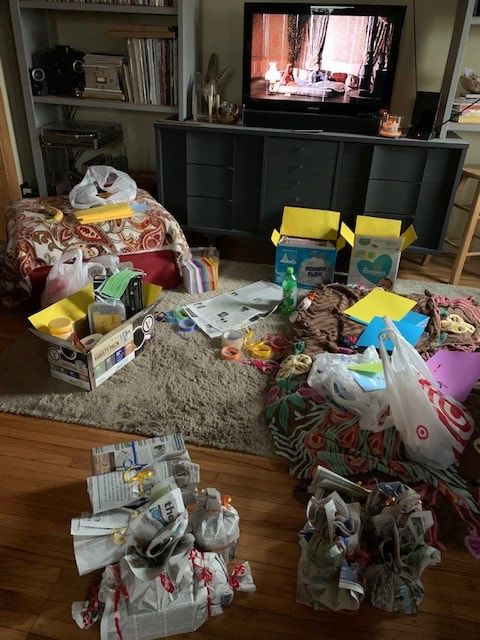 We were able to deliver some and needed to mail some. Again, this was a very well received gesture. It was so fun to get photos of the kids working on the activities! I will now forever be looking for an excuse to send a care package out because it just feels so good to do. It takes the card a step further, allowing you to help take care of others in a bigger way. Pirate Playtime Lastly, I wanted to do something special for our nieces and nephews. It was definitely really tough not seeing them. Again, I wanted to do something that helped keep them busy. In came the idea for a scavenger hunt! Here is what I did for each family: 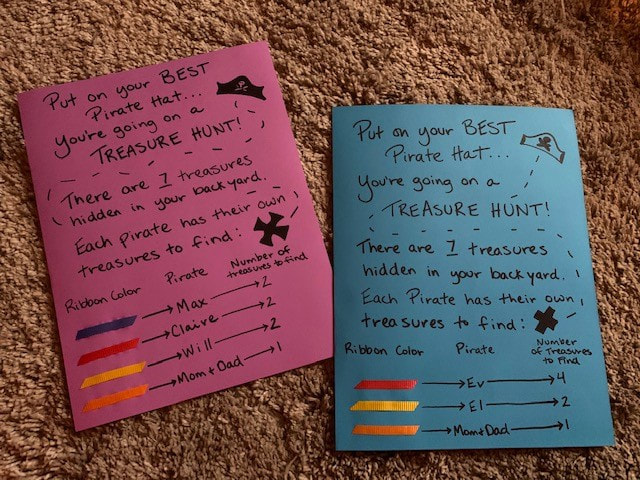 For the “treasures,” finding items that would give the kids something to do was what I was aiming for. Here are a few items I included:
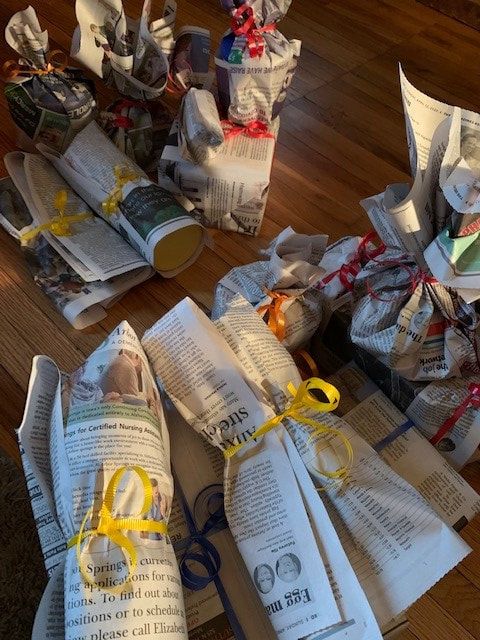 We ended up setting the scavenger hunts up in secret and our brother/sister initiated it with the kids. So Joel and I had a lot of fun hiding things in their yards, taping up the instructions, and getting out of there quick! It was a bit of an adrenaline rush. Don’t laugh – not much had been or is going on – so we take excitement where we can get it!
The kids loved it, and again, it was super fun to hear about what they were doing and/or receive pictures of them happy. I hope that during this time you have found ways to connect with others while physically staying apart for their safety and yours. It is definitely a challenging time – a challenging year – but I think it has shown all of us how important the relationships we have are (or are not) and reminded us to nurture them in any way we are able in order to stay connected.
0 Comments
 I'll just start like this. Poster frames are EXPENSIVE. If you've been following along with my blog, you know that's not my style. I either get it cheap or make it myself! We have a lot of posters. Being huge music fans, we have quite the collection. We also love vintage posters featuring interesting illustrations. The palmistry guide poster I created this DIY magnetic poster holder for has been in the back of a cabinet, just waiting for its debut. Well folks, today is the day! To make this project, you'll need the following:
This project is really as short and sweet as you'd imagine. Measure the width of your poster and cut your wood strips to size. You can either size them to the exact width of your poster or leave a little extra wood on the ends. I left about a 1/2 inch on each side of the poster with my strips. Choose which side of the wood you want to face out and place that side face down. Start attaching the magnets to the back side so they will line up with each other when it's time to hang the poster.  Snap two of the wood strips to the top of the poster and make a hanger with the twine. I tied my twine to the outside edges of the poster on the wood strips, one of the benefits of letting the wood extend out from the poster just a bit. If you cut the wood to fit the exact width of the poster, you could attach two small screw-in eye hooks to the wood strip that will be flush to the wall, tying twine through the hooks. 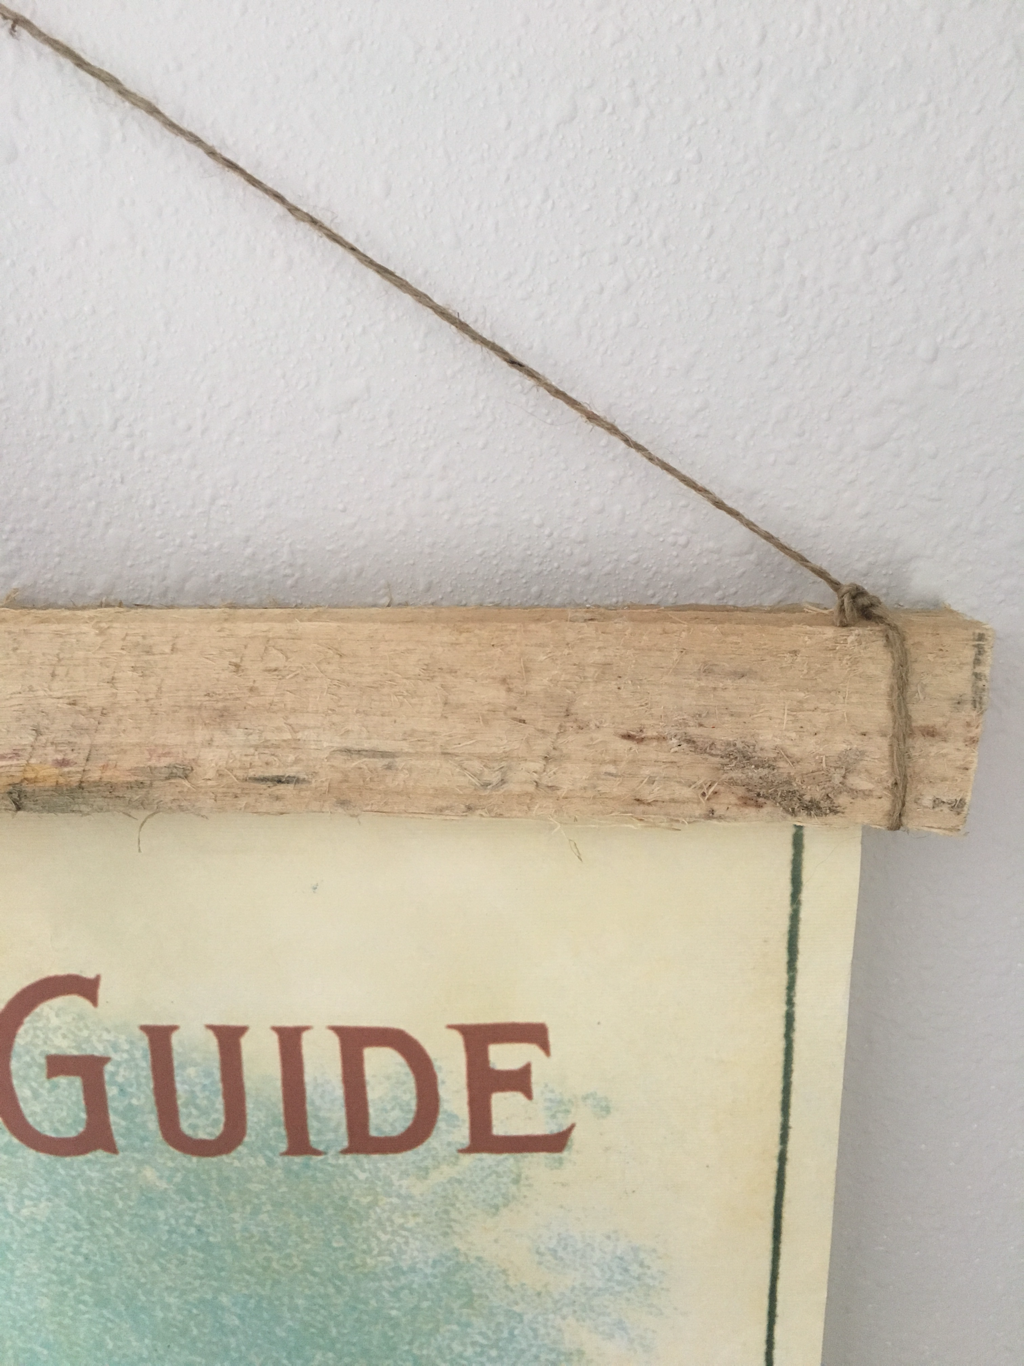 Snap the other two wood strips to the bottom poster and hang on a wall of your choice! I love the rustic look of this poster holder. It fits in with our current décor nicely and saved us a few bucks. Have fun giving this easy project a try!
I love outdoor lighting. Solar lights. String lights. Tiki torches. Even campfires and fireworks if those count! There’s just something magical about it. I like the intimate vibe it adds to exterior spaces. My in-laws just purchased a camper and have enjoyed a summer full of adventures. I wanted to make my mother-in-law something for their camper/campsite for her birthday. She also enjoys outdoor lights, so I thought a colorful LED camping light to set outside their camper would be a great gift! Here’s what you need to make your very own:
Making this light is super easy and inexpensive. First, get your lights ready. The ones I purchased came with batteries and two large, double sided adhesive dots. Insert the batteries and stick an adhesive strip to the bottom of each light. Remove the lid of your container and secure the lights to the bottom. 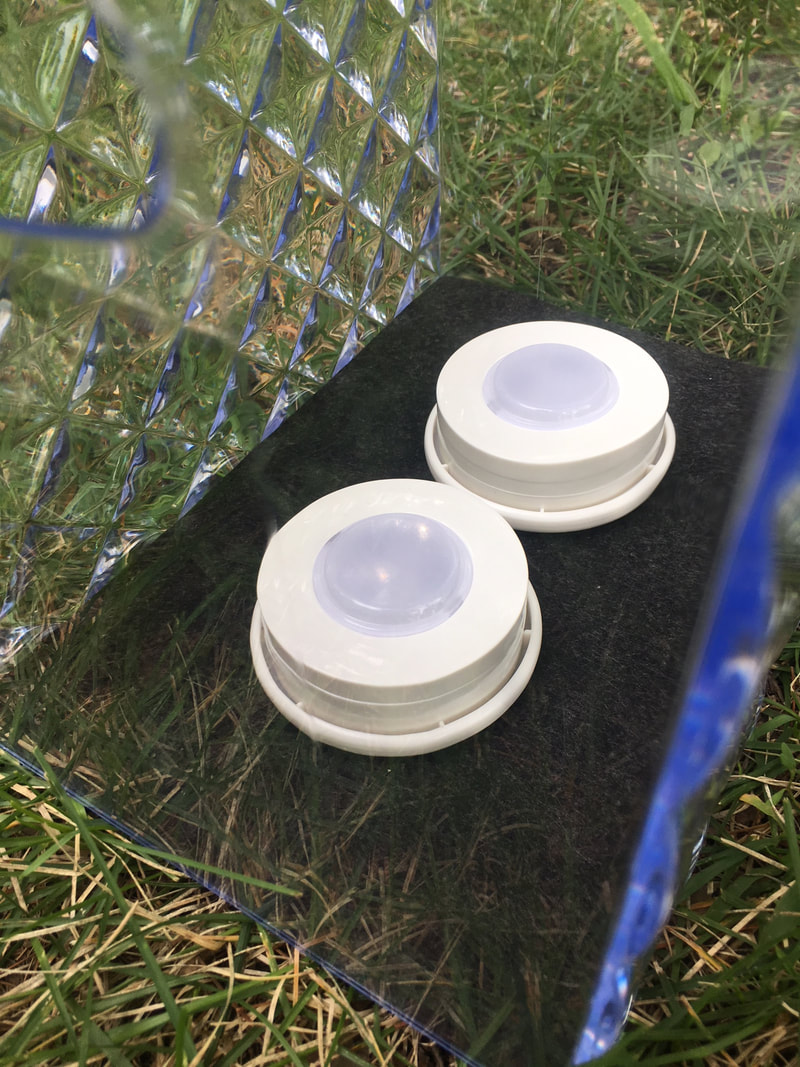 Test your remote to make sure everything works! Try turning the lights on and off, changing colors, and changing themes. I ended up making two camping lights and the great thing about the puck lights I used was that one remote could control all four lights, even though each set of two came with their own remote. 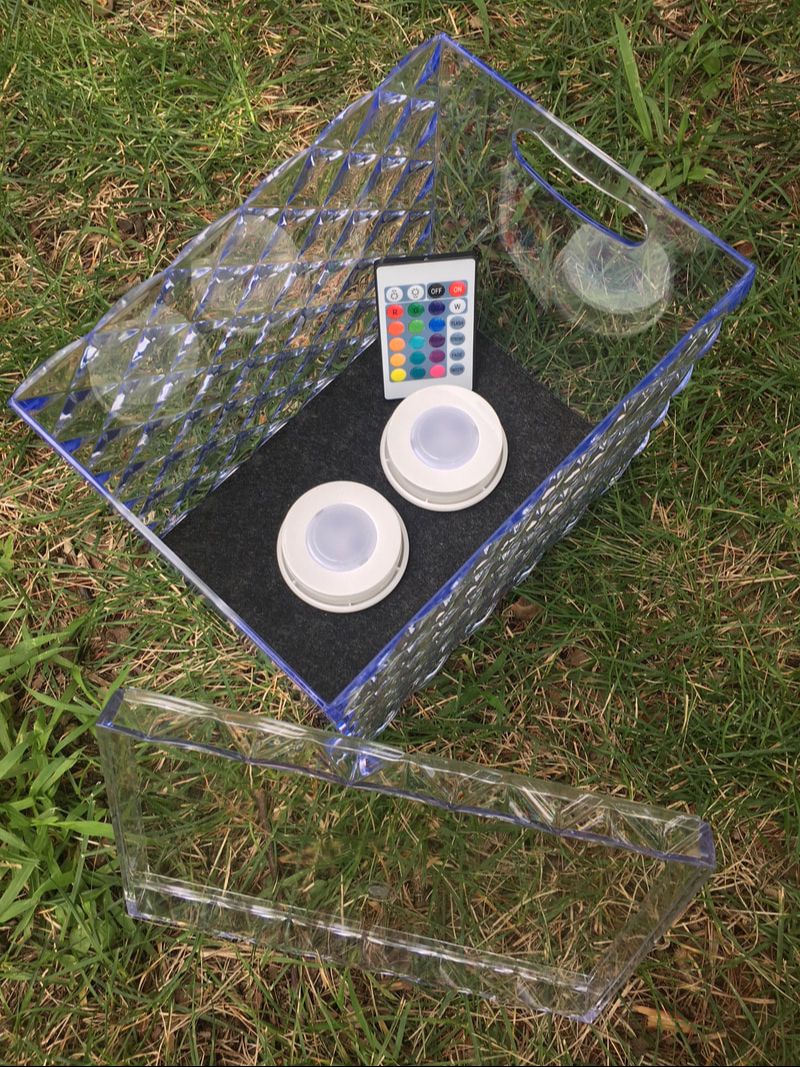 Once you have the lights in place and you know they work, place the lid back on the container. You’re done! It’s time to enjoy. These would be perfect for camping, outdoor décor at home, and even indoor décor if you want to add lighting to a small nook or vignette.  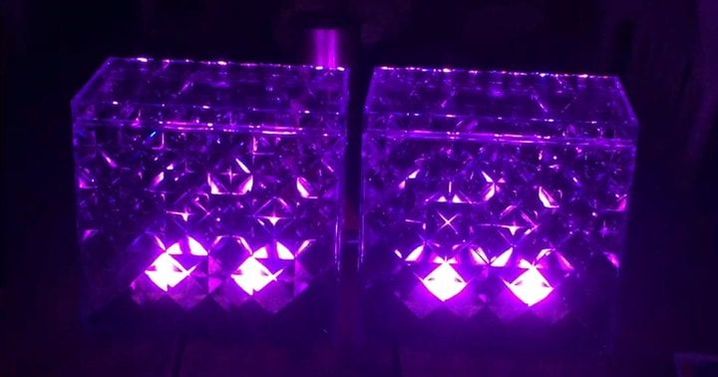 I have been seeing cute little pumpkins made from cloth everywhere this season. I decided not to purchase any because I knew there had to be a DIY option. After some planning on my own and Pinterest searching, I compiled my ideas and created my own version of a no sew cloth pumpkin! What you'll need:
Start by cutting the sleeve off your chosen sweater or t-shirt. 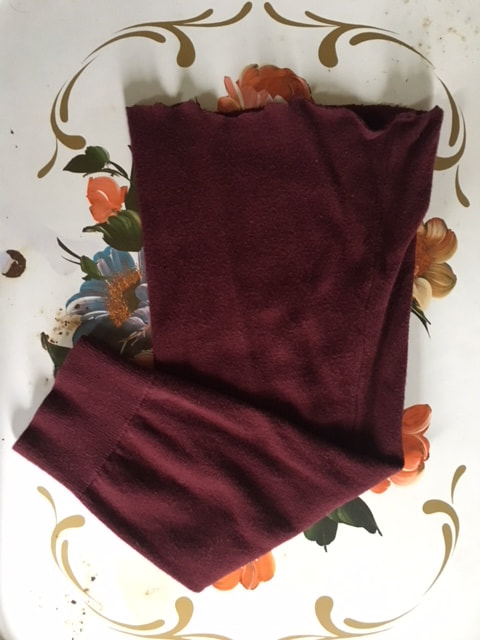 Flip the sleeve inside out and secure a rubber band at one end. 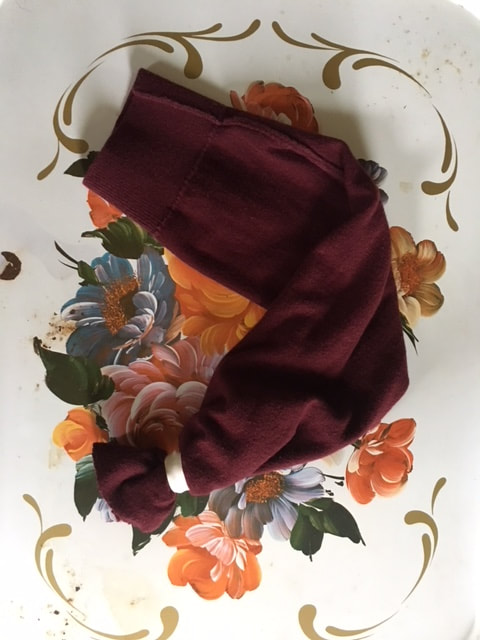 Flip the sleeve right side out and pour rice into the open end of the sleeve. Keep adding rice until you reach the desired shape of your pumpkin. (Good luck not spilling!) 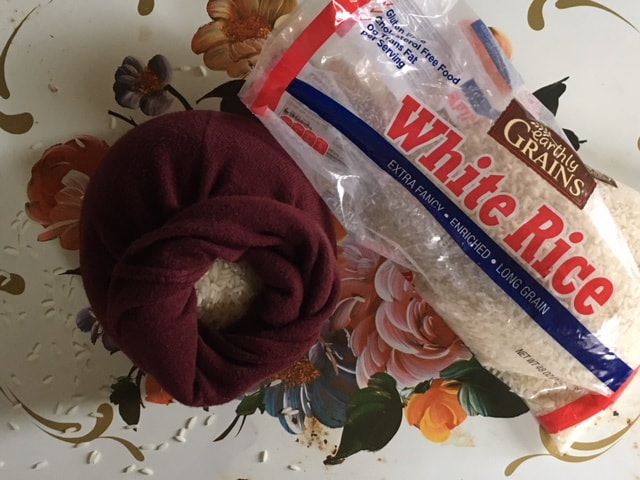 Once you're pleased with how your pumpkin is shaping up, twist the cloth at the top of the pumpkin and secure with another rubber band. 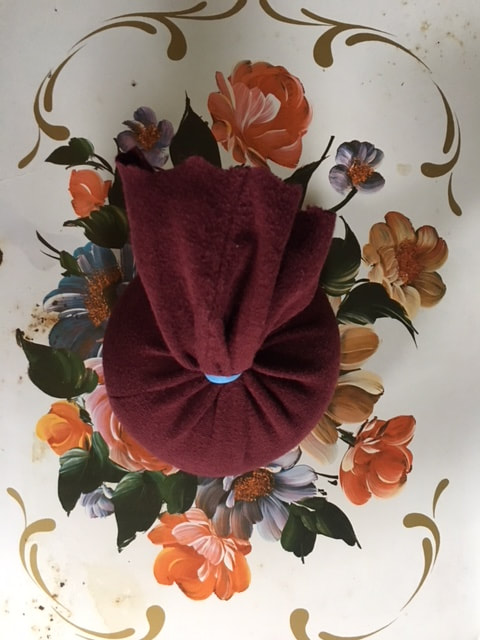 Next, you'll start creating the stem. Starting at the bottom of the rubber band you just put on, start winding twine around the rubber band and fabric, twisting the cloth as you wrap the twine tightly around it.  Once you get to the top of the stem, wind the twine back down to the bottom and secure the end with all purpose glue. 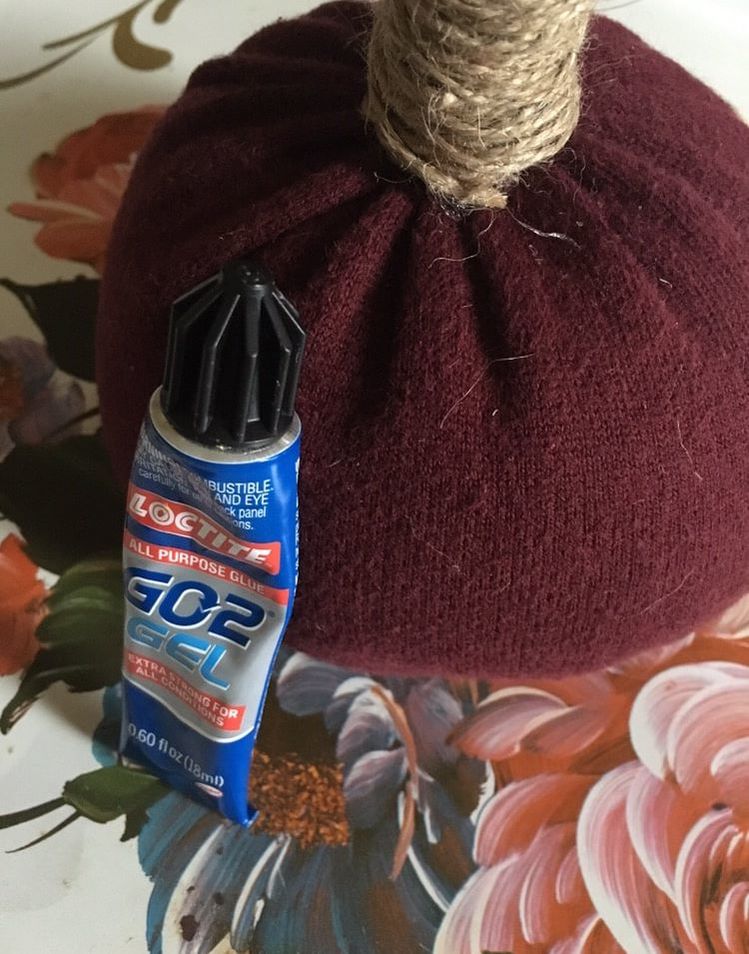 The last thing you'll do is trim the extra fabric from the top of the stem.  I used a men's sweater, a women's sweater and a men's t-shirt (all pulled from our closets) for my pumpkins. The different sizes and fabrics of the clothing pieces created three unique shapes that I liked equally! 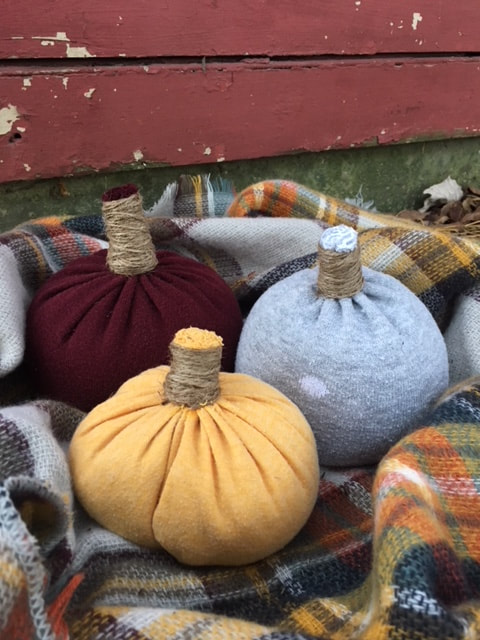 The rice gives these pumpkins nice weight and allows you to shift their shapes so you can style these a little easier than if you were to use Fiberfill for stuffing (which is a technique I ran across a lot for these). It literally took me minutes to pull these together and I loved that this project allowed me to repurpose a few pieces of old clothing!  Once I see a DIY project I like, it's hard for me to wait long before executing it myself. On a recent trip to Cedar Rapids, Joel and I drove through a neighborhood of large homes that we have frequented over the years. One house that always catches my eye has the cutest outdoor décor for every season. They had added an address marker sign on their front porch made from an old window and wooden numbers. The day after seeing their sign, I was searching for the supplies I needed to make one for our home! I was able to complete this project in under two hours and $20. Here's what you'll need:
I found a great old window at Habitat for Humanity ReStore in Waterloo for $5.00. 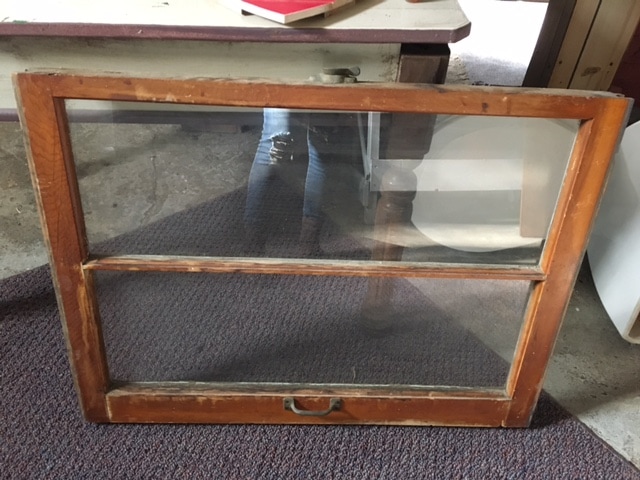 After cleaning up the window, I started working on the numbers. The numbers I found are from Menards and they cost around $3.00 per letter. I started by sanding each number with a sanding block. 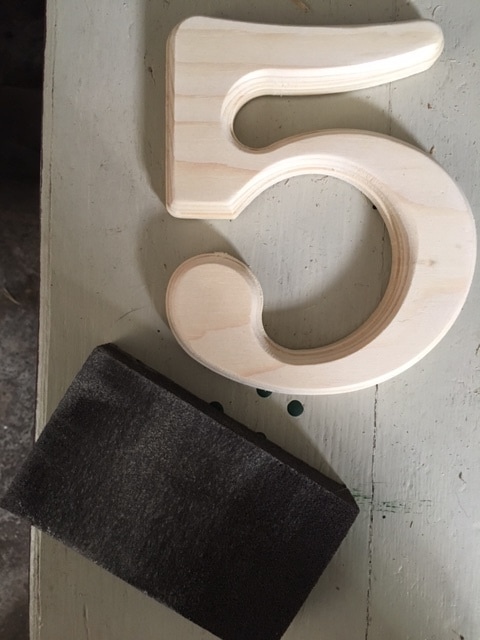 From there I started painting. I used the same yellow outdoor paint that I used on my front and back doors so the sign would match my set color scheme. 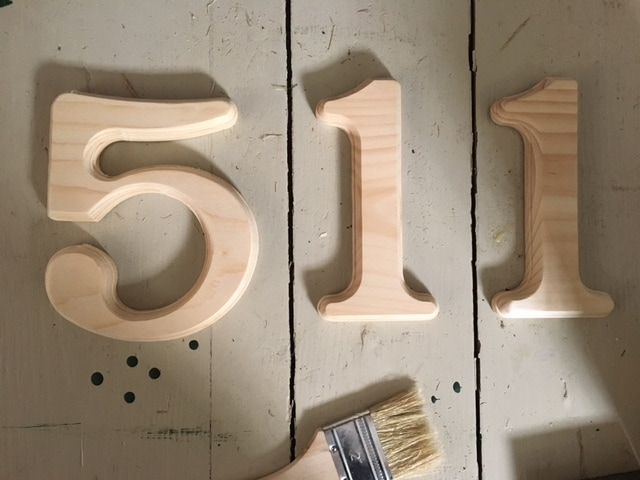 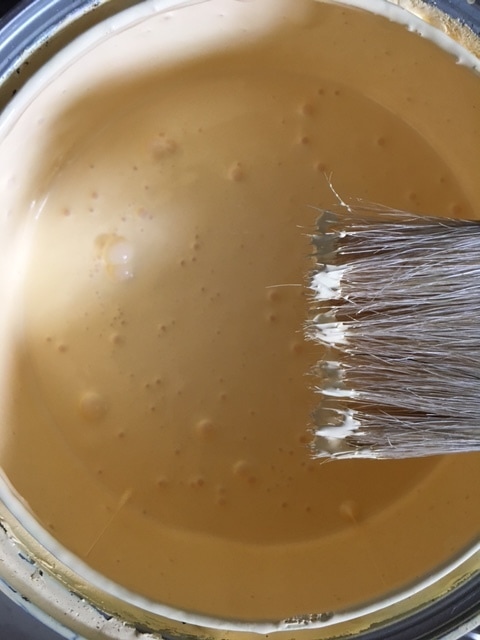 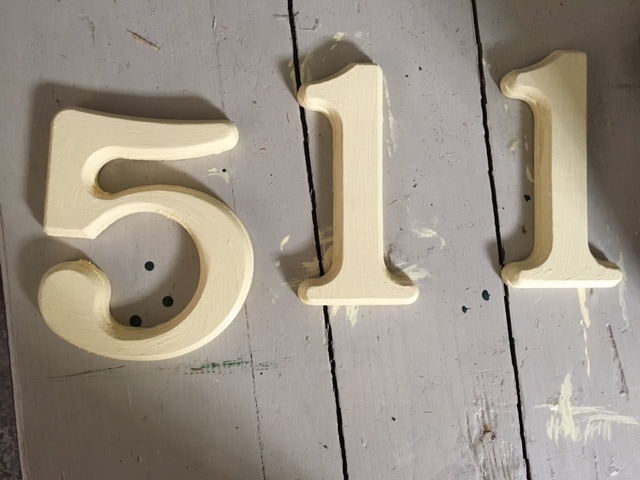 While I let the letters dry, I started painting a design on the upper portion of the window. This part is optional and depends on the type of window you find. The original idea I saw utilized a window frame with four small sections that ran side-by-side horizontally, big enough for one wooden number in each section. Because I couldn't find that type of window, I got creative! 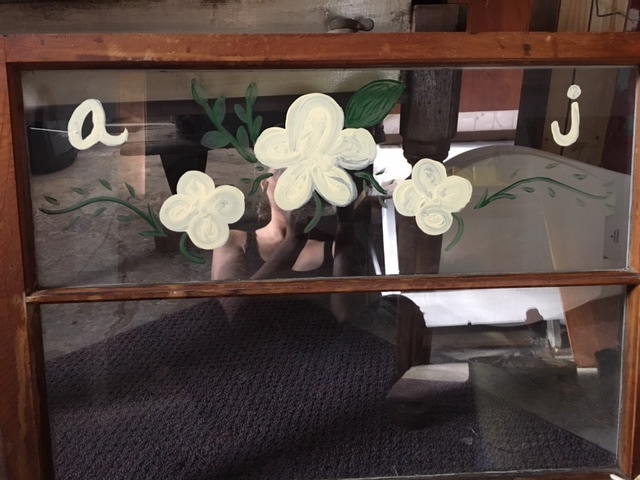 Once I finished painting the upper portion of the window, I started gluing the numbers to the lower portion. I started by using Gorilla Glue, shown in the photo below, but it did not hold up in our cold Iowa weather. I also don't think it's the best for use on glass. For my second attempt at gluing on the numbers, I used Power Grab adhesive. Power Grab requires a caulk gun. Once I had the tube in the gun, I applied a narrow line of adhesive down the middle of each number. 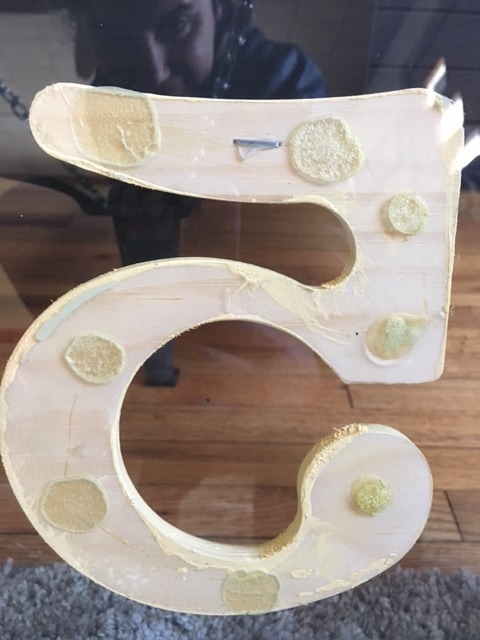 I let the paint and glue dry overnight. Here's what it looked like before I started adding the hardware to hang it up. 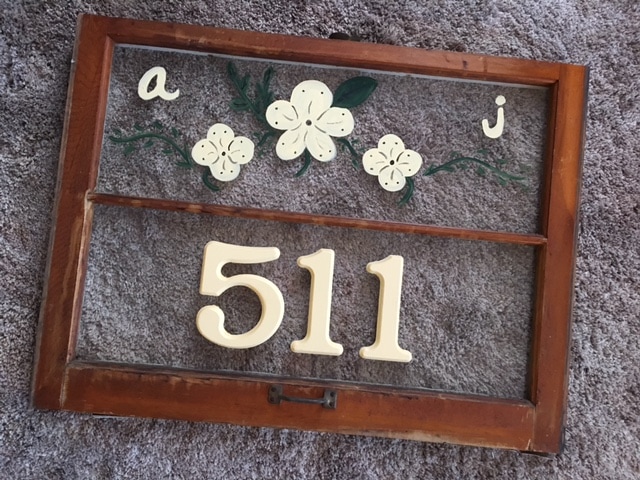 The hardware I used are called screw eyes. I placed two screw eyes on the top of the window and two screw eyes into the wooden beam I chose to hang this piece from.  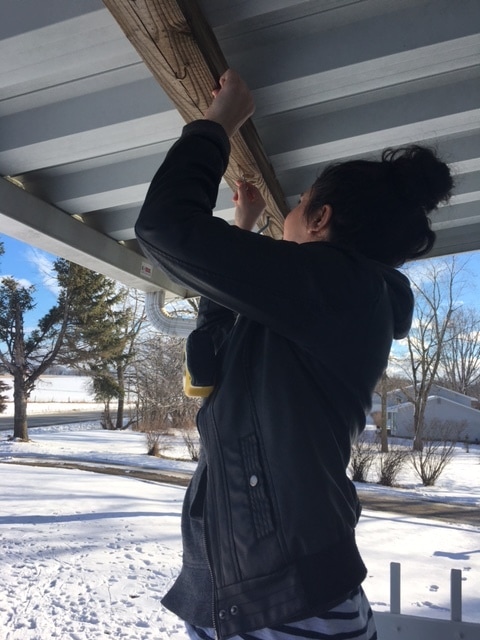 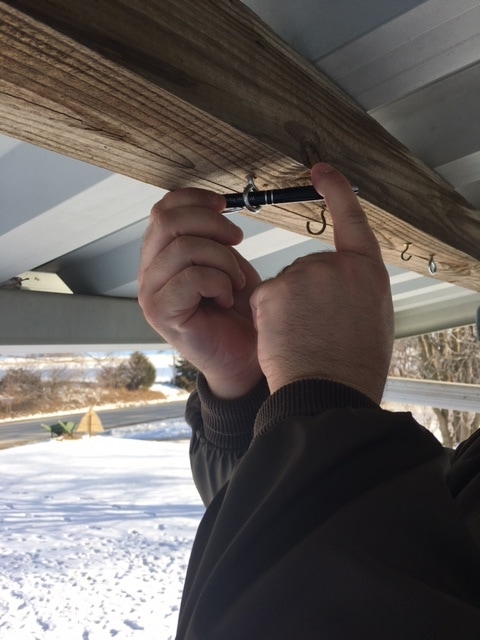 PRO TIP Courtesy of Joel - To help drive in the screw eyes, you can use a screwdriver or pen to twist the screw eye into the wood after you have it started. When it came time to hanging this sign, I used my old friends: zip ties. I love zip ties. You could go a more heavy duty route by using S hooks (which I eventually will), but to get this hung up (due to my excitement of seeing this project finished) I used zip ties. To ensure it was reinforced until I get S hooks, I used three zip ties per side. 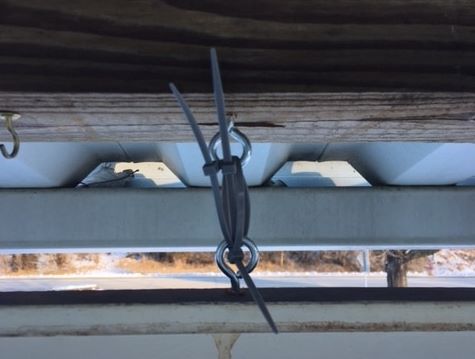 When everything was secure, we stood back to admire our work. This turned out really great and is a nice piece to have hanging when we don't have seasonal décor on the front porch. Here's the finished project: 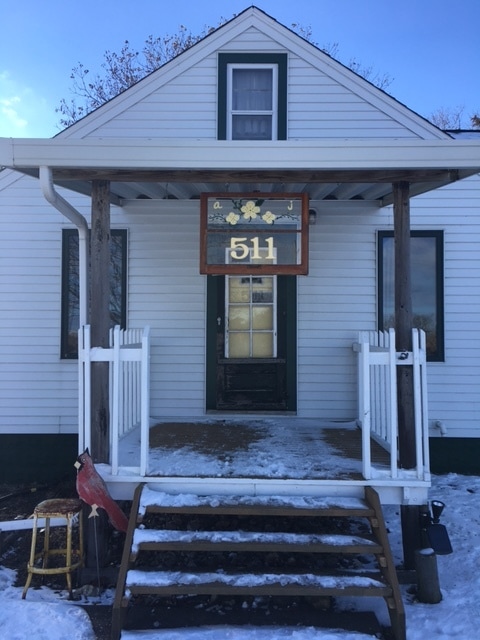 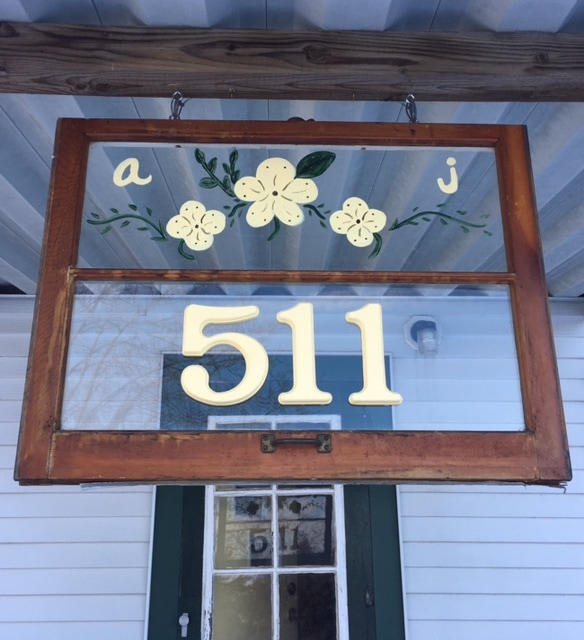 The approaching Christmas holiday inspired a few decor ideas in our household. The project I'll talk about in this post could be used for decorating your home or as a gift for someone else! What you'll need:
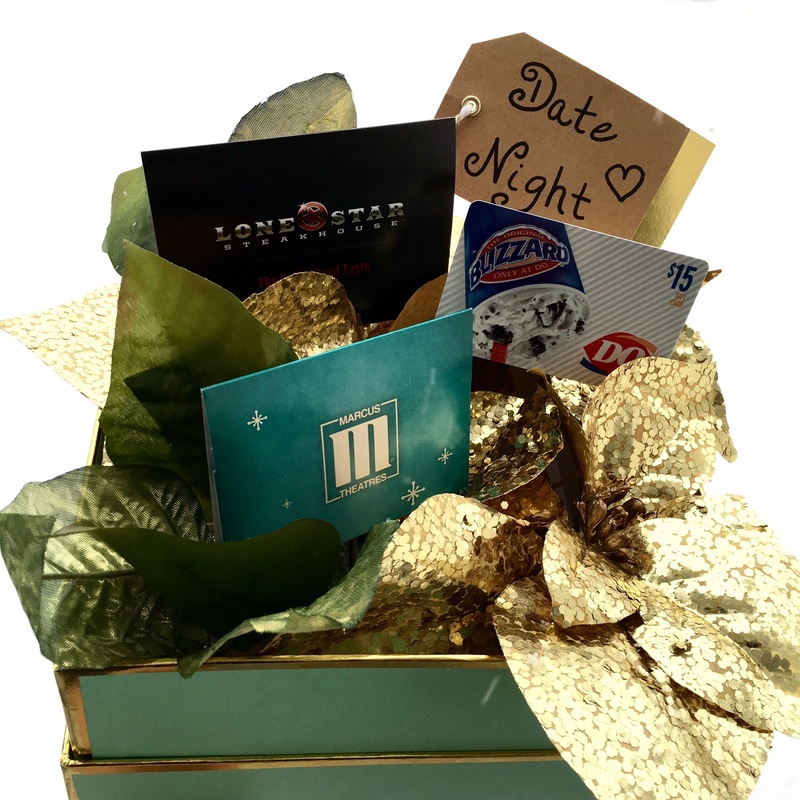
I salvaged a piece of wood that is around 36 inches long for this project. 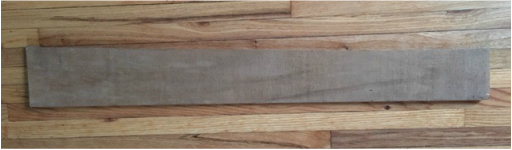 I chose a phrase that was not holiday specific so leaving it up throughout the winter wouldn't be an issue. I like winter decorations vs. Christmas decorations when I can help it to give the decor longer life. I wrote the phrase I chose out with pencil on the piece of wood before I began painting to ensure the spacing and positioning turned out right. 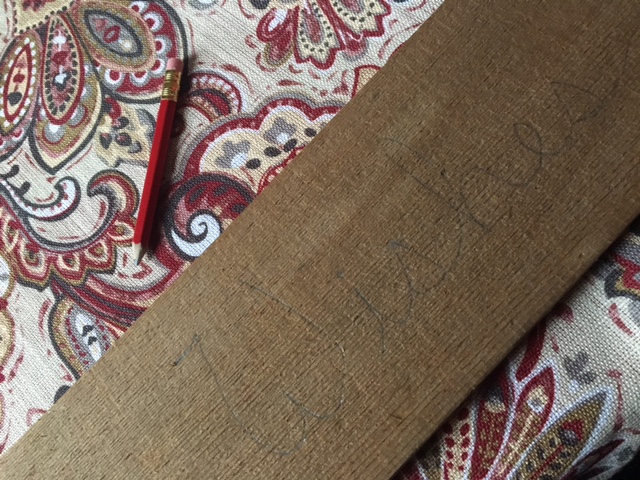 Once I had the phrase as I wanted it on the wood, I used a small paint brush and white paint to trace the pencil lines. After letting the paint dry, I hung the sign up with 3M adhesive strips with Velcro so I didn't damage the wall/create unnecessary holes for something I knew would only be up for a few months. This project took me less than 10 minutes to complete and cost me $0 because I had the supplies I needed on hand. If you needed to purchase supplies, it would easily run under $15, much less than what you would pay for an already completed sign like this in a store. Doing it yourself allows you to choose the saying, create the look, and have a personal connection to the piece - which makes it even more special if you choose to give something like this as a gift to someone you care for! Here's the finished product in its wintertime space, just below the "clothespin line" I will hang our Christmas cards from: 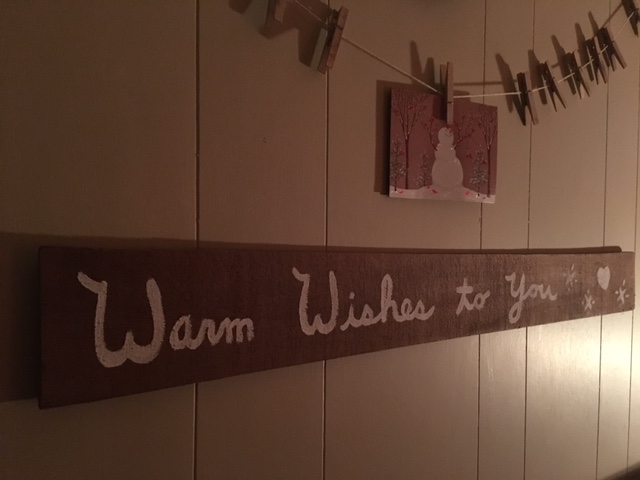 I'd love to give more homemade gifts, but that's not always possible. When I do get the opportunity to take the time for a homemade gift, I spend a lot of time on the presentation. This year, I made "Date Night" gift baskets for Joel's dad and step-mom, as well as for my parents. Both couples were so thrilled with this gift that we were thanked several times! Follow these steps to make your own "Date Night" gift basket: Materials:
 |
Archives
August 2022
Categories
All
|
 RSS Feed