|
Since Spring refuses to show its face outdoors here in Iowa, I decided to start my own Spring indoors by growing seedlings! This is the first time I have ever attempted to grow my own seedlings indoors. I have tried starting seeds outdoors unsuccessfully because I couldn't keep them moist enough. Normally, I buy everything I need for my gardens from a nursery or hardware store. The plants are hardy and ready to get in the ground. This year I want to see if I can create a "full circle" garden by starting the seeds, planting the seedlings, harvesting veggies from the plants, and preserving the veggie seeds for seedlings next year. My fingers are crossed really hard that this will work - but we'll see! Because I didn't know how successful I'd be with seedlings, I didn't want to spend a lot of money to get started. That's why I went the eggshell route. So far, it has been a good option for me. Here's what I am using for my seedlings:
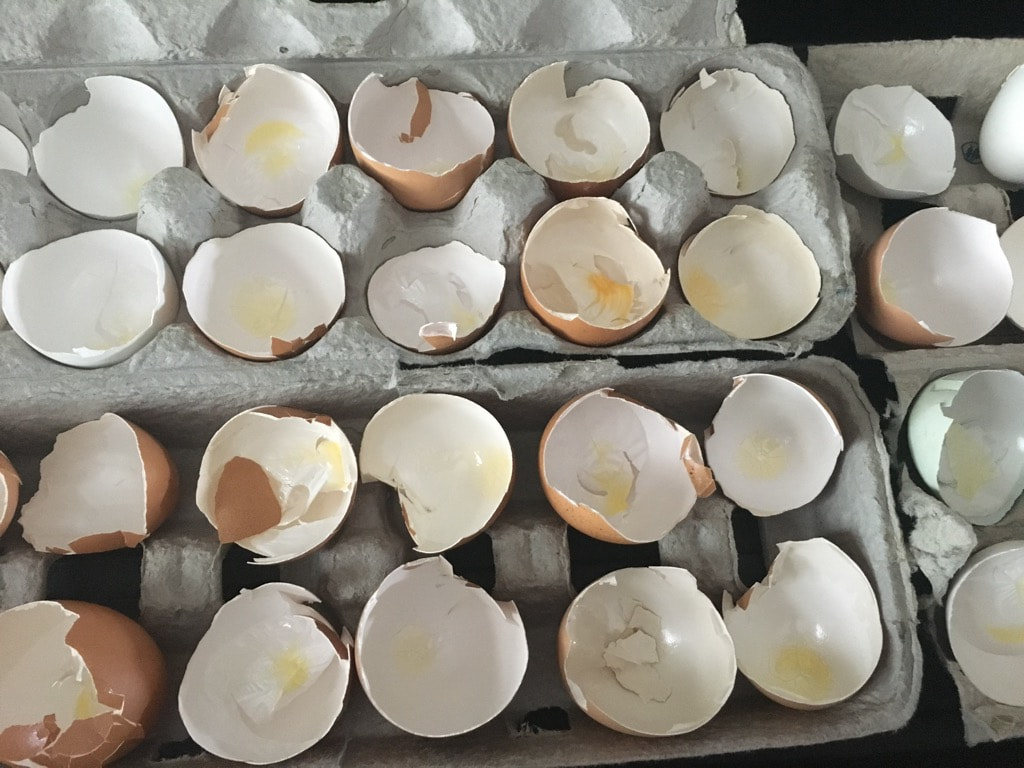
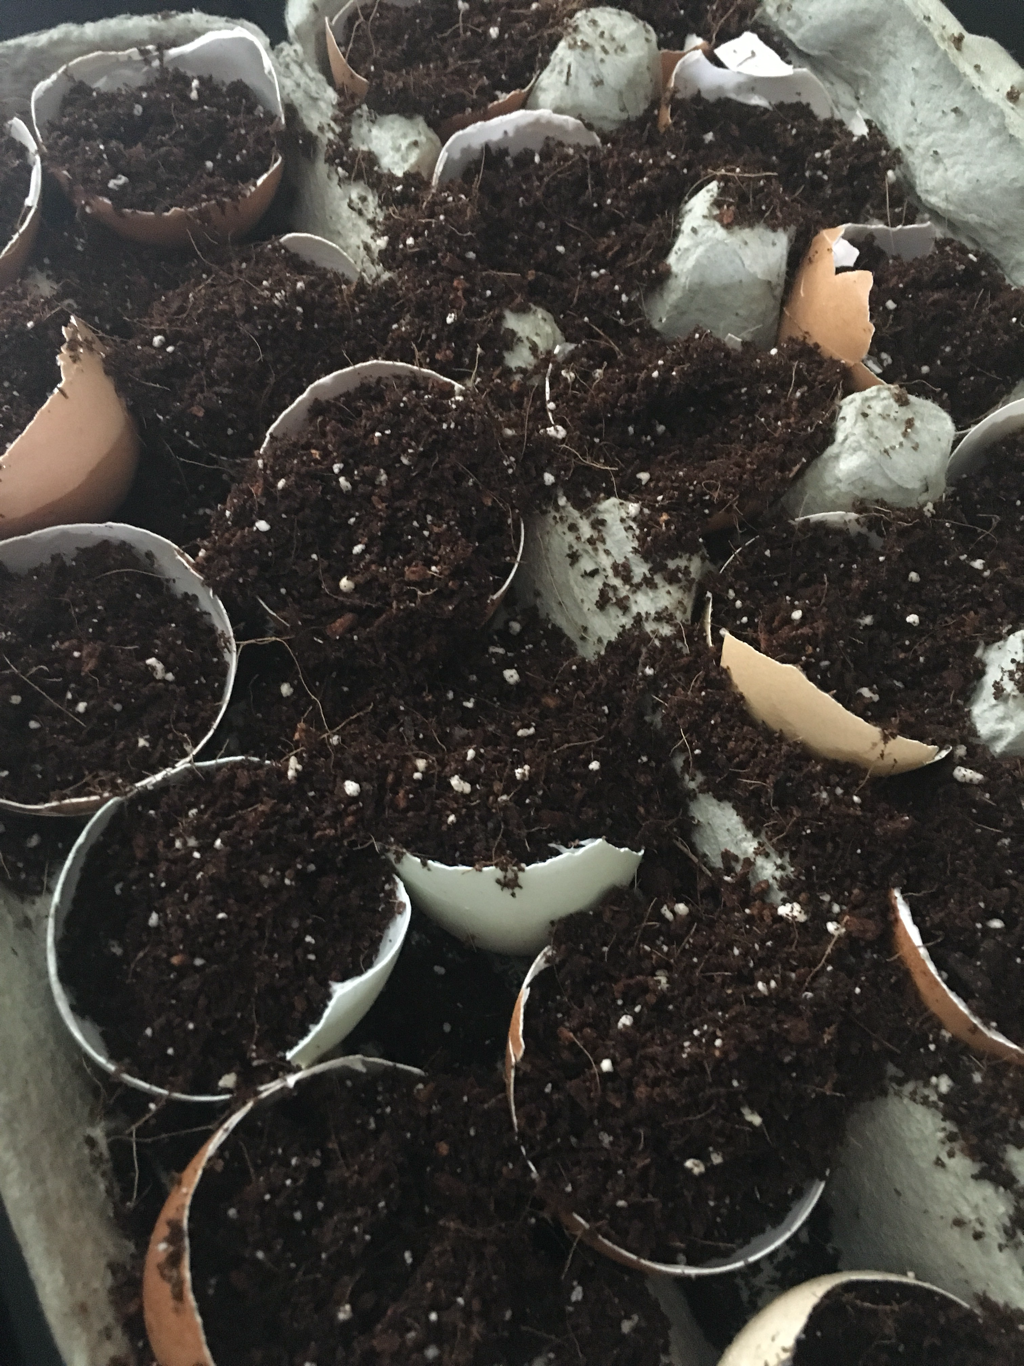
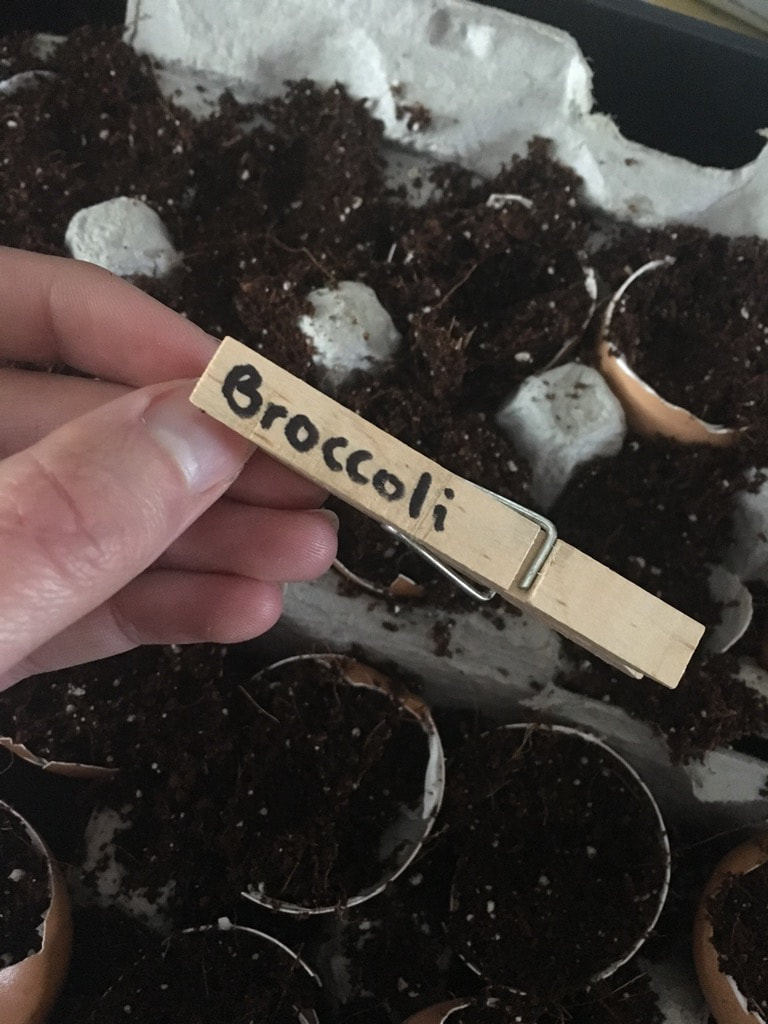
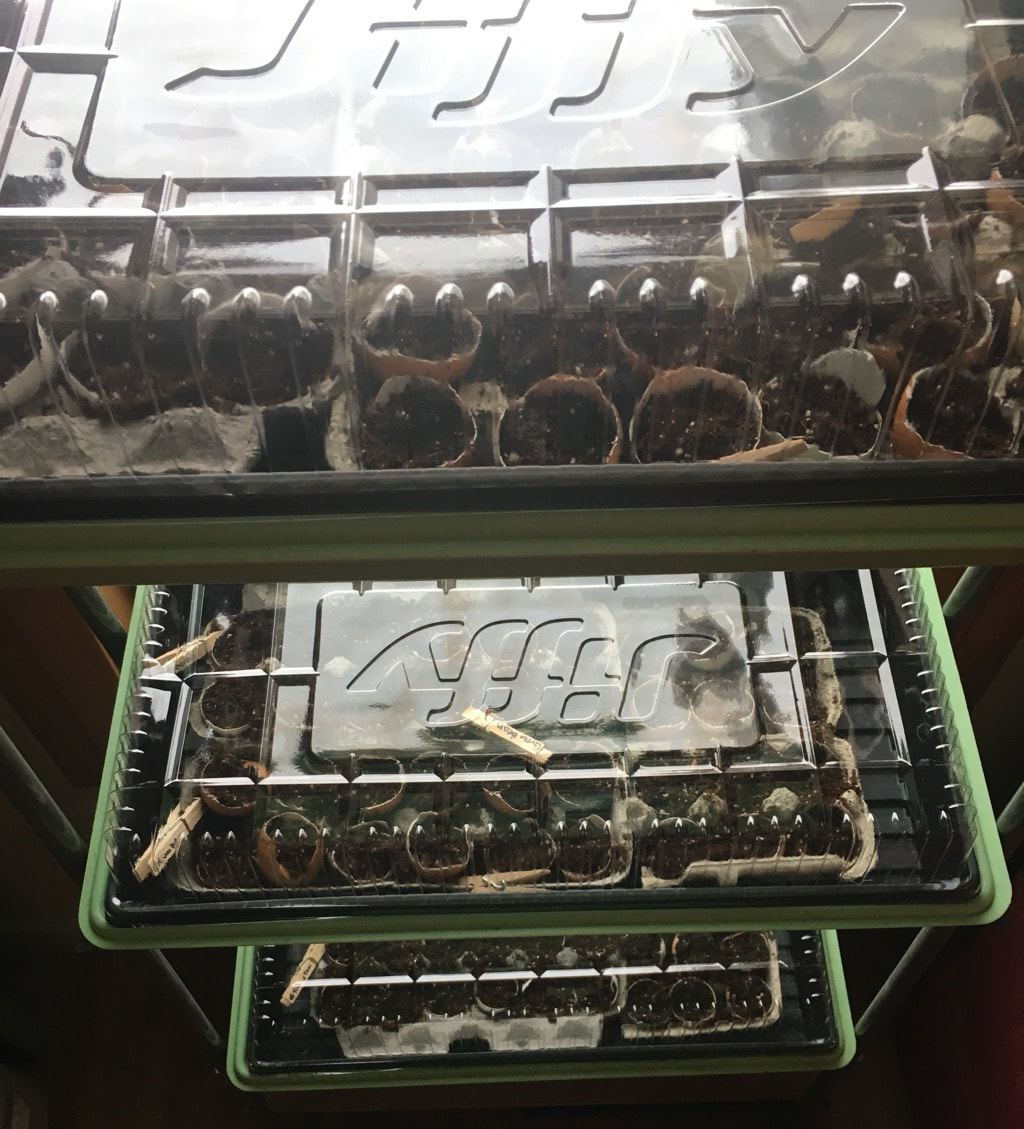
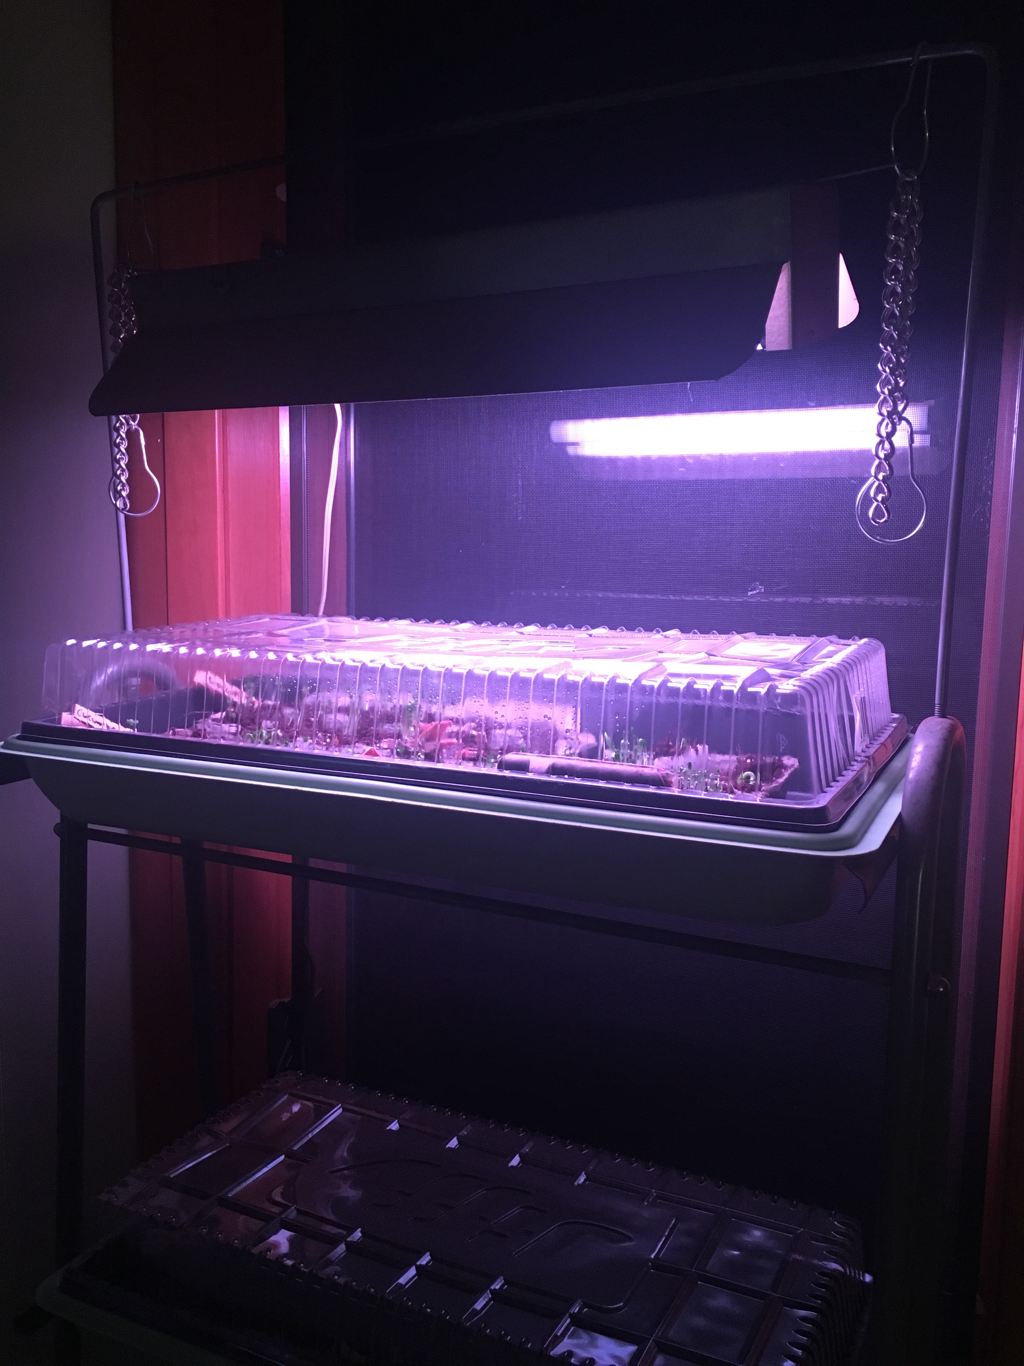
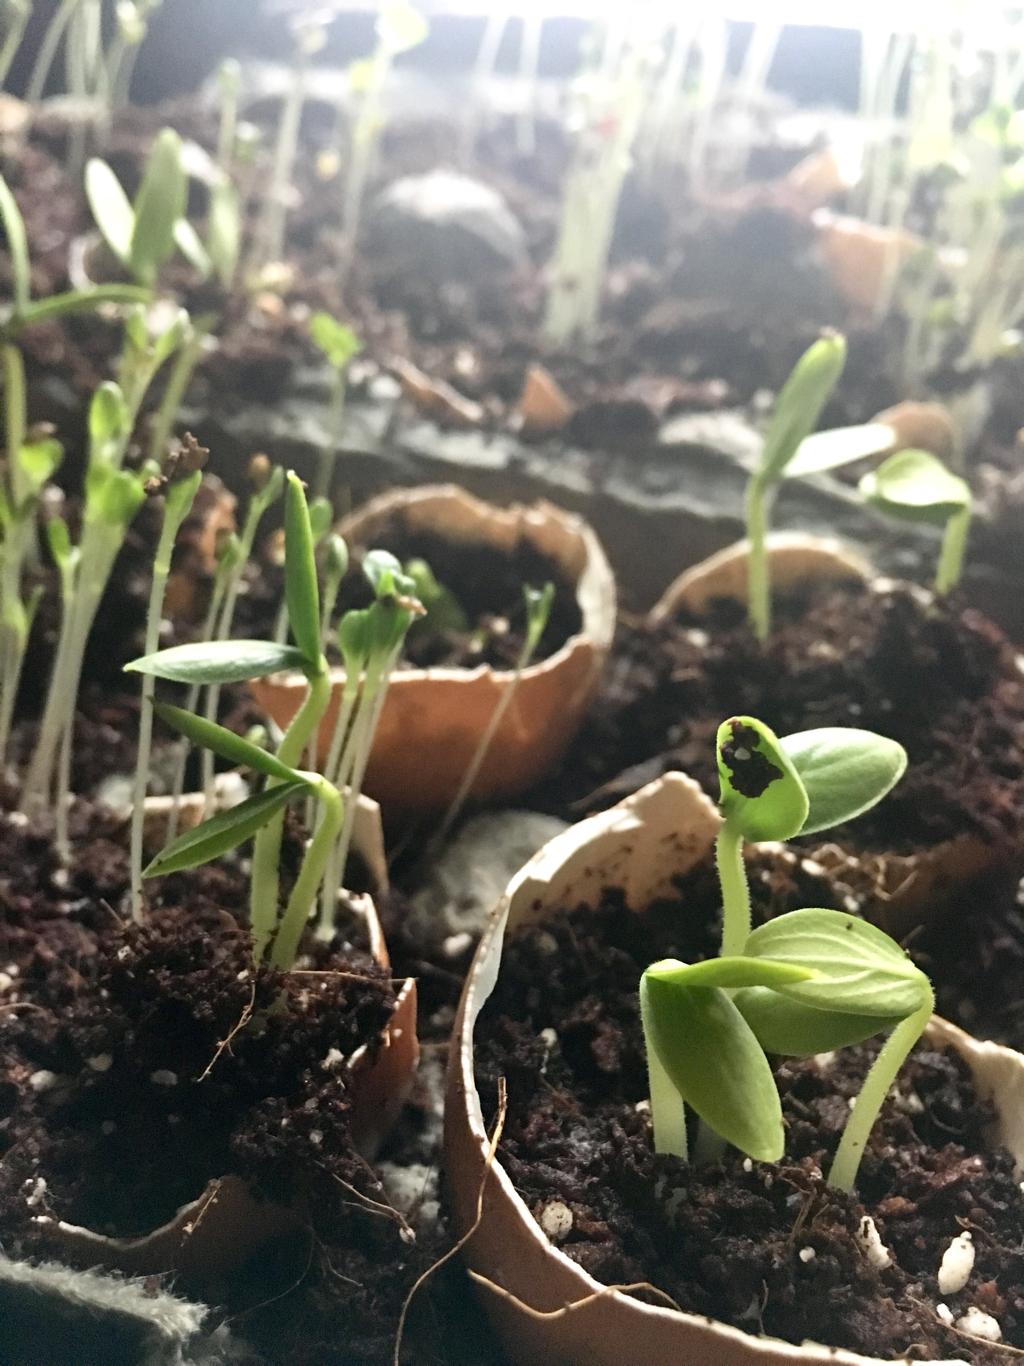
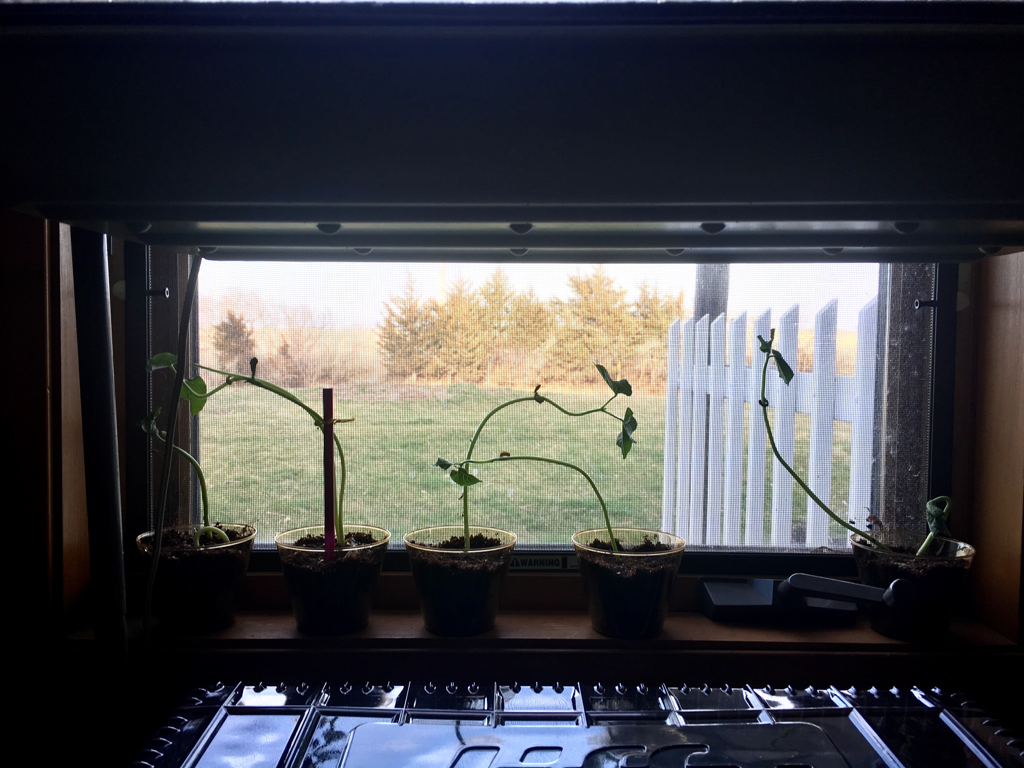
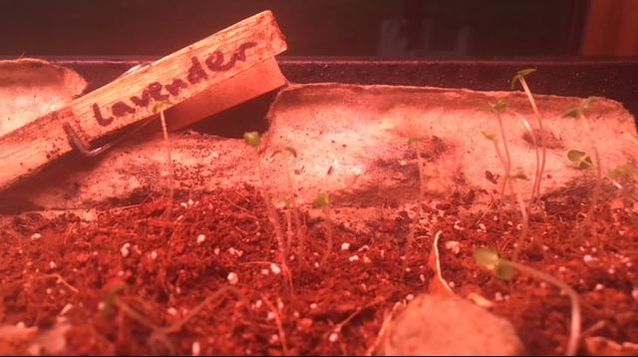
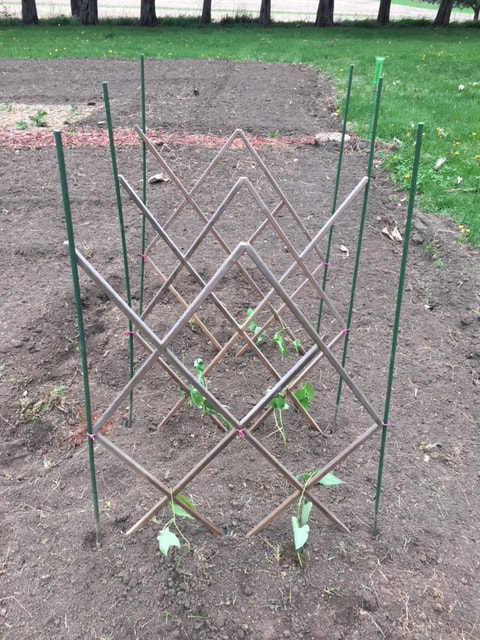
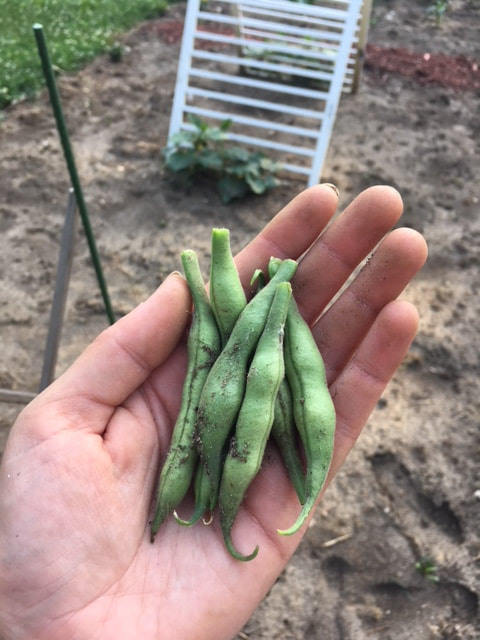
Step 1: Gather & Rinse Eggshells I started three long trays of seeds. This required 4 1/2 dozen eggs. I was able to fit 1 1/2 egg cartons in each tray, equaling 36 pods for seeds. Be sure to rinse out the eggshells. After rinsing, I placed each eggshell half back into the egg carton to dry and prepare for the next step. Step 2: Add Dirt & Seeds I filled each eggshell half about 3/4 full of soil, planted the seeds as directed on the packet, and sprinkled a little more soil over each eggshell. I then soaked the soil and seeds with water. To identify what I was growing, I wrote with a Sharpie on clothespins and clipped them to the sides of the cartons. Step 3: Fill Trays & Find Some Sunshine You can get creative with whatever you choose (or choose not) to hold your egg cartons in. I purchased seed starter trays from Menards with a clear, domed lid for my cartons, but I read online you could simply cover your cartons with plastic wrap. You'd probably just want to set your cartons on something because if you're using a non-Styrofoam carton, it will get soggy. Whatever you choose to do, just make sure you have something to help create humidity so the seeds can germinate. Once you have the eggshells situated, find some sun! Or at least some good natural light. We don't have a lot of places in our house for this, so I had to do some rearranging to make it work. My grandma gifted me with my great grandma's grow light plant stand and I positioned it in the front/east side of our house in front of a large window. In the evening, I turn on the grow light for a little extra exposure. Step 4: Rotate Trays & Water Occasionally The way I'm growing my seedlings is based a little on online research and a lot on my own instincts when checking in on my trays. I rotate trays every other day to make sure they're getting equal light both through the window and from the grow light at night. I also turn them around once in a while so different sides of the sprouting seedlings are getting the light they need. I soak the soil good once a week. I check in between watering to make sure the top layer of soil is wet. If it seems dry, I spritz with a spray bottle. You don’t want the soil to be too wet for too long, otherwise you are at risk for mold and root rot. Step 5: Whisper Kind Words & Enjoy I truly believe that speaking kindly to plants helps them grow. So when I'm checking on the seedlings or feeling proud of how they're progressing, you better believe I'm giving them words of encouragement! I've seen some really promising results in the first week, with a good 50% of my seeds starting to sprout! Here's what my cucumbers looked like at the end of week one. As promised, I'll share more progress photos as the weeks go by! End of week two and I’ve already had to move the green beans into larger containers because they’re getting too tall for the humidity domes! It’s week three and some seedlings are strong while others haven’t come through. The cucumbers are looking good, I’m seeing a new type of leaf sprouting from them. The tomatoes are also coming along. Other items, like the lettuce and herbs have good days, then bad days. Trying to figure out the balance of water, sun, and airing out the trays (when they smell like they may be on the brink of molding). Week four has been a tough one. Some of the little guys I thought would pull through shriveled up...I still haven't mastered the water/sun/airing out ratio. BUT - I did replant some lavender seeds and they're showing their pretty green sprouts! In the middle of week five I planted the green beans outside and they're doing great. My green beans ended up being the sole survivors from my first year dabbling in seedlings. Find out more in this blog post. I'm humbled by the experience and will try again next year! I am still proud of the green beans - they've produced their first few bean pods!
1 Comment
|
Archives
August 2022
Categories
All
|




 RSS Feed