Busy Hands, Happy Heart
|
As I’ve mentioned in previous posts, our kitchen is small. I’m always thinking about how I can use the space we have more efficiently. We had an undercabinet range hood over our stove that was really serving no purpose. You had to plug it in each time you wanted to use it, which required an ugly cord draping down to our countertop outlet. It was large and dark, making the kitchen look even smaller. We're also not huge cooks, so having a hood really wasn't necessary for us. The hood was easy to remove, I just had to take out four screws from the top where the hood connected to our cabinets. 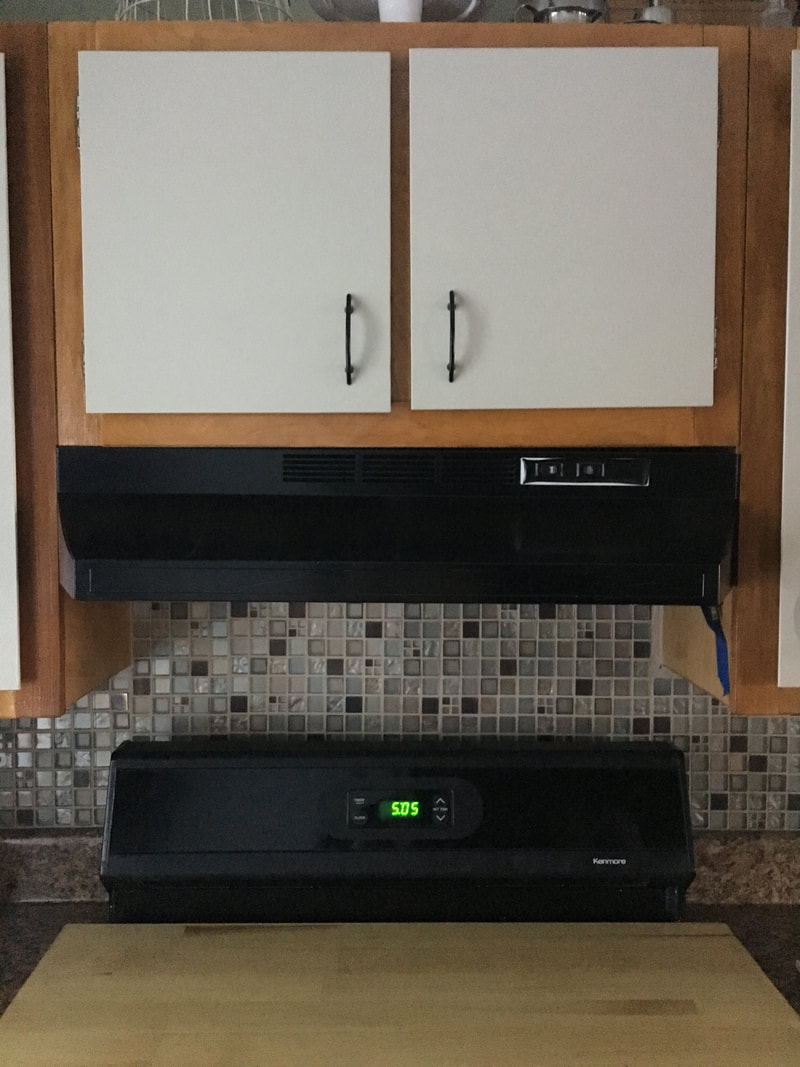 I luckily had just enough kitchen backsplash tile left to patch in the area where the hood was. In my opinion, it’s always smart to buy a little extra tile than you think you’ll need because they will come in really handy in situations like this one. I’ve found that tile styles change fast and it’s hard to find the same tile months down the road if you’re looking to purchase more. Click Here for a step-by-step tutorial I posted about tiling. Applying and grouting tile is one of my favorite projects! 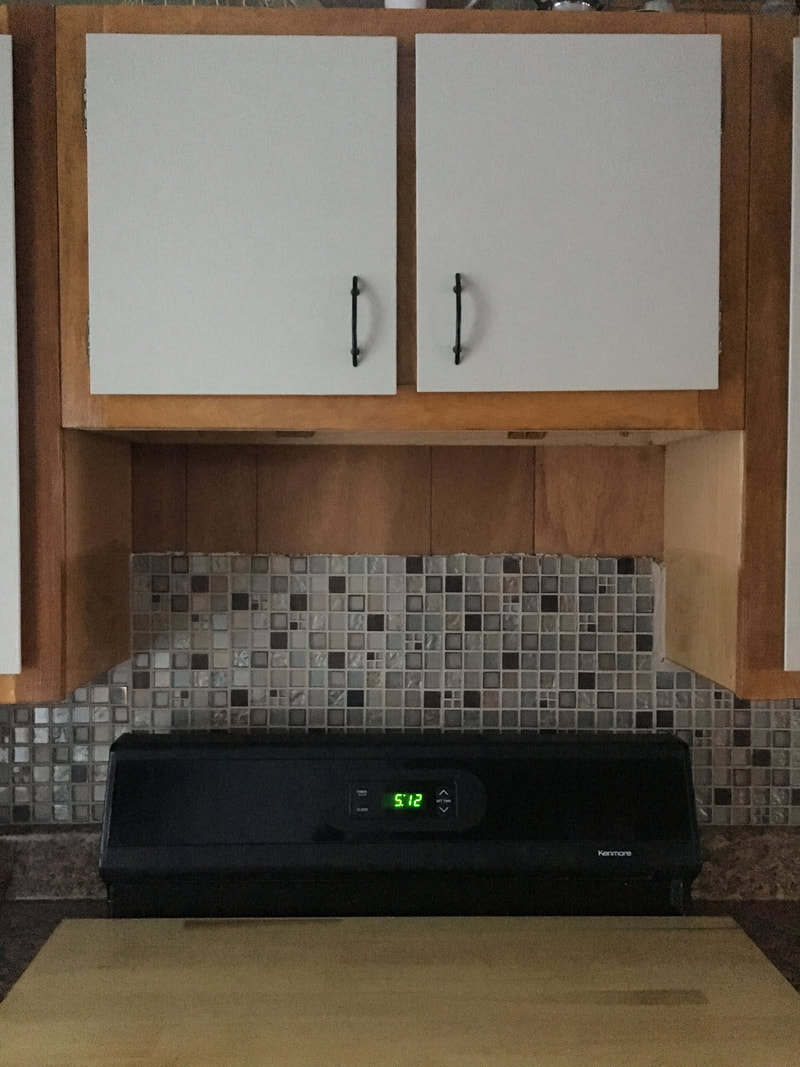 As I was tiling, waiting for the adhesive to dry and then for the grout to dry, I was working on the shelf I planned to put in place of the hood. This is where things get exciting (to me anyway). I discovered “Value Wood” at Menards! 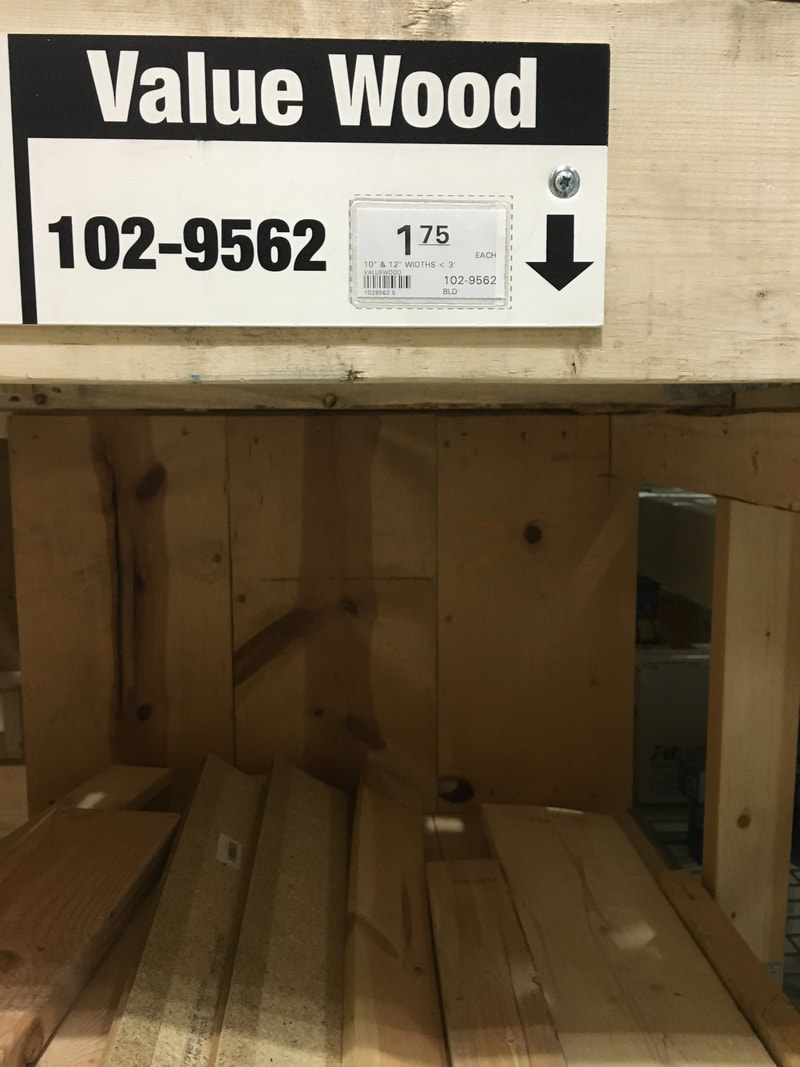 This wood is basically scrap wood - cut, dinged, imperfect – just my style. And best of all – it’s cheap! I ran across a piece of wood for $1.75 that had the best character. It had a sunken knot and was splitting. It was perfect. I applied three coats of stain and satin polyurethane to it, and ended up falling in love with it even more. 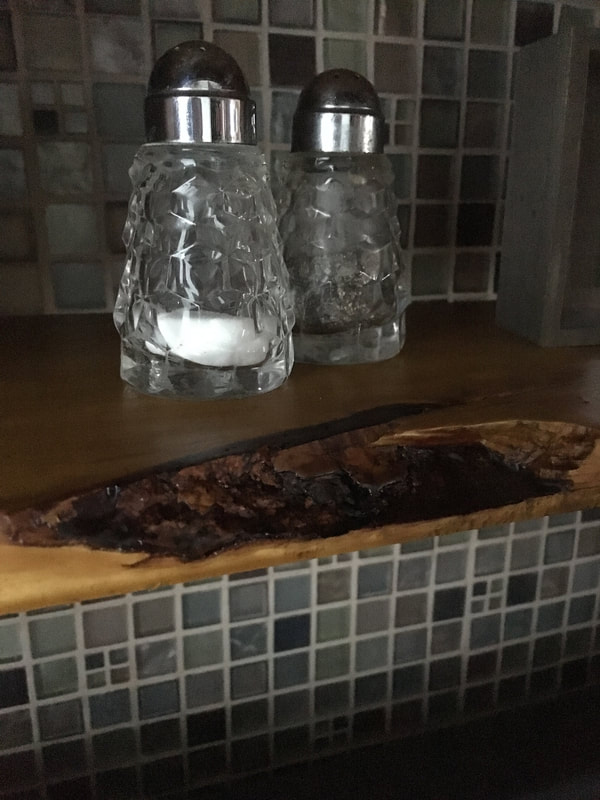 Once the stain and poly dried, I attached two shelf brackets to the bottom using short screws. I attached them in a non-traditional way because I wanted the arches of the brackets to show under the shelf and I knew I wouldn’t be putting anything heavy on it. I really just needed something to hold the shelf in place. I then secured the brackets to the cabinets by predrilling holes and inserting medium length screws. 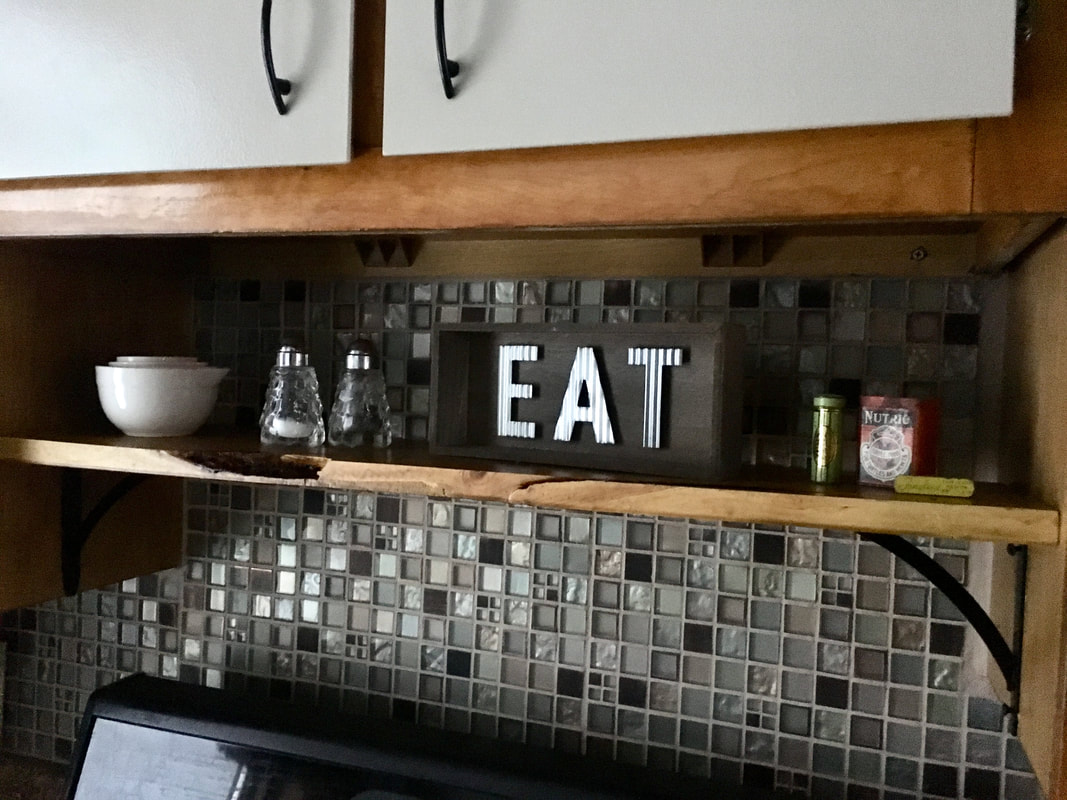 Installing a shelf is a really small thing, so I feel kind of dumb for being so extremely excited about how it turned out. But I’m obsessed. It changed the look of the kitchen completely and gives me a functional shelf that I can use in a variety of different ways.
What is one small thing can you change up that has the potential to make a big difference in the way your home looks and/or functions?
0 Comments
From the moment I bought an old baby crib last year at an estate sale, I’ve been dreaming about the light fixture I’d make out of the mattress spring frame. I used the sides of the crib right away as a cucumber trellis, I’ve now got the mattress spring frame hung, and still have a couple of pieces left to use for some home décor signs. One item, three different types of projects! Always consider the possibilities for what may appear to be “junk.” Here’s what you need for this project:
First, I sanded down any bubbling rust spots and other imperfections on the mattress spring frame. I then wiped it down with a wet cloth and let it air dry. Once it was dry, I spray painted two coats over the entire frame. I didn’t hang the frame for a few days after I painted it, so it had more than enough time to dry.  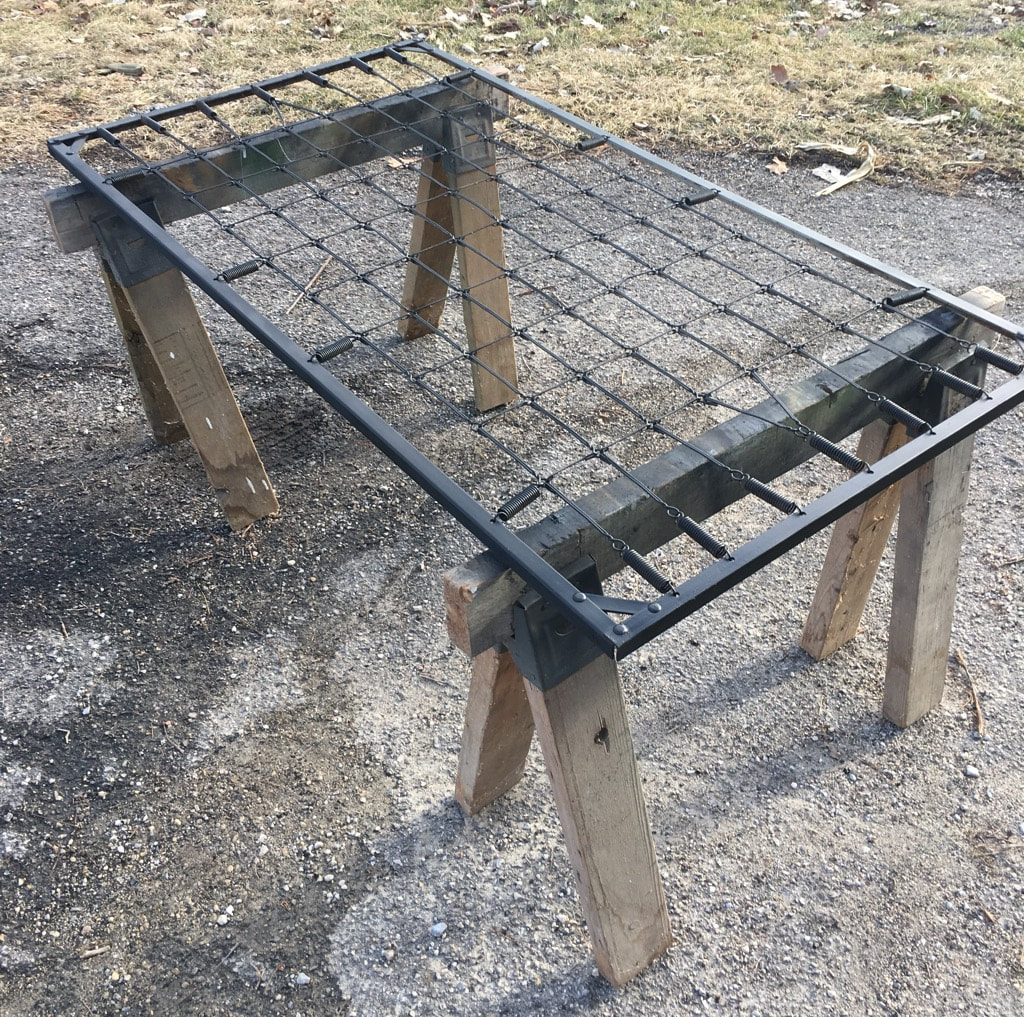 While I thought through the ideas I had for the full light fixture, I installed the light pendant. Unfortunately, the existing light fixture was placed in a poor spot that is very off center in the dining room, but this light fixture idea ended up working out well for where it was placed. Once I had a final plan in mind for where and how I’d hang the mattress frame, I measured out and marked where the swag light ceiling hooks would go. I determined where the marks would go by measuring the frame corner to corner. I didn’t have fancy tools like a laser level to guide me, so I did my best to eyeball my lines. My husband was there as a second set of eyes and we did pretty well! When my lines were marked, I placed the ceiling hooks by simply twisting them into our ceiling panels. 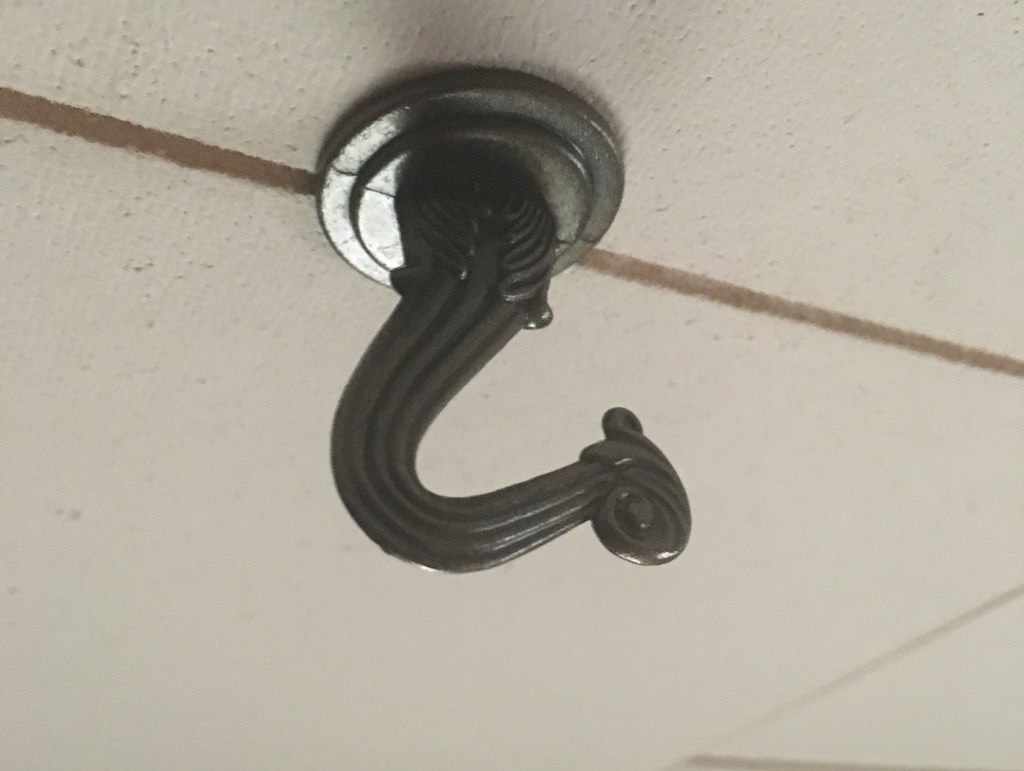 From there I attached loops of wire to the corners of the mattress frame and placed each corner loop over the ceiling hooks. You could also use small link decorative chain in place of the wire for a different look. I was in a hurry to do this (because I was excited) and strong wire was the only thing our small town hardware store had. I may replace it down the road. 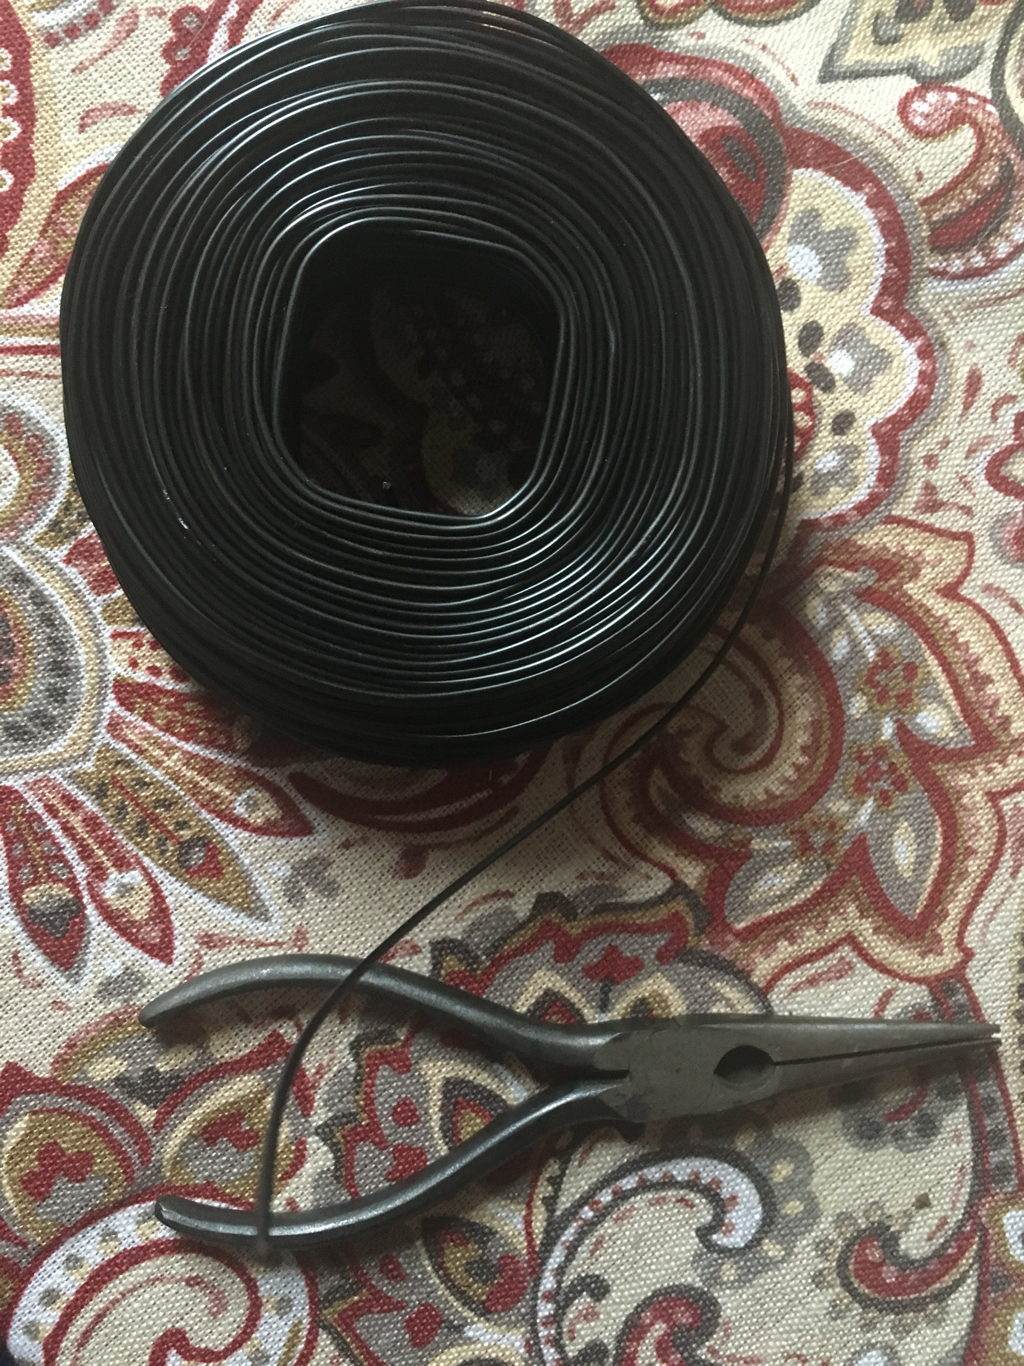 When the mattress frame was securely in place, I “styled” the light bulbs by stringing them through the frame.  The last step was to add Edison bulbs. I used three different styles of bulbs because I love Edison bulbs and couldn’t choose just one style when I had eight lights to fill! I love how this light fixture looks industrial and rustic at the same time. I plan to completely redo the seating in the dining room which will make the space come together even more.   |
Archives
August 2022
Categories
All
|
 RSS Feed