Busy Hands, Happy Heart
|
Once I see a DIY project I like, it's hard for me to wait long before executing it myself. On a recent trip to Cedar Rapids, Joel and I drove through a neighborhood of large homes that we have frequented over the years. One house that always catches my eye has the cutest outdoor décor for every season. They had added an address marker sign on their front porch made from an old window and wooden numbers. The day after seeing their sign, I was searching for the supplies I needed to make one for our home! I was able to complete this project in under two hours and $20. Here's what you'll need:
I found a great old window at Habitat for Humanity ReStore in Waterloo for $5.00. 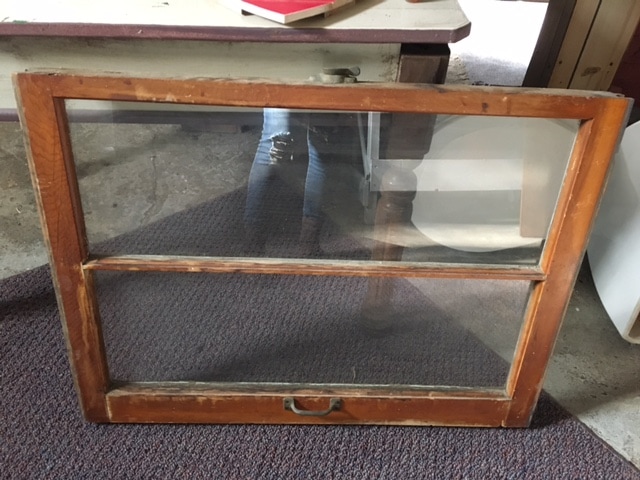 After cleaning up the window, I started working on the numbers. The numbers I found are from Menards and they cost around $3.00 per letter. I started by sanding each number with a sanding block. 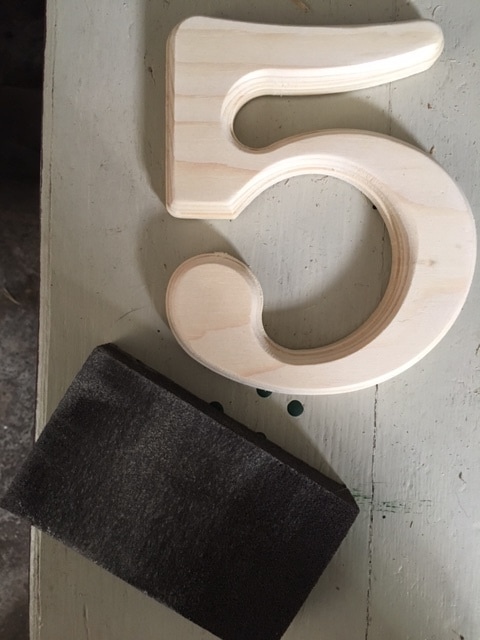 From there I started painting. I used the same yellow outdoor paint that I used on my front and back doors so the sign would match my set color scheme. 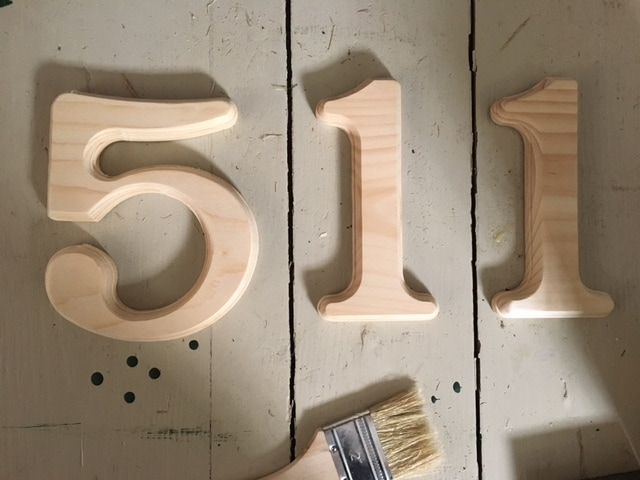 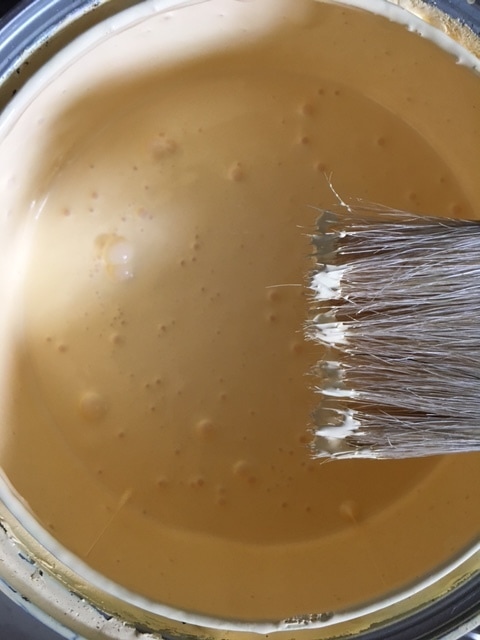 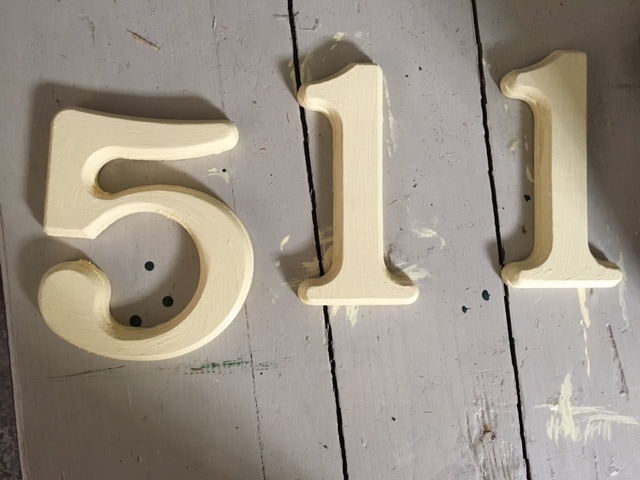 While I let the letters dry, I started painting a design on the upper portion of the window. This part is optional and depends on the type of window you find. The original idea I saw utilized a window frame with four small sections that ran side-by-side horizontally, big enough for one wooden number in each section. Because I couldn't find that type of window, I got creative! 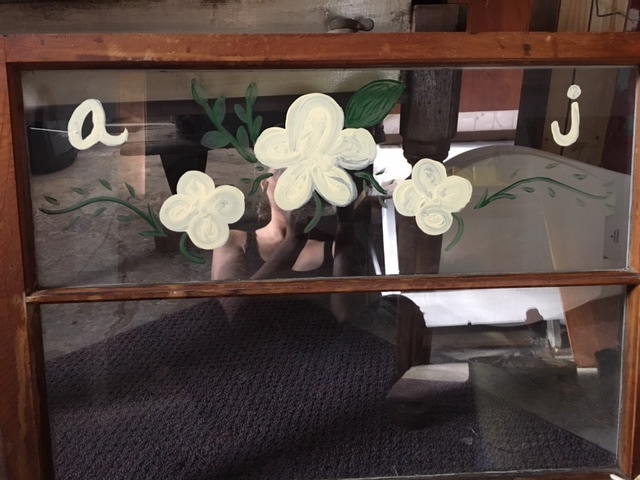 Once I finished painting the upper portion of the window, I started gluing the numbers to the lower portion. I started by using Gorilla Glue, shown in the photo below, but it did not hold up in our cold Iowa weather. I also don't think it's the best for use on glass. For my second attempt at gluing on the numbers, I used Power Grab adhesive. Power Grab requires a caulk gun. Once I had the tube in the gun, I applied a narrow line of adhesive down the middle of each number. 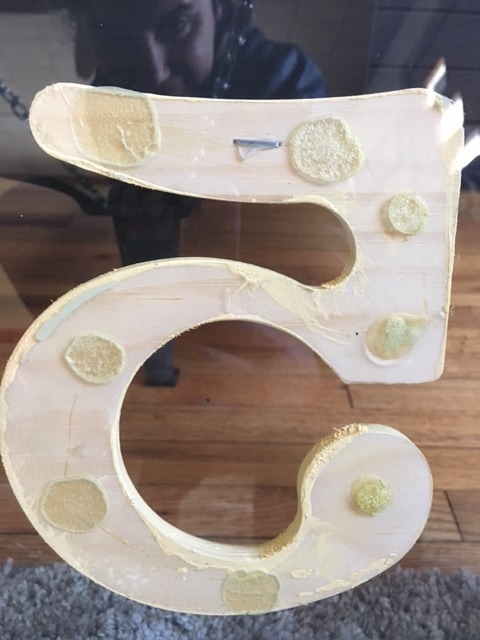 I let the paint and glue dry overnight. Here's what it looked like before I started adding the hardware to hang it up. 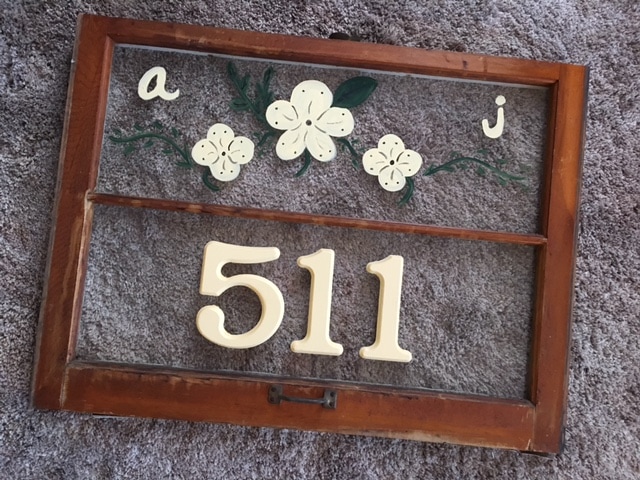 The hardware I used are called screw eyes. I placed two screw eyes on the top of the window and two screw eyes into the wooden beam I chose to hang this piece from.  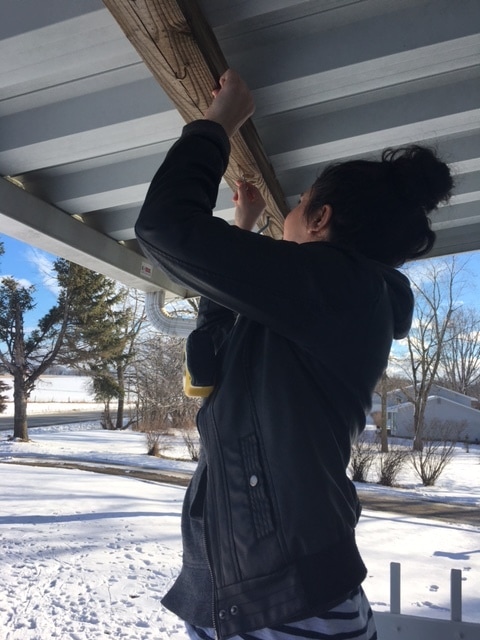 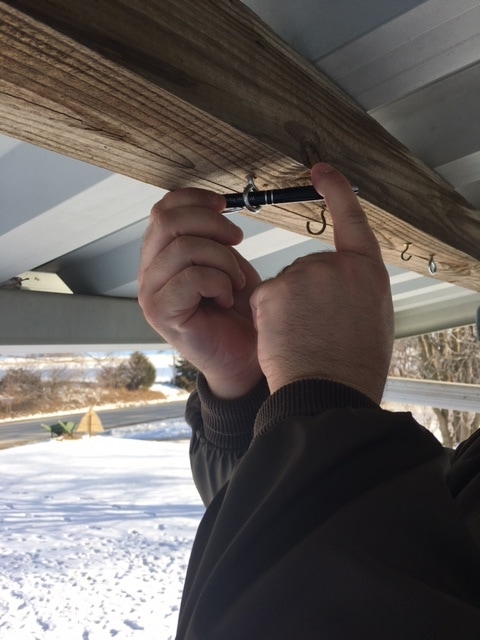 PRO TIP Courtesy of Joel - To help drive in the screw eyes, you can use a screwdriver or pen to twist the screw eye into the wood after you have it started. When it came time to hanging this sign, I used my old friends: zip ties. I love zip ties. You could go a more heavy duty route by using S hooks (which I eventually will), but to get this hung up (due to my excitement of seeing this project finished) I used zip ties. To ensure it was reinforced until I get S hooks, I used three zip ties per side. 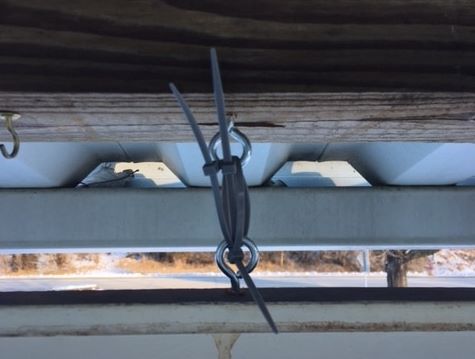 When everything was secure, we stood back to admire our work. This turned out really great and is a nice piece to have hanging when we don't have seasonal décor on the front porch. Here's the finished project: 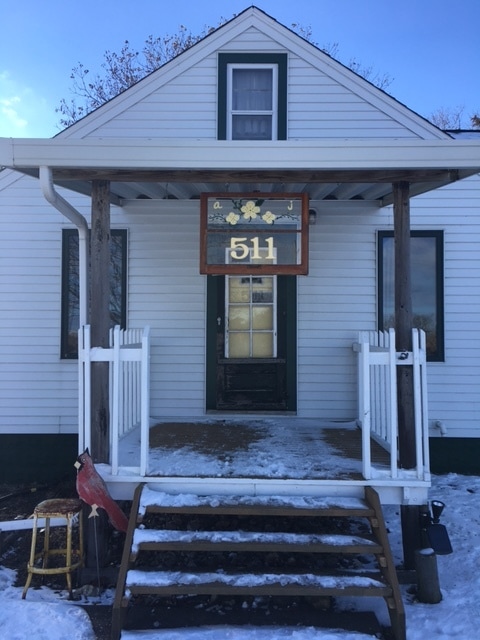 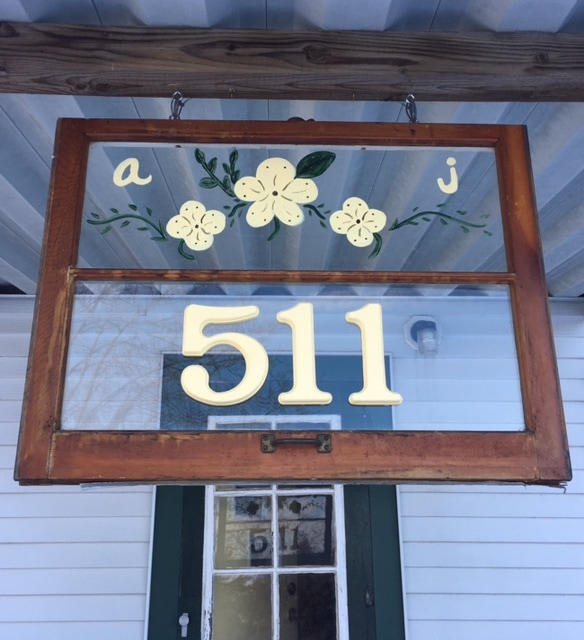
0 Comments
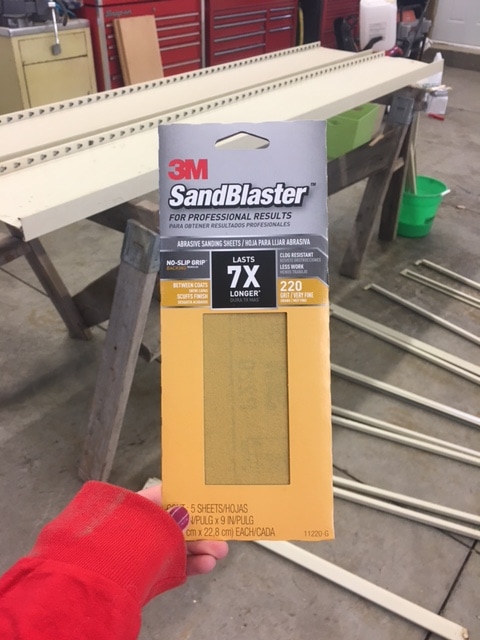
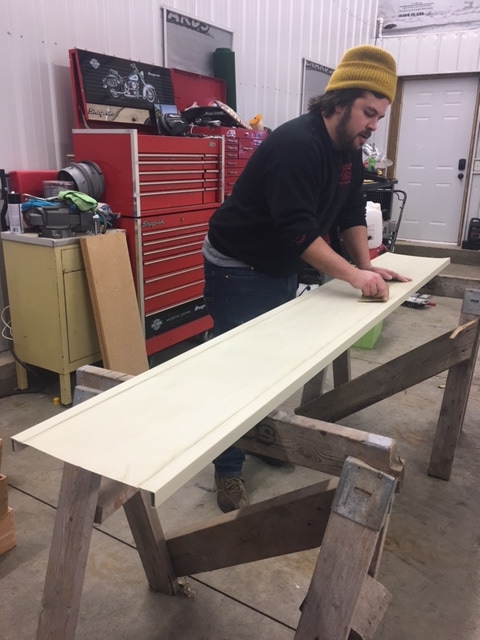
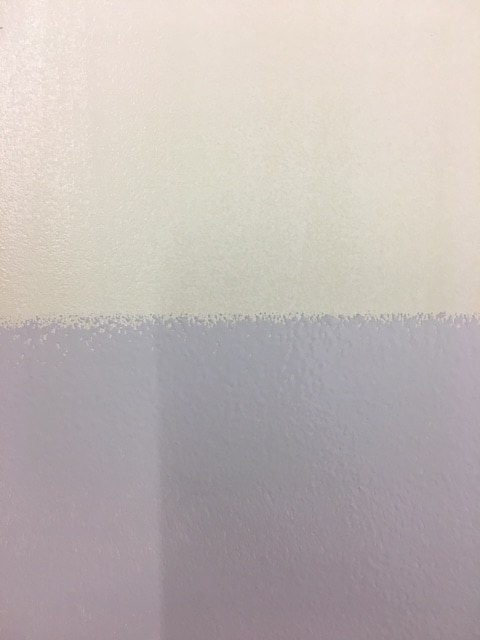
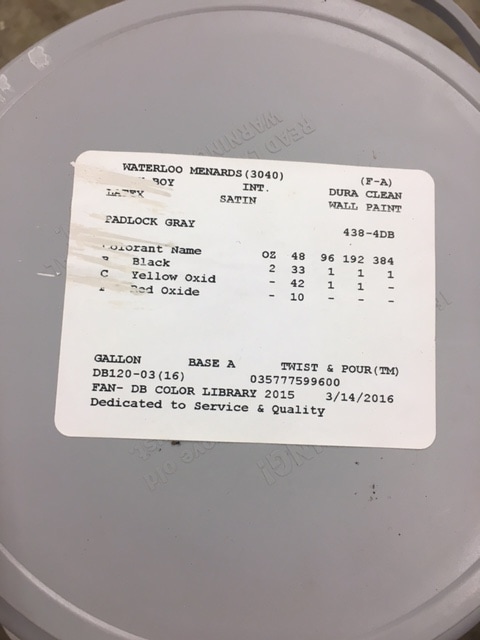
 The project I'm sharing today may be my favorite DIY project so far! Creating faux built-ins in our living room completely changed the look and feel of our home. Our house is small, so storage is key. We have a large living room that we weren't utilizing to its full potential. We pieced some items together as temporary filler, but I knew we could do better. After several months and three different design plans later, I completed the project outlined below. The built-ins give us the additional storage we needed and look 100% better than what we had going on before! Step 1: Find, prep and paint shelving. Originally, I planned to buy shelving. Then I wanted to build shelving. Then, by talking to the right people, I found a balance between the two - prefab shelving that could be assembled in whatever way I wanted. My dad had two large shelves he wasn't using that were from a medical office. They held medical charts so are very solid shelving units (which I needed, especially for Joel's records). 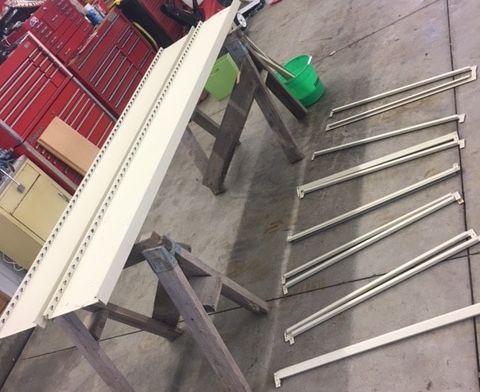 The shelving consists of a metal frame with compressed wood panels for the shelves. I did some online research and decided I'd paint the metal and leave the compressed wood panels as they were. First, we sanded the frame and the bars that hold the wood shelves. We then washed the metal materials with warm water and household cleaner. 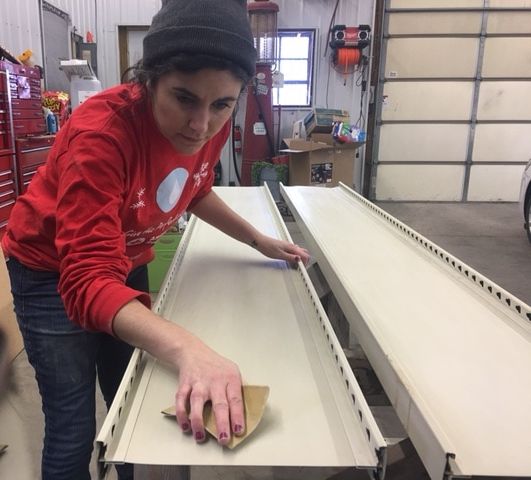 After the metal was sanded and cleaned, I painted everything with two coats of latex paint. I used a roller for the large parts and a brush for the nooks and crannies. I had half a gallon of medium dark gray (called "Padlock Gray") paint left over from painting our guest room that I wanted to use up vs. going out and buying more. 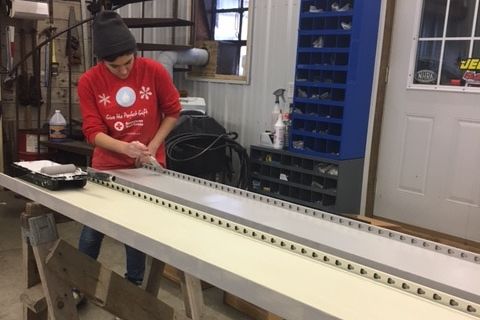 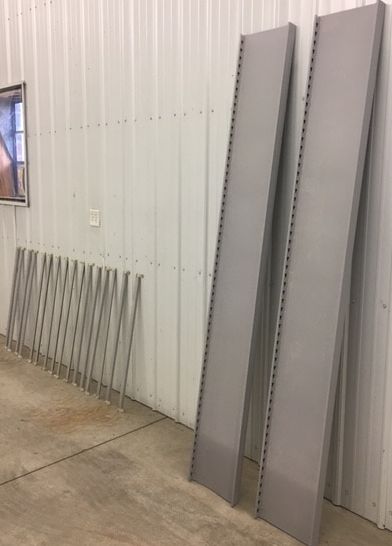 The last thing we did on the shelving was cut 30 inches from the bottom of the "inside" panels. We didn't have enough wall space to put a shelf, dresser, shelf - so our solution was to have the inside of the shelves braced on top of the dresser. Step 2: Find, prep and paint dresser. In total, this project only cost us $75. The one thing I paid for was the dresser that we used as the centerpiece of our built-in. I found a great vintage dresser on the buy/sell app "Let Go." I bought it from a nice woman who was not creepy in any way. It was a positive buying experience! She had already painted it with black chalk paint, which I liked. The only thing I did was paint the top of the dresser with the same gray as the shelves to make the separate pieces look like one unit. 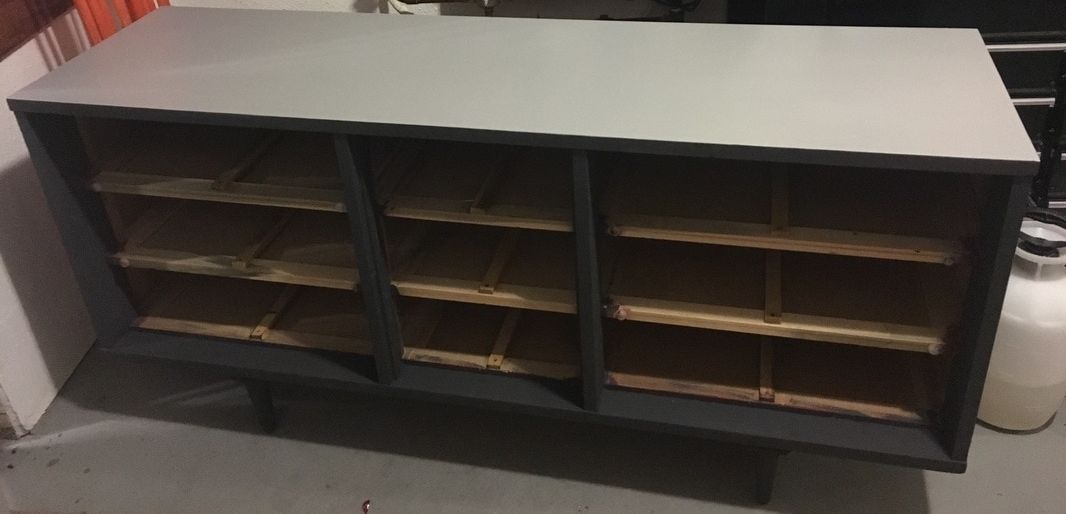 Step 3: Installation! I was anticipating installation day like a kid anticipates the arrival of Santa. Projects are life in my world. Before I could start putting the pieces together, I needed to add some protection to the bottom so they didn't scrape our hardwood floors. I used adhesive felt squares for the bottom of the dresser legs. For the shelves, we used an industrial tubing used on semis to protect various parts from damage. See below for what this tubing looks like. 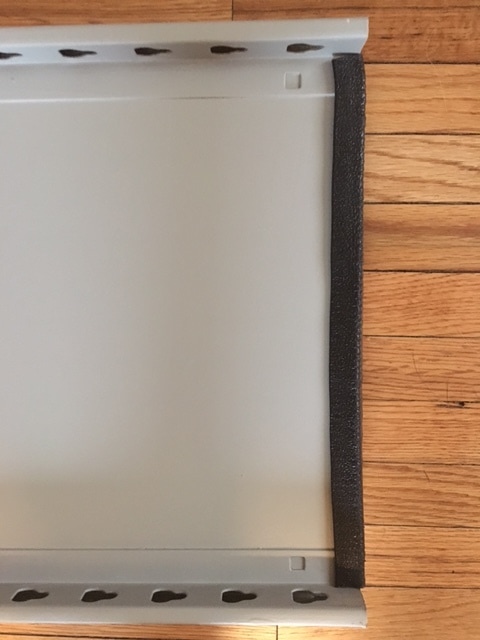 After I knew my precious floors would be protected...we started putting the pieces together! 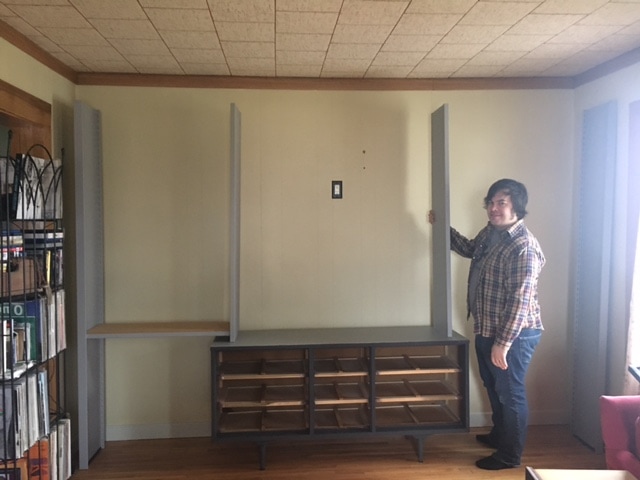  The shelves were super easy to put together. No tools necessary. The bars snapped easily into the sides. From there, we simply set the compressed wood panels onto the ledges of the bars. 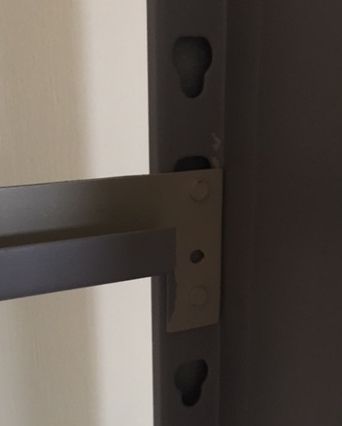 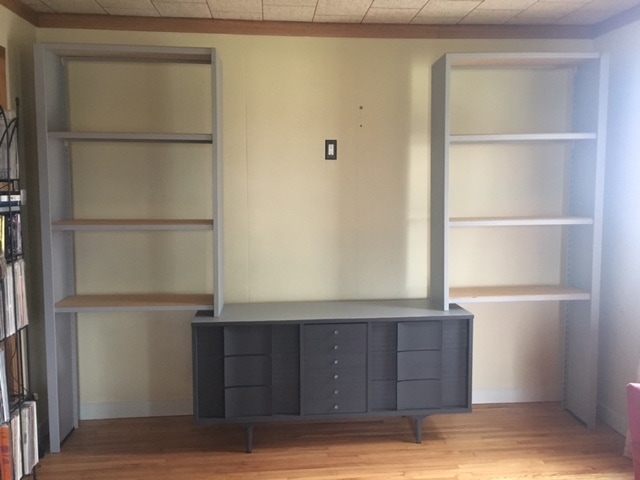 I was thrilled with everything once it was all in place. It was very sturdy, looked attractive, and was going to help solve some of our storage issues! I loved it even more after I took a look at what the space looked like before. I'm a little embarrassed that we had people over with the space looking so disheveled...Take a look for yourself! 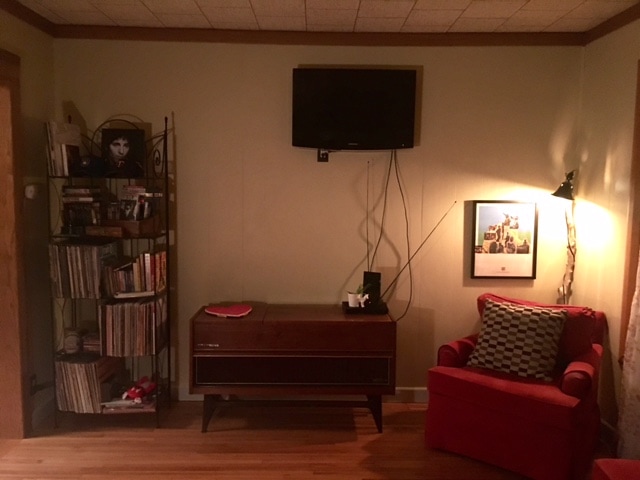 Before (so embarrassing!!) 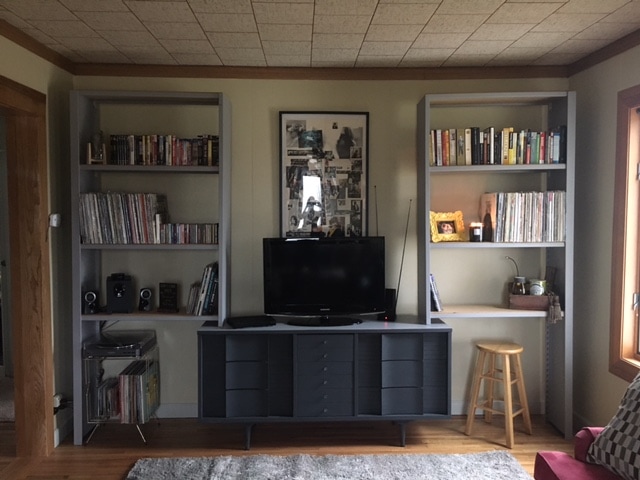 After (so much better!!) I was able to add storage for DVDs, books, CDs and records. I dedicated a space on the left to Joel's record player (it is hard to believe that we went almost one year without having this baby set-up) and a space on the right for a little desk to keep my planner/laptop.
You can do this! All you need is two bookshelves, a dresser, and a little imagination! I've discovered the free DIY classes offered at The Home Depot and my life has been changed forever! I attended my first class where I learned to build a "Drawer Nightstand." I was fortunate enough to be the only student that showed up...so I got a lot of one-on-one attention. The class was completely free, and because I was the only student, I got to keep the nightstand I made at no cost! Normally, they would show you what to do, give you some hands-on training, and then you would buy the supplies/materials to do the project at home. I was certainly spoiled for my first time! I won't go through a DIY step-by-step because The Home Depot already did it for me! To instructions on how to build the nightstand pictured below, click here. I highly recommend these classes. It was fun and I got to use some power tools I hadn't had exposure to yet! They offer them at the Waterloo Home Depot on the third Thursday of each month. You can do a search online or stop into the store to see what they have coming up. Happy DIY'ing my friends! 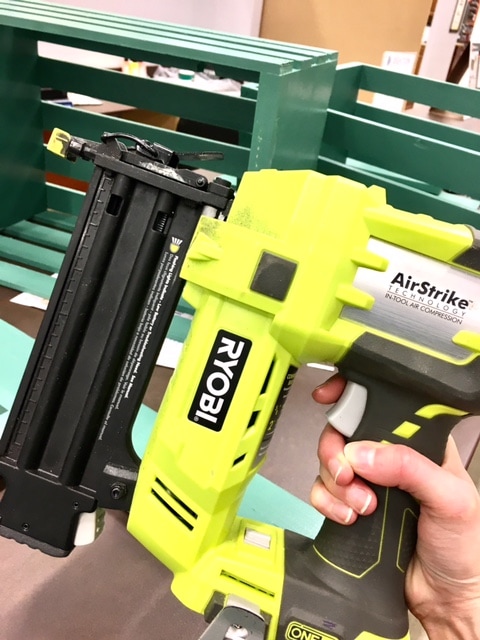 My first time using a nailer. Loved it! 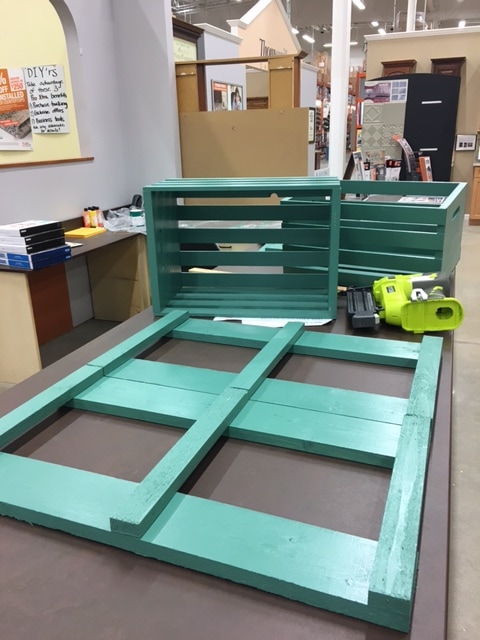 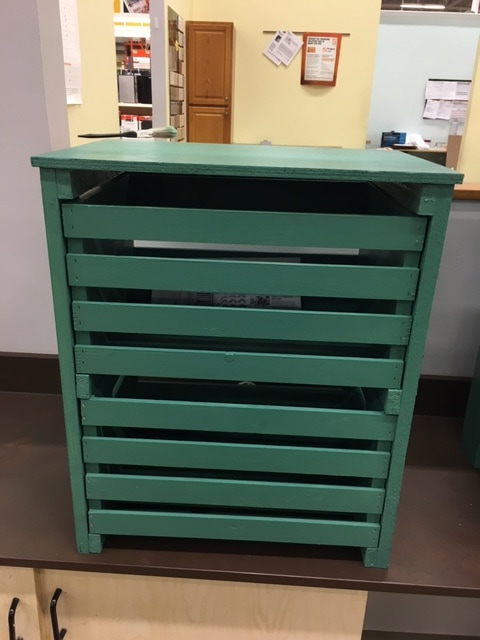 The finished product! 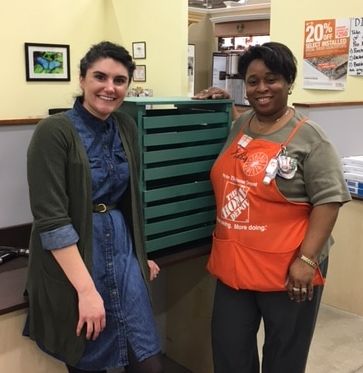 Ms. Pam was my instructor and she was fabulous! |
Archives
August 2022
Categories
All
|


 RSS Feed