Busy Hands, Happy Heart
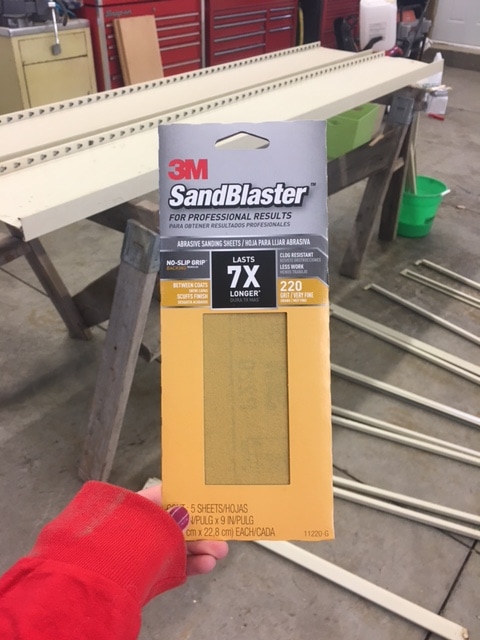
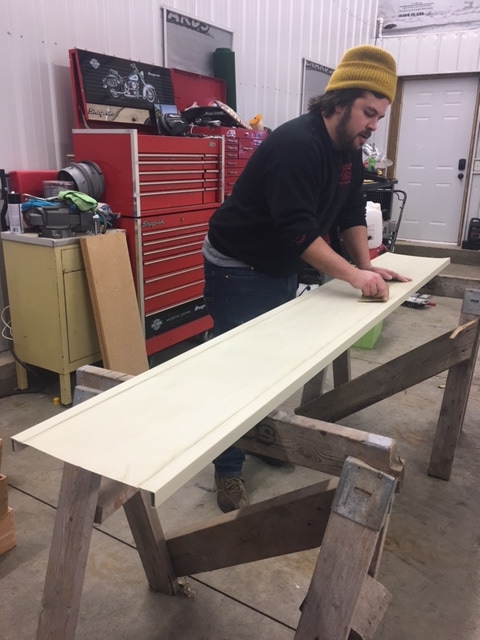
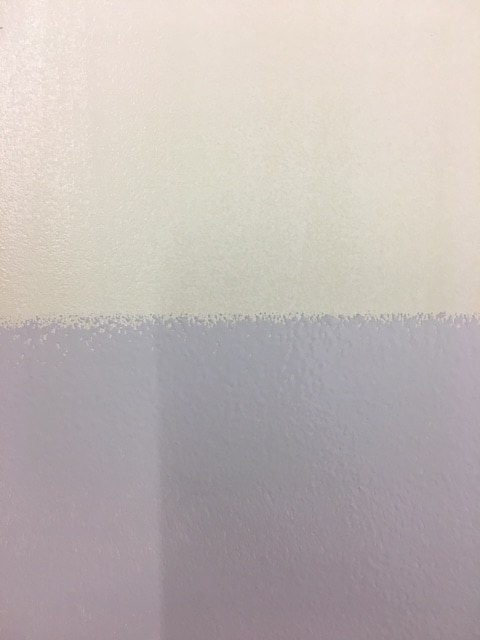
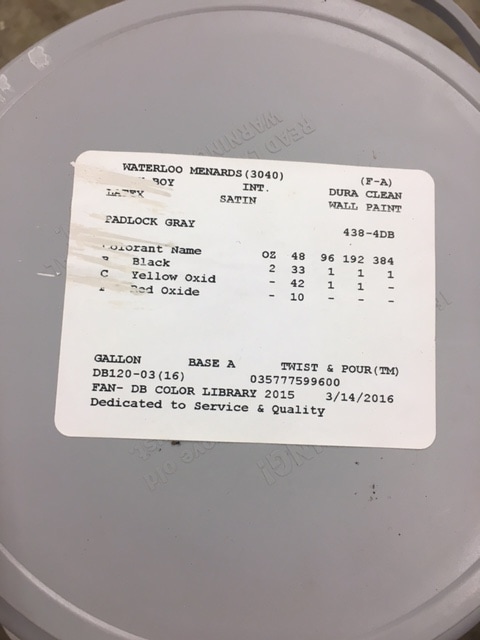
 The project I'm sharing today may be my favorite DIY project so far! Creating faux built-ins in our living room completely changed the look and feel of our home. Our house is small, so storage is key. We have a large living room that we weren't utilizing to its full potential. We pieced some items together as temporary filler, but I knew we could do better. After several months and three different design plans later, I completed the project outlined below. The built-ins give us the additional storage we needed and look 100% better than what we had going on before! Step 1: Find, prep and paint shelving. Originally, I planned to buy shelving. Then I wanted to build shelving. Then, by talking to the right people, I found a balance between the two - prefab shelving that could be assembled in whatever way I wanted. My dad had two large shelves he wasn't using that were from a medical office. They held medical charts so are very solid shelving units (which I needed, especially for Joel's records). 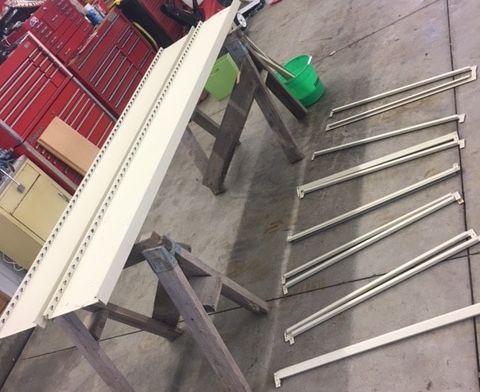 The shelving consists of a metal frame with compressed wood panels for the shelves. I did some online research and decided I'd paint the metal and leave the compressed wood panels as they were. First, we sanded the frame and the bars that hold the wood shelves. We then washed the metal materials with warm water and household cleaner. 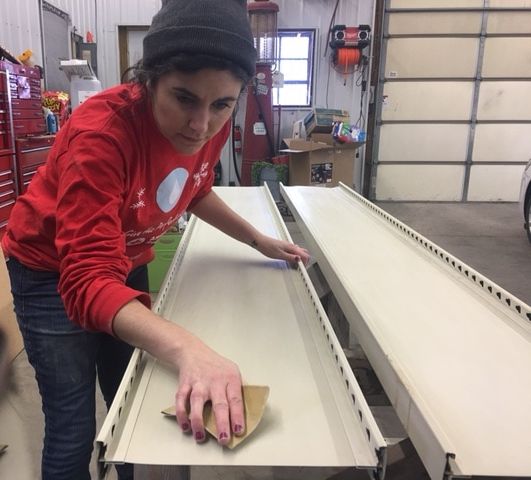 After the metal was sanded and cleaned, I painted everything with two coats of latex paint. I used a roller for the large parts and a brush for the nooks and crannies. I had half a gallon of medium dark gray (called "Padlock Gray") paint left over from painting our guest room that I wanted to use up vs. going out and buying more. 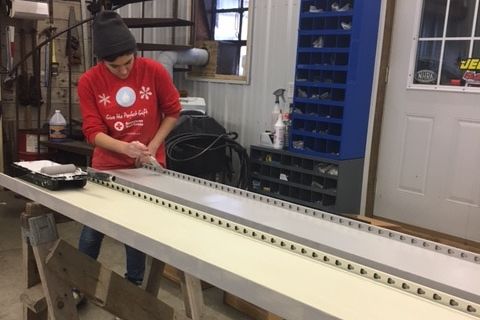 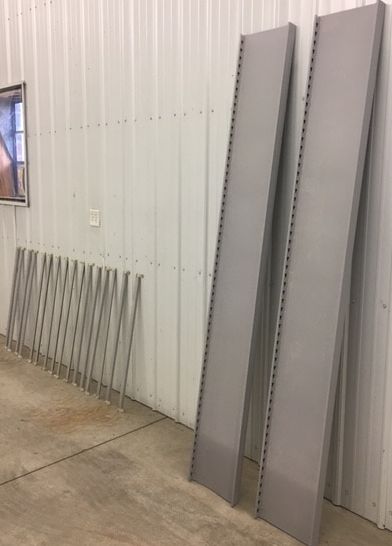 The last thing we did on the shelving was cut 30 inches from the bottom of the "inside" panels. We didn't have enough wall space to put a shelf, dresser, shelf - so our solution was to have the inside of the shelves braced on top of the dresser. Step 2: Find, prep and paint dresser. In total, this project only cost us $75. The one thing I paid for was the dresser that we used as the centerpiece of our built-in. I found a great vintage dresser on the buy/sell app "Let Go." I bought it from a nice woman who was not creepy in any way. It was a positive buying experience! She had already painted it with black chalk paint, which I liked. The only thing I did was paint the top of the dresser with the same gray as the shelves to make the separate pieces look like one unit. 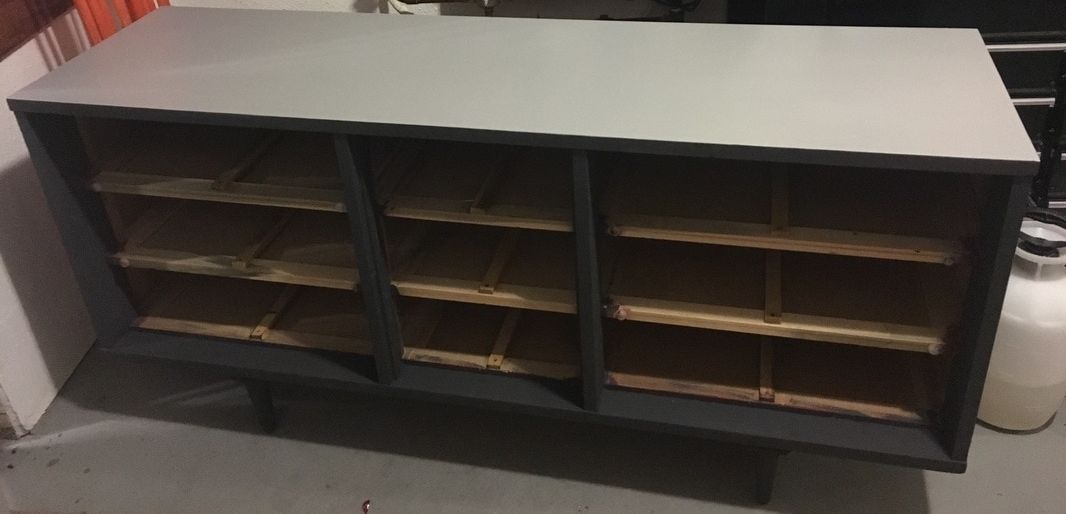 Step 3: Installation! I was anticipating installation day like a kid anticipates the arrival of Santa. Projects are life in my world. Before I could start putting the pieces together, I needed to add some protection to the bottom so they didn't scrape our hardwood floors. I used adhesive felt squares for the bottom of the dresser legs. For the shelves, we used an industrial tubing used on semis to protect various parts from damage. See below for what this tubing looks like. 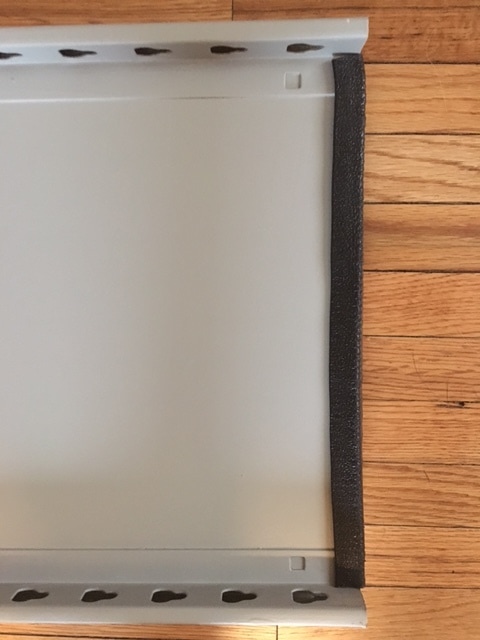 After I knew my precious floors would be protected...we started putting the pieces together! 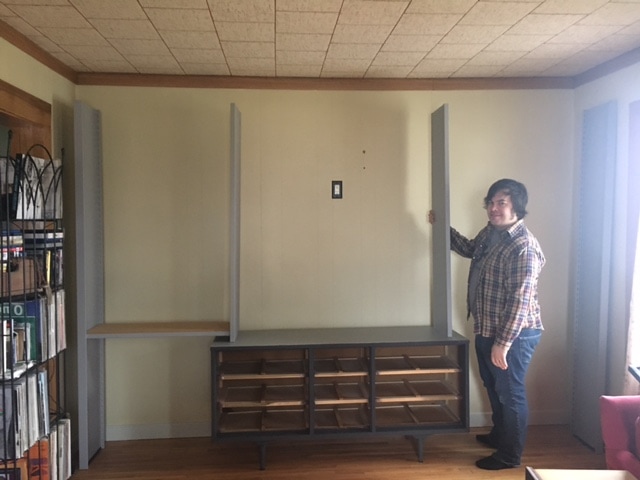  The shelves were super easy to put together. No tools necessary. The bars snapped easily into the sides. From there, we simply set the compressed wood panels onto the ledges of the bars. 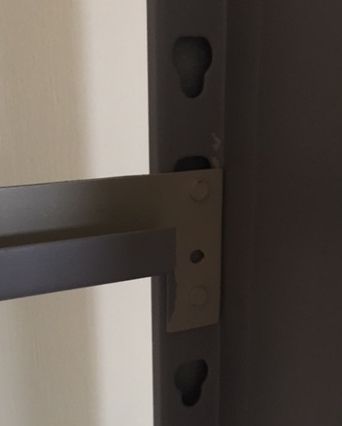 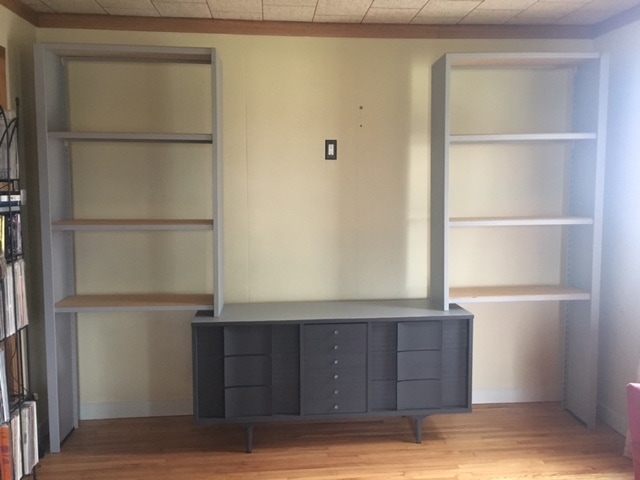 I was thrilled with everything once it was all in place. It was very sturdy, looked attractive, and was going to help solve some of our storage issues! I loved it even more after I took a look at what the space looked like before. I'm a little embarrassed that we had people over with the space looking so disheveled...Take a look for yourself! 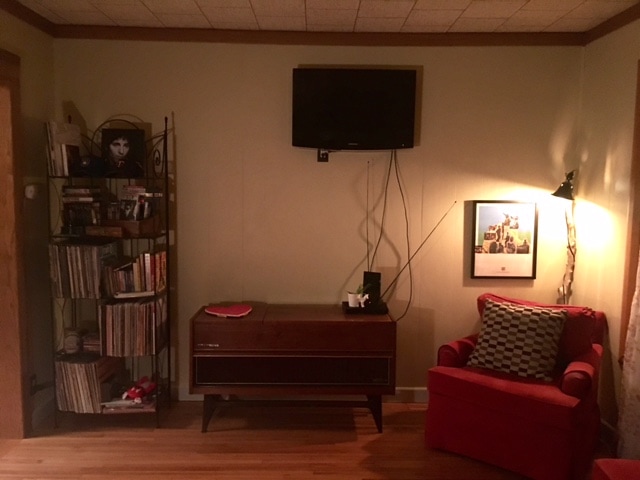 Before (so embarrassing!!) 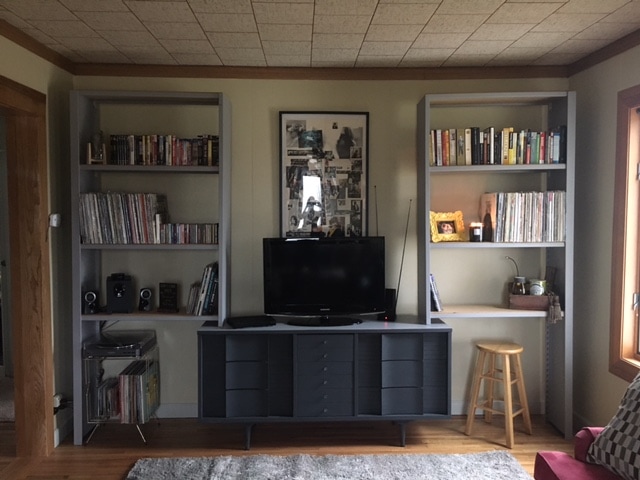 After (so much better!!) I was able to add storage for DVDs, books, CDs and records. I dedicated a space on the left to Joel's record player (it is hard to believe that we went almost one year without having this baby set-up) and a space on the right for a little desk to keep my planner/laptop.
You can do this! All you need is two bookshelves, a dresser, and a little imagination!
1 Comment
|
Archives
August 2022
Categories
All
|


 RSS Feed