Busy Hands, Happy Heart
|
In celebration of our first hen laying an egg, I thought I’d share what we did to revive the chicken coop on our acreage. 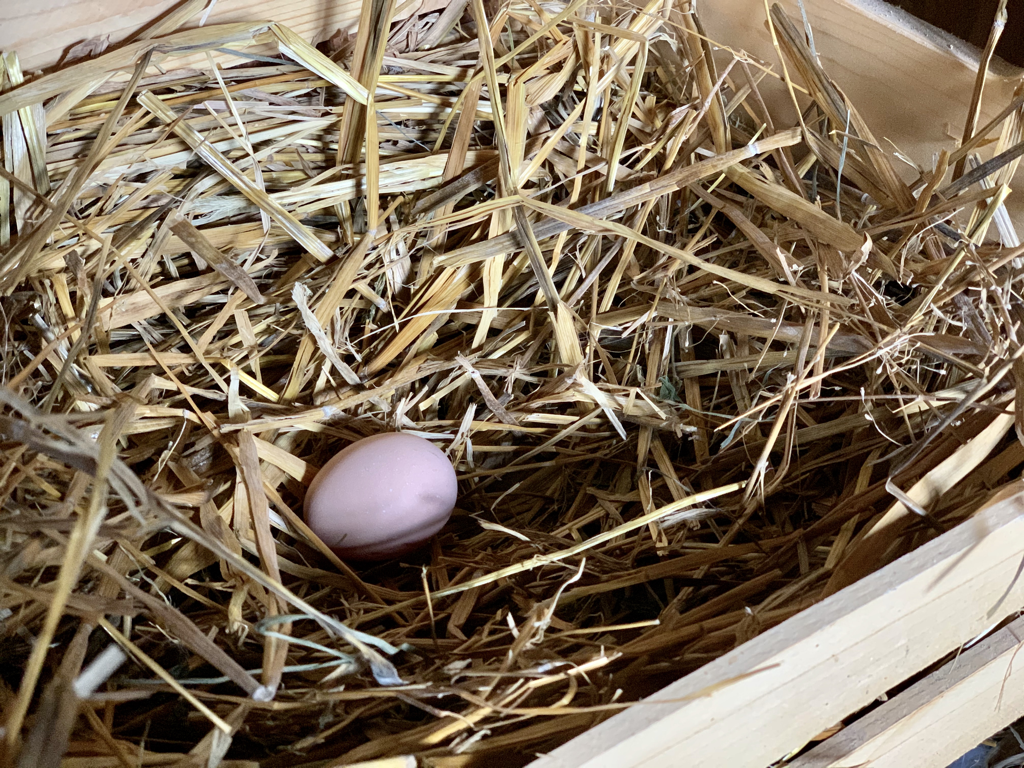 We are fortunate to have several buildings on our property that once served as shelter for farm animals. Though for many years, they have provided protection for a variety of wild animals passing through. Mice. Woodchucks. Possums. Cats. Toads. Who knows what else. We’ve had our fair share of battles ridding our place of these animals, mice and woodchucks, especially. The more we address needed repairs on the buildings, the more we’re able to protect them and our stuff from critters. What started as a simple ramp repair on the chicken coop turned into us fully transitioning it from storage to a comfy home for laying hens. The ramp was completely rotted out. We were one more trip into the building from it collapsing under our feet. Wood rot is one of my least favorite things and has haunted me at our acreage. Our buildings are old and impressively sturdy – but none are free from wood rot. As annoying as it is, I have learned a lot about what it is and how to repair it. I’m still working on the “how to prevent it” part… I tore away all the rotted wood to see what I was working with. I added a fresh 2x4 to rest the new boards on. I also found some bricks to put at the bottom of the ramp to keep the wood up off the ground, preventing it from getting and staying wet – leading to rot. Our home came as is with everything included, so most times I have a lot of supplies I need at my fingertips. In the case of the ramp, I had a leftover 2x4, there were three flawless, thick pieces of barn wood in the coop, and I used some bricks that were given to me from a torn down outdoor fireplace.   I cut the boards to size with my circular saw, screwed the 2x4 piece to the building and then the barn wood planks to the top of the 2x4. I used long screws throughout, two screws in each board securing them to the 2x4. To keep the slabs of wood together, I stapled three thin pieces of wood – looked like old moldings of some sort – horizontally across the three boards. I hoped this would prevent the wood from drifting away from each other and help the hens get up the ramp when it was slick. I left enough room in between the barn wood for a little air to circulate through, again, hoping to prevent rot.   Once the ramp was finished, there wasn’t much more to do to the building because it is in very good shape. I raked any tree debris off the roof, caulked and painted the windows, swept the floor, knocked down some spider webs, and caulked any holes (it has a metal roof and siding). We also ended up adding a turbine vent to the roof so there was a little bit more air circulation. The next item on the “to do” list was to outfit the building with all of the things hens need to live a content coop life. Nesting boxes, roosts, a feeder, and waterer. I received hand me down waterers from a family member, so just had to pick up a feeder. I chose the largest one because I’m lazy and want to refill it as little as possible! I chose to suspend both the waterer and feeder a few inches from the ground by hanging them from the ceiling using chains and S hooks I had. In Iowa, it gets pretty cold starting in the Fall. Beginning in October, we put up a heat lamp on a timer for the ladies and hooked up a heated drinker base so their water wouldn’t freeze. This is the base we purchased and really like it.  For the roosts, I placed some random items around to get me started – a ladder, some wooden pallet type things, a step stool, a blanket rack, a tiered plant holder. None of which I think the hens like, so I’m figuring out something new at the moment. One of the roosts they do like is one I put by the window. I used two curtain rod hooks and a broomstick. I placed it just under the window and I find one or more of them on it each morning.  The nesting boxes were something I researched quite a bit, but ended up doing my own thing (hoping it would work). For the most part, I used what I had that was just collecting dust in the coop. I affixed a large piece of plywood to the wall. To that, I connected four wooden crates with the top two wood strips removed from the front of each of them. Those came from Menards. I read that it is bad if hens start roosting in/on the nesting boxes, so I ended up using simple shelf brackets and boards to create 45-degree angle hoods over the boxes. The last thing I added was a little ramp for them to use. Not sure that they do, but it was something I had that fit perfectly, creating the cutest little corner in the coop! I have had no issues with them roosting in the boxes. I put hay and a ping pong ball in each one and they have been laying in the boxes. The ball is supposed to resemble an egg and help guide them to laying where you want them to.  As a side note, I chose to put hay down to make cleaning out the coop easier. I also wanted it for my garden to help the soil nutrient balance. I read chickens like to scratch at the ground, so sometimes I’ll hide mealworms around in the hay. I think of it as a fun little game for them. The last thing we did was put a fence up around the coop. I bought 7 foot heavy duty deer fencing and 8 foot t-posts to use. It worked for a bit, until a critter bit a hole through it. We ended up reinforcing just the bottom part of the fence with 2-3 foot tall chicken wire. That did the trick. Landscaping staples and zip ties are two of my favorite garden and décor supplies. We secured the fencing to the ground with the staples and to the stakes with zip ties. Super simple and easy to take down if we need to. The door connected to the fence so we can get in is crafted out of two tall fence posts that were chilling in the woods on our property and our old storm door. The posts were put into place using cement and we attached the door to the posts using its original hinges and long screws. I knocked the glass out of the door and covered the openings with deer fencing. We attached a couple of slide bolt locks to keep the door closed.  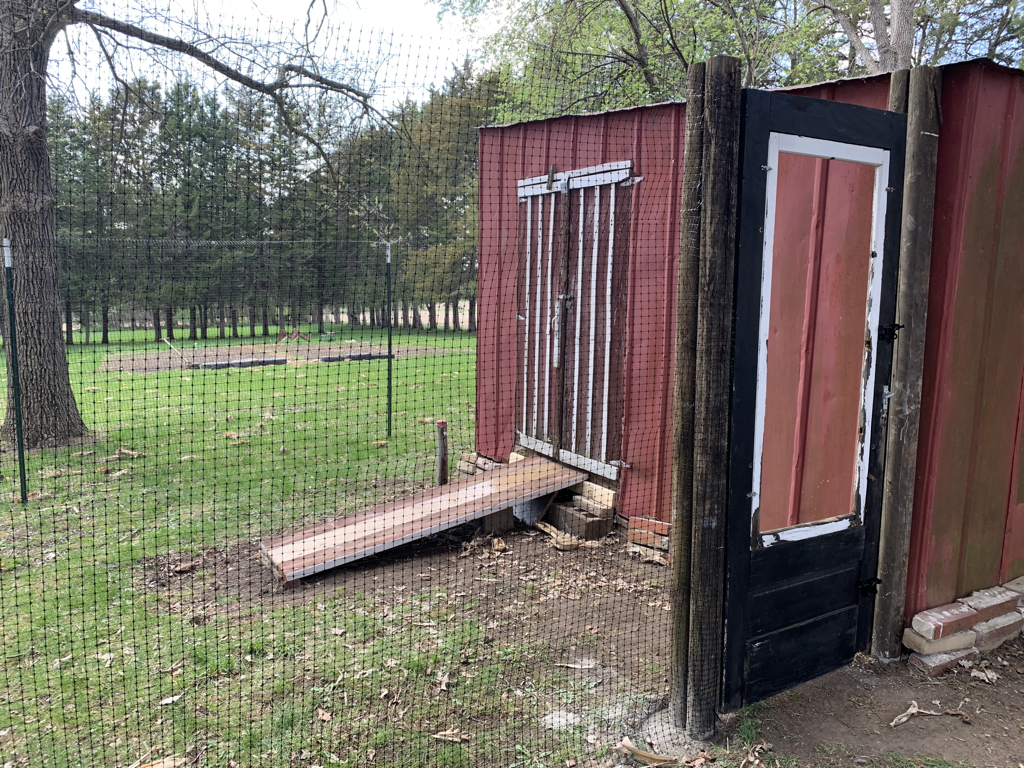  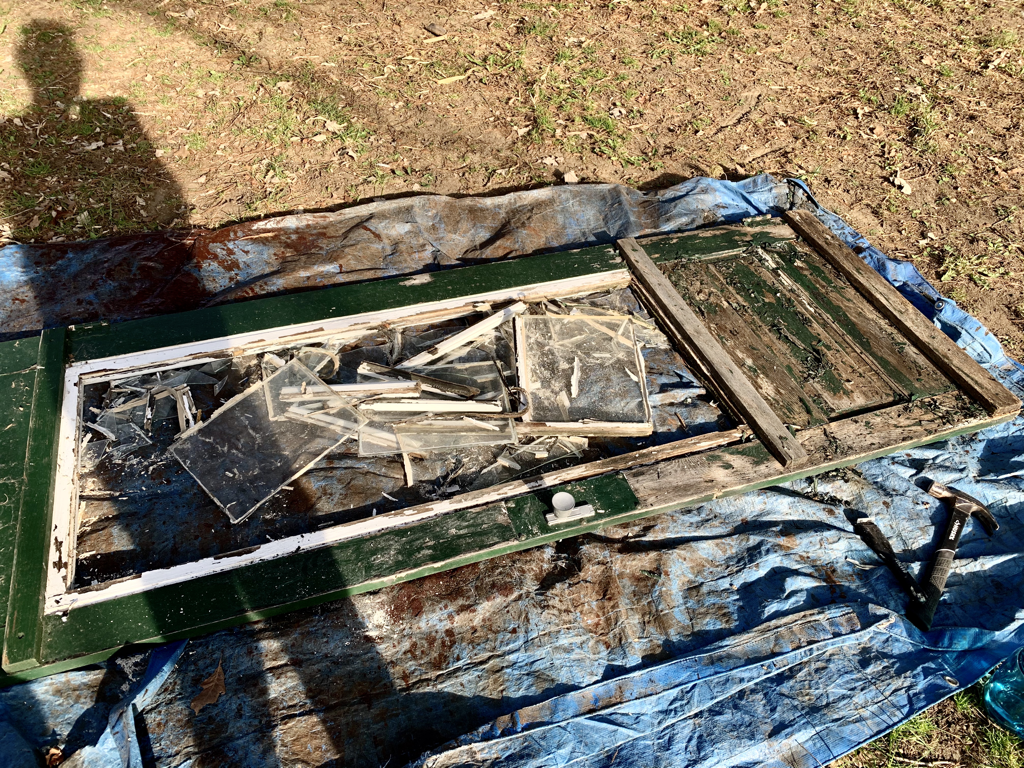 The hens are little rock stars. As of this post, all three are laying like crazy. We can get a dozen eggs over the course of a couple days. They seem happy in their space and we’ve enjoyed watching them. We’re not friendly with each other necessarily, but instead like to observe each other from afar! They’re great eaters. Produce doesn’t go to waste anymore. Anything close to spoiling is tossed into their pen and it disappears quickly – especially pumpkins! It’s turning out to be a very nice partnership overall, allowing us to live a little more sustainably and toss out less waste. It’s also nice to share eggs with our family, friends, and neighbors! 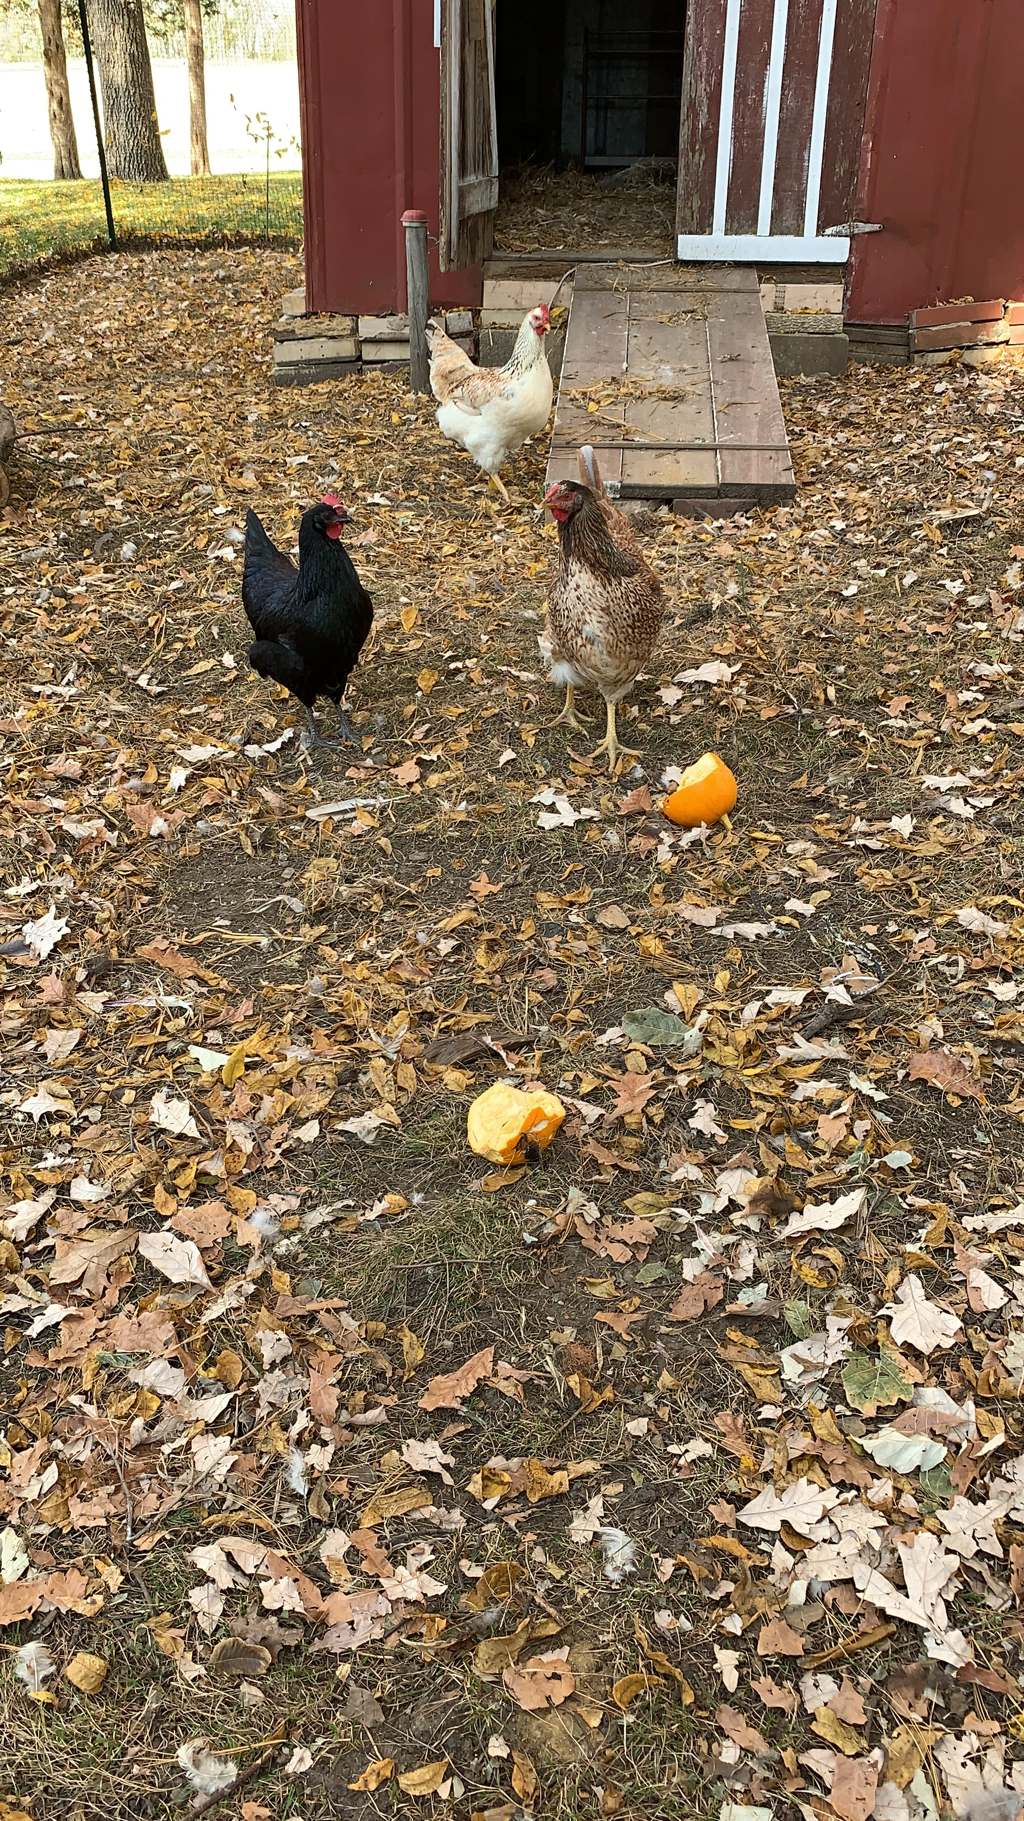
3 Comments
Garden season is in full swing on our acreage and so far Mother Nature has been good to us. Last year was a pretty devastating year for me as a gardener as I battled a number of barriers – the biggest being cucumber beetles destroying literally my entire plot. So in my opinion, I was due a fairly easy year this year. It’s been dry, but sunny and humid, and the garden has seemed to respond pretty well. Here’s a few photos of what I’m working with this year. These were taken just the other day – late July. 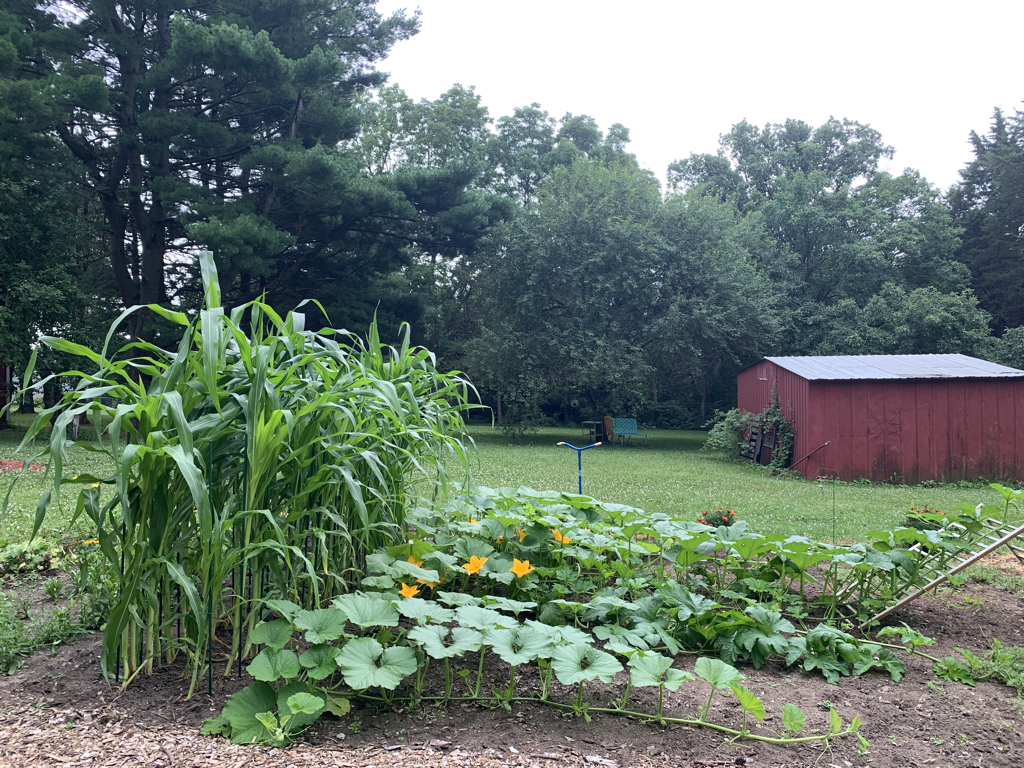 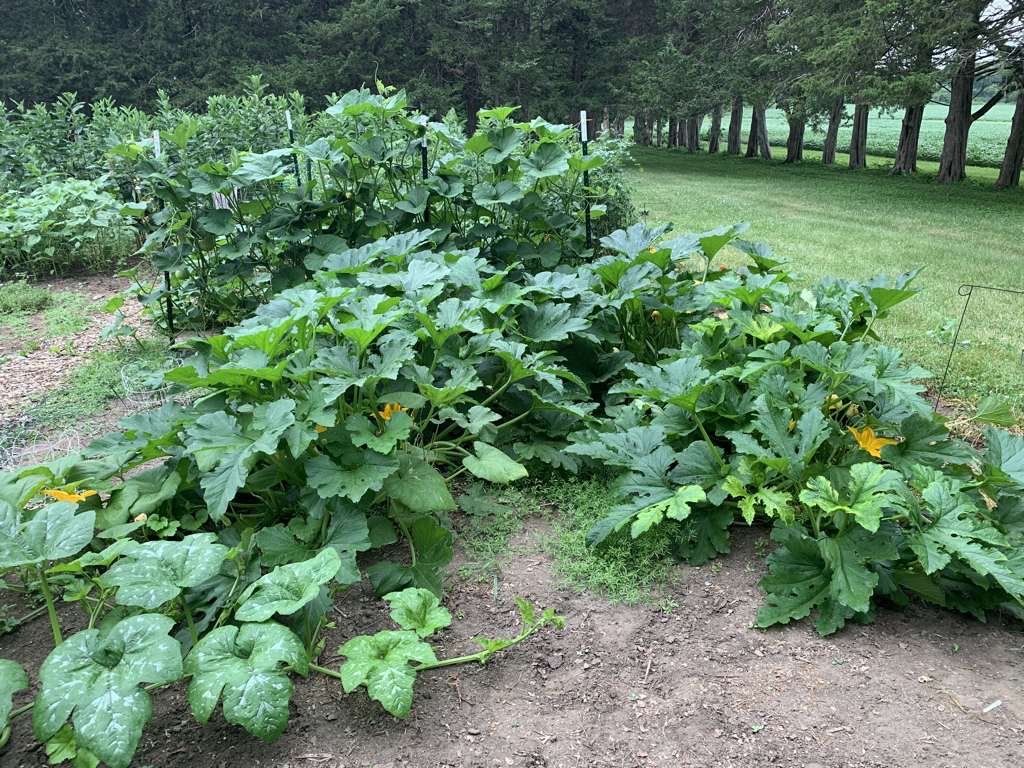  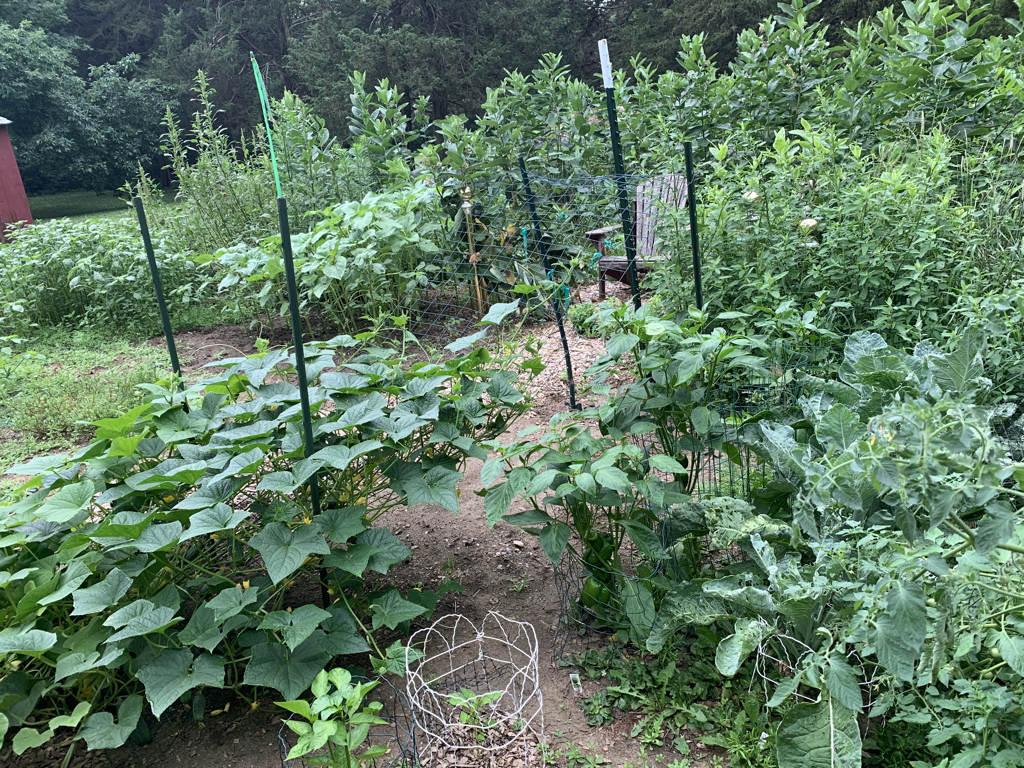 Because I’ve had a good harvest, I’ve been able to continue offering free vegetables at the end of our driveway for passersby. We live on a busy road and our wheelbarrow of goodies is normally gone in a few short hours. Earlier this summer, we received the nicest note from an anonymous person thanking us for the veggies we provide! It completely caught us off guard, but felt very nice to know people appreciate it.  The letter really fired me up and made me anxious to get fresh produce out for our neighbors ASAP. This also meant I needed to start working on the new “Free Fresh Produce” A-frame sign I had been thinking about making over the winter. The old sign I had was made quickly out of cardboard and pallet wood. It still stands, even after two summers, but I thought it was time for something more durable and permanent. I tried my best to be resourceful, using as many supplies that we already had as possible. If you’ve read my blog for a while, you may remember when I made a cucumber trellis out of the sides of a baby crib. I also made a light fixture out of the mattress spring from the crib. My goal was to utilize the whole thing, so guess what I made the A-frame sign from? The crib ends! For this project I used:
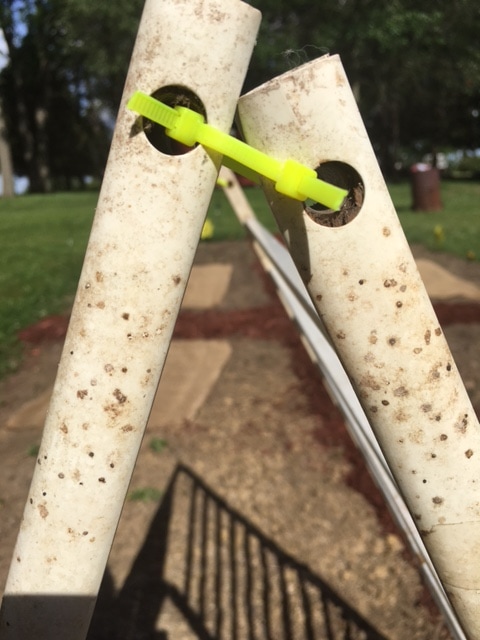
The lettering was hand drawn with pencil first, and then I painted in with white exterior paint. Once the paint was fully dry, I put two layers of clear coat spray paint over the entire sign to seal it from the elements. Lastly, we attached the small chain to each side of the A-frame near the bottom so the sign didn’t splay out and fall to the ground. Here is the finished product! We were quite proud of it in the end and it really pops, getting peoples’ attention. 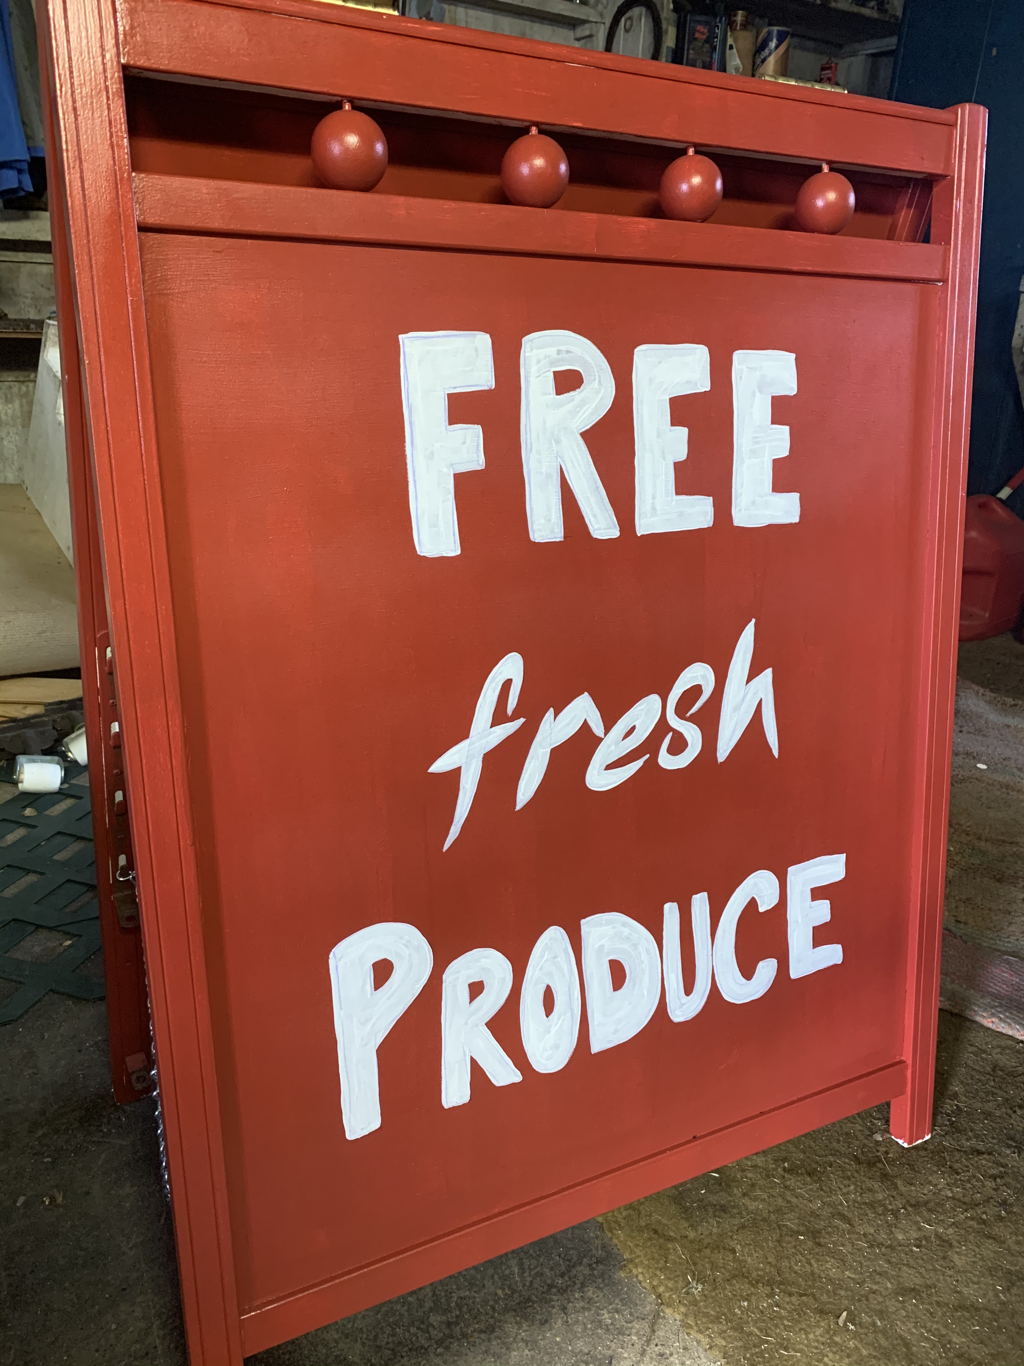  What have been some of your favorite DIY projects this summer?
Spending time with our nieces and nephews is one of our favorite things! We have chosen not to have kids of our own, which gives us a wonderful opportunity to spoil our siblings’ children every chance we get. Our oldest nephew, Max, is six. We have been on a few fun adventures with him over the years. He is a special little guy who is a joy to be around. We try to do one big activity with him every year, and hope to eventually do this with all of our crew when they are each old enough. We really enjoy this one-on-one time to create special memories just between us. This year, we did a sleepover at our place. It wasn’t just ANY sleepover. It was a HARRY POTTER themed sleepover! I wanted to share a few of the things we did to give you some ideas about how to create a magical experience for your kids or other loved children in your life. You don’t have to take a big trip or spend a lot of money to wow them – get creative with what you have! Imagination is key. I didn’t get home from work until after Max got to our house, so Joel kept him busy with a BB gun. I still have the Red Ryder BB gun my grandpa purchased for me as a kid. He said he had one like it and it was the best one you could get. I burned the buns of a lot of squirrels back in the day. When I got home, watching Max enjoy this activity brought back a lot of good memories and I was surprised to find out my shot is still pretty good! SAFETY FIRST! We made sure we had safety goggles and kept him a safe distance away from the targets.  While Joel stayed outside with Max, I ran inside to prepare the Harry Potter sleepover kick-off. A visit from the man himself, Albus Dumbledore! I was a Harry Potter fanatic as a teenager. The collection of memorabilia I have is quite large. The thing is, it’s all just sitting in my parents’ basement gathering dust. I want to start sharing the collection with the kids if they show interest so the items are enjoyed. I selected a lunchbox, cup, and broom to give to Max during his stay. I sat a little note next to the treasures for him to find. 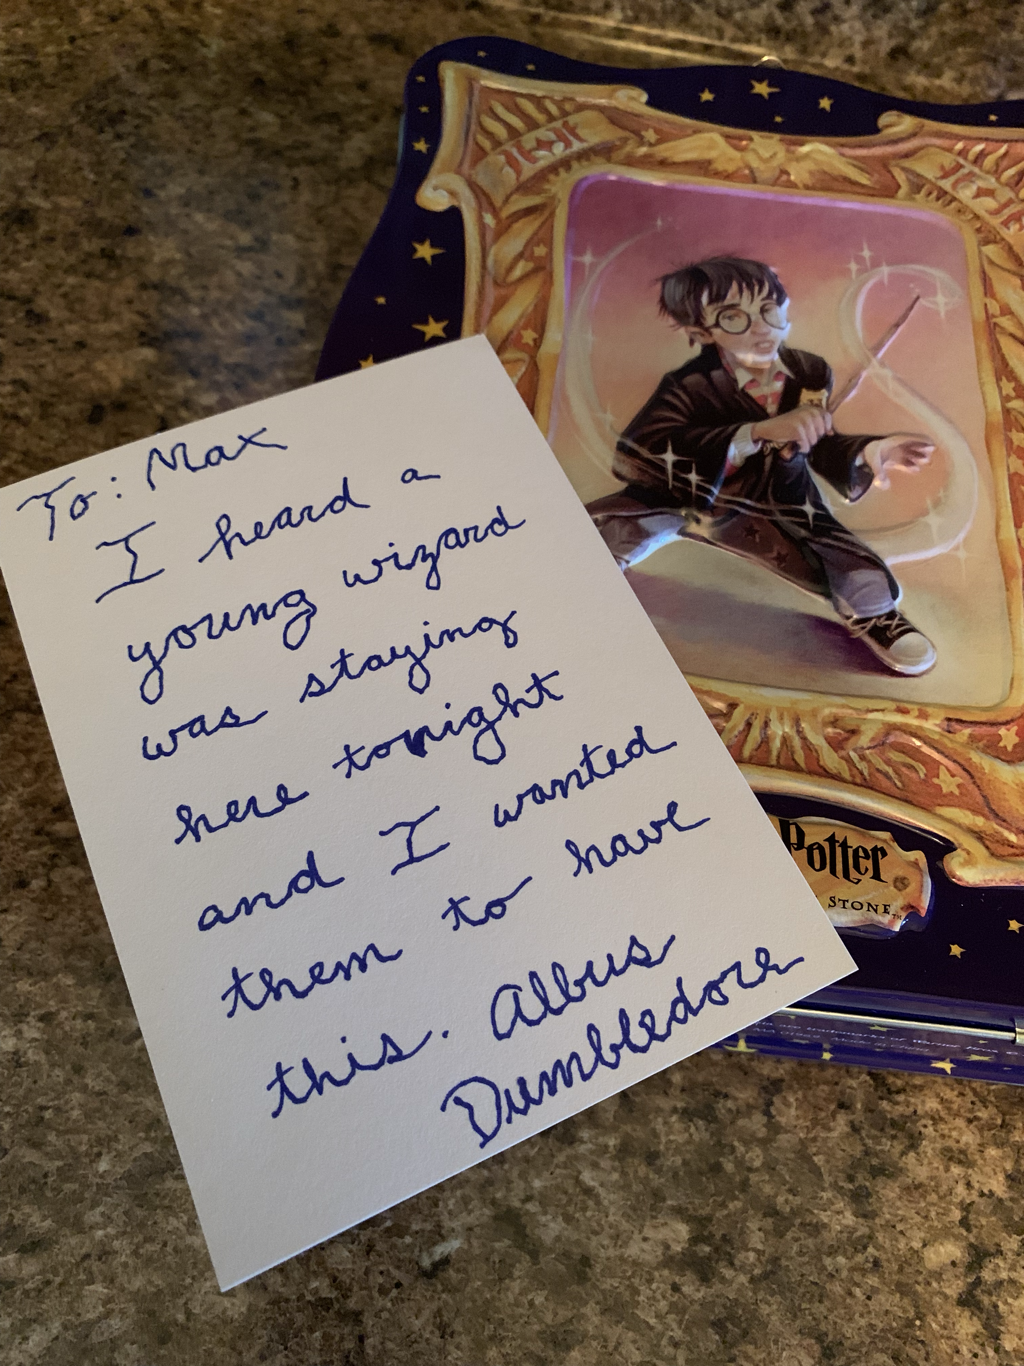 When he came inside, the excitement on his face was priceless. After we read the note together, he dug in. The lunchbox blew his mind, we filled the cup up right away, and he hopped right on the broom – zipping around the living room! He immediately wanted to play Quidditch, so we found ourselves a Snitch and Bludgers before making our way to the backyard after supper. The Qudditch match was action packed! We made wands out of sticks and took on the roles of our Max-assigned characters. I dipped out early, claiming an injury, to get the next part of the Harry Potter weekend set-up. I’m a Pinterest fanatic and had a few things I’d always wanted to try, so took advantage of the opportunity. Outdoor movie night was on. We had bought an outdoor projector and screen awhile back. After I got that set-up and tested, I started inflating a little pool that would act as our cozy movie viewing nook for the evening. A few bed pillows and warm blankets later, and we had the movie viewing nook of my dreams!  I think Max liked it. I can’t even with this photo. So. Cute.  As we waited for the world to get dark, we started a fire and sugared him up real good with s’mores. 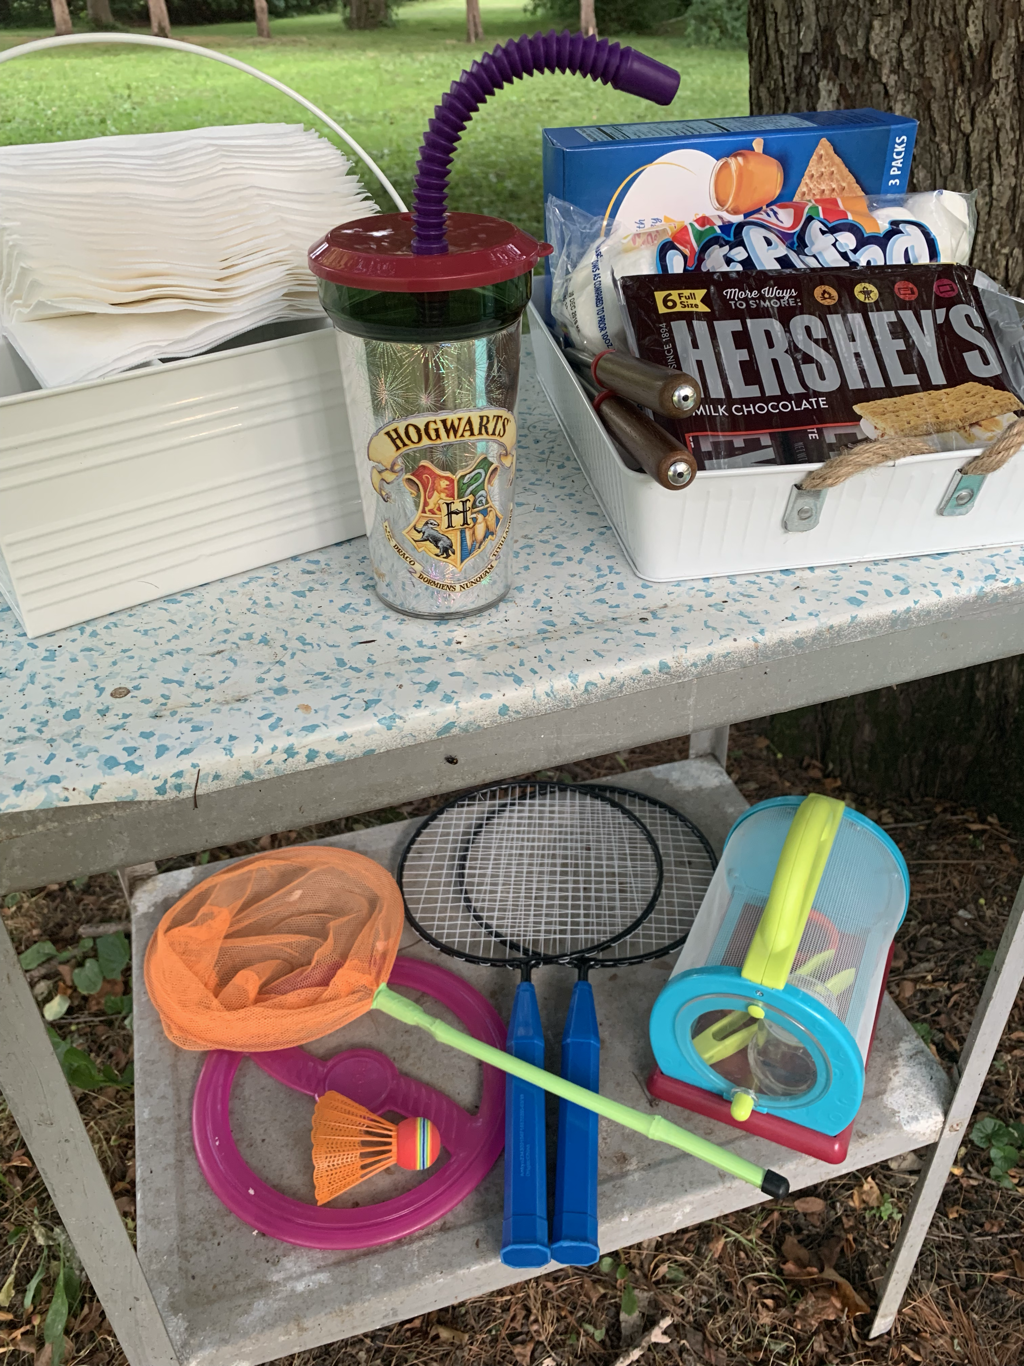 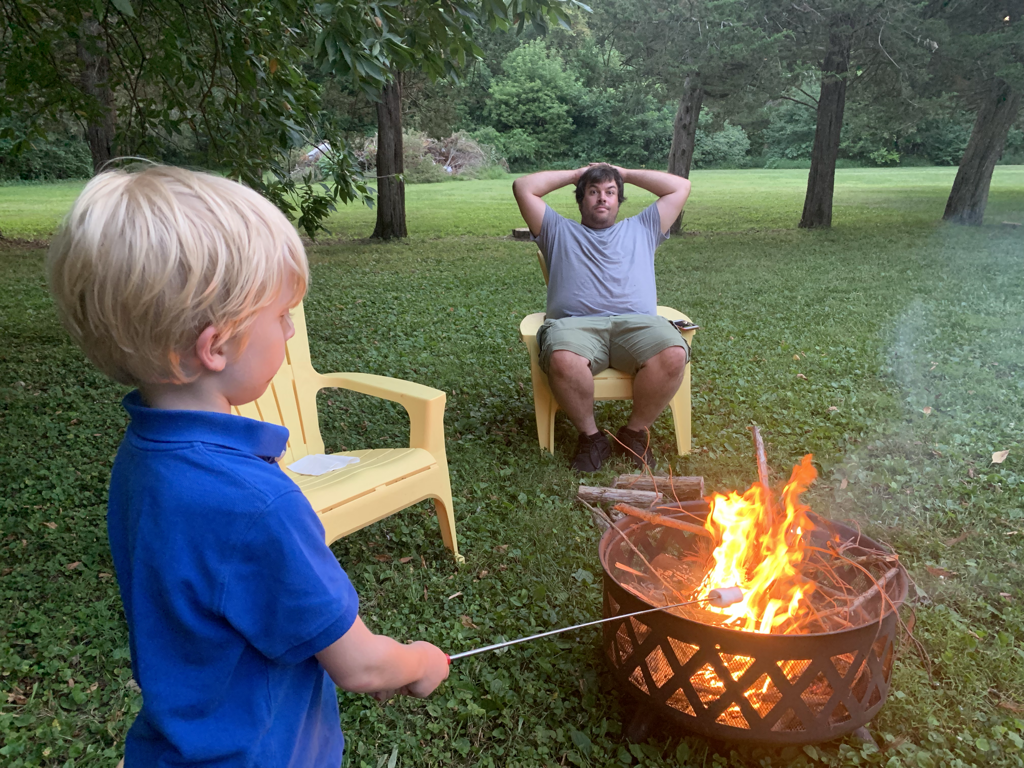 Before we knew it, the sky was dark enough for us to get things rolling. Max selected Harry Potter and the Goblet of Fire (one of our very favorites as well). The evening was just perfect. I curled up next to Max and he snuggled right in. 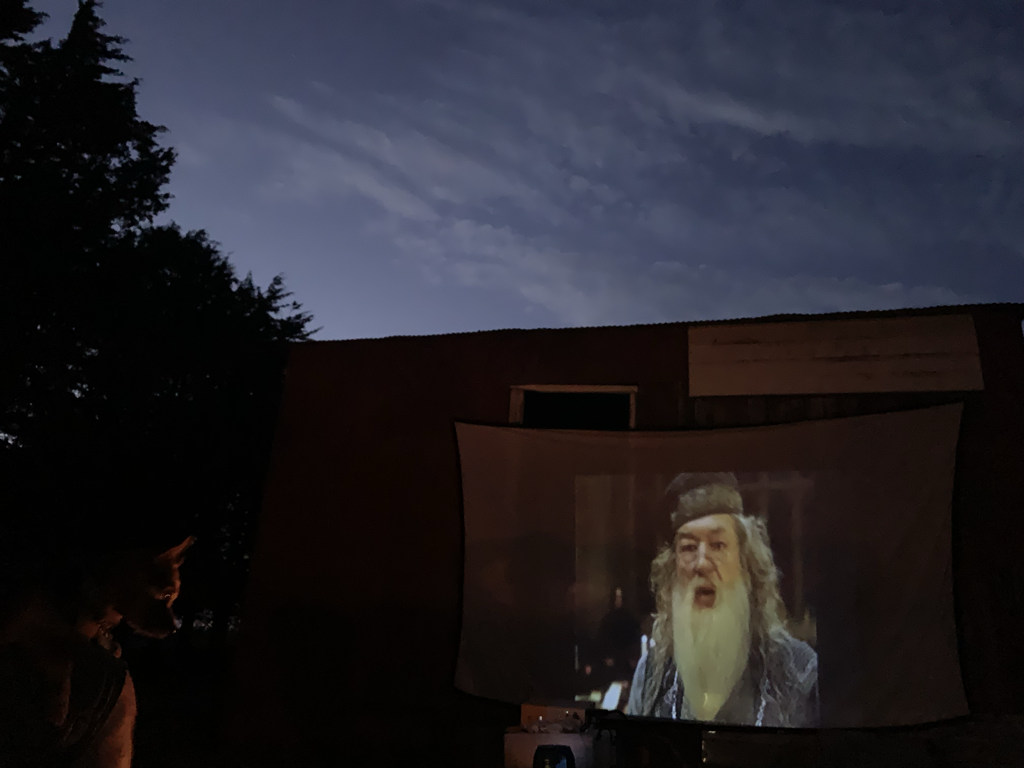 The next morning we had pancakes with all of the fixings. Max’s creation looked delicious! 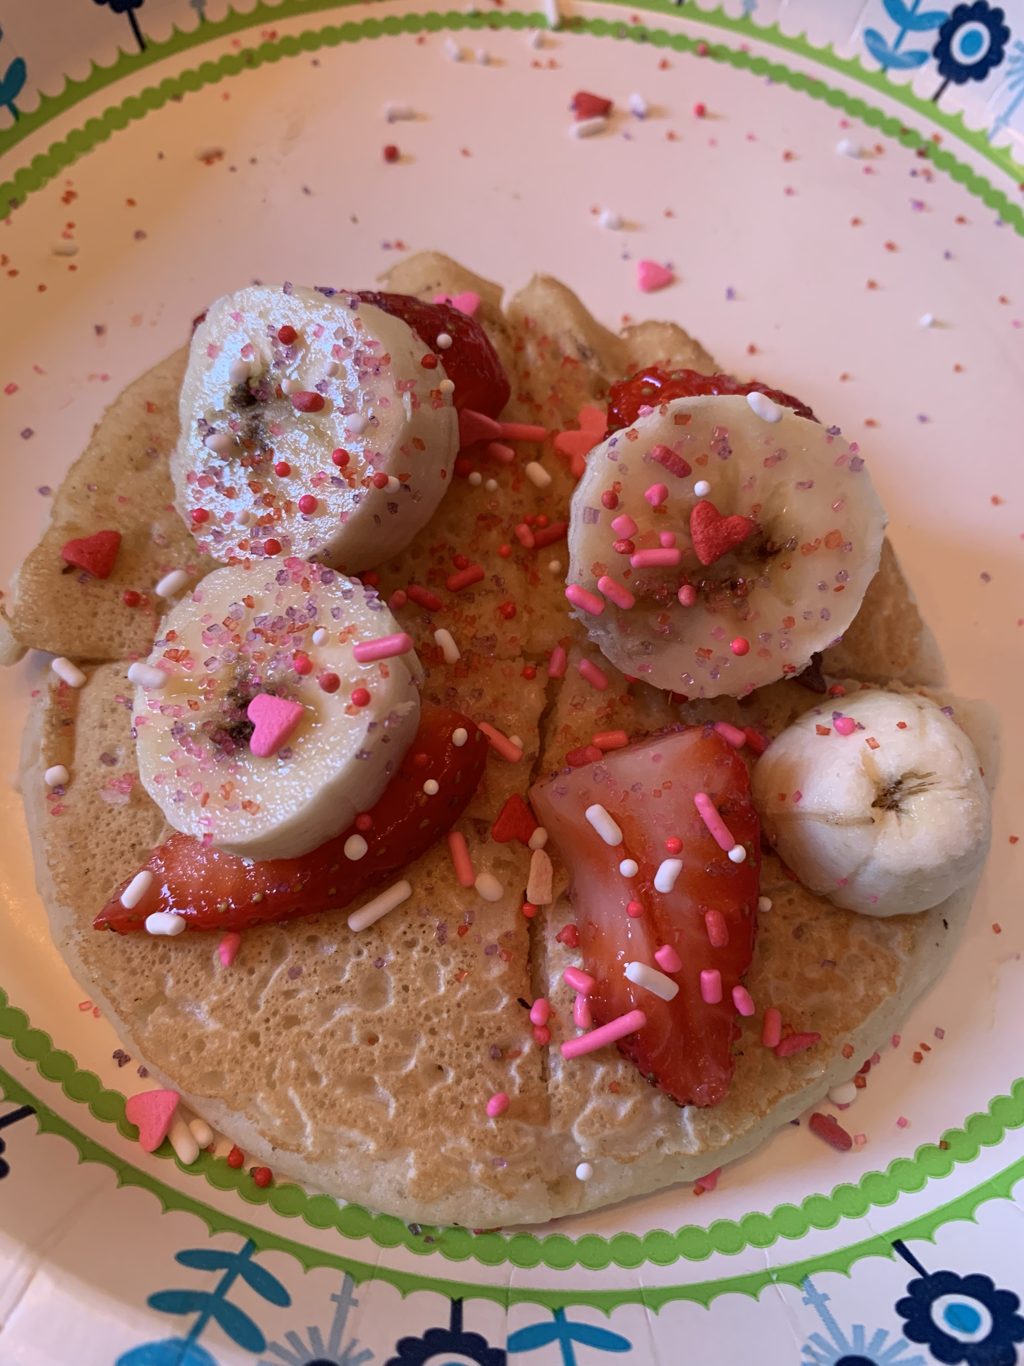 What surprised me the most about Max during his time with us is how much interest he took in the garden! He LOVED helping me. He liked watering, whispering encouragement to the plants, and even kissing some of the flowers. The green beans pictured below were his favorite and he ate them ALL! 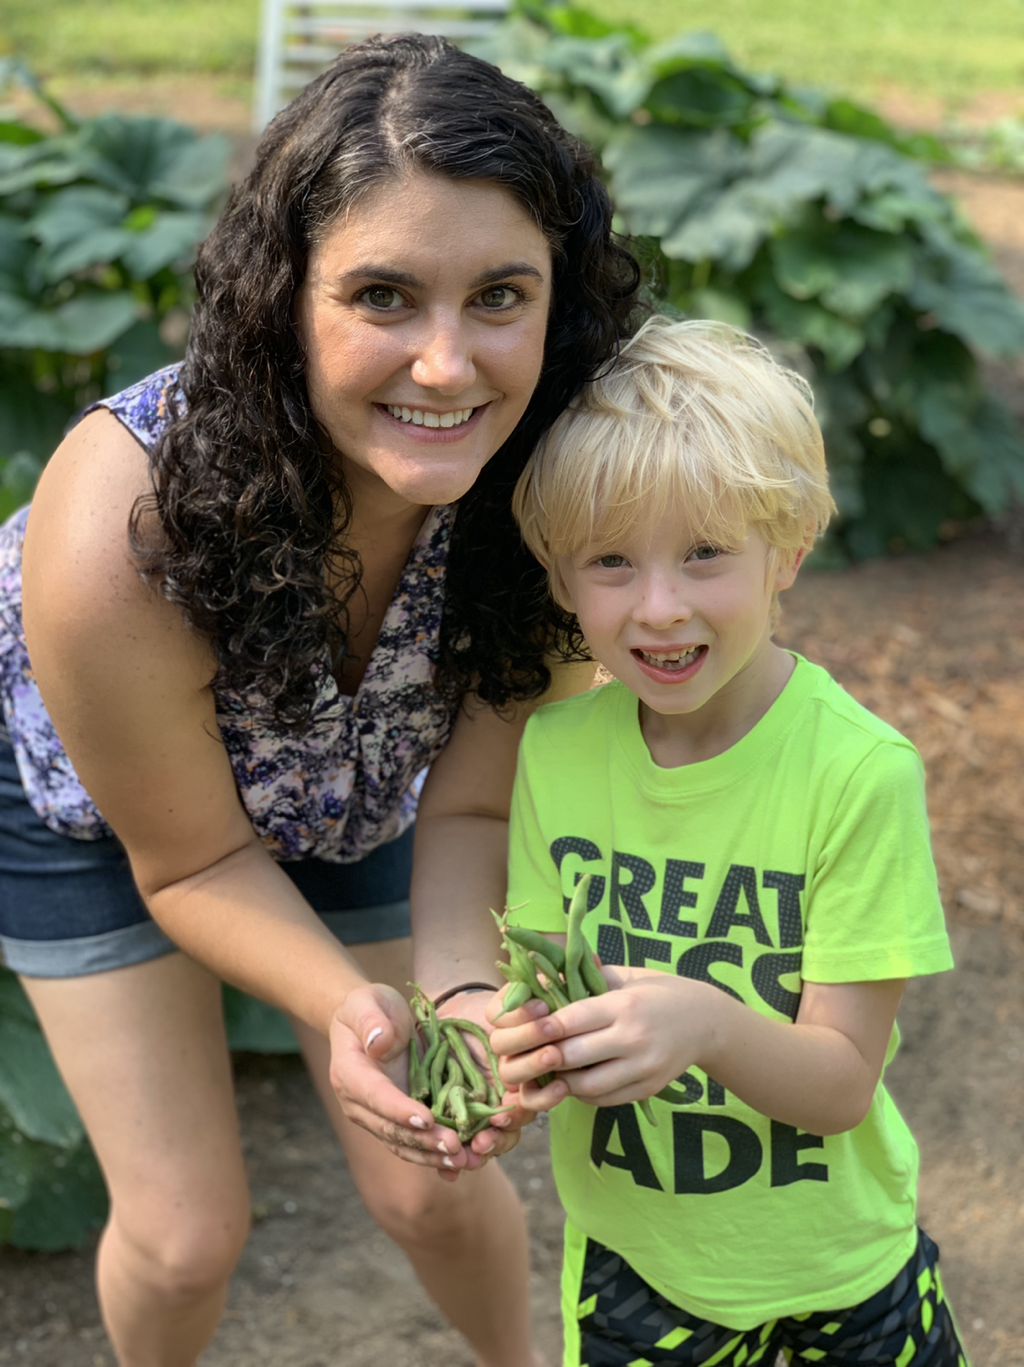  After a board game, tending to the garden, a little more Quidditch, and teaching him how to play Badminton in the backyard, we went bowling per his request. We then came home, played with the toys he brought, and too quickly it was time for him to go. Before I close, I have to share what he packed. It melted my heart.  We had a great time together and his mom said he was playing Harry Potter ever since he got home! That made us consider the sleepover as a successful one. Sparking his imagination is priceless. We can’t wait to plan for the next one!
I love to create my own trellises! I’ve been known to make them out of pallets, chicken wire, and even baby cribs. In trying my hand at growing snap peas for the first time this gardening season, I looked around online for trellis ideas. I found an idea via HGTV that was both fun and cheap to make, so I put my own spin on it. You’ll need:
 DISCLAIMER – Don’t mind all the weeds in my photos. I was waiting for our rototiller to make its way back to me…it looks much better now! One hoop is used for the top, one hoop is used for the bottom of the trellis. I started by attaching the hula hoops to the garden stakes. I wrapped twine tightly around both items, for the most part using a figure 8 pattern. On the bottom, leave about six inches so you can sink the stakes into the dirt to keep it in place. On the top, make sure while you are wrapping some twine crosses over the top of the stake to keep the hoop from slipping down  I placed the structure where I wanted it in the garden. I then took the twine, tied the end to the bottom hoop, and started looping it around the hula hoops - running it from the top hoop, to the bottom hoop in a zig zag pattern. After I got all the way around, I tied off the end of the twine. I have many critters this year, so I also have cages around both pea plants that have acted as trellises in addition to the one I created. The structure has been solid and all has stayed in place, even in the bad storms/high winds we’ve had. The peas have been growing nicely, wrapping themselves around the twine. 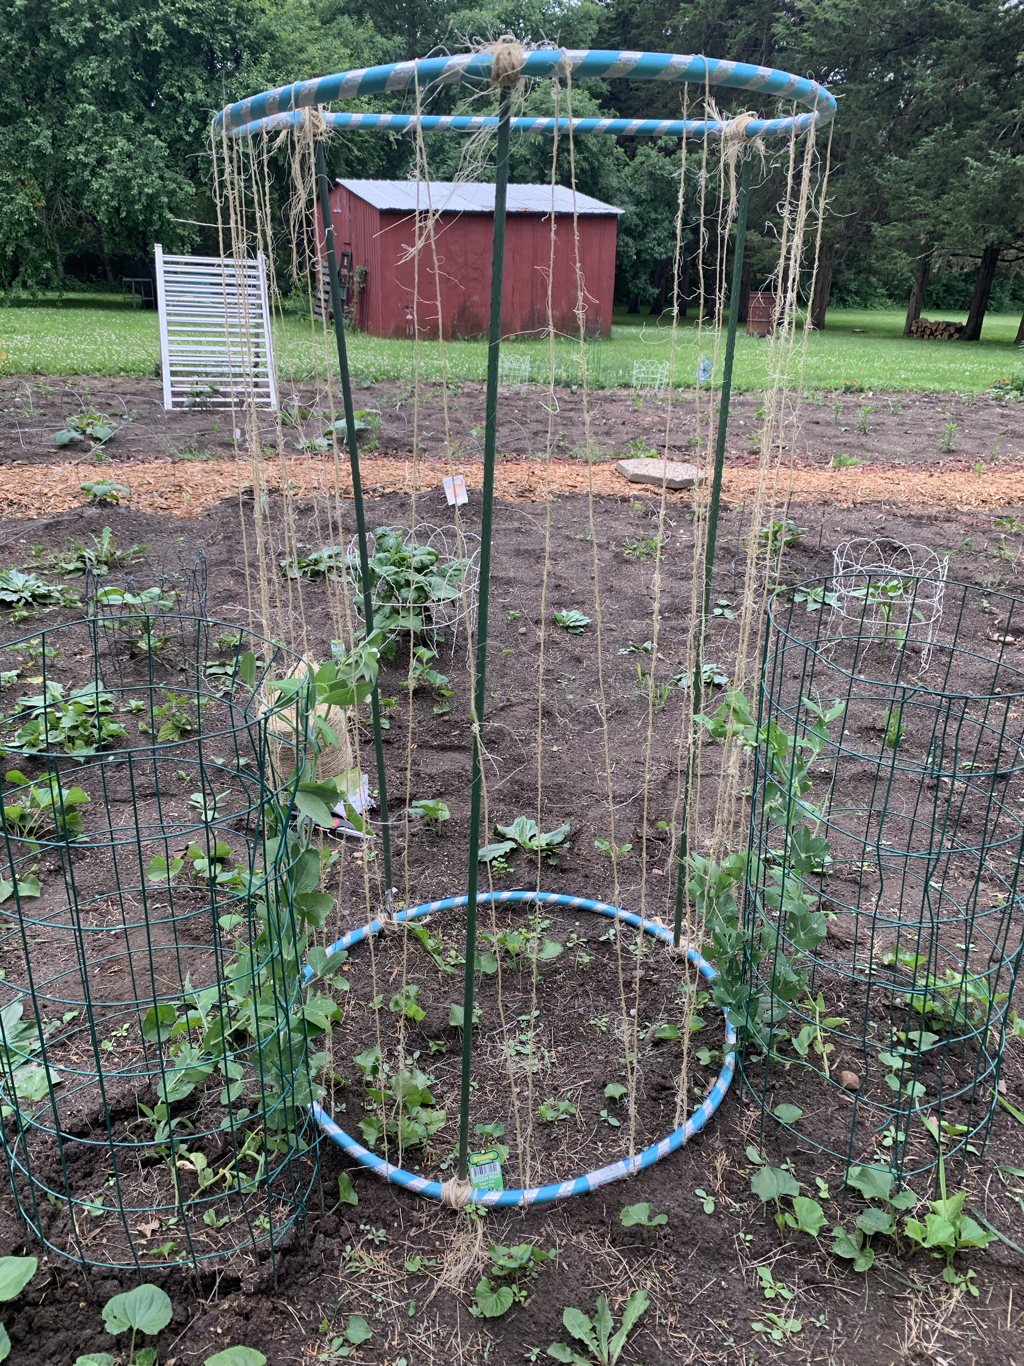 See, I told you I got rid of the weeds! Here is what the trellis looks like in our garden. 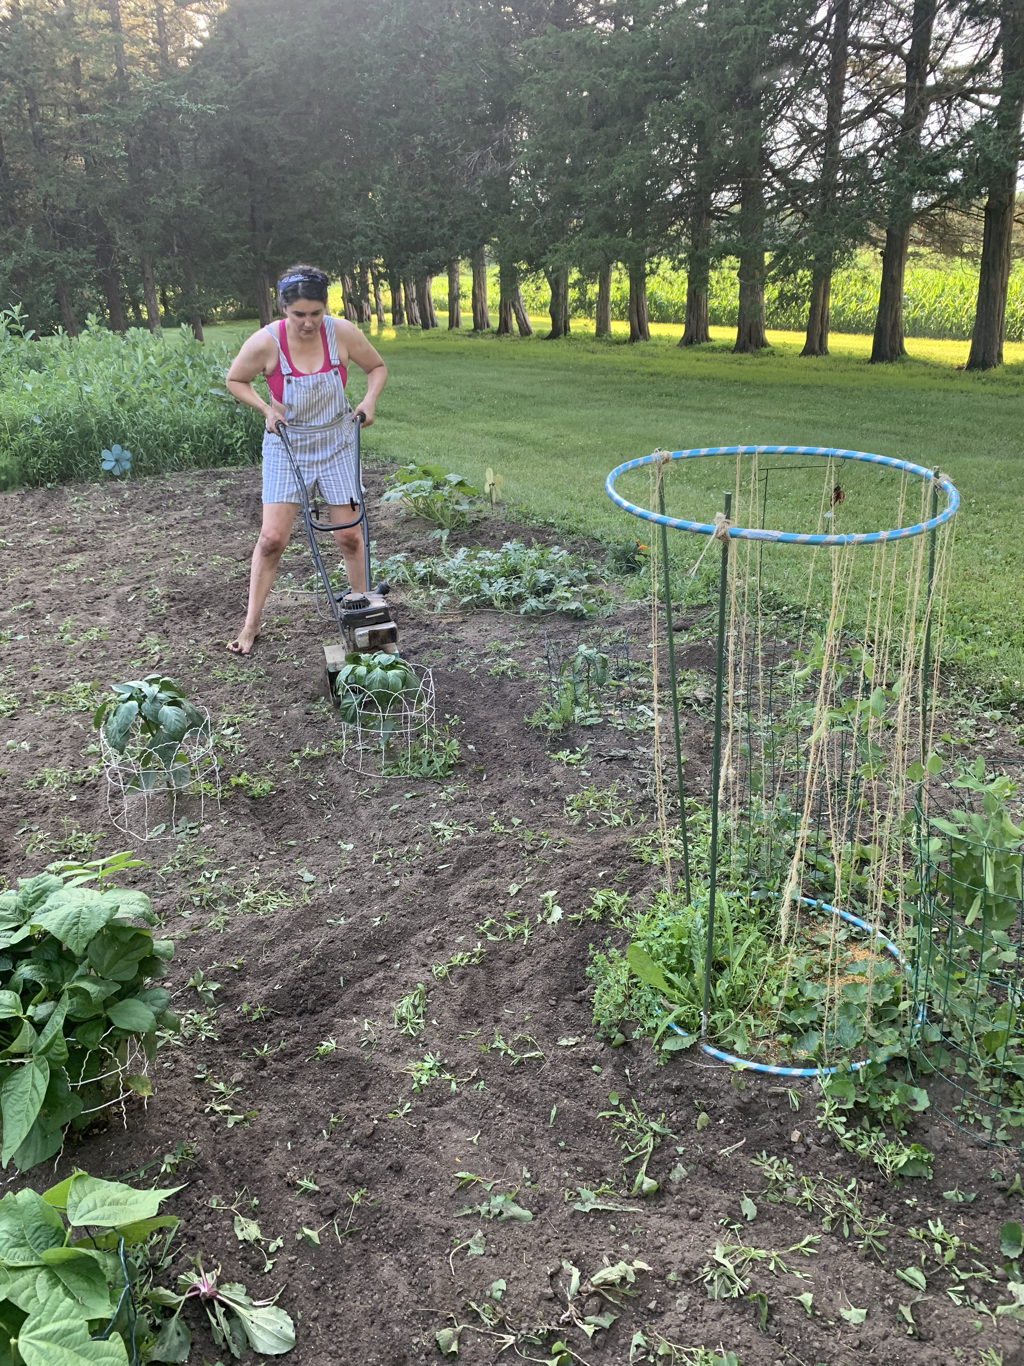 I love decorating outdoors for Summer because it mostly entails lots of flowers! Here are a few vignettes and flower arrangements I pulled together this season to make the exterior of our home warm, inviting, and colorful. 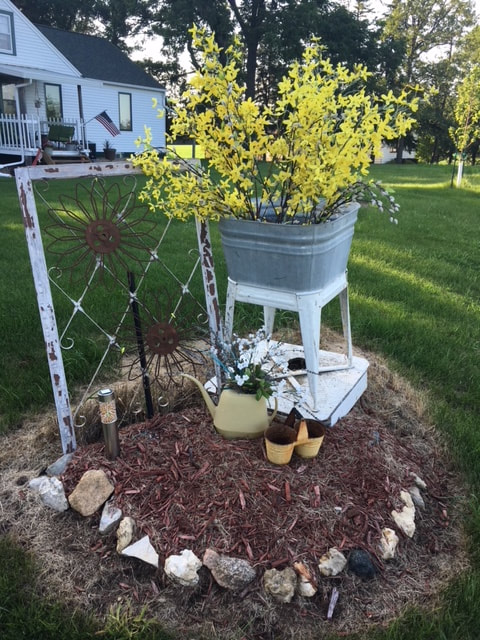 Don't mind the browned edges. I'm not a fan of weed whacking...so I use weed/grass killer around these types of areas! I just applied the spray, so this is an "in progress" shot.  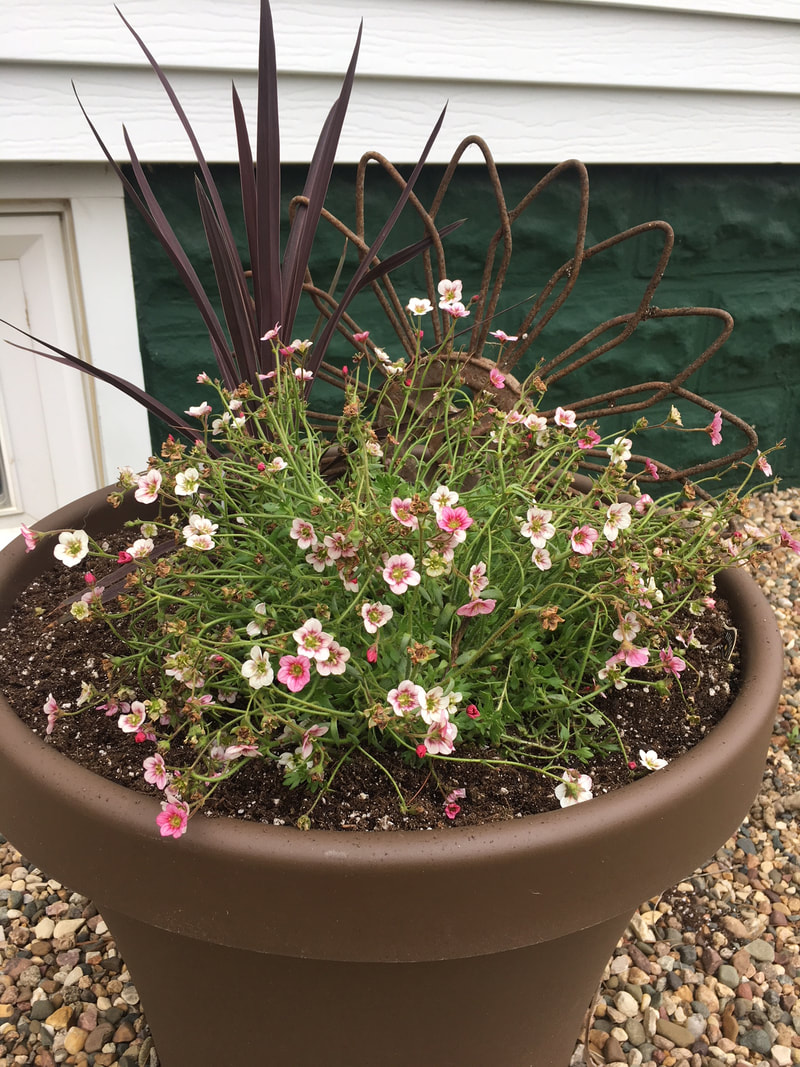 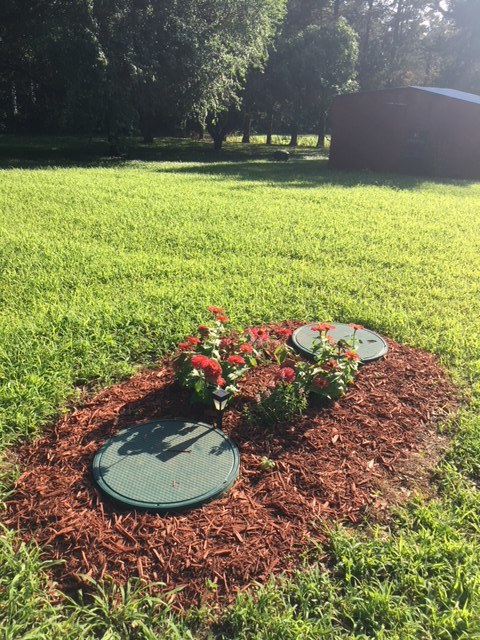 I'm not a huge fan of our septic tank covers, so tried to pretty them up with some flowers and mulch! 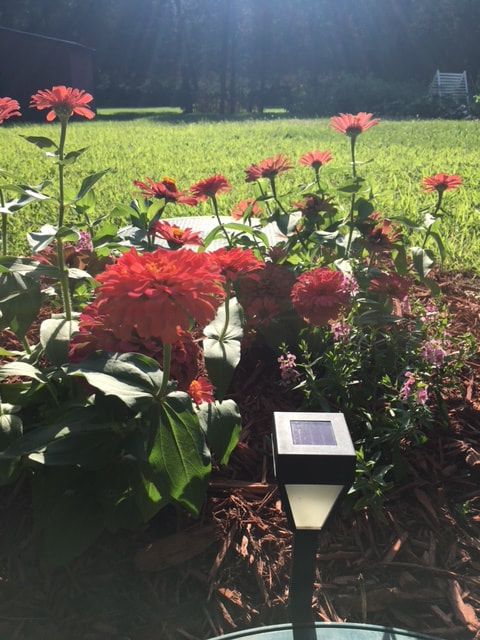 I love me a good solar light AND Zinnias! 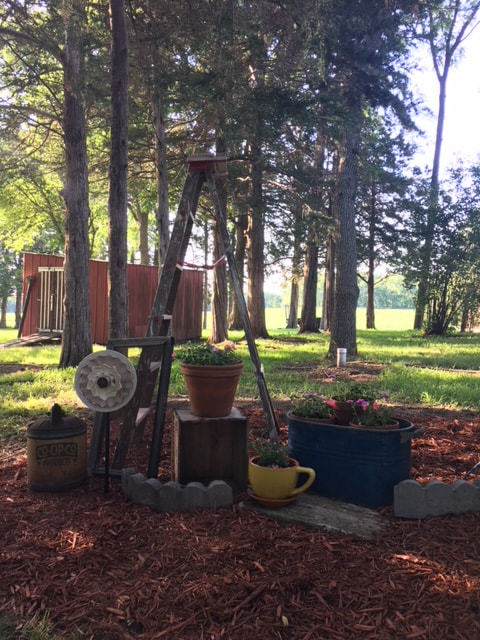 This is right next to our LP tank. I wanted peoples' eyes to be drawn to the vignette vs. the unsightly tank. 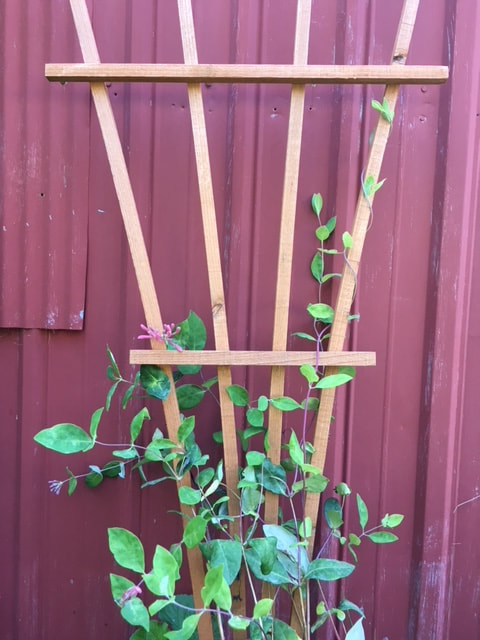 I love the pop of green against this red building. I'm excited for this to climb up the entire side. This is a Honeysuckle vine. 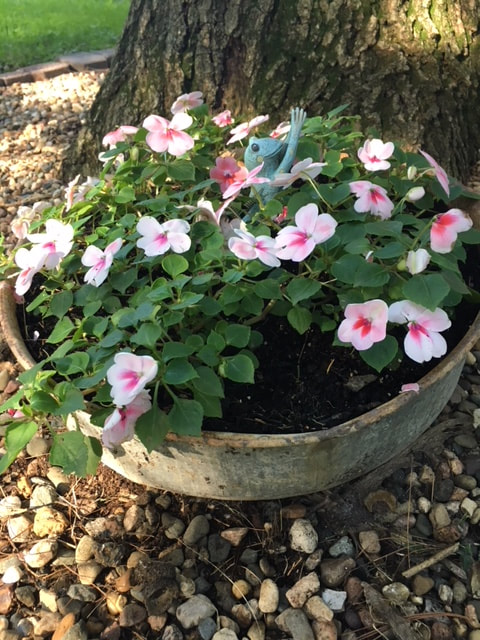 If it holds dirt, I'm probably going to make it into a planter!  Since Spring refuses to show its face outdoors here in Iowa, I decided to start my own Spring indoors by growing seedlings! This is the first time I have ever attempted to grow my own seedlings indoors. I have tried starting seeds outdoors unsuccessfully because I couldn't keep them moist enough. Normally, I buy everything I need for my gardens from a nursery or hardware store. The plants are hardy and ready to get in the ground. This year I want to see if I can create a "full circle" garden by starting the seeds, planting the seedlings, harvesting veggies from the plants, and preserving the veggie seeds for seedlings next year. My fingers are crossed really hard that this will work - but we'll see! Because I didn't know how successful I'd be with seedlings, I didn't want to spend a lot of money to get started. That's why I went the eggshell route. So far, it has been a good option for me. Here's what I am using for my seedlings:
Step 1: Gather & Rinse Eggshells I started three long trays of seeds. This required 4 1/2 dozen eggs. I was able to fit 1 1/2 egg cartons in each tray, equaling 36 pods for seeds. Be sure to rinse out the eggshells. After rinsing, I placed each eggshell half back into the egg carton to dry and prepare for the next step. 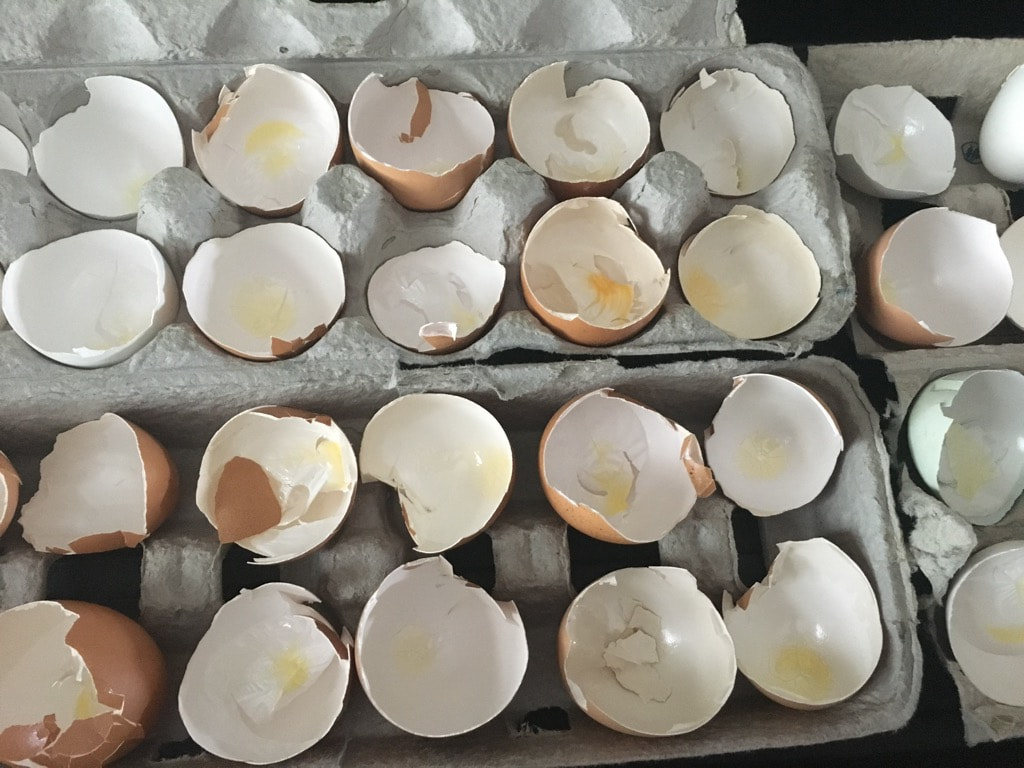 Step 2: Add Dirt & Seeds I filled each eggshell half about 3/4 full of soil, planted the seeds as directed on the packet, and sprinkled a little more soil over each eggshell. I then soaked the soil and seeds with water.  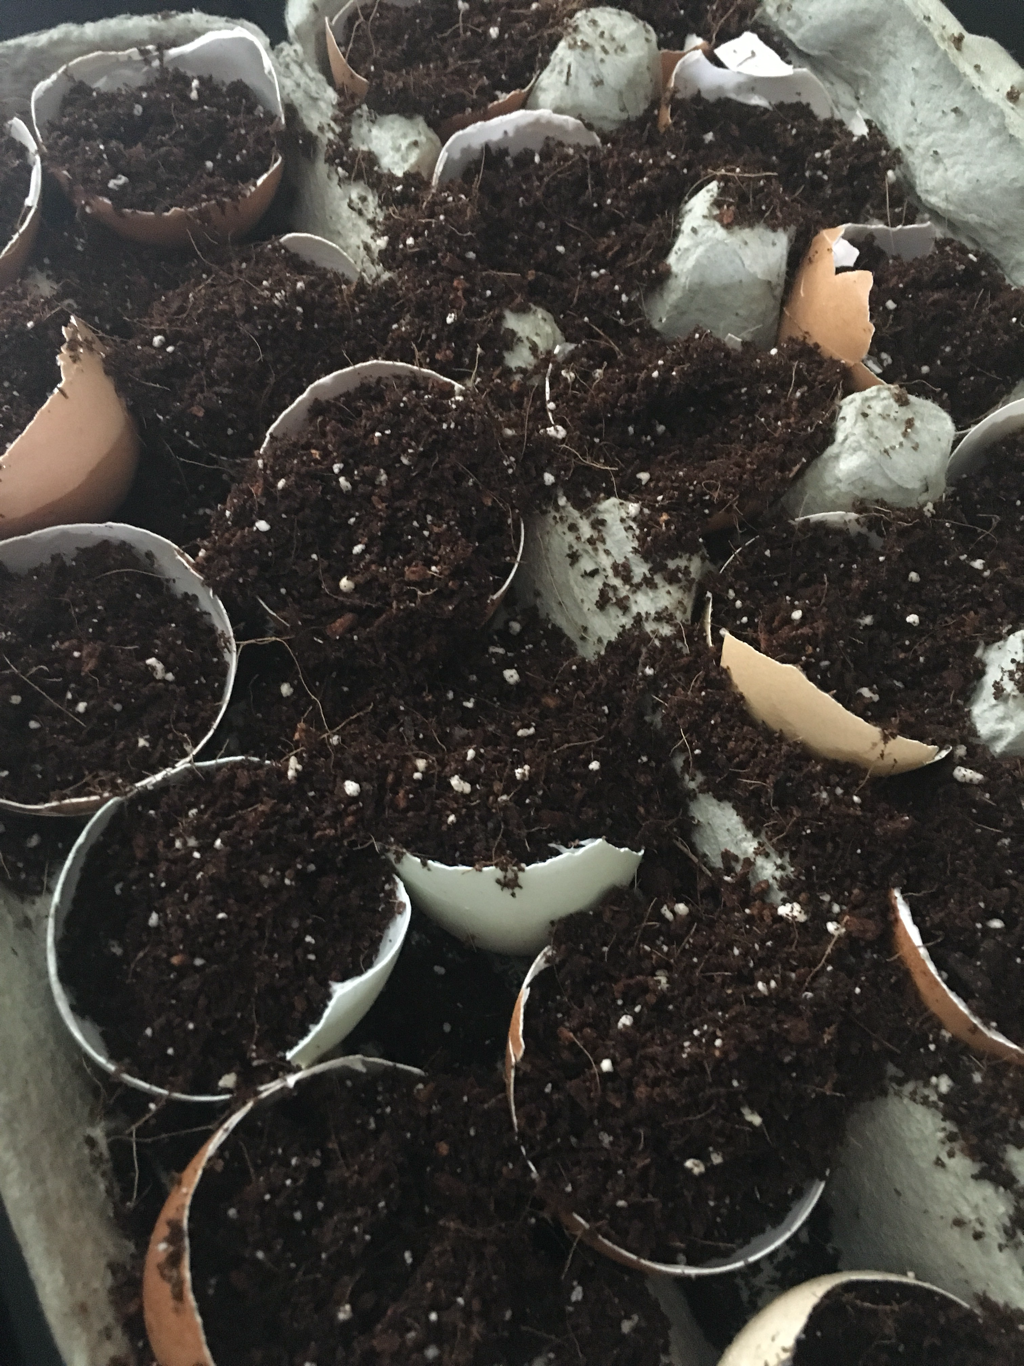 To identify what I was growing, I wrote with a Sharpie on clothespins and clipped them to the sides of the cartons. 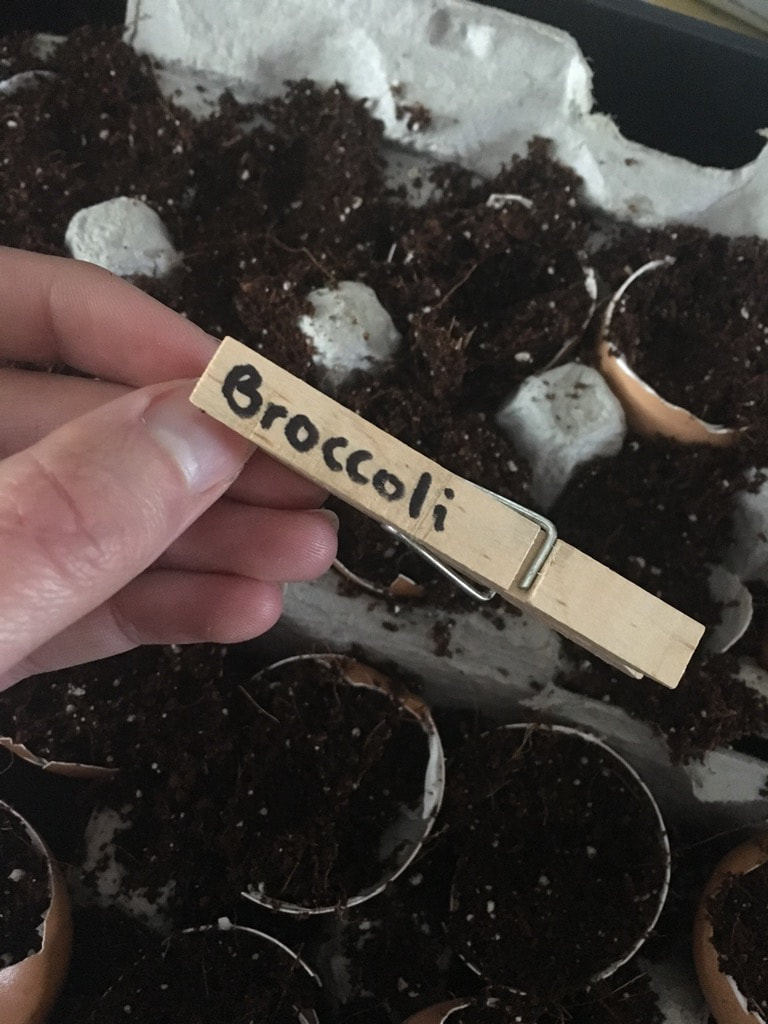 Step 3: Fill Trays & Find Some Sunshine You can get creative with whatever you choose (or choose not) to hold your egg cartons in. I purchased seed starter trays from Menards with a clear, domed lid for my cartons, but I read online you could simply cover your cartons with plastic wrap. You'd probably just want to set your cartons on something because if you're using a non-Styrofoam carton, it will get soggy. Whatever you choose to do, just make sure you have something to help create humidity so the seeds can germinate. Once you have the eggshells situated, find some sun! Or at least some good natural light. We don't have a lot of places in our house for this, so I had to do some rearranging to make it work. My grandma gifted me with my great grandma's grow light plant stand and I positioned it in the front/east side of our house in front of a large window. In the evening, I turn on the grow light for a little extra exposure. 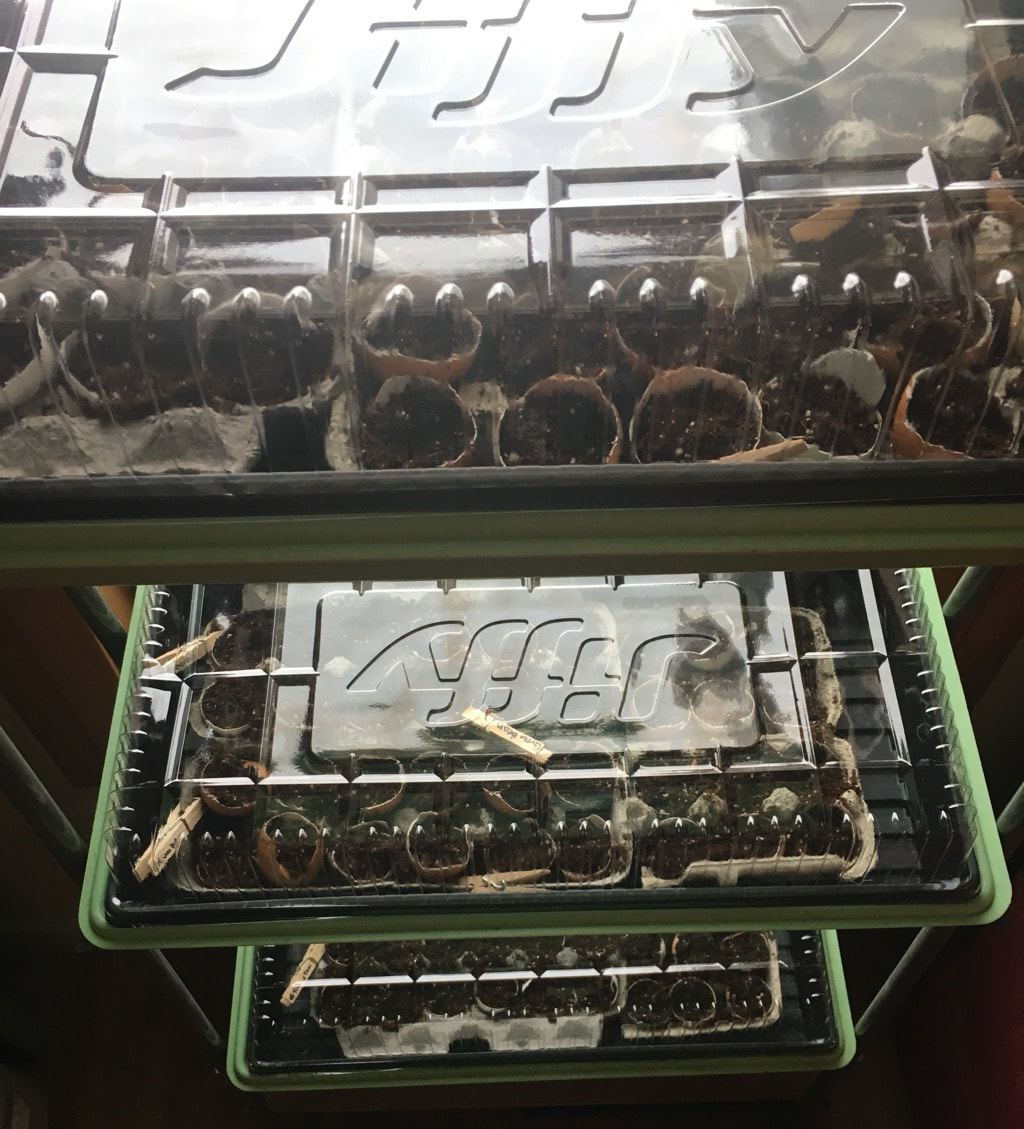 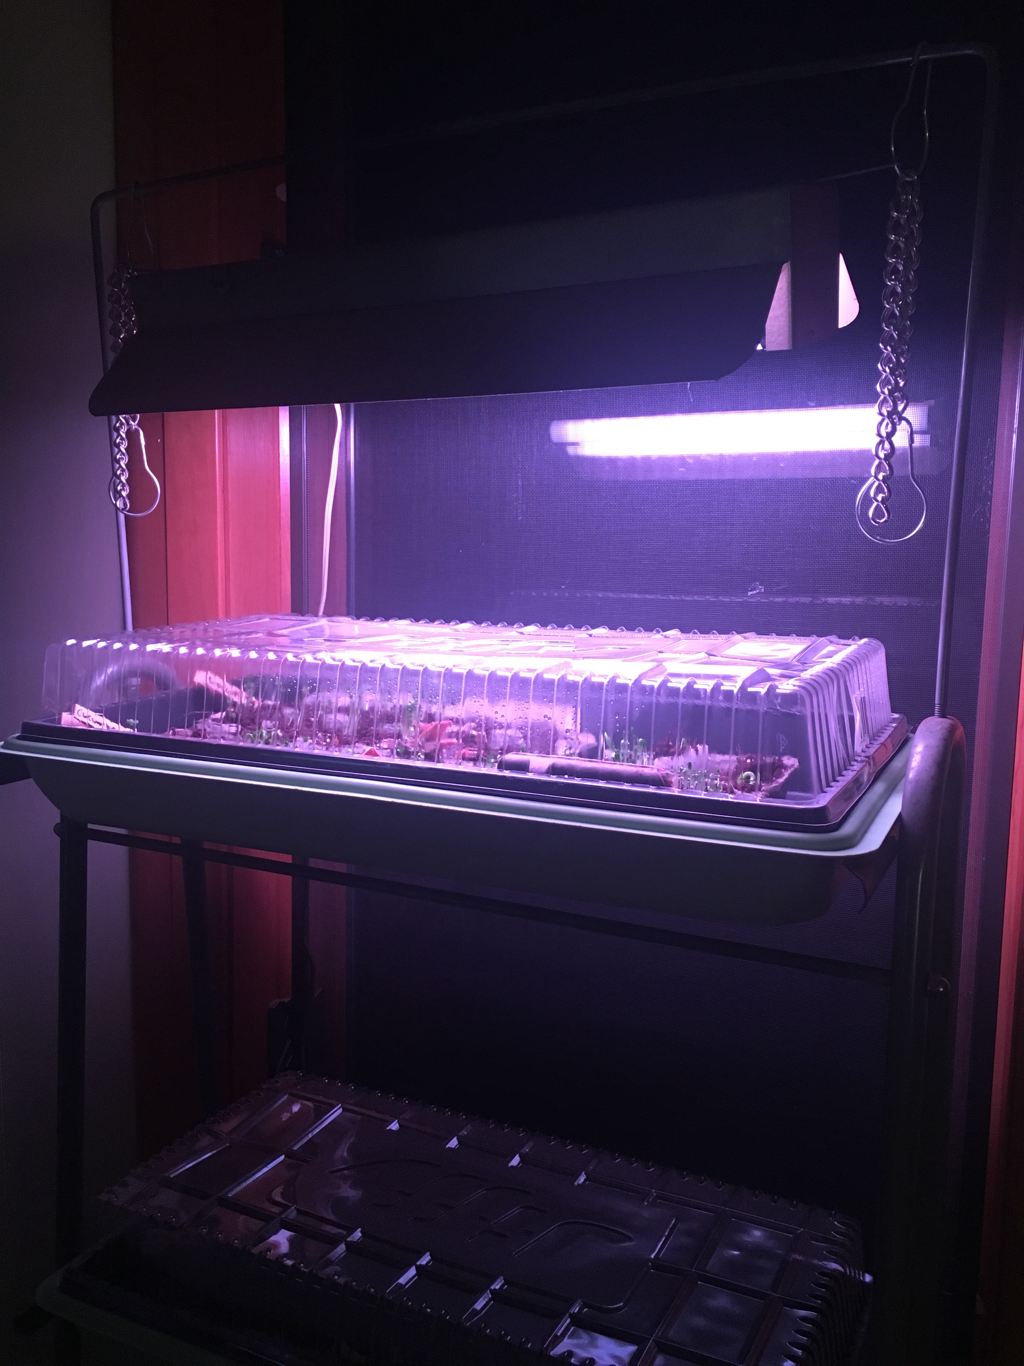  Step 4: Rotate Trays & Water Occasionally The way I'm growing my seedlings is based a little on online research and a lot on my own instincts when checking in on my trays. I rotate trays every other day to make sure they're getting equal light both through the window and from the grow light at night. I also turn them around once in a while so different sides of the sprouting seedlings are getting the light they need. I soak the soil good once a week. I check in between watering to make sure the top layer of soil is wet. If it seems dry, I spritz with a spray bottle. You don’t want the soil to be too wet for too long, otherwise you are at risk for mold and root rot.  Step 5: Whisper Kind Words & Enjoy I truly believe that speaking kindly to plants helps them grow. So when I'm checking on the seedlings or feeling proud of how they're progressing, you better believe I'm giving them words of encouragement! I've seen some really promising results in the first week, with a good 50% of my seeds starting to sprout! Here's what my cucumbers looked like at the end of week one. As promised, I'll share more progress photos as the weeks go by! 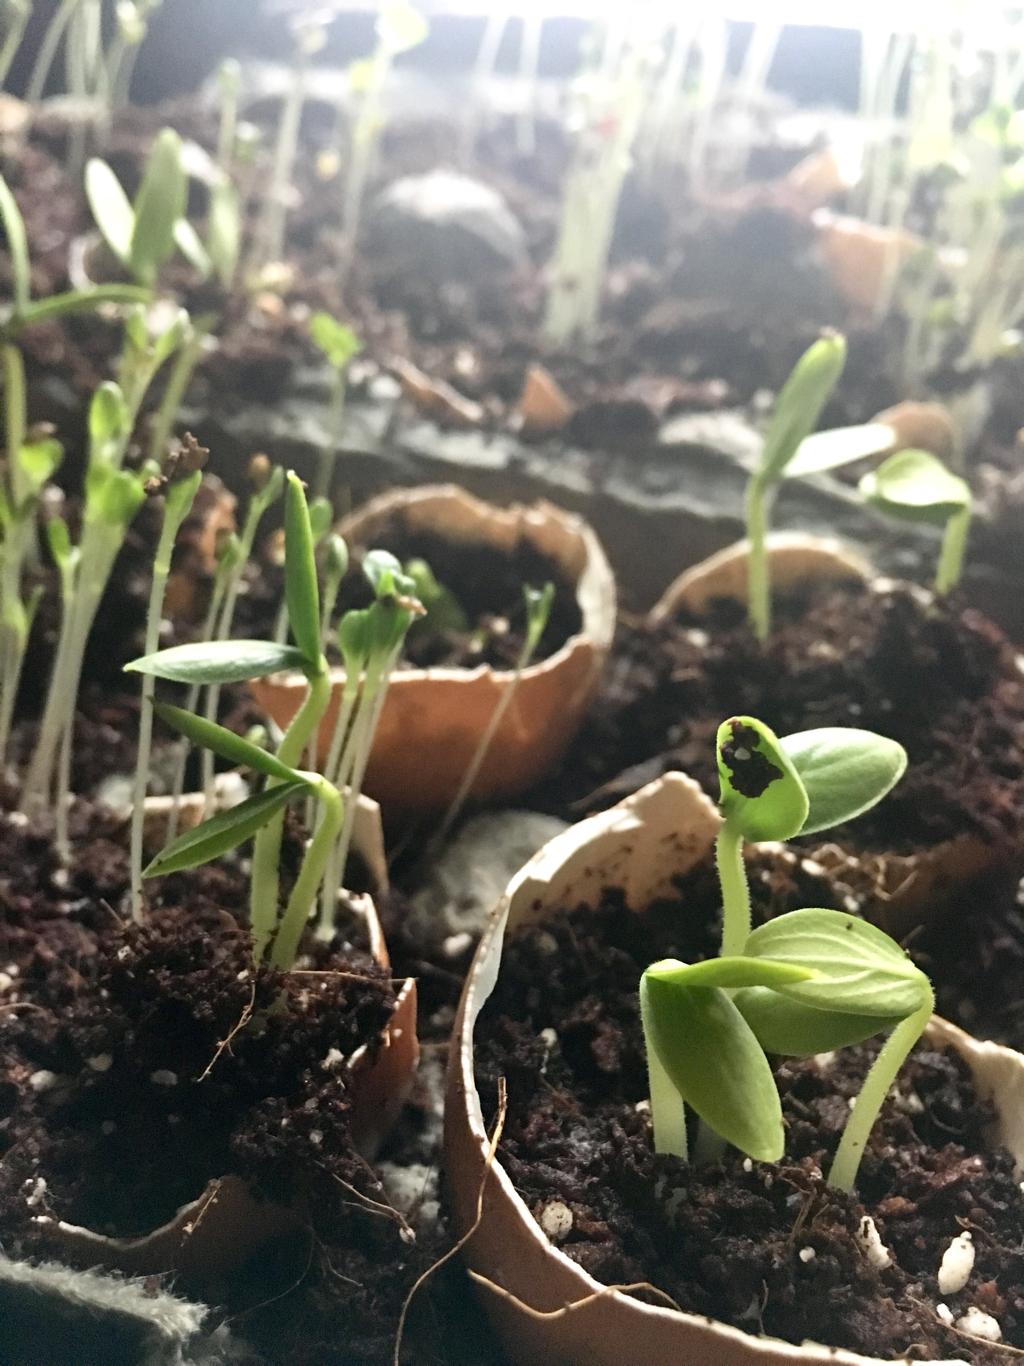 End of week two and I’ve already had to move the green beans into larger containers because they’re getting too tall for the humidity domes! 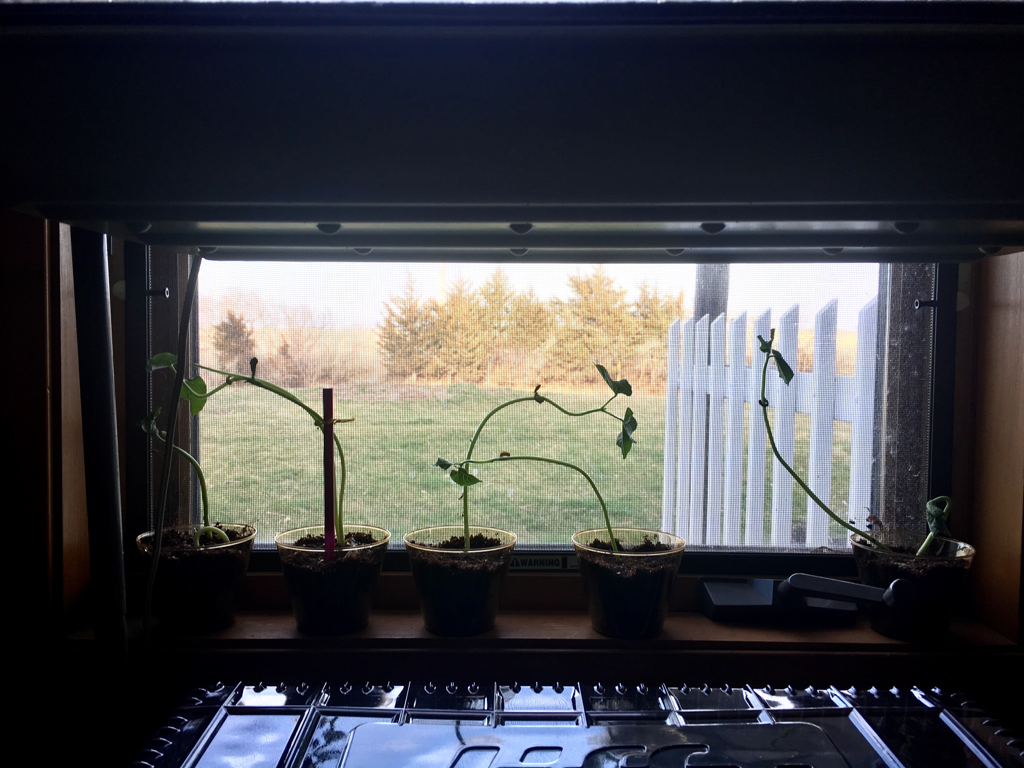 It’s week three and some seedlings are strong while others haven’t come through. The cucumbers are looking good, I’m seeing a new type of leaf sprouting from them. The tomatoes are also coming along. Other items, like the lettuce and herbs have good days, then bad days. Trying to figure out the balance of water, sun, and airing out the trays (when they smell like they may be on the brink of molding).  Week four has been a tough one. Some of the little guys I thought would pull through shriveled up...I still haven't mastered the water/sun/airing out ratio. BUT - I did replant some lavender seeds and they're showing their pretty green sprouts! 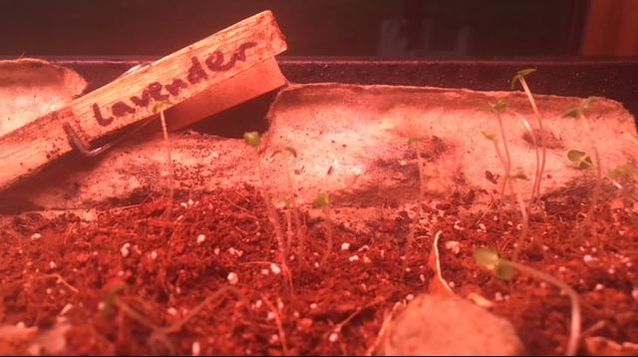 In the middle of week five I planted the green beans outside and they're doing great. 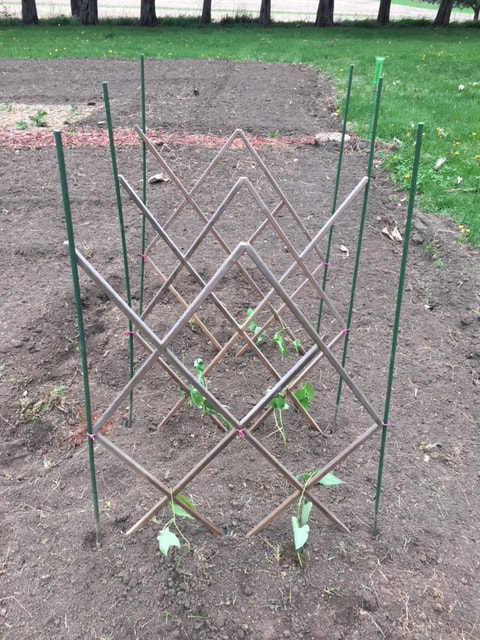 My green beans ended up being the sole survivors from my first year dabbling in seedlings. Find out more in this blog post. I'm humbled by the experience and will try again next year! I am still proud of the green beans - they've produced their first few bean pods! 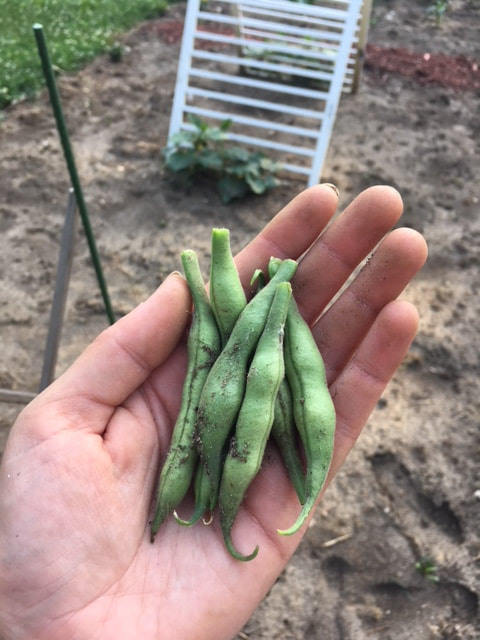 I'm preparing myself for the day frost kills off my flowers and garden, which will be sooner than I think, and a sad day...So to fill the space my outdoor plants took up in my heart this year, I'm attempting to hoard a few house plants to hold me over until next Spring. I've always wanted to start a terrarium, so gave it a shot. It was super simple and turned out so pretty. I now understand why they're such a popular way to grow and display plants. Here's what you'll need:
Start by cleaning the inside of your terrarium. 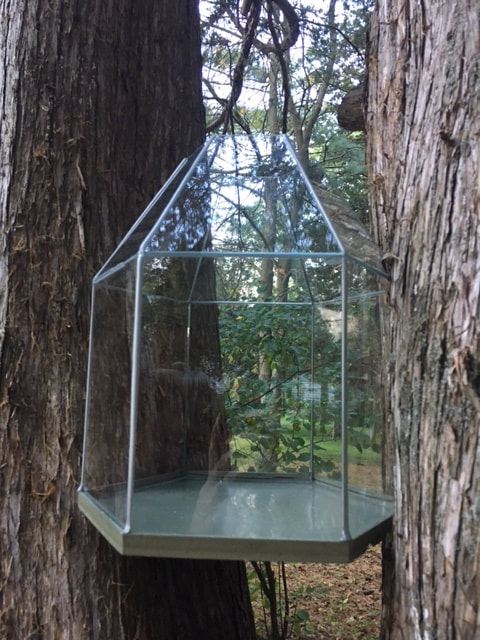 Next you need to establish your drainage layer, filling the bottom with small rocks. I laid down a little over an inch of rock.  I then put in a thin layer of activated charcoal. This helps ensure excess water doesn't stay in the soil and cause root rot. 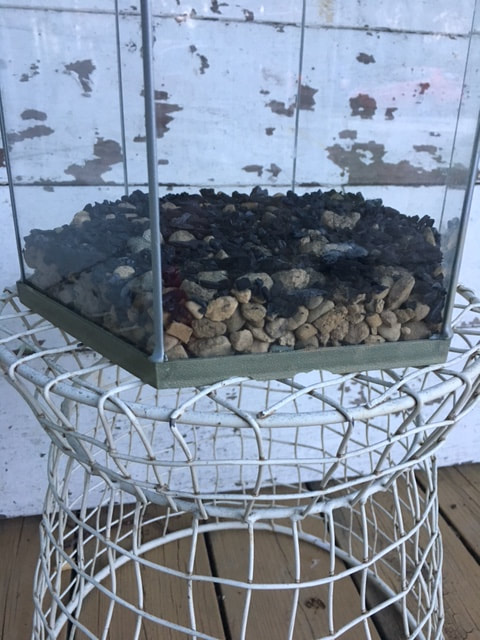 Once I had the drainage layer in place, I started adding potting soil. I put a think layer in, a little over 3 inches, expecting it to settle as I began to water the plants. I also wanted enough dirt to place the plants into! 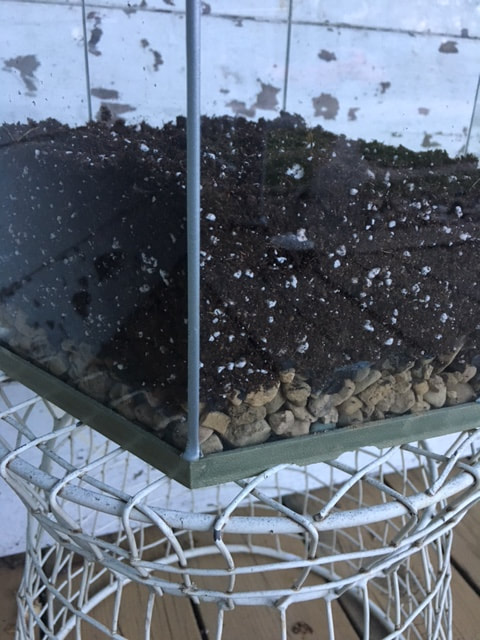 The final step was adding the plants! I selected four small plants of different varieties from Treasures on Main in Westby, Wisconsin. Three will be a little taller, one is more of a ground cover. 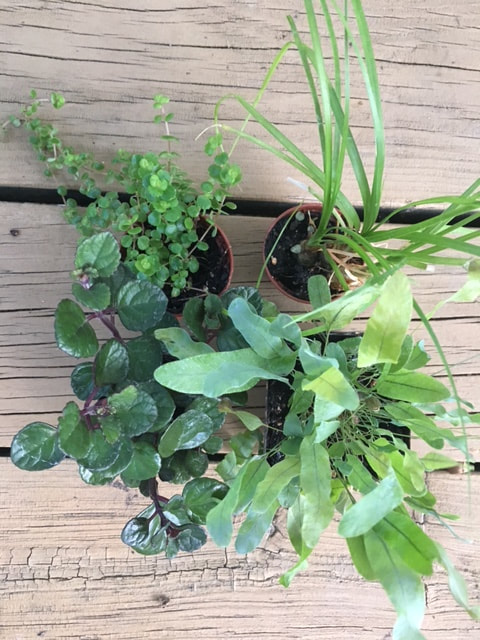 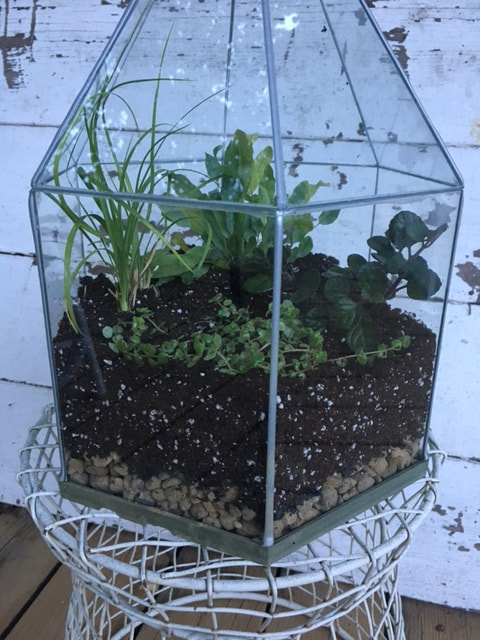 There are so many things you can do with terrariums. A quick search on Pinterest will reveal image after image of cool ideas! Get creative! I plan to add some colored rocks and small figurines to mine once I see how the plants grow in.
Although growing a fruit and vegetable garden has been extremely enjoyable and rewarding, one downside where we live are the critters. We have cats, birds, mice, wild turkeys, bunnies, woodchucks, bugs and deer - that I know of. They have been quite kind in leaving my plants alone for the most part, but I have had to put some measures in place to keep them away. 1. Cayenne Pepper Cayenne pepper is especially good to keep away rabbits. They can't take the heat! I sprinkle cayenne pepper on the leaves and around the base of each plant. I've been doing this for years, even when we lived in town, and it works every single time. 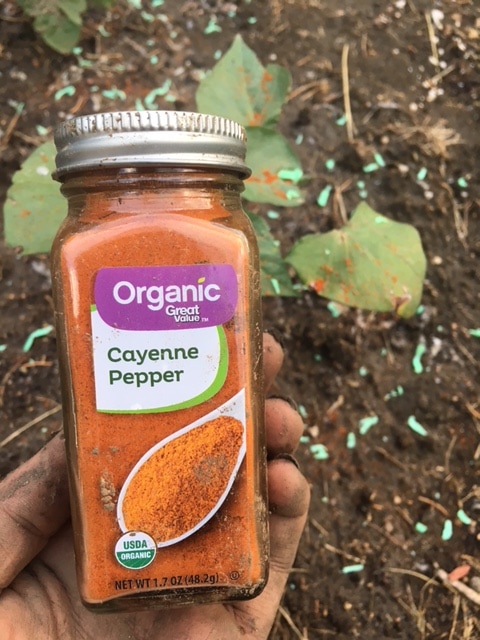 2. Irish Spring Soap This type of soap is good for keeping deer away. Deer HATE the smell of Irish Spring. We have one doe that lurks around in our garden area and it seems like this is effective in keeping her away. I use about one full bar each time I reapply in my garden, which is normally every 2-3 days or after it rains. An old cheese grater that I found in my attic has worked perfectly for grating the soap around each plant. 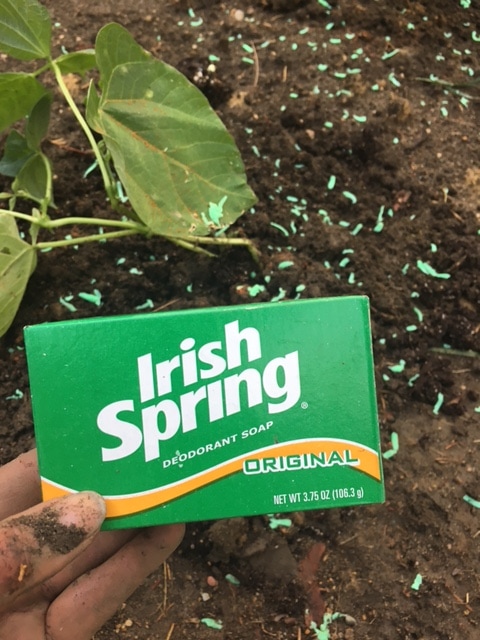 3. Pinwheels I read that having some type of "movement" in your garden deters animals from approaching. We placed pinwheels around the perimeter of the garden. They catch the slightest breeze and are rarely still. I found the ones we are using at Dollar Tree for $1 each and they've held up very nicely through some very strong storms. 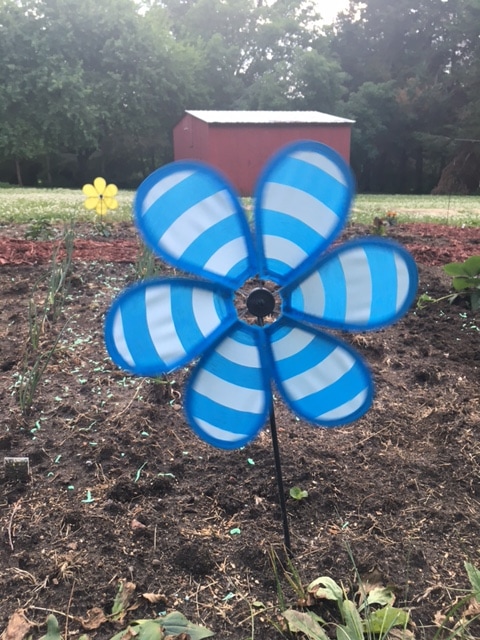 4. Wind Chimes I love the sound of wind chimes, so there is no shortage of them at our house! We placed small wind chimes around both my fruit/vegetable garden and wildflower plot. Animals are supposed to be frightened by the sound of the chimes and birds do not like items that are reflective. I was able to find both the wind chimes and stands for the chimes from Dollar Tree, again, for $1 a piece. 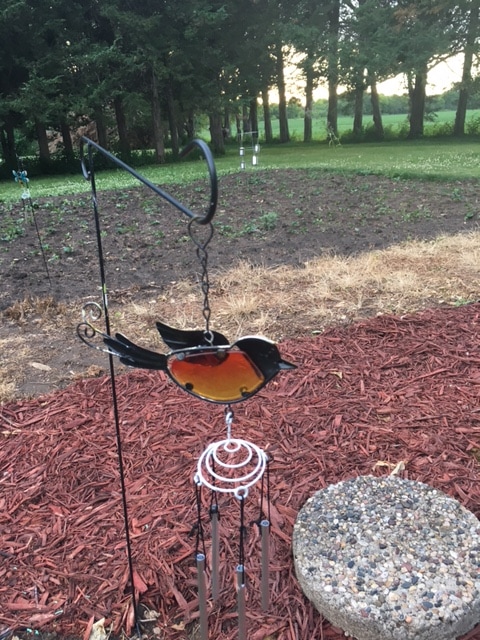 5. Marigolds Planting marigolds is a traditional gardening tip. Marigolds supposedly mask the sent of vegetables, confusing garden pests. We planted them around the entire fruit/vegetable garden. They must also be delicious, because the deer started nibbling on a couple. I fixed that by utilizing tip number two and sprinkled some Irish Spring around them, which did the trick! 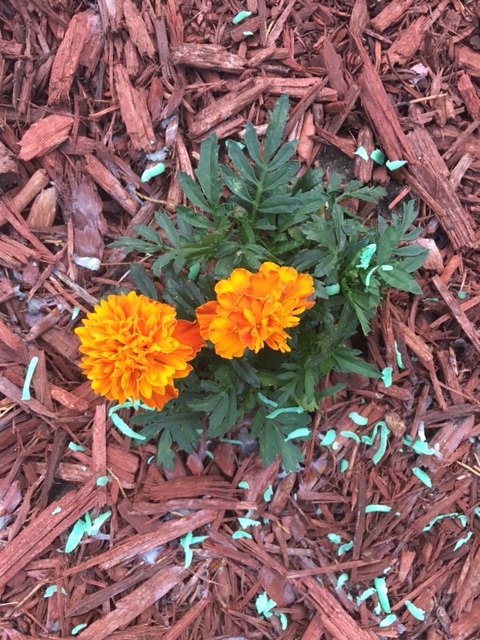 6. Tomato Cages + Tin Cans I planted two established perennials in my wildflower plot that will be good for attracting butterflies. What I didn't know is that they were also good for attracting deer! My solution was to place tomato cages around the plants, hanging tin cans from twine around the outside. I wanted the cage to block its head from the plant and for the cans to make sound to scare it away. I'm happy to report that this has worked and both plants are coming back! 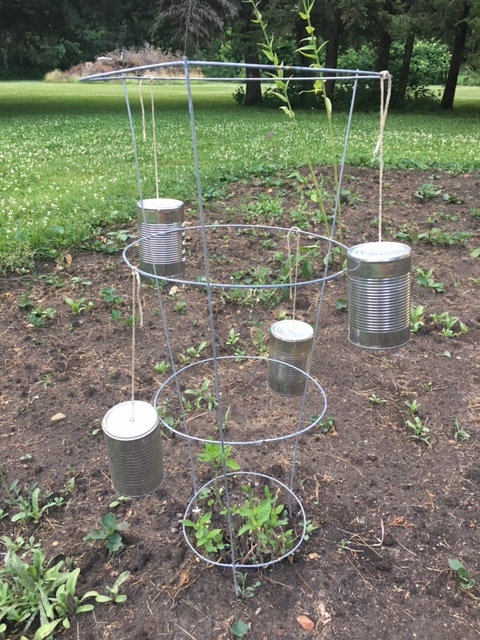 I hope these tricks help you keep critters out of your garden as much as possible! If you have any good tips for keeping wildlife from eating flowers and or fruits/vegetables from your garden(s), I'd love for you to share them in the comments below! I'm sure every gardener will agree, every "battle" with the wildlife has been worth it. Because this is what you get in the end: 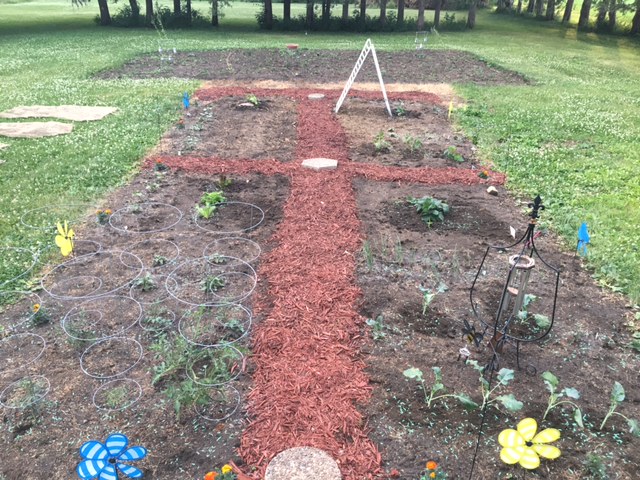 And this is how big your smile gets to be: 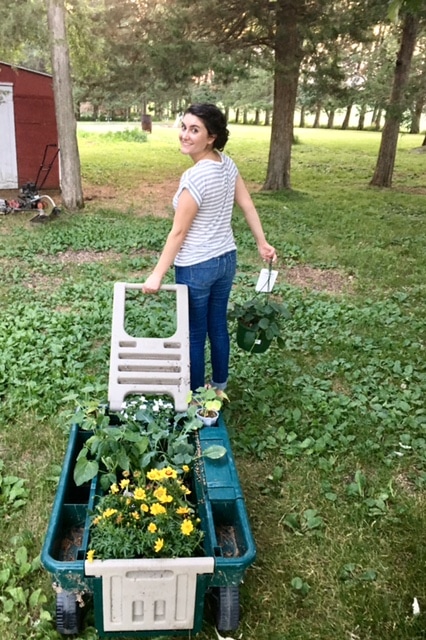 I've turned into the woman standing at the edge of her garden willing her plants to grow. We've had quite the dry spell, and our hose is not hooked up yet, so Joel and I have been toting buckets of water out every other day or so. I'm a gardening beginner. I don't know a whole lot about growing vegetables, but I'm giving it a try! In doing some online research, I found that having a trellis for your cucumbers is important because it keeps them fresh, clean and disease free. Along with my research, I looked for trellis options I could buy and trellis options I could make. I opted to make my own by repurposing an object commonly found at yard sales and auctions. What do you see when you look at this picture? 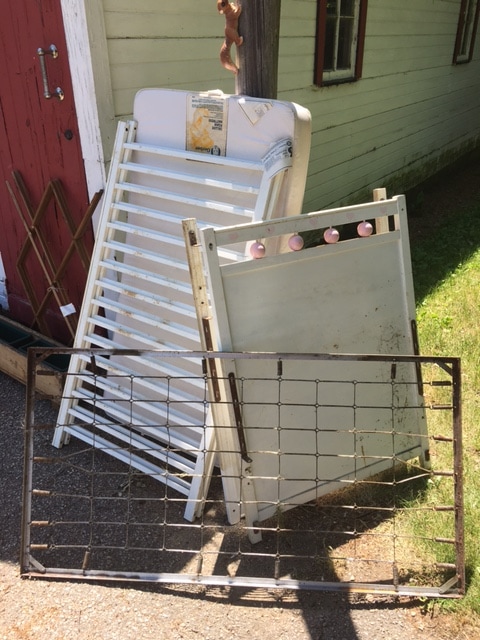 I bet you said an old baby crib, right? Yep, you got it. But I saw much more than that! I saw: a trellis (2 barred sides of crib), two signs (2 solid sides of crib) and a light fixture (mattress spring). I was SO thrilled with this find at a local yard sale for just $10! And the best part, minimal assembly was required to create my cucumber trellis out of the barred sides of the crib. After finding my material and gathering the supplies I needed, I accomplished this project in two easy steps! What You'll Need:
 Step 2: If your sides are wooden, I'd recommend wrapping a piece of garbage bag around the bottom to help prevent rot. Once that's done, figure out how wide you want your trellis to stand, dig into the dirt a few inches and bury the garbage bag wrapped bottom of the sides for stability. 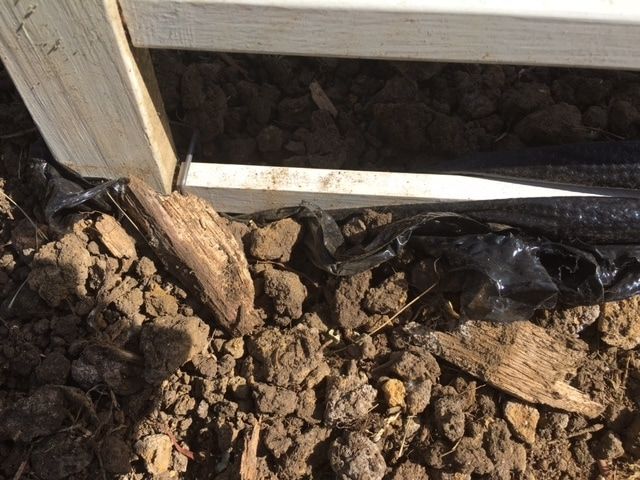 That's it! You now have a cucumber trellis, or flower trellis, or whatever kind of trellis you want it to be. Here's what it looked like in our garden at the beginning of the season in May: 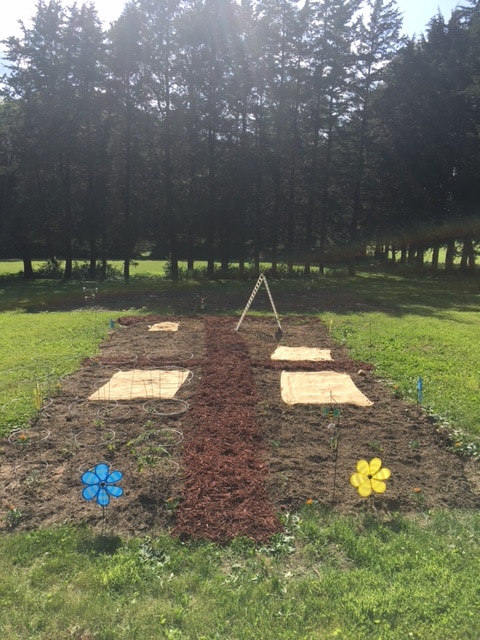 Here's what it looked like in July, just after the cucumbers really started to take off: 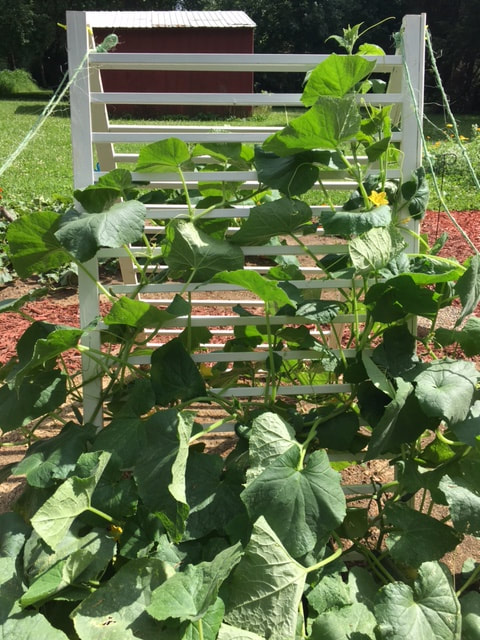 |
Archives
August 2022
Categories
All
|
 RSS Feed