Busy Hands, Happy Heart
|
I have been seeing cute little pumpkins made from cloth everywhere this season. I decided not to purchase any because I knew there had to be a DIY option. After some planning on my own and Pinterest searching, I compiled my ideas and created my own version of a no sew cloth pumpkin! What you'll need:
Start by cutting the sleeve off your chosen sweater or t-shirt. 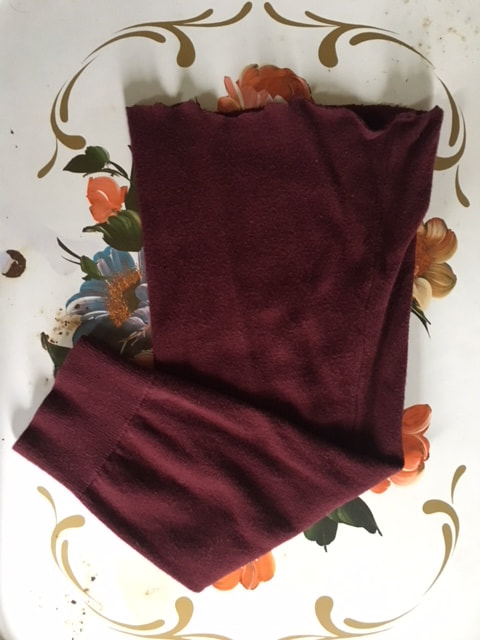 Flip the sleeve inside out and secure a rubber band at one end. 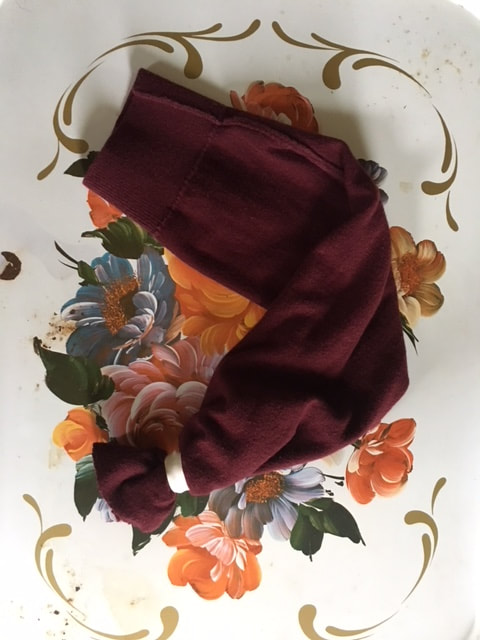 Flip the sleeve right side out and pour rice into the open end of the sleeve. Keep adding rice until you reach the desired shape of your pumpkin. (Good luck not spilling!) 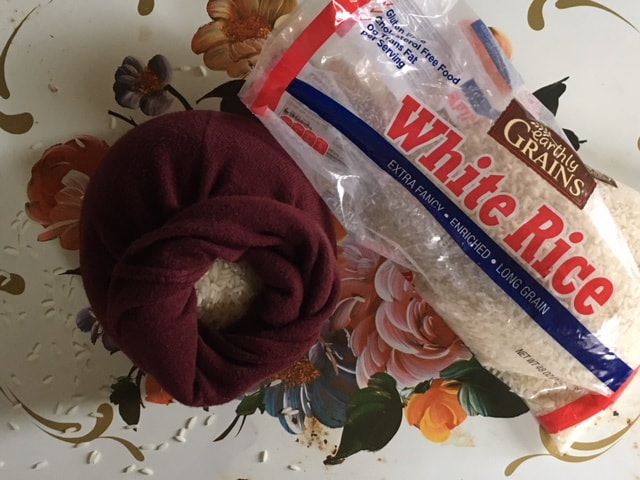 Once you're pleased with how your pumpkin is shaping up, twist the cloth at the top of the pumpkin and secure with another rubber band. 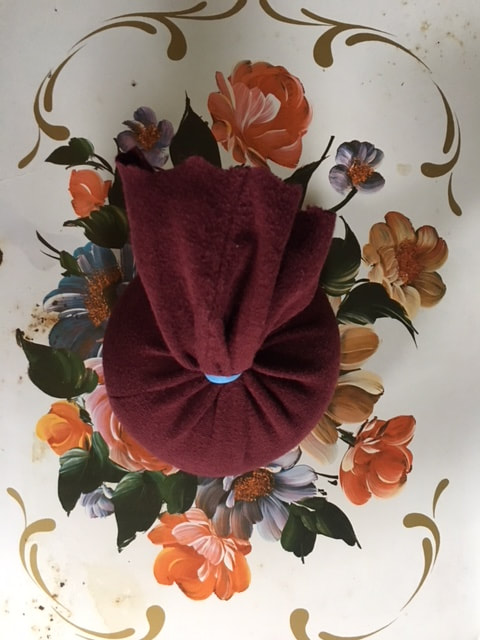 Next, you'll start creating the stem. Starting at the bottom of the rubber band you just put on, start winding twine around the rubber band and fabric, twisting the cloth as you wrap the twine tightly around it.  Once you get to the top of the stem, wind the twine back down to the bottom and secure the end with all purpose glue. 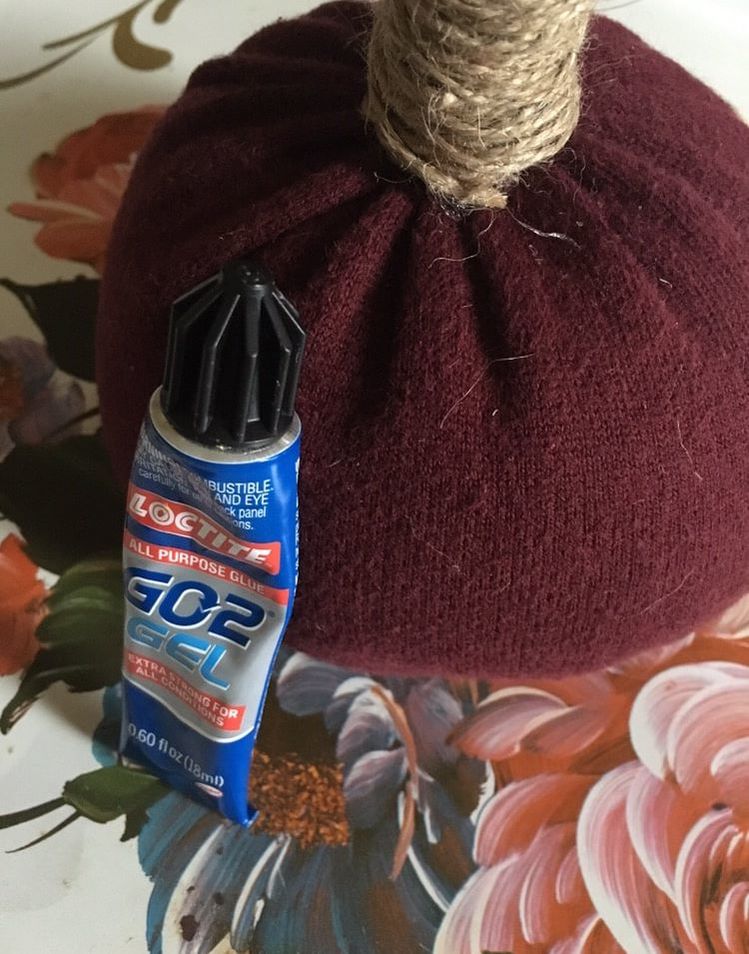 The last thing you'll do is trim the extra fabric from the top of the stem.  I used a men's sweater, a women's sweater and a men's t-shirt (all pulled from our closets) for my pumpkins. The different sizes and fabrics of the clothing pieces created three unique shapes that I liked equally! 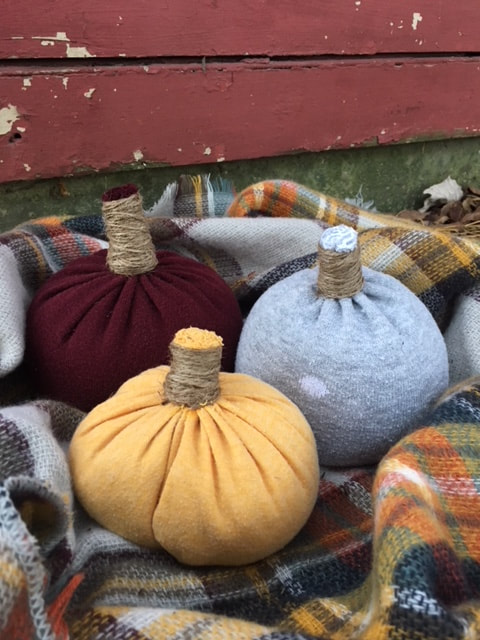 The rice gives these pumpkins nice weight and allows you to shift their shapes so you can style these a little easier than if you were to use Fiberfill for stuffing (which is a technique I ran across a lot for these). It literally took me minutes to pull these together and I loved that this project allowed me to repurpose a few pieces of old clothing! 
0 Comments
I'm preparing myself for the day frost kills off my flowers and garden, which will be sooner than I think, and a sad day...So to fill the space my outdoor plants took up in my heart this year, I'm attempting to hoard a few house plants to hold me over until next Spring. I've always wanted to start a terrarium, so gave it a shot. It was super simple and turned out so pretty. I now understand why they're such a popular way to grow and display plants. Here's what you'll need:
Start by cleaning the inside of your terrarium. 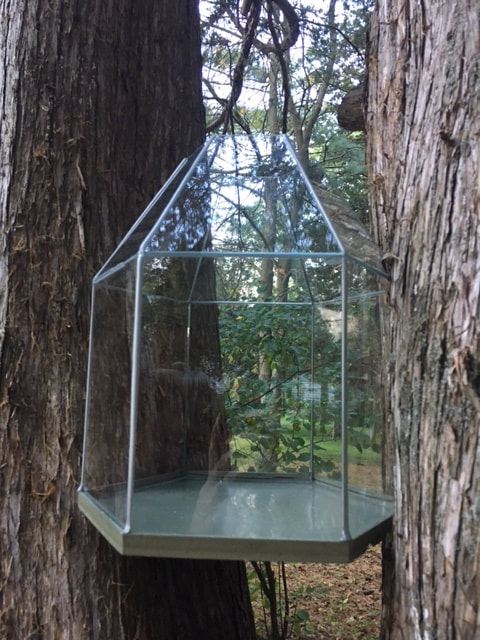 Next you need to establish your drainage layer, filling the bottom with small rocks. I laid down a little over an inch of rock.  I then put in a thin layer of activated charcoal. This helps ensure excess water doesn't stay in the soil and cause root rot. 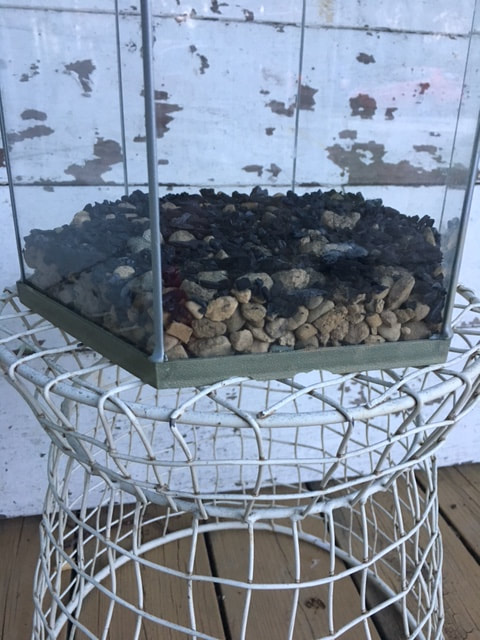 Once I had the drainage layer in place, I started adding potting soil. I put a think layer in, a little over 3 inches, expecting it to settle as I began to water the plants. I also wanted enough dirt to place the plants into! 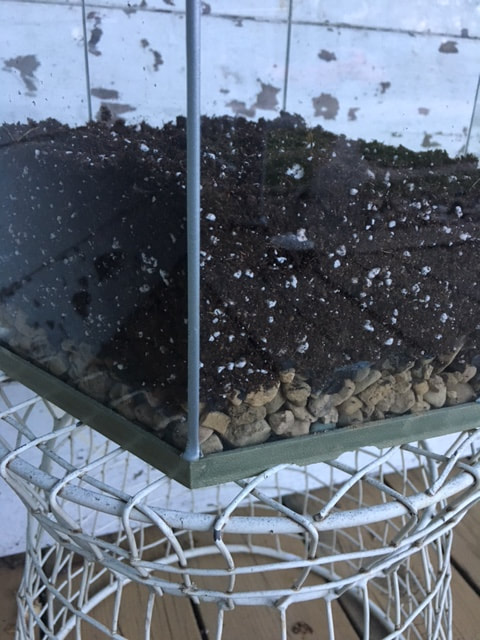 The final step was adding the plants! I selected four small plants of different varieties from Treasures on Main in Westby, Wisconsin. Three will be a little taller, one is more of a ground cover. 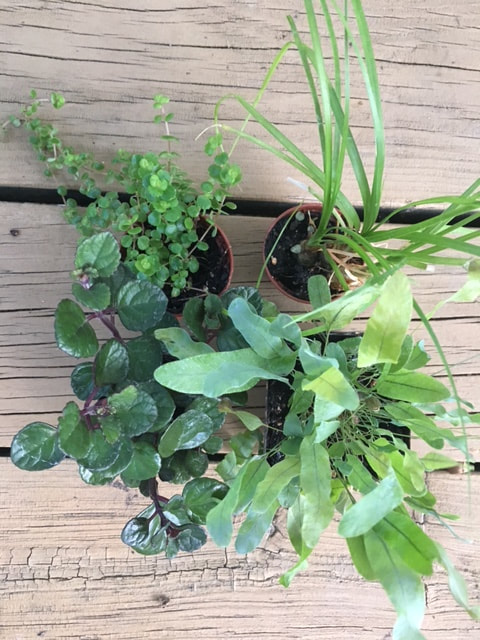 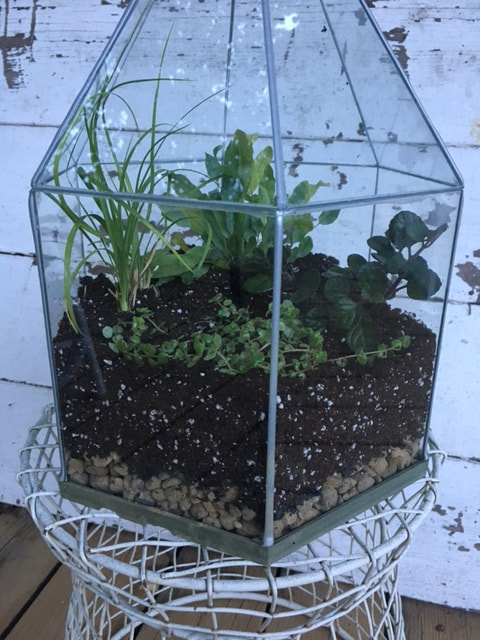 There are so many things you can do with terrariums. A quick search on Pinterest will reveal image after image of cool ideas! Get creative! I plan to add some colored rocks and small figurines to mine once I see how the plants grow in.
|
Archives
August 2022
Categories
All
|
 RSS Feed