Busy Hands, Happy Heart
|
Over the past few weeks I have been working on some exterior painting projects as I've had time and as the weather has cooperated. I really didn't want to wash out trays, brushes, and rollers each time, not knowing if I'd pick up the project again the next day or in a week from then. Here are some helpful painting supply storage tips if you have a project that is ongoing. Both of these tips came in very useful during our renovation and continue to be part of my painting process. Store paint brushes and/or rollers in Ziploc baggies in the refrigerator until next use: 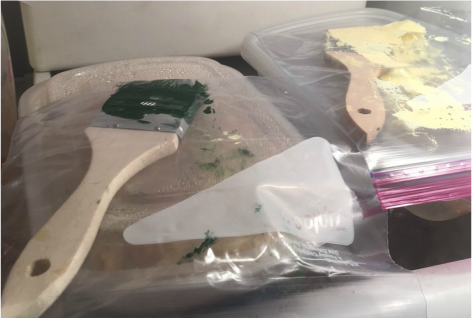 Place paint tray (I also keep rollers with the tray) into a plastic garbage bag and close: 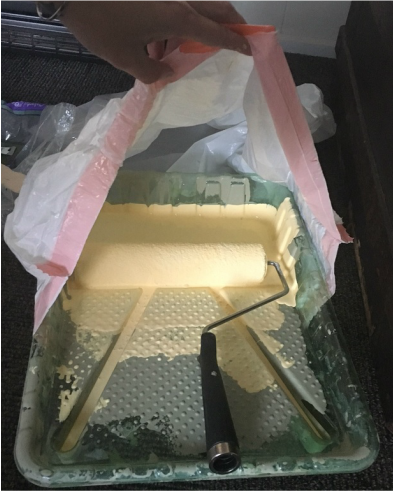 These methods preserve both the supplies and the paint for quite a long time. It's really a handy go-to when you don't want to keep cleaning, putting away, and then bringing back out your painting supplies. Here's what we've been working on. We finished painting the exterior trim, doors, and foundation of the house. We're ready for winter...and for focusing on landscaping next year! 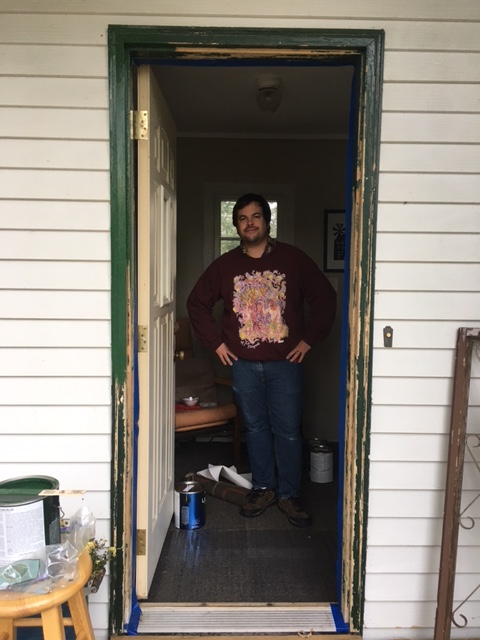 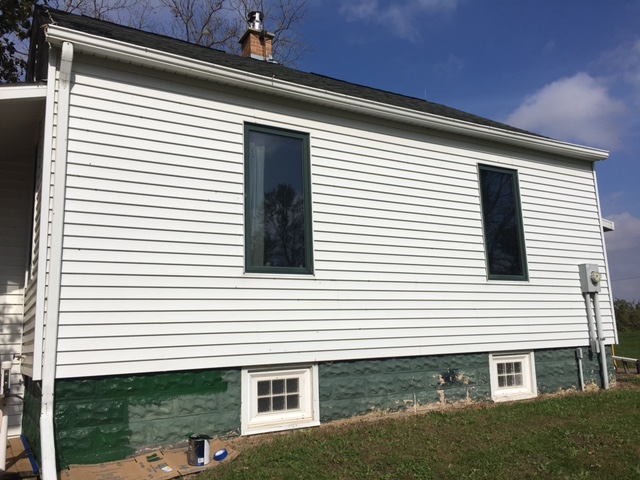
0 Comments
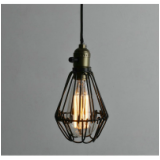 We all know industrial cage light fixtures are very popular right now. I love the look of this style along with the masses. We have an exposed light bulb in our stairwell to the basement that I thought a cage light fixture would look great on. Trouble is, it is at an odd angle near the ceiling, so I had to get creative by creating my own fixture. This is another inexpensive DIY light fixture option that cost me under $12 to create. What You'll Need:
I started off by cutting the cage in half. It was too big for me to use as it was due to the bulb's close proximity to the ceiling. This was fine with me, because I had envisioned 1/2 of a light fixture in the first place. If you are doing something similar, or like the look of hanging cage light fixtures (like the one pictured above) you could probably use the full guard cage and follow these same steps (without the cutting of course)! So as I said, first thing I did was cut the cage in half at the hinge using a razor blade. 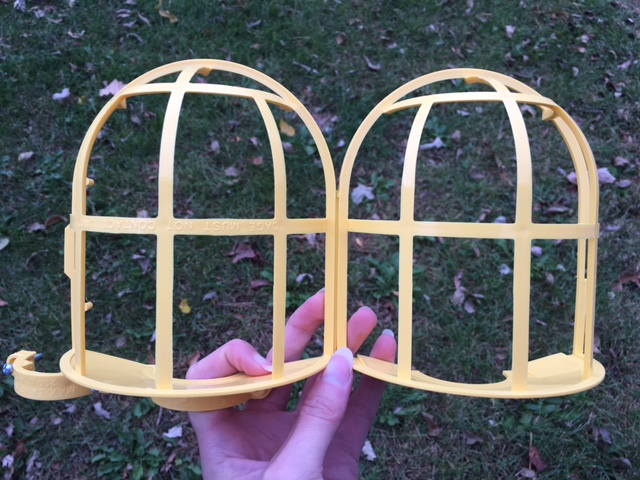 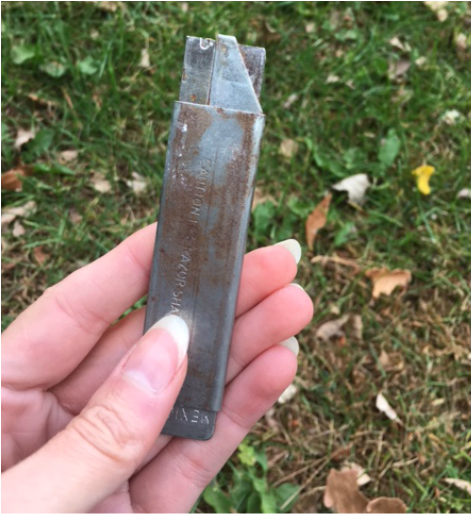 I realize this looks nasty, but I've had this razor blade for over 12 years and it's always good for a nice, clean cut! After I had the cage cut in half and removed the two screws that came with it, I spray painted it with the same oil rubbed bronze that I used for my clamp light lamp. 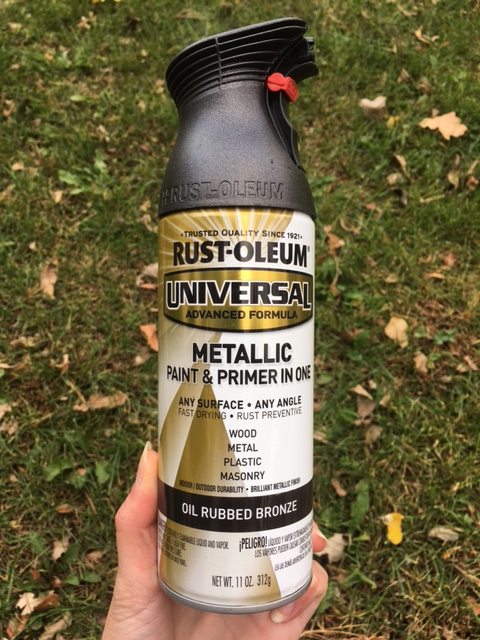 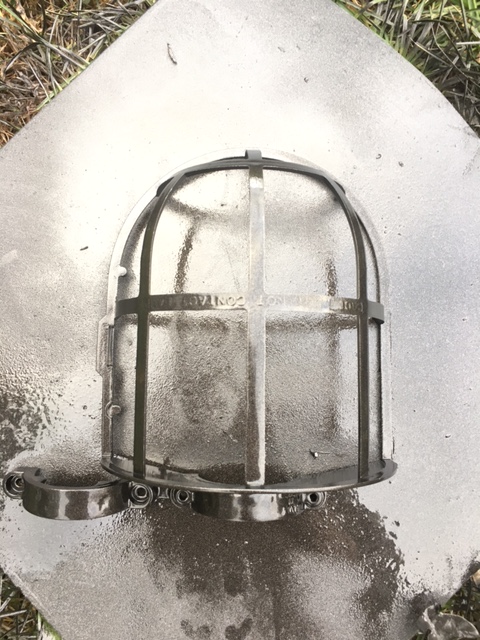 After allowing the cage to dry, it was ready for install! I swapped out the light bulb using a vintage-style Edison bulb and attached the cage to the base of the bulb using the two screws I mentioned earlier. See below for the before and after! 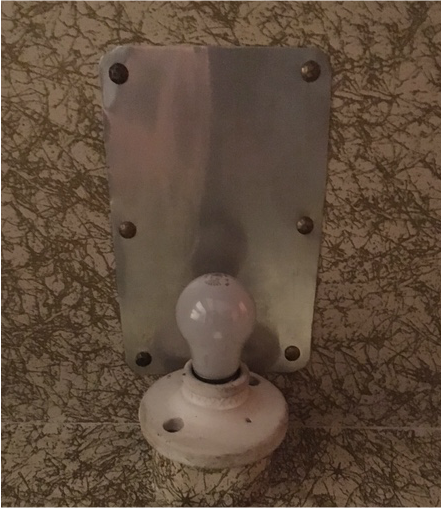 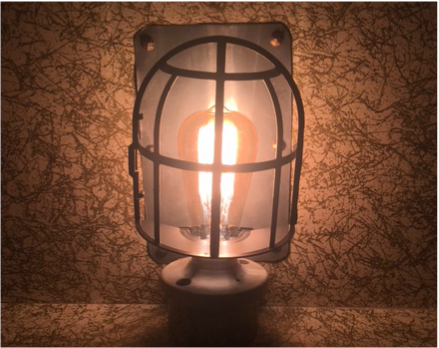 I've got an easy DIY project for you that can be completed in under an hour for less than $15! This project is perfect if you're looking to create a cozy corner in your home or need to add extra lighting to a room, but don't have a lot of cash to spare. All you need is:
I chose to spray paint my clamp light oil rubbed bronze to match my home decor. If you like the industrial look, I think leaving the light untouched would look just as great. That would cut this project down to under five minutes! The first thing I did was disassemble the clamp light so I could spray paint certain portions of it. I didn't want any of the electrical pieces getting goo'd up with spray paint... 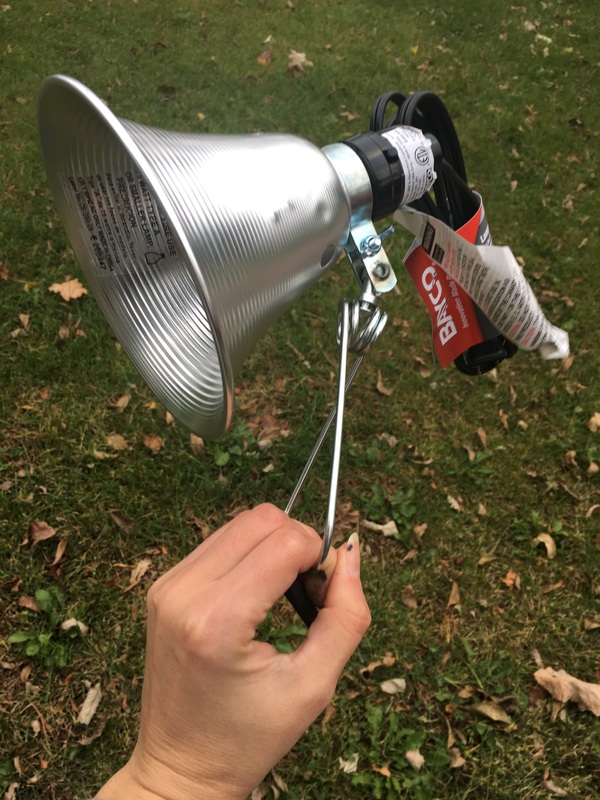 I painted the inside/outside of the "lamp shade" portion of the light, as well as the silver portions of the clamp. I applied two healthy layers of paint to both items, allowing for dry time in between. 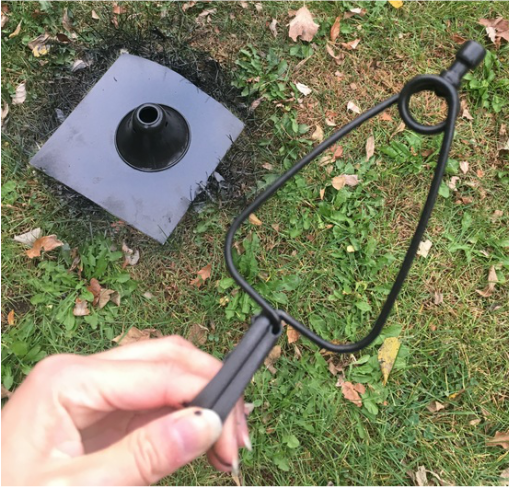 Once the pieces dried, I reassembled the clamp light and inserted the light bulb. All that was left to do from there was to clamp the light to the top of the driftwood and prop it into my chosen corner. See below for a few different angles of the finished lamp, including an evening view to show the amount of light it gives off. If you're looking for a brighter lamp, I'd recommend a higher watt bulb. The one I used was 60 watt. 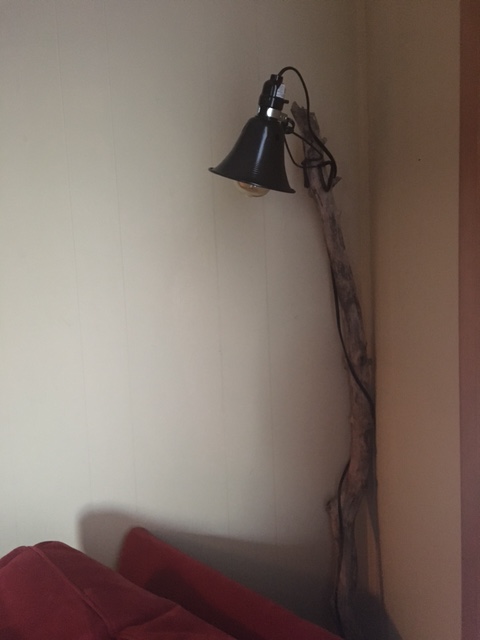 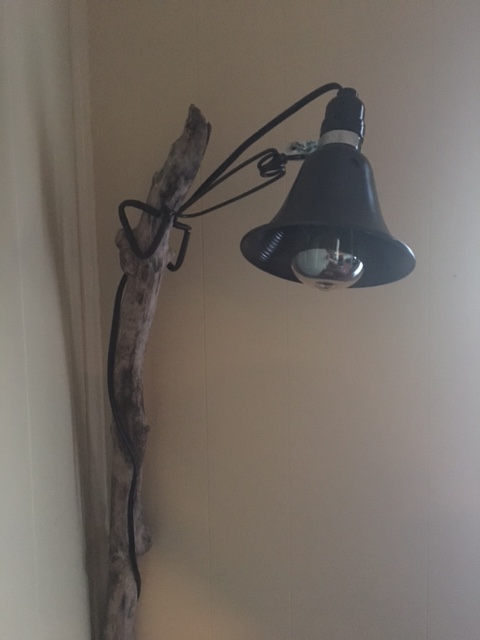  As you can see, the vintage bulb puts off a lovely warm glow in the far corner of our living room. This lamp is a piece I didn't know was missing until I created it.
Happy DIY'ing my friends! |
Archives
August 2022
Categories
All
|
 RSS Feed