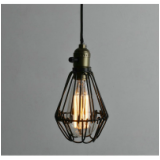
 We all know industrial cage light fixtures are very popular right now. I love the look of this style along with the masses. We have an exposed light bulb in our stairwell to the basement that I thought a cage light fixture would look great on. Trouble is, it is at an odd angle near the ceiling, so I had to get creative by creating my own fixture. This is another inexpensive DIY light fixture option that cost me under $12 to create. What You'll Need:
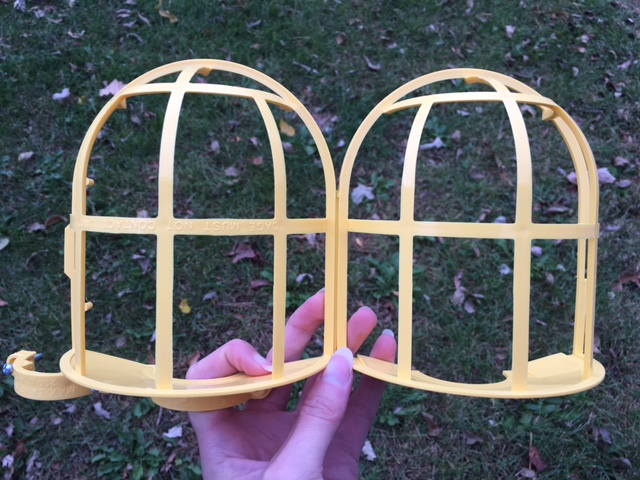
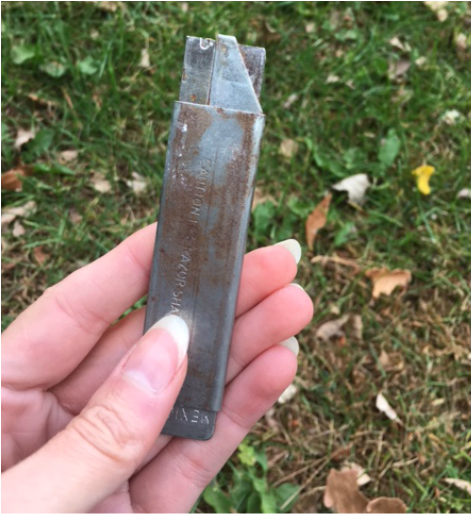
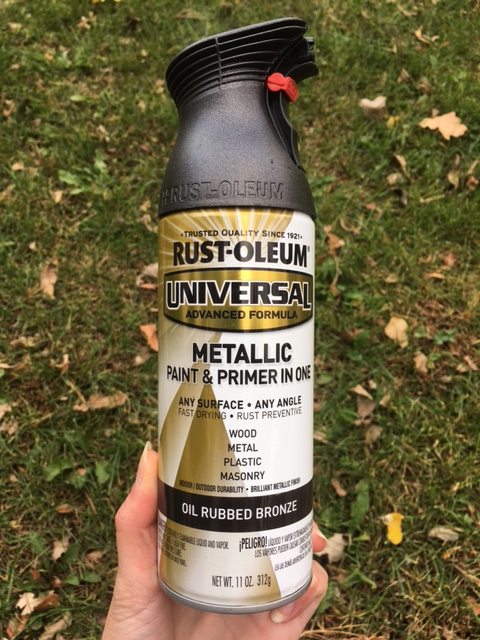
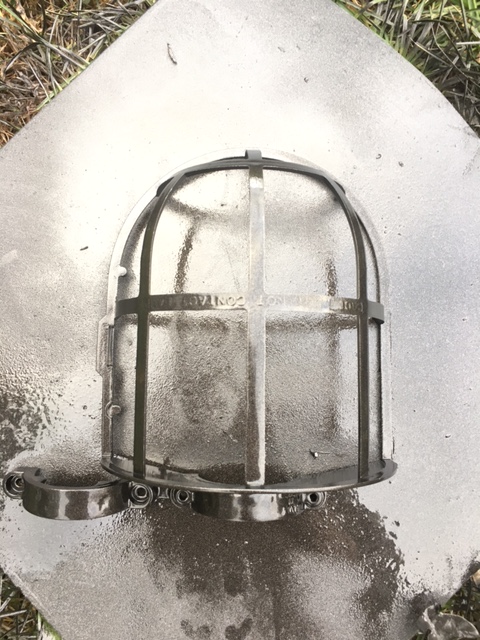
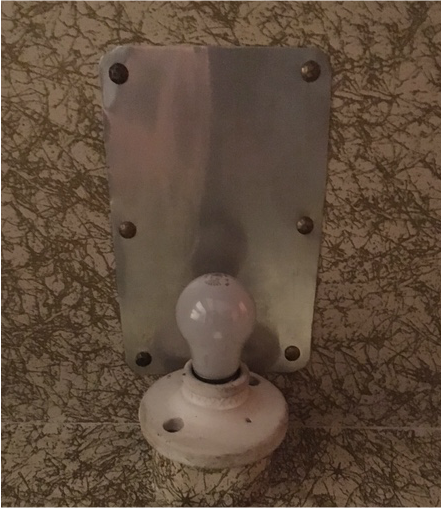
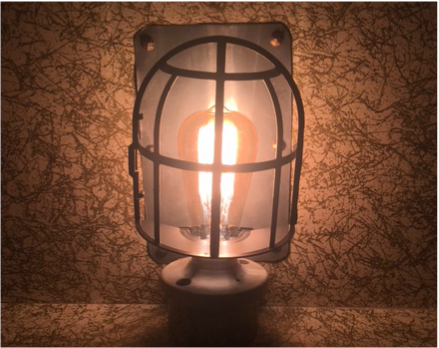
I started off by cutting the cage in half. It was too big for me to use as it was due to the bulb's close proximity to the ceiling. This was fine with me, because I had envisioned 1/2 of a light fixture in the first place. If you are doing something similar, or like the look of hanging cage light fixtures (like the one pictured above) you could probably use the full guard cage and follow these same steps (without the cutting of course)! So as I said, first thing I did was cut the cage in half at the hinge using a razor blade. After I had the cage cut in half and removed the two screws that came with it, I spray painted it with the same oil rubbed bronze that I used for my clamp light lamp. After allowing the cage to dry, it was ready for install! I swapped out the light bulb using a vintage-style Edison bulb and attached the cage to the base of the bulb using the two screws I mentioned earlier. See below for the before and after!
0 Comments
Leave a Reply. |
Archives
August 2022
Categories
All
|
 RSS Feed