Busy Hands, Happy Heart
|
It has been a minute since I have attended a Do It Herself Workshop at Home Depot! I’ve enjoyed the past classes I’ve been to - creating this two-drawer nightstand, vertical herb garden, and vertical succulent garden. Their latest project, the DIY Pegboard Shelf, caught my eye. These types of shelves are very trendy right now. What I especially like is you can change up the shelves really easily to meet different needs you might have, or if you simply want to restyle it to give a room a different look, you can do it in minutes. 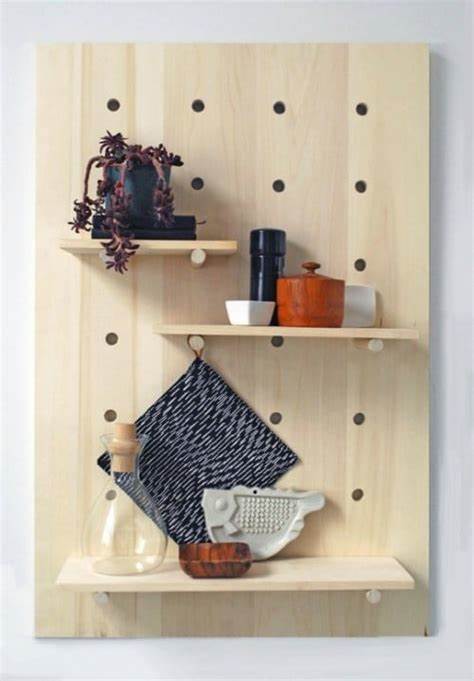 When I arrived, they had everything ready! The plywood, shelves, and dowels were already cut. All we had to do was screw the two plywood pieces together and insert the dowels where we wanted the shelves. I was kind of (really) bummed I didn’t get to use the hole saw to create the holes for the pegs, but I can’t complain. I got a free shelf out of the deal! 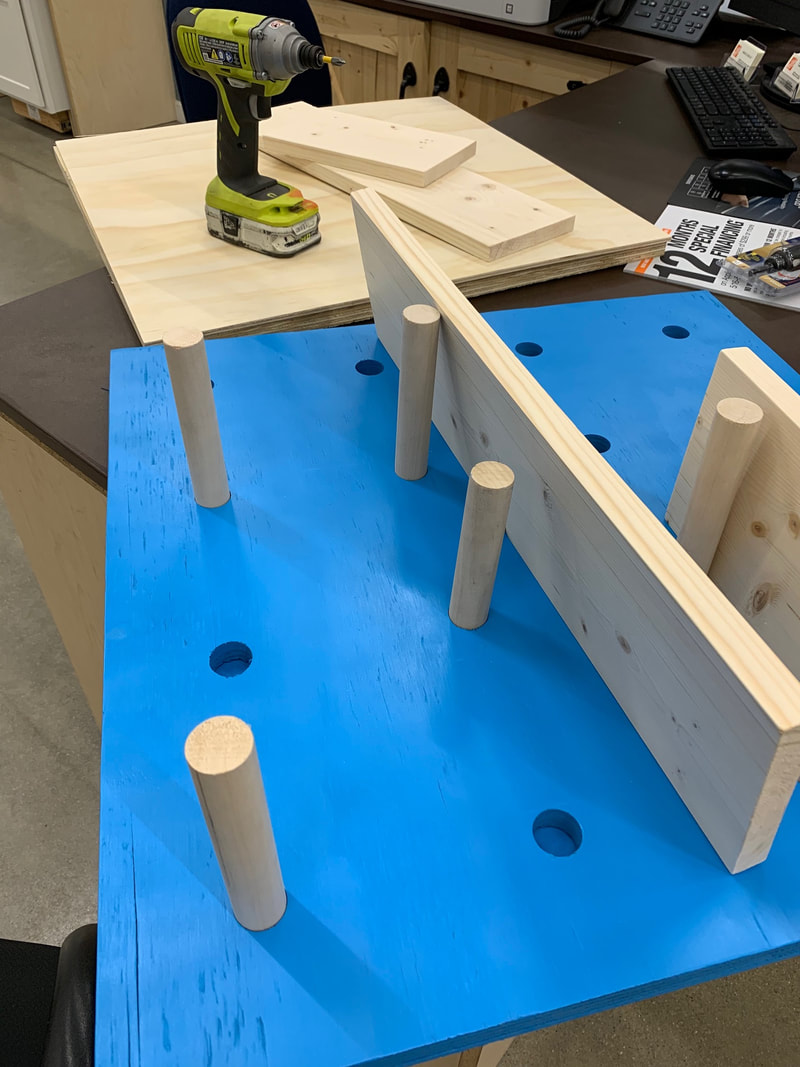 Because we didn’t do much…I couldn’t take step by step photos…so here is their instructional video: I chose to paint my shelf a high gloss grey after getting it home. I wanted it to pop against the wall I was putting it on, which is dark poly stained wood.  After letting it dry completely, Joel helped me screw it onto the wall. I love its versatility and it looks great in our dining room area. I didn’t know I needed something on that wall until I had this in place!  
0 Comments
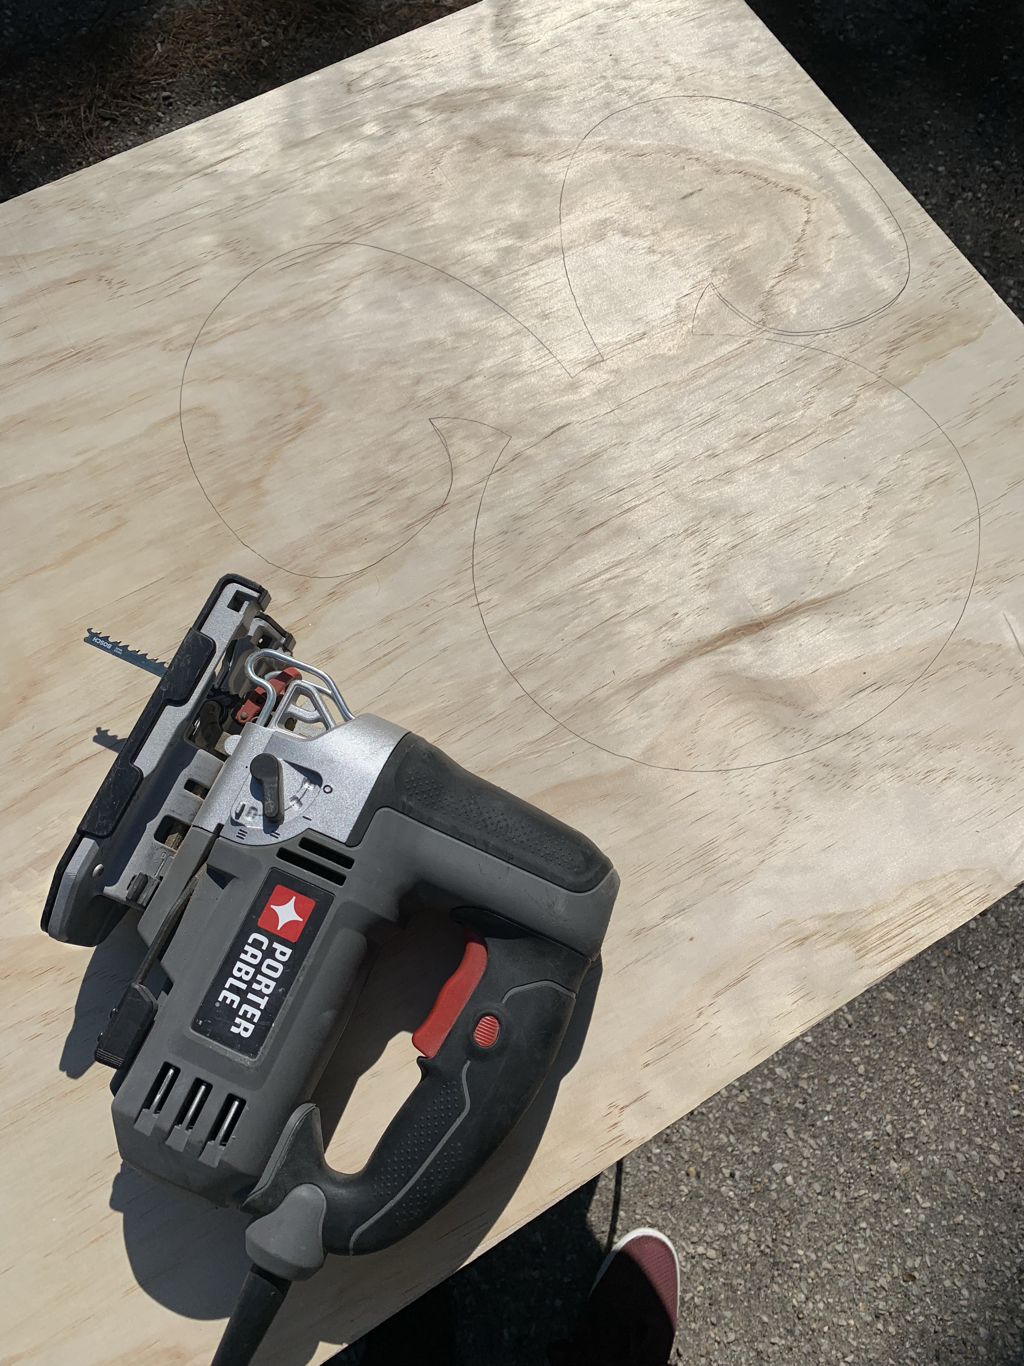
Looking for an adorable DIY project for Easter? I’ve got just what you’re looking for! While browsing Dollar Tree for a few Easter/Spring décor items to freshen up what I currently have, I ran across inspiration for a project. One item led to another and I had a full vision for the vignette we have placed just as you pull in our driveway. I knew I wanted to put sticks with plastic eggs hanging from them in the wash bin. But then I found a felt bunny head that I thought would be cute peeking out from the bin as well! Here is my vision brought to life:  I mean, come on. That face! Here is what I used to create the bunny:
  If you make any mistakes, that’s what the sander is for. I sanded the edges, smoothing out any unintended mis-cuts and bumps. I then sanded the flat sides of the wood, wiping them down with a cloth afterwards, so I had a good surface for the paint. I chose to connect the bunny head to the 2x4 before painting. I attached them together with two long screws through the face of the bunny. I did this because there are normally high winds where I put this piece of décor and I didn’t want it to fall apart. If you will be putting this on a porch or indoors, you could easily use wood glue or construction adhesive.  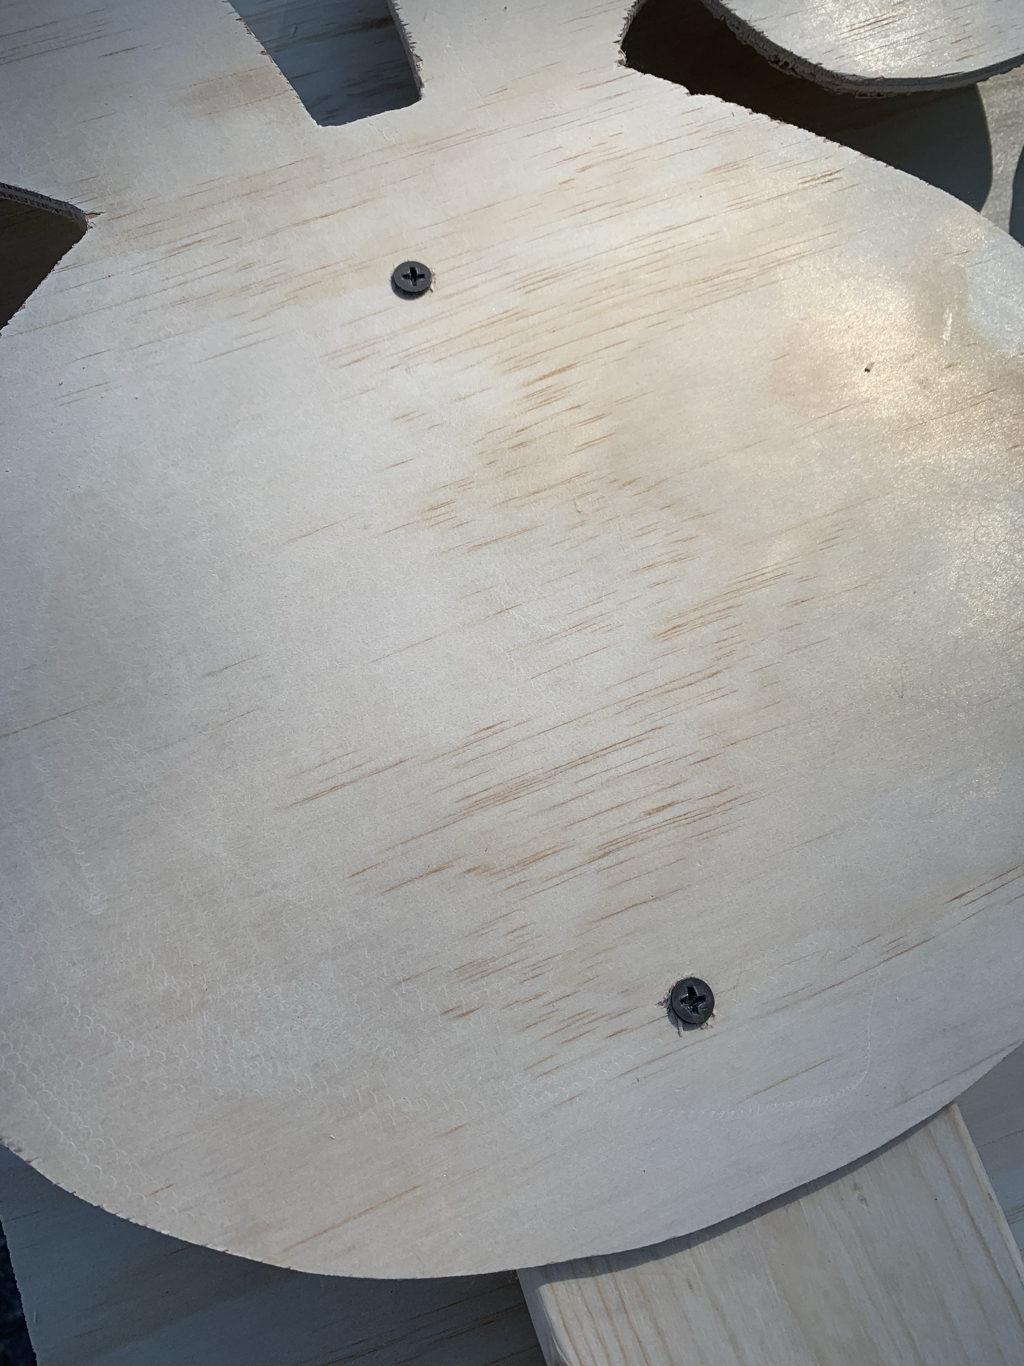 Once attached, I started to paint. I used white outdoor paint as the base and applied spray paint with a brush for the facial features (I work with what I’ve got at home!). I finished it off with a coat of clear poly spray paint to seal it up. I chose to paint both the back and front white because the back is visible from the road. I utilized the facial features on the felt bunny head to paint in the ears, eyes, nose, and mouth. I have to give credit to my husband for that idea!  I might cut the 2x4 down a little bit to lower the head a little more, but I can’t help but smile when I see this sweet bunny peeking out of the wash bin, welcoming me home! Here’s another angle for your viewing pleasure:  Happy Easter!
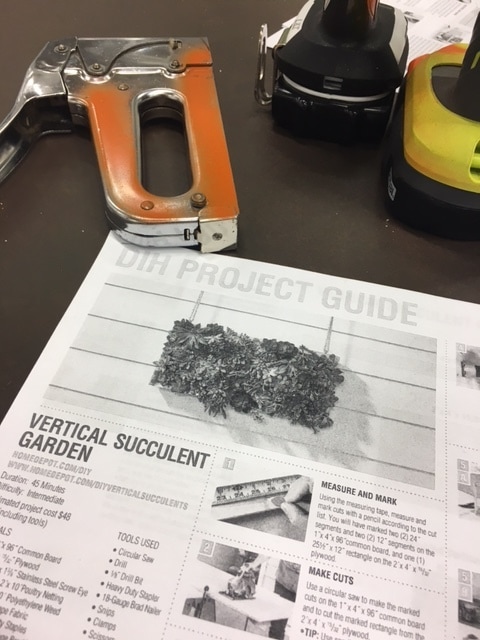 My DIY projects lately have been structured and in workshop settings. The good thing about attending workshops for the projects I'm interested in making is that I 1) learn skills from experts who know what they're doing and 2) get exposure to tools I've never worked with before. Both are so valuable in expanding my ideas and allowing me to realize what I'm capable of making with my own two hands. At this month's Do It Herself workshop at Home Depot we made a Vertical Succulent Garden. You can find step-by-step details here! This was a simple project, but I still learned a lot. My brother-in-law's girlfriend, LeeAnn, came along to this workshop and we had fun putting this project together as a team! I encourage you to watch Home Depot's official tutorial, but I'll give you a rundown of how simple this project was to make:
 4. Pack with dirt (and I mean PACK it). 5. Close back with nails and piece of wood. 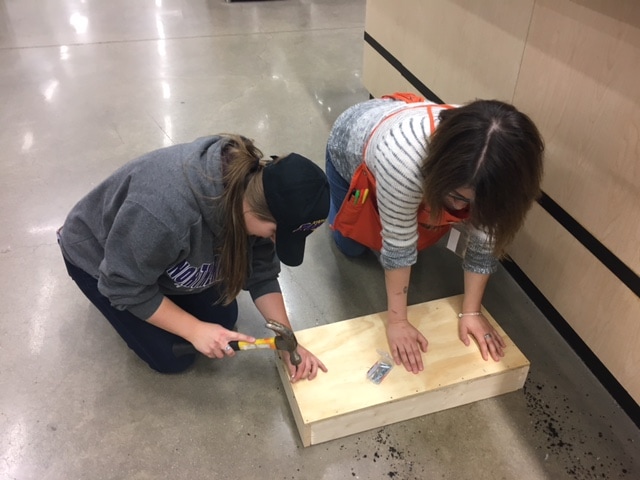 6. Add screw eyes to the top of the frame. 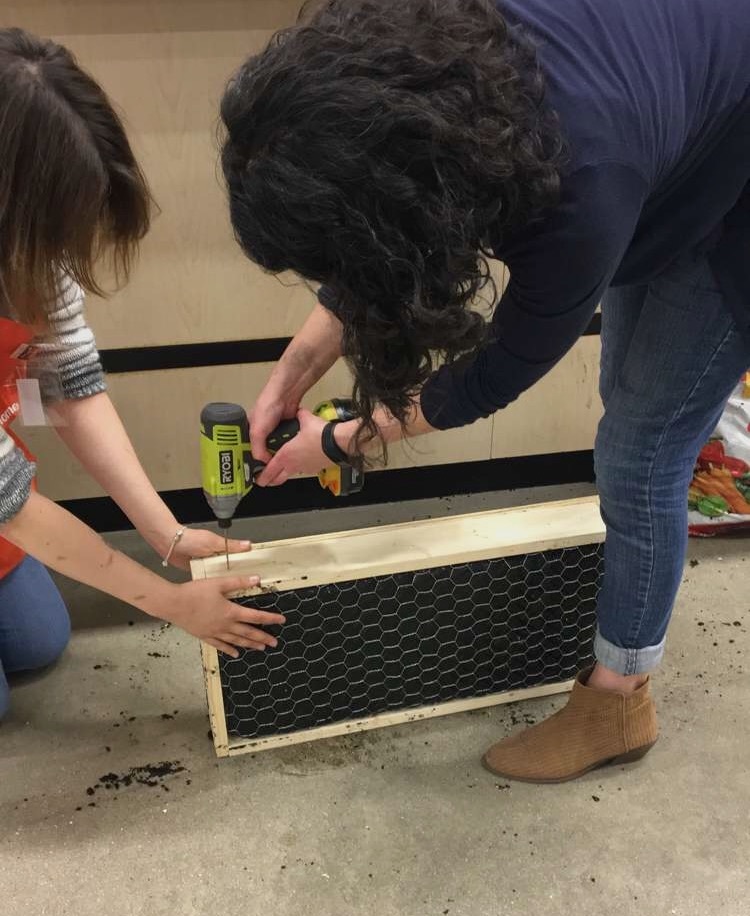 7. Add rope or chain to hang. 8. When ready to plant succulents or flowers, cut small hole in weed barrier and insert plants. As you can see. Pretty easy. We were able to finish this project in around an hour. LeeAnn got to take it home with her and before we left she bought the hardware she'll need to hang it (it's HEAVY) and some flowers to plant in it. It was the perfect project to kick-off spring! 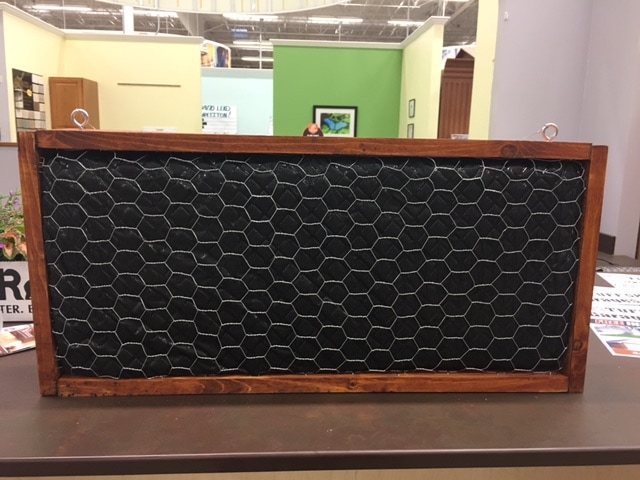  As I planned our garden for this year, I wanted to figure herbs into the equation. I don't cook a lot with herbs right now, but want to start. I have also seen some neat ideas where dried herbs can be used in candles, something I'd like to try as well. When I saw a Do It Herself workshop for a Vertical Herb Garden at Home Depot I signed up right away! I wanted to grow three of the primary herbs I'd like to use more of near the house. This project was my solution! I've provided some photos from the workshop I attended below, but you can find the full tutorial here: How to Build a Vertical Herb Garden. A few tips I'd recommend for this project that we learned while working through the steps outlined by Home Depot in the video linked above:
A few items I'd recommend you take to these workshops so you can move along faster and safer:
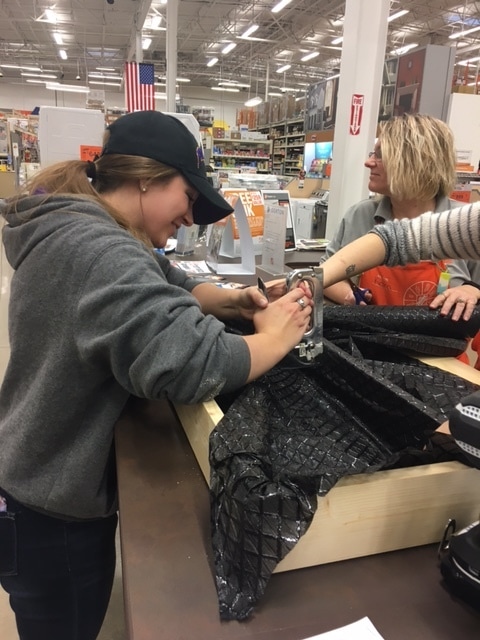
At this workshop, all three attendees were able to build their own herb garden. 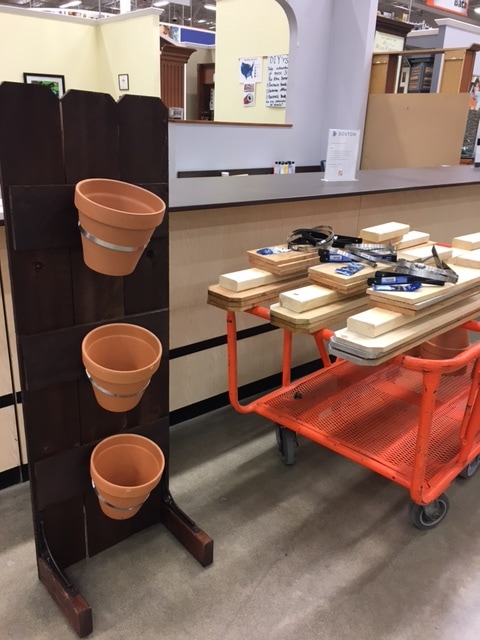 The wood was pre-cut for us. Home Depot supplied the tools and supplies we needed, including a screwdriver, nail gun and power drill. 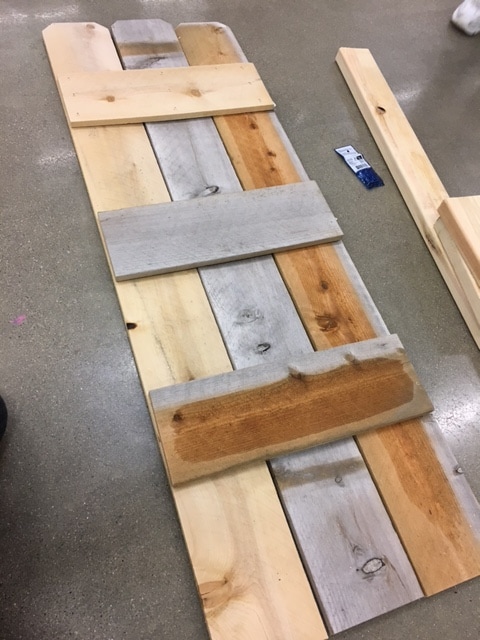 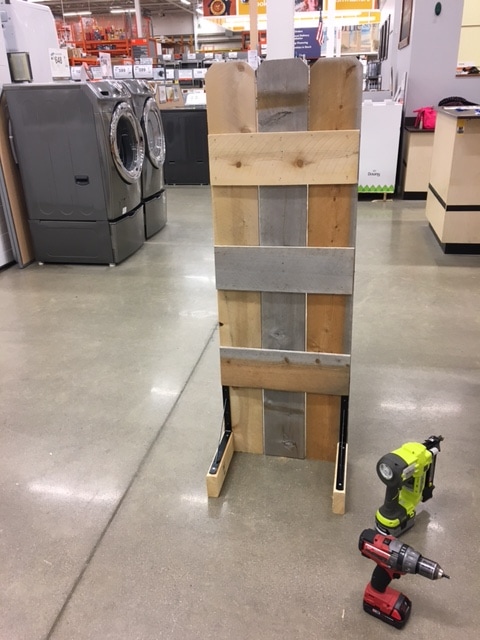 The hardest part about this project was getting the clamps drilled into the wood to hold the flower pots. See my recommendation above for what we ended up doing. 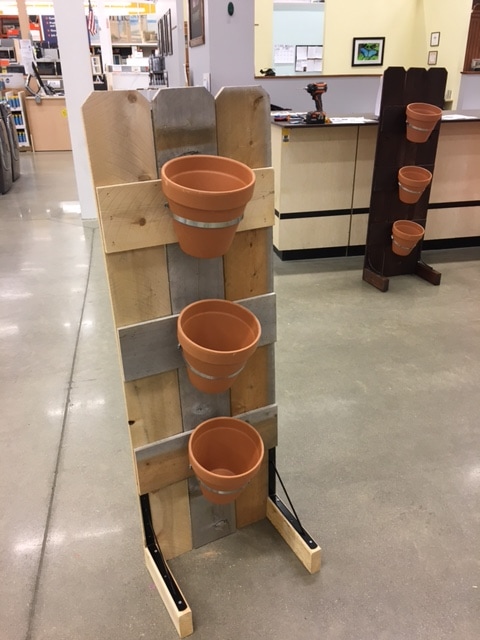 Here's the finished product in its new home! It's still a little too chilly to plant anything here in Iowa, so for now I've filled the pots with artificial floral décor. 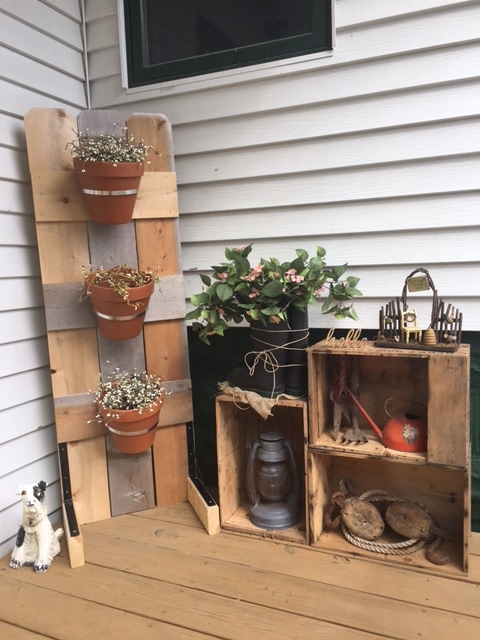 I've discovered the free DIY classes offered at The Home Depot and my life has been changed forever! I attended my first class where I learned to build a "Drawer Nightstand." I was fortunate enough to be the only student that showed up...so I got a lot of one-on-one attention. The class was completely free, and because I was the only student, I got to keep the nightstand I made at no cost! Normally, they would show you what to do, give you some hands-on training, and then you would buy the supplies/materials to do the project at home. I was certainly spoiled for my first time! I won't go through a DIY step-by-step because The Home Depot already did it for me! To instructions on how to build the nightstand pictured below, click here. I highly recommend these classes. It was fun and I got to use some power tools I hadn't had exposure to yet! They offer them at the Waterloo Home Depot on the third Thursday of each month. You can do a search online or stop into the store to see what they have coming up. Happy DIY'ing my friends! 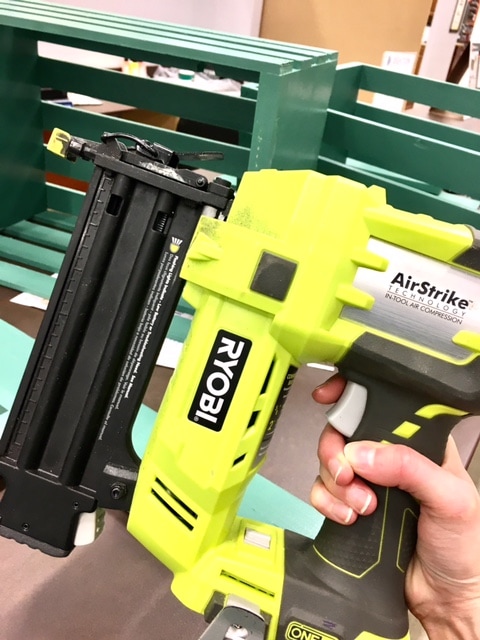 My first time using a nailer. Loved it! 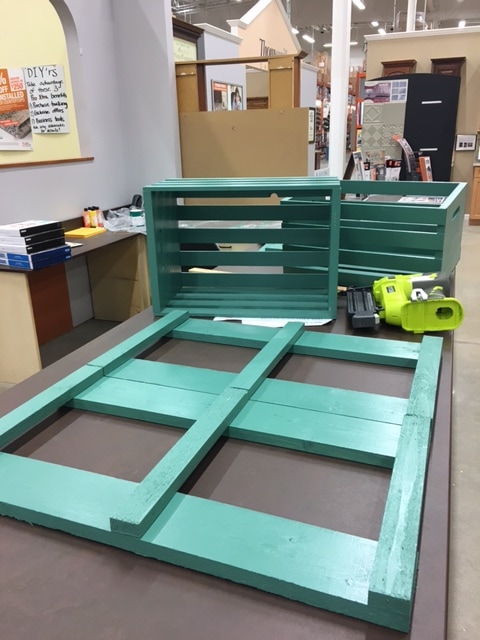 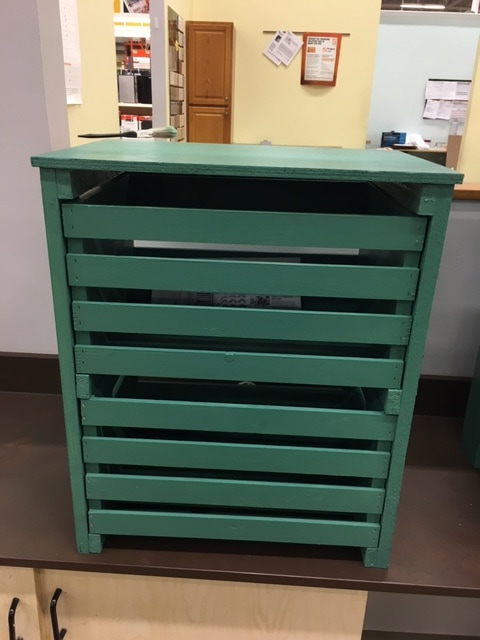 The finished product! 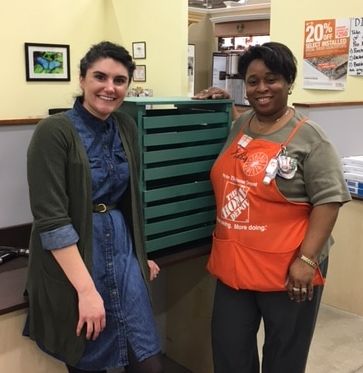 Ms. Pam was my instructor and she was fabulous! |
Archives
August 2022
Categories
All
|
 RSS Feed