Busy Hands, Happy Heart
|
Looking for an adorable DIY project for Easter? I’ve got just what you’re looking for! While browsing Dollar Tree for a few Easter/Spring décor items to freshen up what I currently have, I ran across inspiration for a project. One item led to another and I had a full vision for the vignette we have placed just as you pull in our driveway. I knew I wanted to put sticks with plastic eggs hanging from them in the wash bin. But then I found a felt bunny head that I thought would be cute peeking out from the bin as well! Here is my vision brought to life:  I mean, come on. That face! Here is what I used to create the bunny:
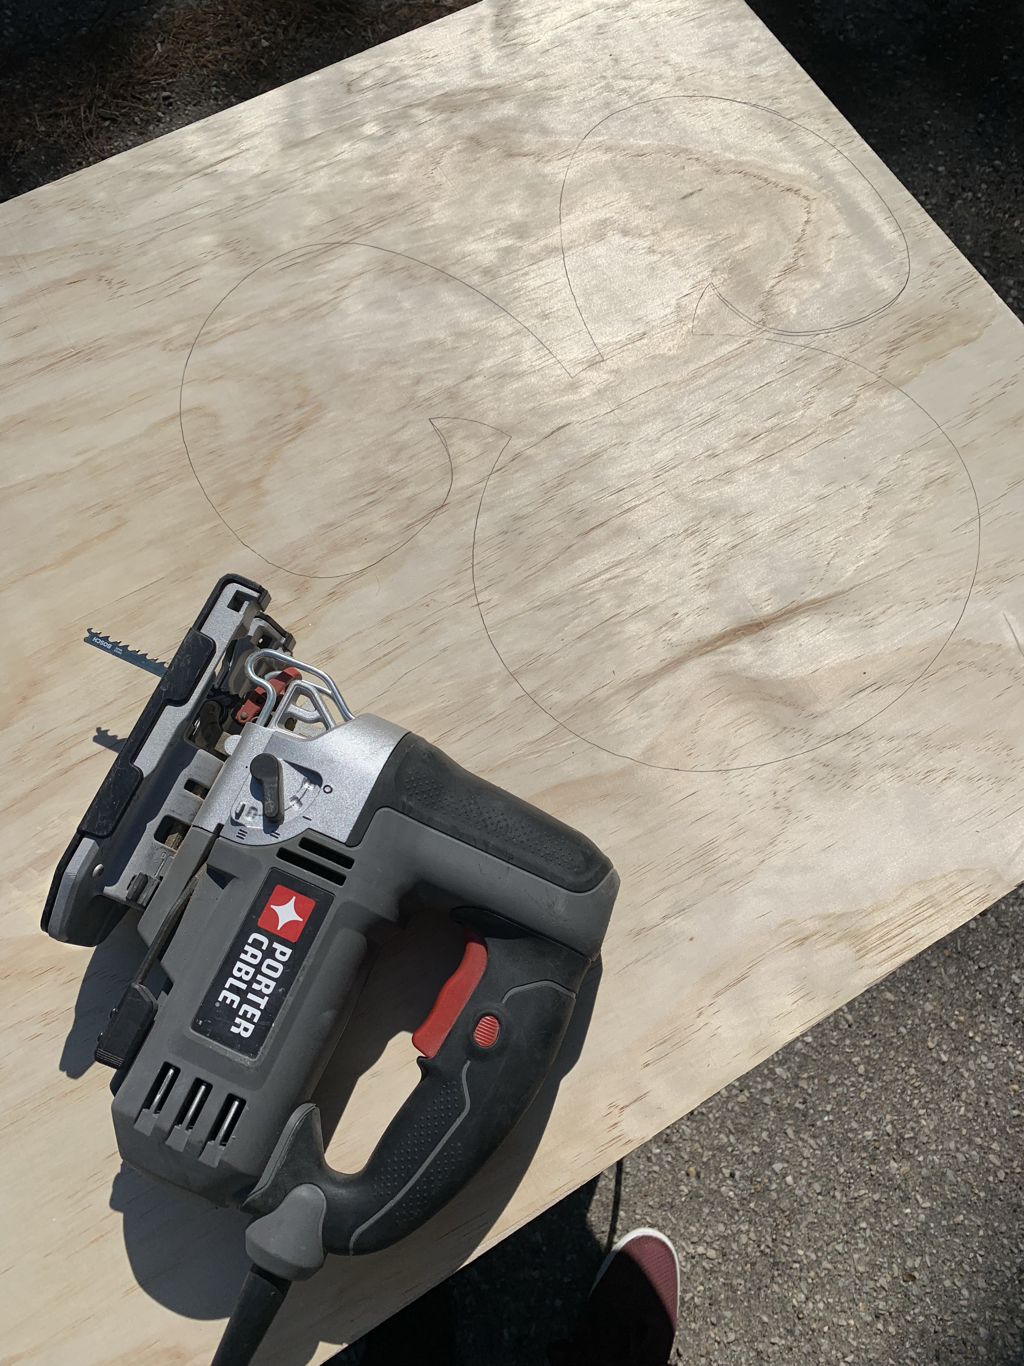  If you make any mistakes, that’s what the sander is for. I sanded the edges, smoothing out any unintended mis-cuts and bumps. I then sanded the flat sides of the wood, wiping them down with a cloth afterwards, so I had a good surface for the paint. I chose to connect the bunny head to the 2x4 before painting. I attached them together with two long screws through the face of the bunny. I did this because there are normally high winds where I put this piece of décor and I didn’t want it to fall apart. If you will be putting this on a porch or indoors, you could easily use wood glue or construction adhesive.  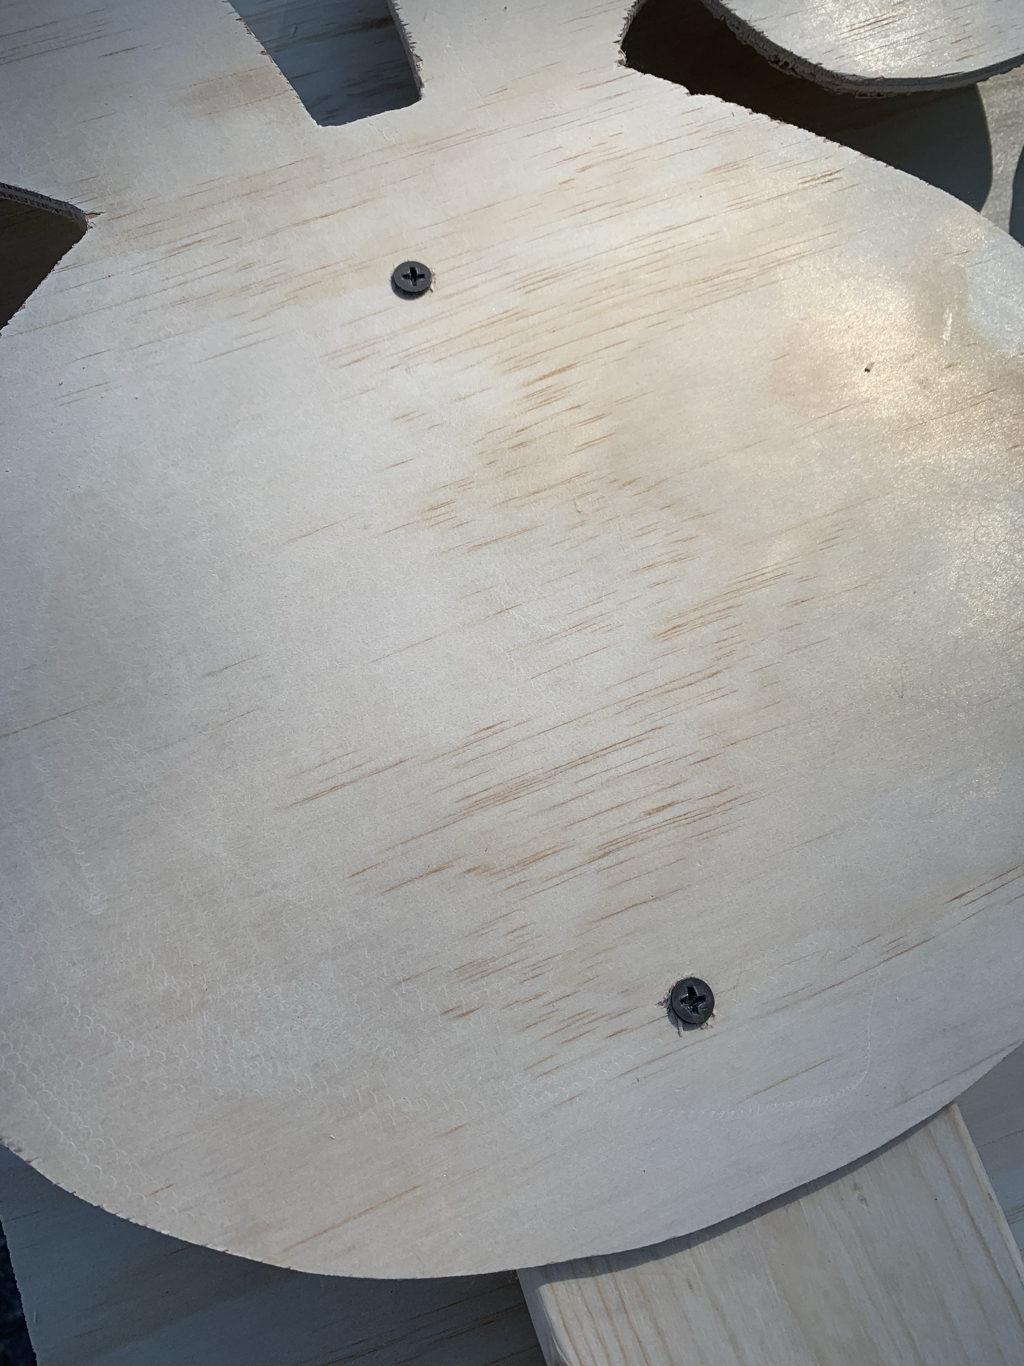 Once attached, I started to paint. I used white outdoor paint as the base and applied spray paint with a brush for the facial features (I work with what I’ve got at home!). I finished it off with a coat of clear poly spray paint to seal it up. I chose to paint both the back and front white because the back is visible from the road. I utilized the facial features on the felt bunny head to paint in the ears, eyes, nose, and mouth. I have to give credit to my husband for that idea!  I might cut the 2x4 down a little bit to lower the head a little more, but I can’t help but smile when I see this sweet bunny peeking out of the wash bin, welcoming me home! Here’s another angle for your viewing pleasure:  Happy Easter!
0 Comments
Leave a Reply. |
Archives
August 2022
Categories
All
|
 RSS Feed