Busy Hands, Happy Heart
|
So here’s the thing. Since I was a little girl, I’ve always wanted to be FOX! Where did this obsession start? I know the exact moment. It’s when I fell in love with Disney’s fox version of Robin Hood and wished so hard I was Maid Marian. It literally made my heart ache knowing that wasn’t possible. He was my first love! Over the years, I’ve wanted to dress up as a fox multiple times, but just never did. It’s the last minute planner in me – I didn’t have enough time to pull the details together. But this year was different. Joel and I visited a Halloween store just for fun, and I ended up finding some fox accessories that I could easily combine with items I already had to make a cute costume. I left without them because I couldn’t justify the purchase. When I found out I had some Halloween events to dress up for, I went back and got them. Luckily, I had a couple of opportunities to wear my costume this year! Once for a Trunk or Treat event Joel and I went to on behalf of the clinic I work for, and a second time at work the next day. They take Halloween very seriously and it’s actually really fun to get dressed up in a professional setting. Lightens everything up. I had a leadership meeting that day and it was fun to see superheroes, animals, and other characters sitting around the room. To create my “Modern Day Maid Marian” costume, I wore the following:
 To “paint my face,” I used the following:
 I’m not a make-up artist at all…so it turned out looking a little cat-like vs. fox-like, but the accessories helped tell the story. The kids at trunk or treat and patients at the clinic guessed what I was right away for the most part.
I hope you get playful during Halloween and give creating a costume a try! Become what you’ve always wanted to be. I’m in my 30’s and had so much fun dressing up. You’re never too old to let loose and channel your inner child!
2 Comments
I went all out this year when it came to Christmas décor. I decked our halls inside and out in a day. I couldn't stop myself. I was that pumped to transition into the most wonderful time of the year! I felt a little silly though, because it was an abnormal 60 degree November day here in Iowa! I splurged a little bit this season and purchased a few new items to add to the decorations we've had for years. Much of what we have we 1) bought when we got married, 2) inherited when we bought our first home, or 3) inherited when we bought our second home! A lot of really great pieces, but many had seen better days... Although I bought some new items, some assembly was required. I rarely buy a completely ready-to-use piece. I normally buy the elements to make a ready-to-use piece. Here are just a few of the items I made or curated to make our home feel magical this holiday season! 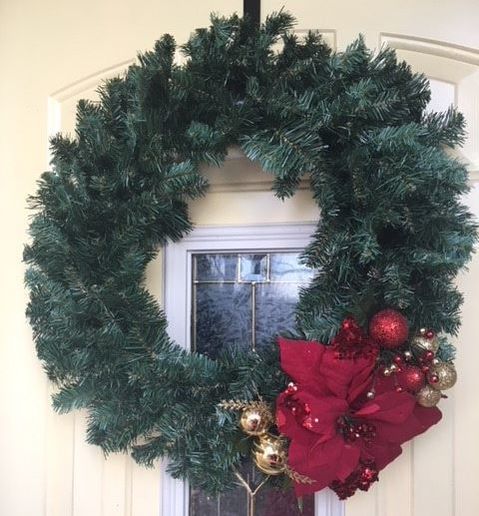 DIY Christmas Wreath I forgot how expensive pre-made wreaths are - $50-$100 plus! I was not willing to pay that much because I wanted a wreath for both our front and back door. I ran across some plain wreaths that were in the $10-$20 range, and they were 50% off. More my style. I then browsed a Christmas accessory isle that had small, festive items that could easily be clipped into or twisted into a wreath. Three small accessories was all I needed to create a simple yet elegant wreath. After discounts, this wreath cost me under $10 to make! I plan to carry this wreath into other seasons by simply swapping out the accessories. 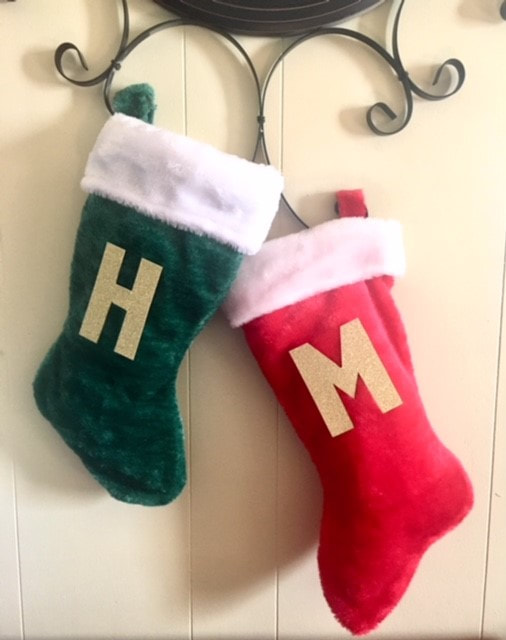 DIY Stockings I don't want to be misleading - I did not make these stockings, I just added the letters! Stockings are another item that can be pretty pricey. I found these stockings at the dollar store. I picked up a single piece of gold, glittery scrapbook paper for the lettering. Using a Sharpie, I drew out the letters on the back of the scrapbook paper. I'm getting better at hand lettering, you could certainly use stencils if needed. I then cut out the letters and glued them to the stockings! Easy as that. And by the way, we don't have kids...these stockings are for...OUR DOGS - Homer and Madison!! You could say we love them a little bit. 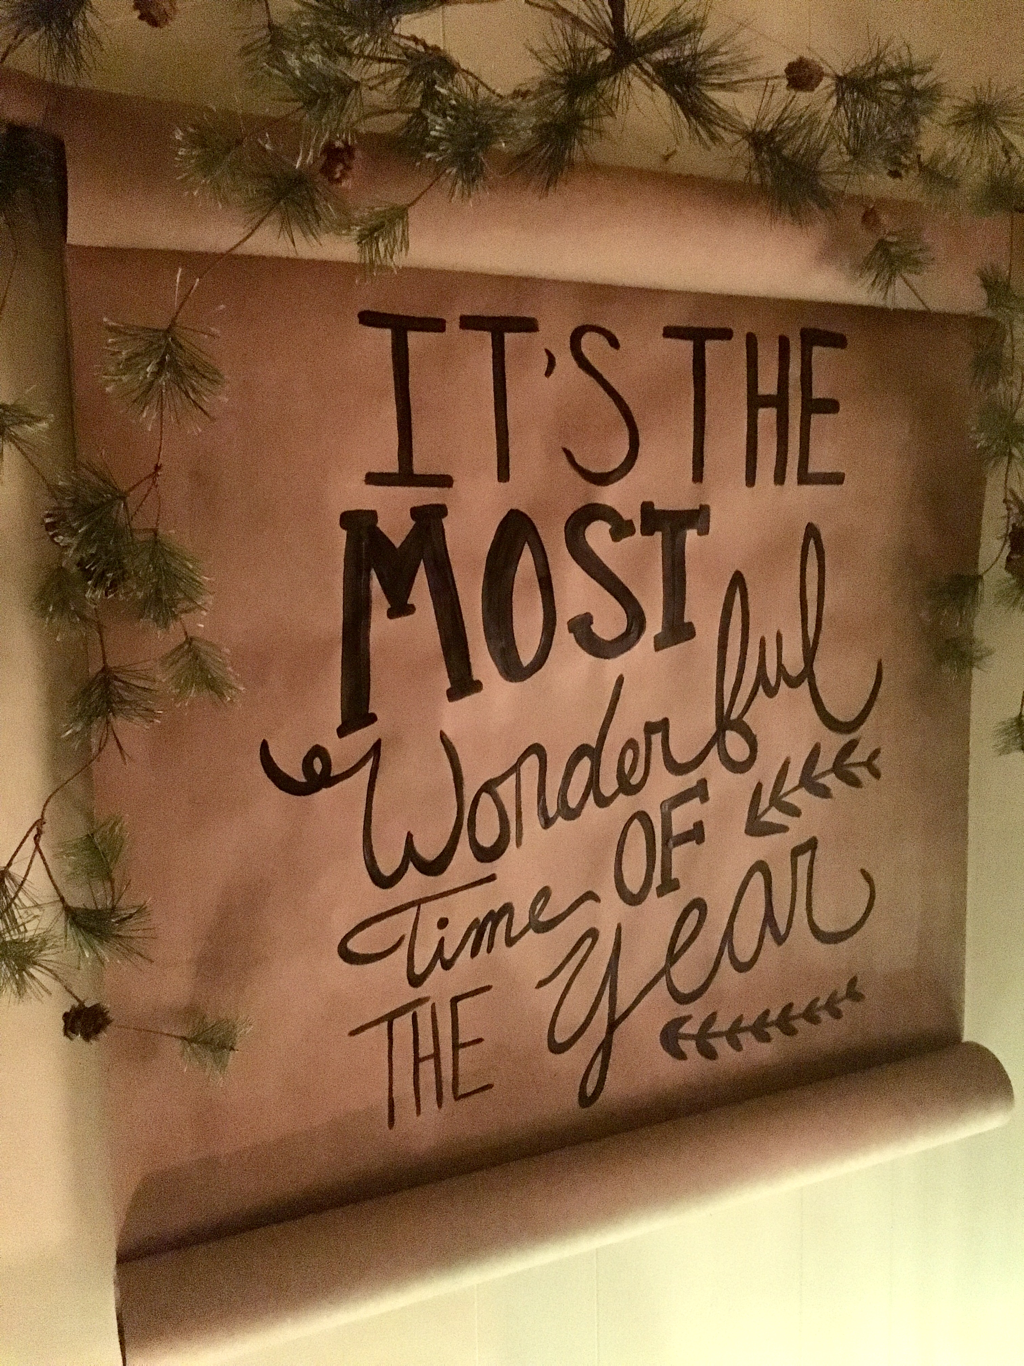  Curated Spaces I absolutely LOVE to shop my house. I shop my house before stepping a foot out the door to go to a store. I believe that if you can take a moment to look at what you have with fresh eyes, there are so many possibilities! The space above and the vignettes below are mostly pulled together from items I had. The only new items are the Poinsettia floral bouquets and the red/gold ornaments.  I upcycled this sled last Christmas. See how here.  I also tried incorporating natural items from our property, like the branches and sticks in this planter.  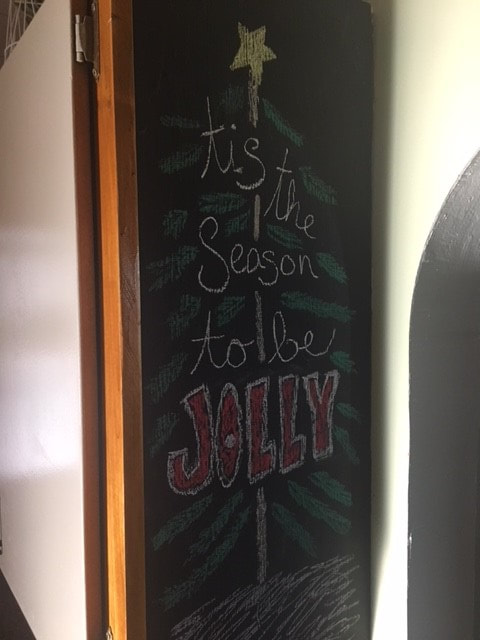 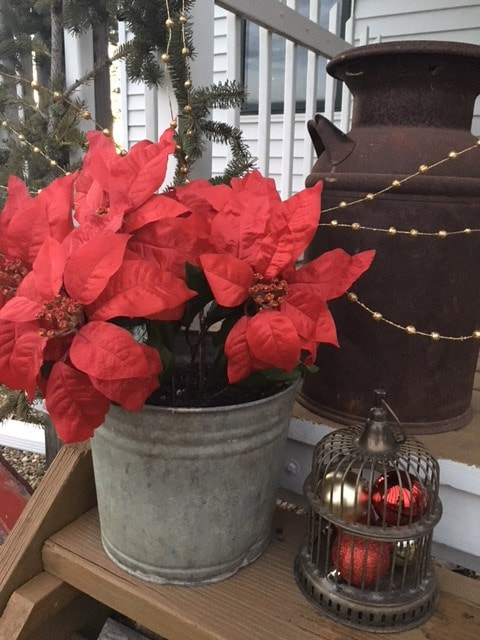  I'm sharing this here because it's something I didn't know about and I think it might be helpful for someone with a small pet needing fixed! We recently got a new puppy, Homer. He is a year old, but was not fixed when we adopted him from the Cedar Bend Humane Society. Part of the deal before he "officially" became ours is that he needed to be neutered. We took him in just a few days ago, and let me tell you, it was an emotional day for me. I have a tendency to jump to the worst conclusion and was so afraid something bad might happen to him during surgery. I've become quite attached to Homer in a short time and just couldn't imaging our life without him if something happened. Good news though...he lived! No issues, went perfectly fine (as I should have known it would). The humane society didn't have a cone for us to use, so we had to pick something up from the pet store. We opted for the inflatable "doughnut" type contraption vs. the traditional cone. Long story short, it didn't work. Overnight, he found his way around the doughnut and was licking his incision site, which was a BIG problem. At 6 a.m., Joel and I were up brainstorming ideas about what to do since neither of us could stay home from work to monitor his activity. No pet stores opened before 9 a.m., so we had to get creative while very not awake. Eventually, we ended up deciding that a baby onesie and safety pins was the answer. 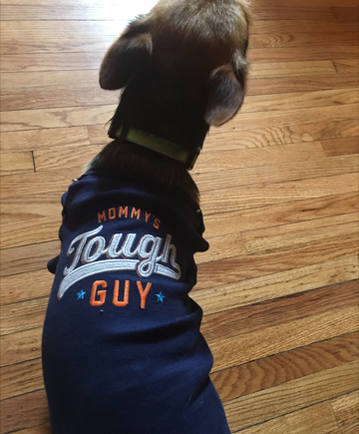 Joel made a quick run to WalMart (the only place open at the time) and purchased baby onsies, safety pins, and male puppy diapers. 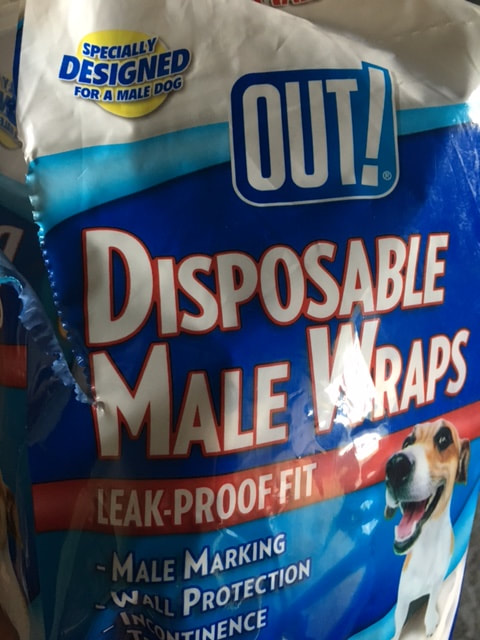 We put a diaper on him first (since we were leaving him free, out of his crate for the first time, and didn't want him to potty in the onesie). Then the onesie, with the shoulders and bottom snaps secured with safety pins. 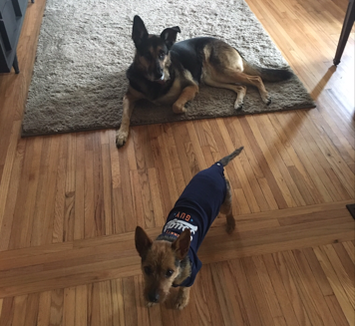 This method has worked GREAT. We put everything on him before work and bed, letting him run around "naked" when we're able to monitor him. It offers full protection and appears to be more comfortable for him than a cone.
I highly recommend this DIY method for small pets (cats and dogs) that have just been fixed over use of a "doughnut" or cone - both for the comfort of the pet and because the cuteness factor is off the charts! |
Archives
August 2022
Categories
All
|
 RSS Feed