Busy Hands, Happy Heart
|
In my last DIY post, I shared how (with the help of my parents) I reupholstered our dining room table benches. This next project I’m sharing was inspired by our dining nook makeover. I believe I made it very clear that I loved the fabric I found on sale to use on the benches. I’m a paisley princess, can’t get enough of it. And the yellow/grey combo has always appealed to me. To have all of these details come together in a fabric was dreamy. Anyway, I wanted to use the leftover fabric to make throw pillow covers for our mudroom so that when you enter our mudroom and walk up the stairs to our dining nook, the spaces felt tied together. This time with the help of my grandma, together we made throw pillow covers for two pillows I already had and wasn’t crazy about.  She used a basic envelope pillow cover pattern like this one. I am not a sewer, but she did walk me through the whole process and explained what she was doing. I have full confidence I could make a somewhat nice cover if I had to in the future, but for now I’ll lean on her! 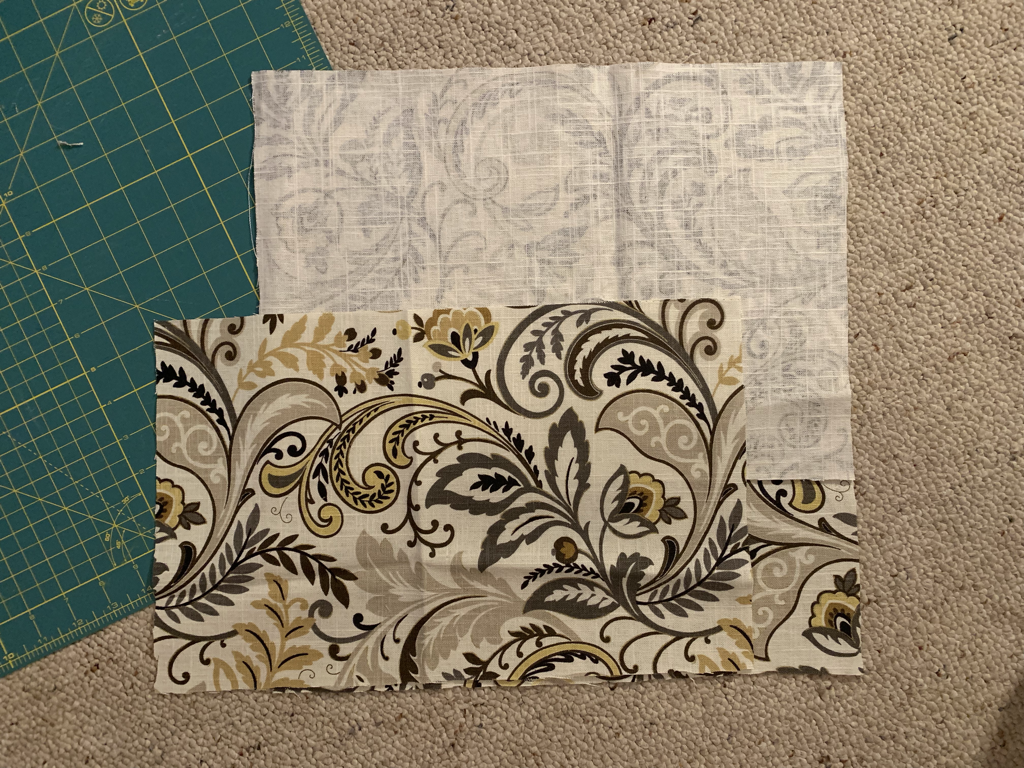 Once I had the pillows ready, I decided I was going to give the mudroom a mini makeover by changing the paint color as well. It was a fine mudroom, but it was missing impact. A good punch in the face when you walked in. In a creative impact sense, not a physical one! It needed a little something extra. My mom helped me pick out the perfect gold color that matched a deep yellow tone in the pillow cover fabric. Butterscotch Ripple. Yummy. Instead of painting an accent wall or the entire room, I ended up creating a faux wainscoting effect around the mudroom and up the stairs leading to the dining nook. To create the effect, all I needed was:
I made my wood cuts one wall at a time, just to see how things fit and if it would affect my next run of wood. I measured up from the floor to the height I liked, leveled the strip, made marks with my pencil where the bottom of the wood strip would be, and then used the stud finder to mark where the studs were. I used the nail gun to secure the strips, being sure to check that they were level along the way. 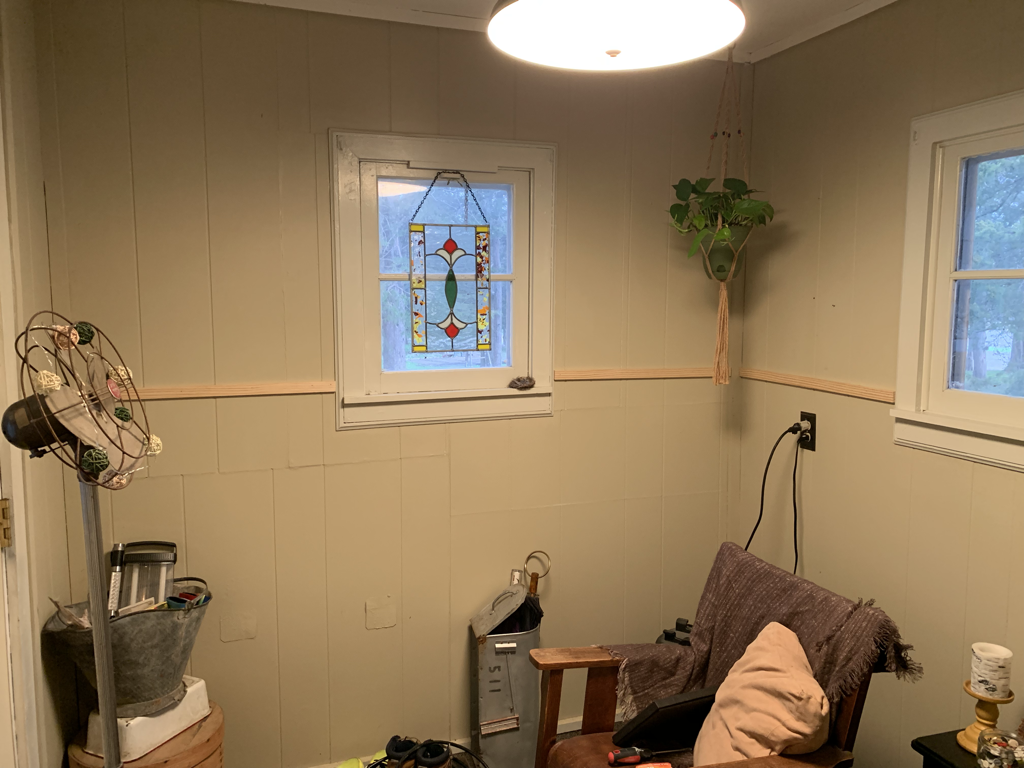 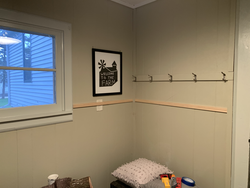 I followed the process above all the way around the room and up the stairs. Up the stairs was a little trickier because I had to cut the ends at angles. I’ve mentioned before that math and I don’t get along – and that includes angles. I actually just marked the angle of the wall on the piece of wood with my pencil by eyeballing it, made the first cut, placed the cut angle against the wall, marked the angle of the other end, and made the second cut. Real professional…but, I got super lucky and it fit perfectly. 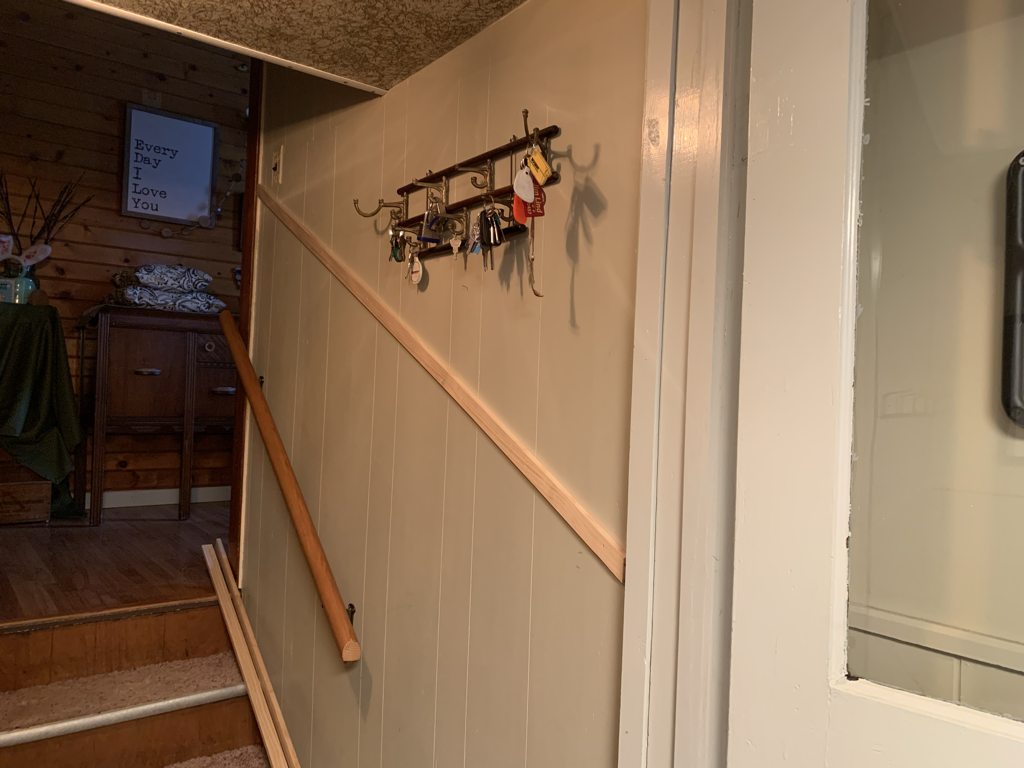 After I had everything nailed in, I went through with the wood filler before painting. I filled in each of the nail holes created by the nail gun and wiped off any excess with a damp cloth. From there, I started to paint! I had to put two coats on, but it’s a really small space, so it didn’t take long. Here is a before of the mudroom when we moved in: 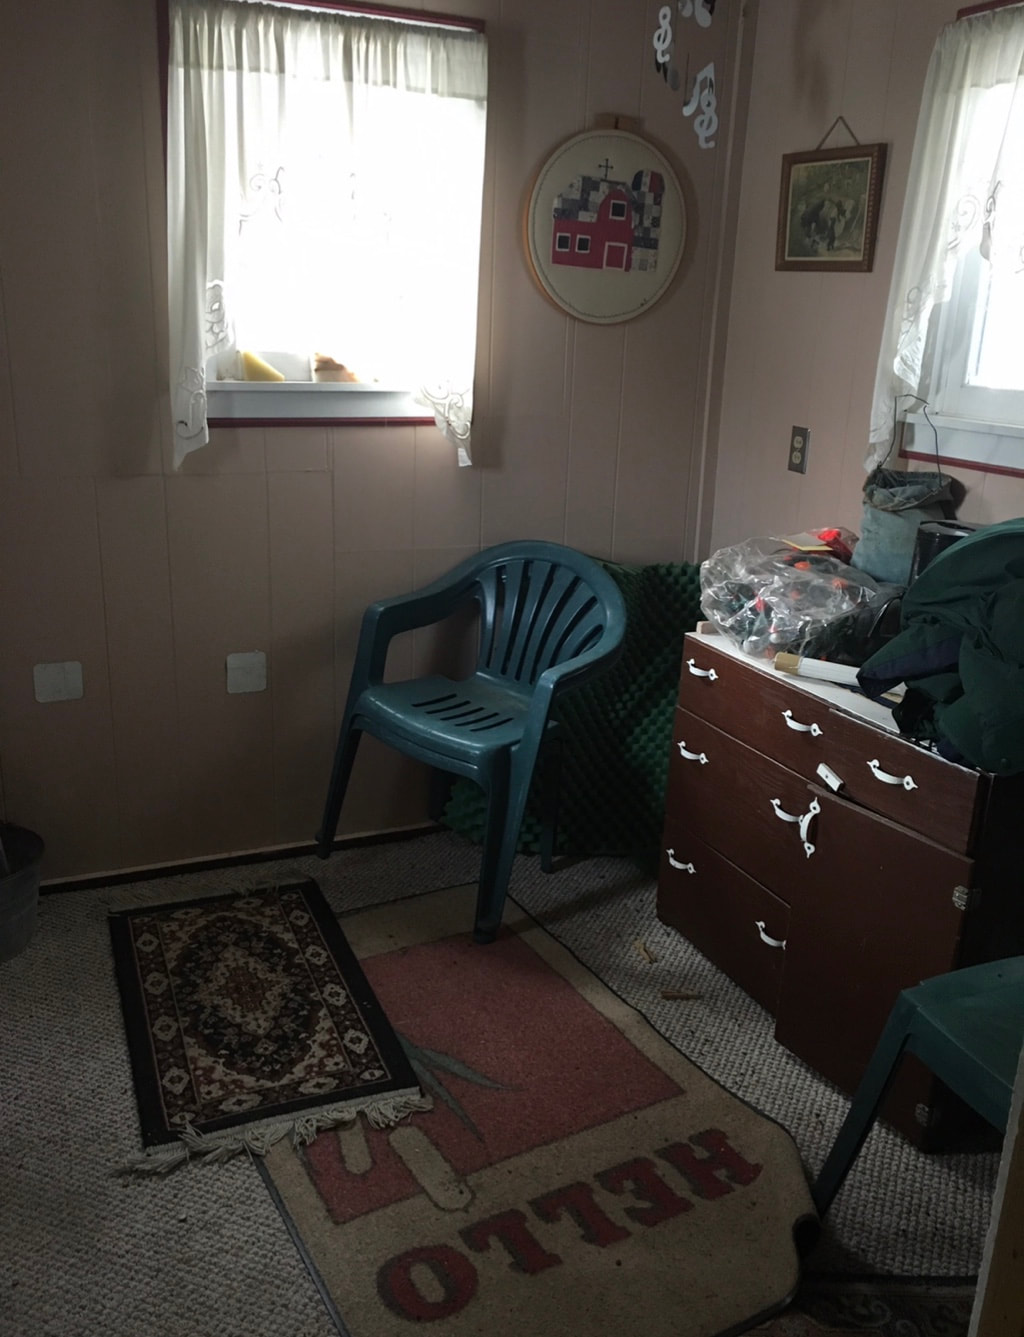 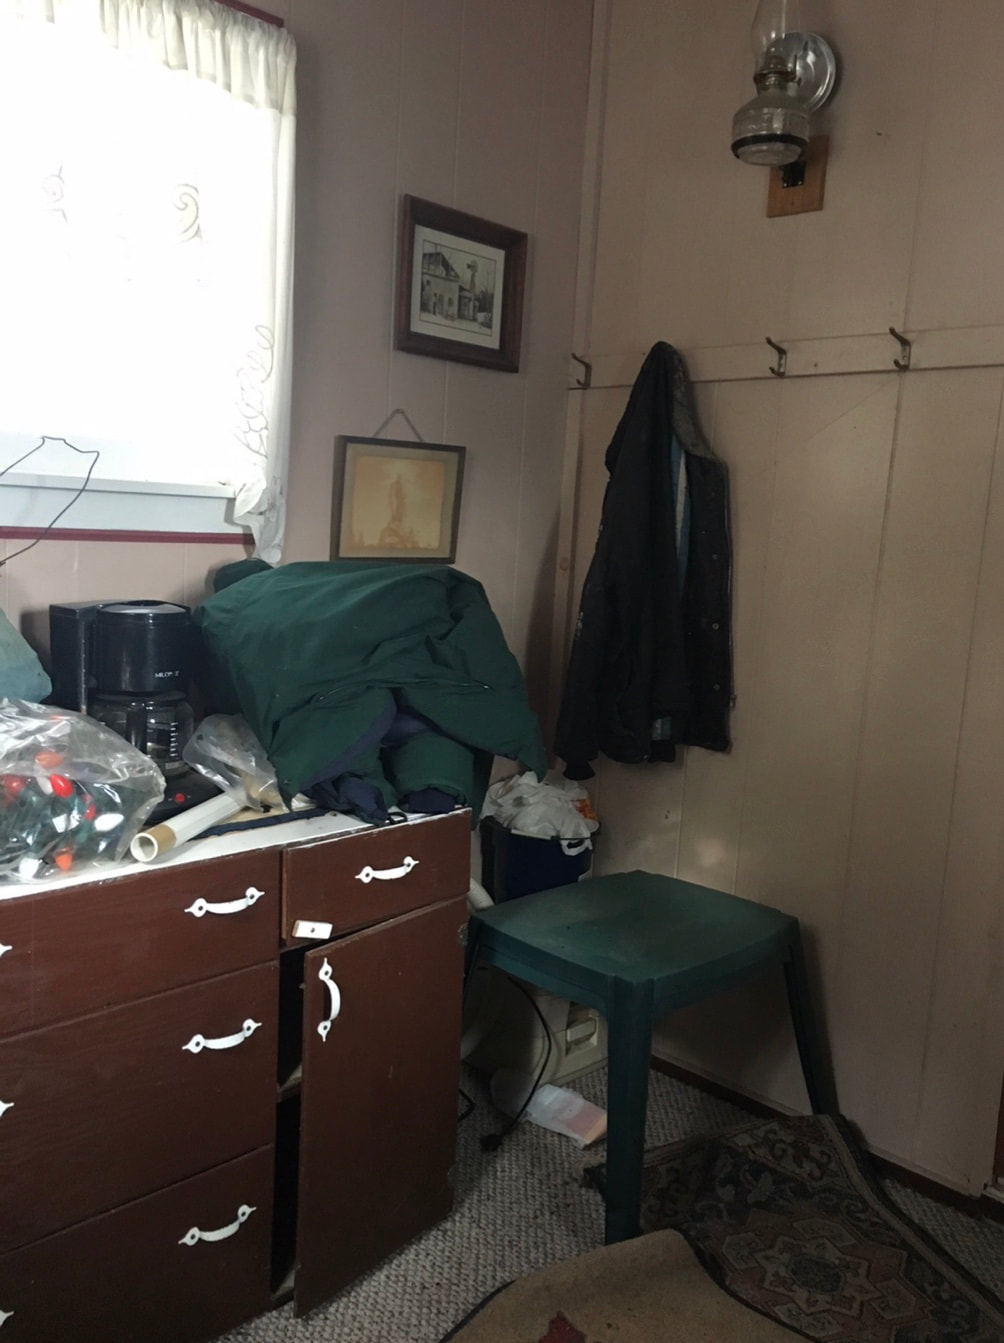 Here is the after following the mini makeover: 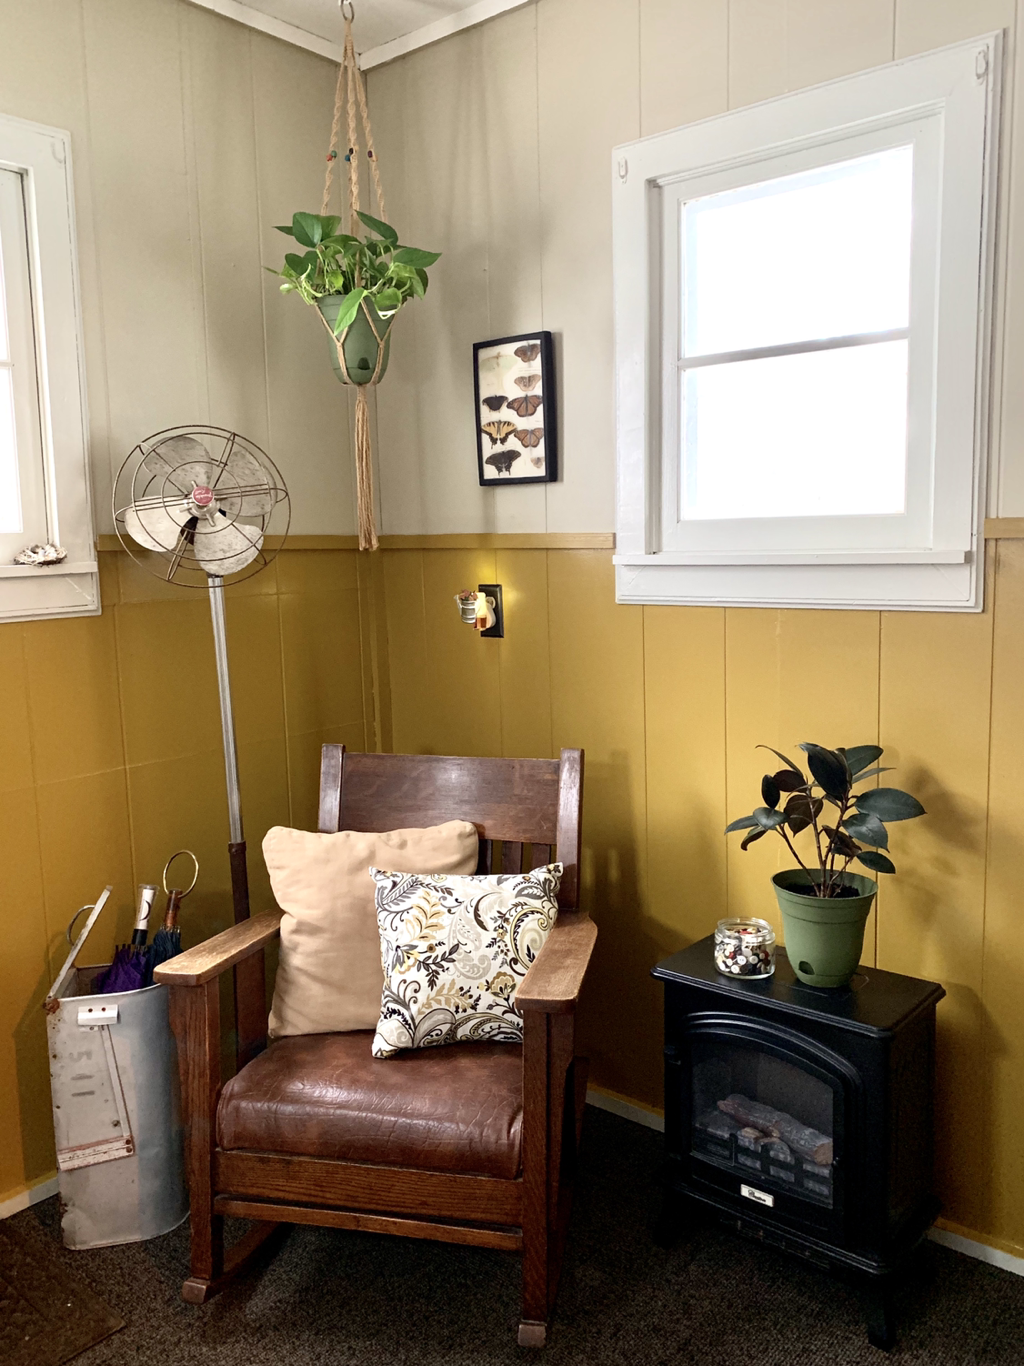 In total, this project took me an evening and part of the next morning to complete. For such a quick project, I couldn’t be more pleased with the impact it has when you walk in our back door (which is our main door)! People will be leaving with black eyes from the punch in the face they’ll get now (LOL). What are you working on lately? Tell me in the comments!
0 Comments
|
Archives
August 2022
Categories
All
|
 RSS Feed