Busy Hands, Happy Heart
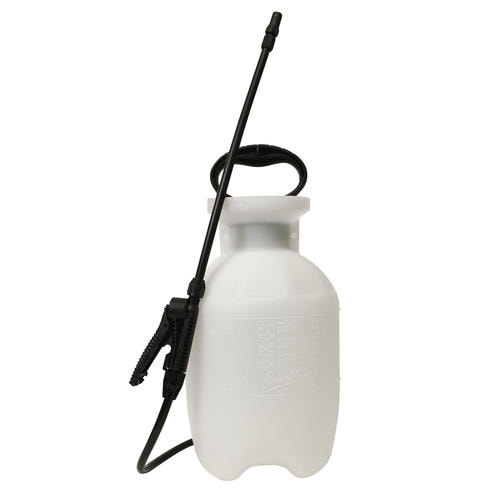
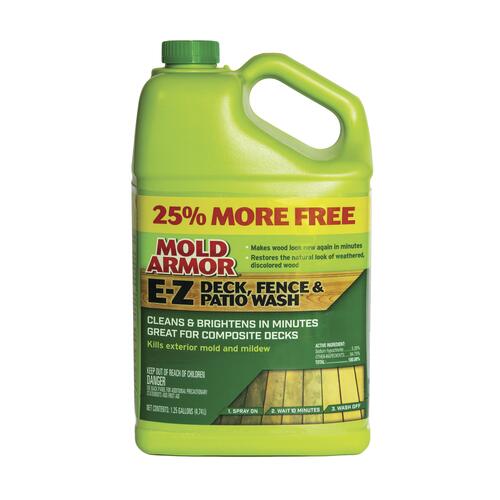
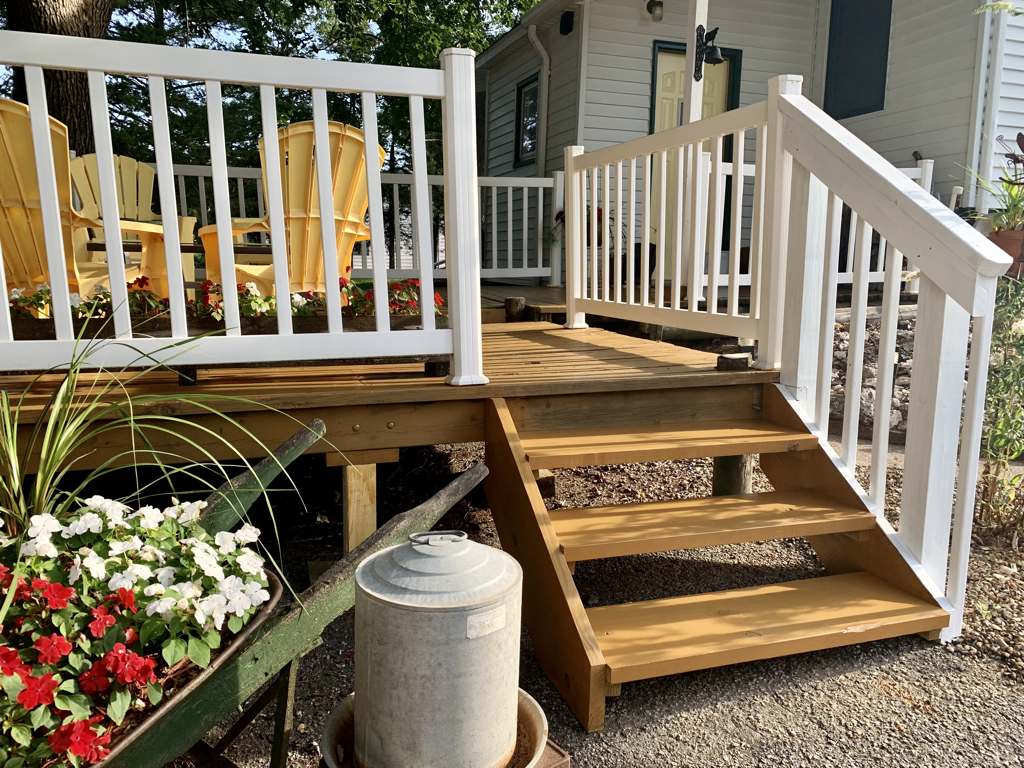 Staining our wooden decks is a task I've actually come to enjoy. I remember the first year I did it - it was so hot, I had never done it before, and I did not have the right tools. Fast forward to today and I am here to confidently tell you what you need (and what I recommend) to make your deck staining project a little easier than my past experiences have been. Very Important Notes: 1) I am not an expert; 2) Do in Spring or Fall if possible; 3) Make sure you wash the area and no rain is in the forecast for 48 hours before staining (so your deck gets fully dried out) and after staining (so your stain cures properly) to be safe. STEP 1: SCRUB, SCRUB, SCRUB - WASH THE AREA This can be done with a power washer or good old-fashioned elbow grease. We do not have a power washer, so I went with the latter. Supplies Needed for Elbow Grease Option:Process: I used a garden hose to wet the area and then sprayed on the deck wash. Let that sit a bit to cut through the grime. You should start to see the dirt/mold/mildew begin to run off/disappear. Grab the brush to go over the entire area, especially stubborn spots, before rinsing off the wash. Repeat as needed. I also took this opportunity to wash the house siding - definitely worth a few extra minutes. Allow deck to dry.  STEP 2: STAIN, STAIN, STAIN - KNOCK THIS SH*T OUT There are many ways you can stain something. I am sharing how I did it in a way that was best, easiest, and least messy for me. Supplies Needed for Staining:
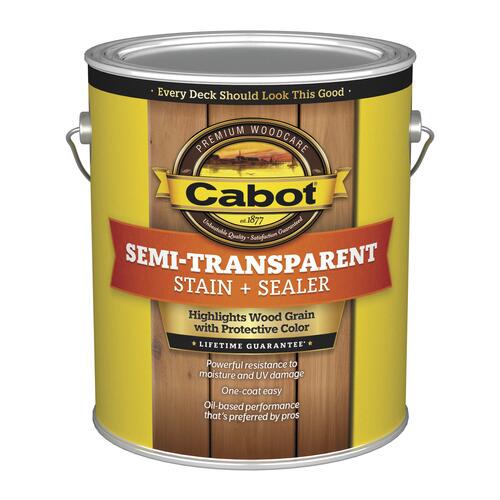
Use the pad painter to apply stain, making long, smooth motions, with the grain, up and down each board (that unintentionally sounds sexual - but I guarantee you it is not a sexy process). If you don't take anything else away from this post - remember to consider using Cabot deck stain. I swear by it. The semi-transparent kind provides enough color to hide ugly spots and brighten everything up, but is transparent enough that you can see the wood character/texture because it doesn't look like straight up thick paint. The color I used in project pictures on this post is New Cedar. After two coats, it gives the deck a nice semi-gloss look and water beads immediately - so satisfying. After I am done with the large area application, I use a small paintbrush to do detail work around our white railings and deck edges. You can evaluate and tape off areas beforehand if you'd like, but I'm over taping while painting. The small paintbrush is precise enough for me! You can also do this detail work before OR after. Our deck just happens to be low enough that I can do the outside edges from most all angles. STEP 3: WAIT, WAIT, WAIT - WATCH STAIN DRY I let the first coat dry for 24 hours and then applied a second. When the second coat was less tacky to the touch, I waited another day more and then put all of our seating/décor back in place. It's so tempting to put everything back in place immediately after you're done - but have patience, my dear. Supplies Needed for Drying:
IN SUMMARY | Rain = Bad, Wash, Dry, Stain, Dry, Stain, Dry, Enjoy
2 Comments
The COVID “quarantine” period has been a dream for me. I have been able to focus time and energy on projects that truly bring me joy. Giving our family cabin a facelift was one of those projects. For years I have wanted to tackle updating the mobile home style cabin my grandma has on the Mississippi River in Lansing. She had made major improvements to the exterior (siding/roof), plumbing, electric, completely renovated the bathroom, and had new ceilings and light fixtures installed. Huge things checked off the list, all worth it. The thing was, the décor throughout the rest of the cabin wasn’t matching with the updates that were made – distracting from all of the great work that had been done. Because I didn’t have to work every weekend this summer due to the pandemic, I had time to knock out the work I did over the course of a few consecutive visits up there. I knew that when I did it, I wanted to do it all of the way, all at one time. I didn’t want anything to be partially done – because when I do that – I have a tendency to leave it partially done…I’m also a control freak so I wanted to make sure the way everything was finished was the way I envisioned it! I ended up doing most of the work on my own, working 12+ hour days. My grandma jumped in to help me with removing wallpaper and final touches. Working on my own knowing I had full days with no interruptions to check things off my list made me very happy! I was focused and fueled by soda, sugar, and Mexican food. Heaven. All work was done on a tight budget. I used as many items I already had or from the cabin as possible, like paint and décor. I started with the guest bedroom. It had been wallpapered a VERY long time ago and was fully taken up by a set of huge, solid bunk beds. The mood was dark and dingy. The bunk beds were used quite a bit when we were younger, but as everyone got older, the person who drew the short straw got to sleep in that room. The beds needed to go. I was able to sell them on Let Go to a super sweet family who really needed the beds for their growing family. We said goodbye to them and got to work. Luckily, the wallpaper was done over wood paneling. In this room, removing it was pretty easy for the most part. I removed all paper and glue, filled holes, and caulked some big gaps in the paneling where water had gotten to it (making sure the cause was addressed beforehand – it was). To brighten things up, I taped everything off and painted it a very light grey and navy blue. Here are some before and after photos: 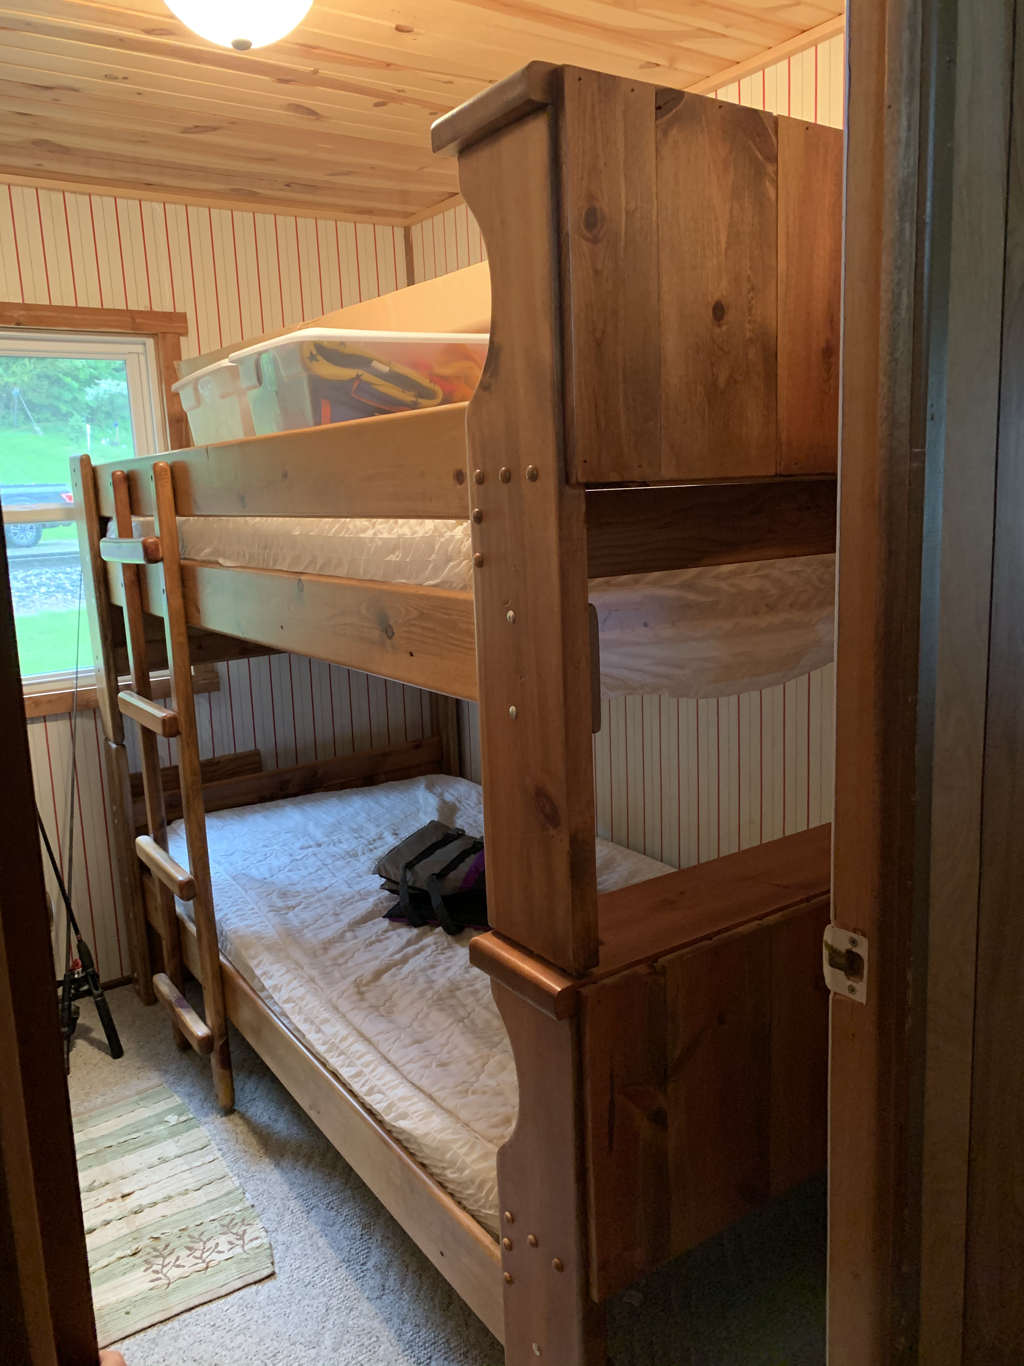  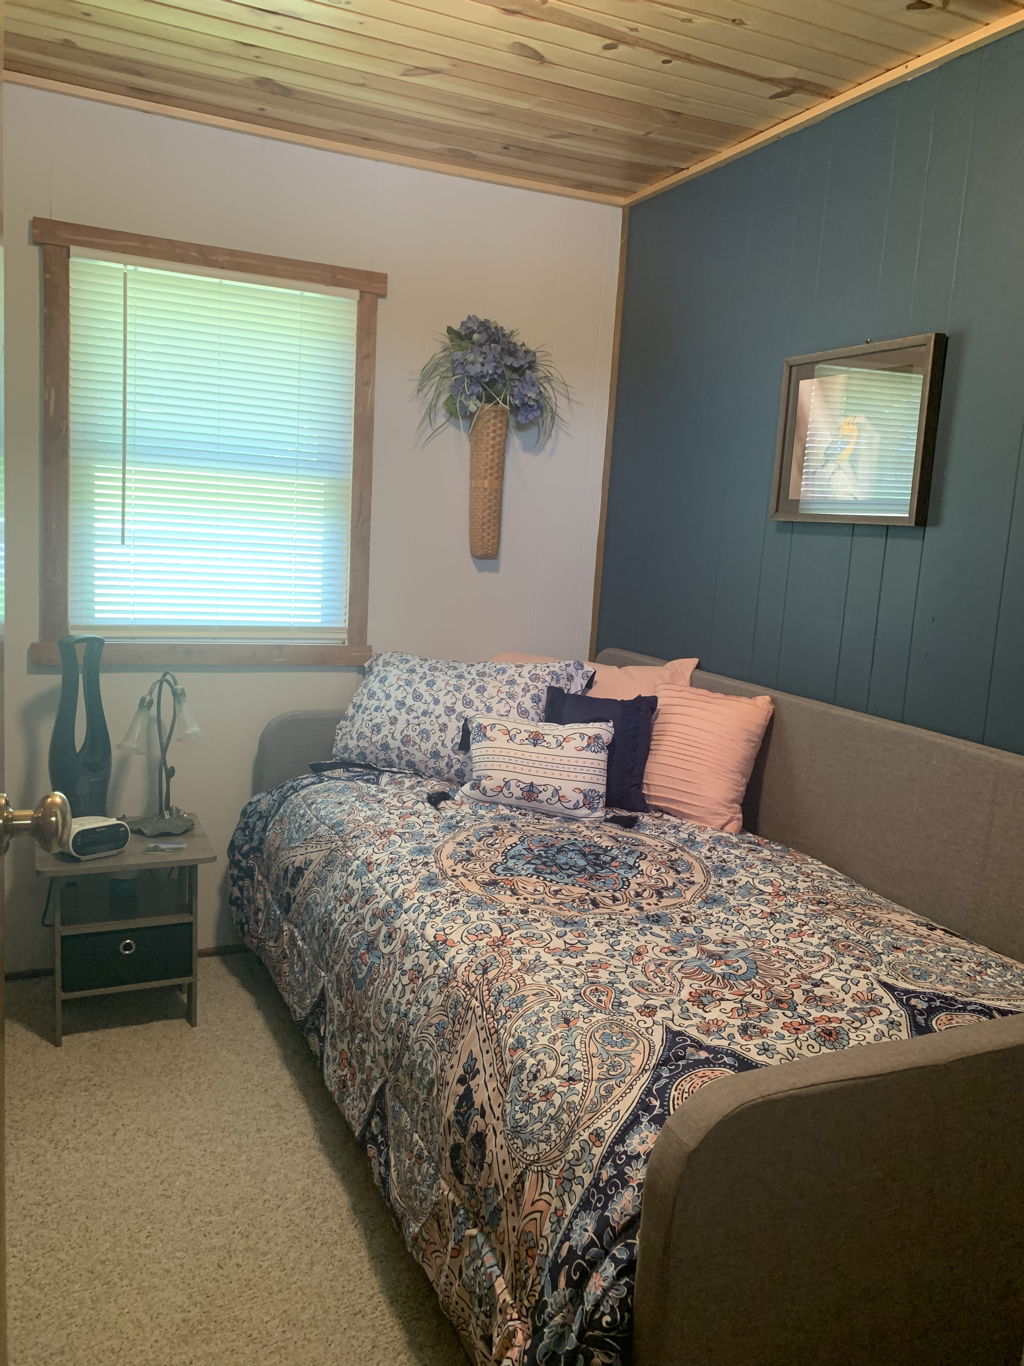 Much more welcoming now. Everyone, myself included, is in love with how it turned out. On a side note – all of the things I did really freshened things up as well because as I was making cosmetic changes, I was deep cleaning along the way. Next, I moved on to the master bedroom. This room was really just a mish mosh of random things. One of my goals was to give each room a “theme.” Grouping like items together so instead of looking messy/cluttered, the cabin looked clean/curated. It made a HUGE difference. This room became the “fishing room.” I took down wallpaper here as well, patched things up, and painted with a pretty light green. You’ll see in the photos below that we have fishing poles hung on the wall I painted. There was a rack on one side, not the other, so once the paint dried, I added a second rack so I could hang all of the fishing poles. I was able to use scrap wood I found in the cabin and bought some cup hooks to screw in. I then attached a fishing net to the wall behind the bed and assembled a nightstand to add. Here are some before and afters of this room: 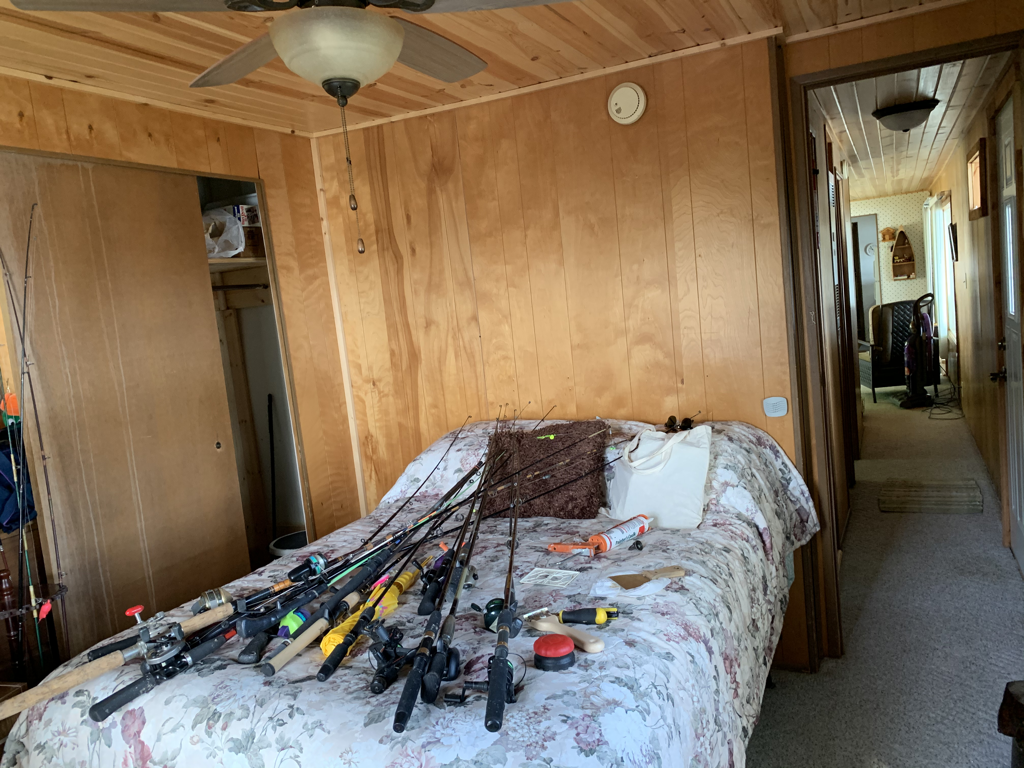 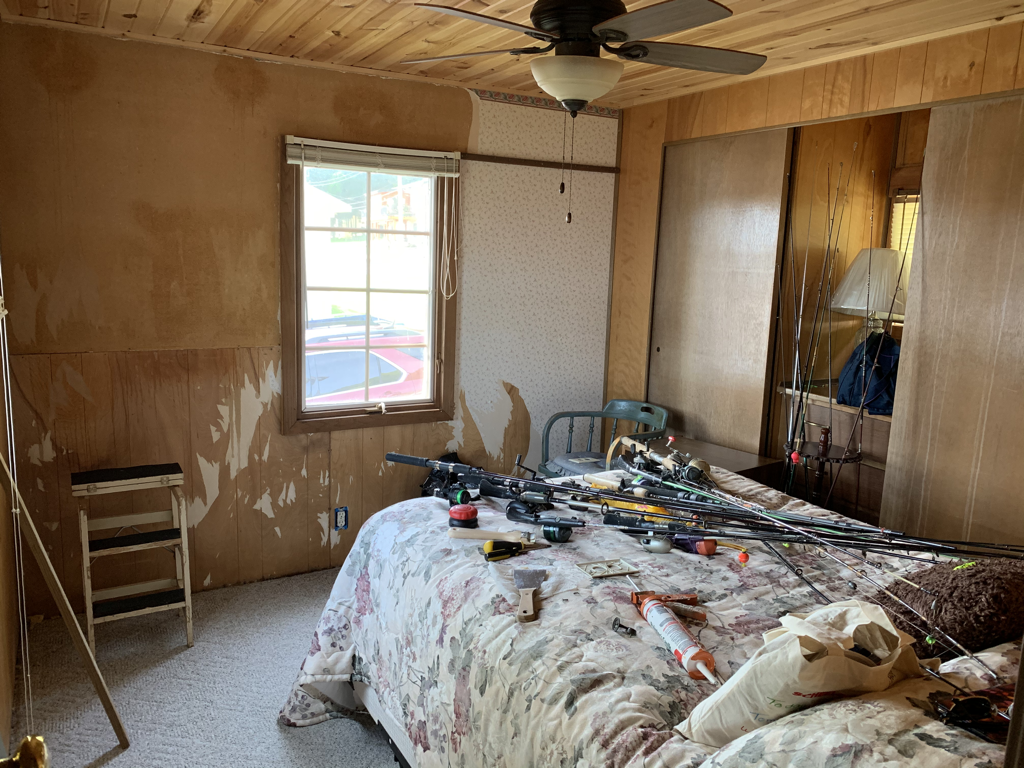 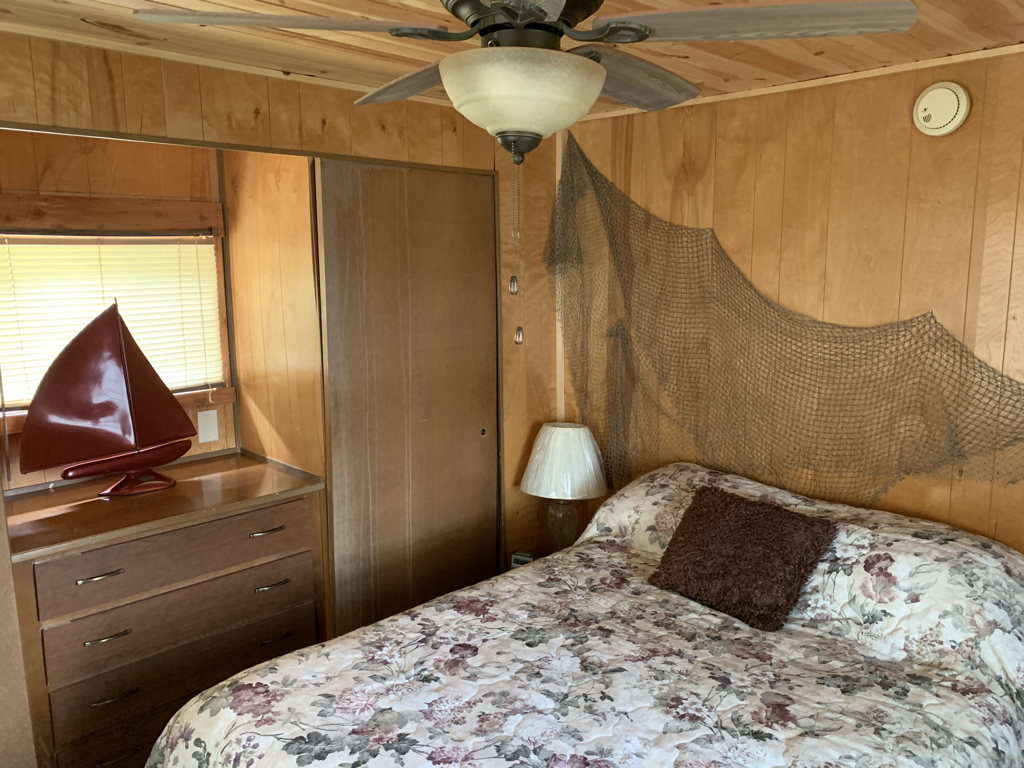 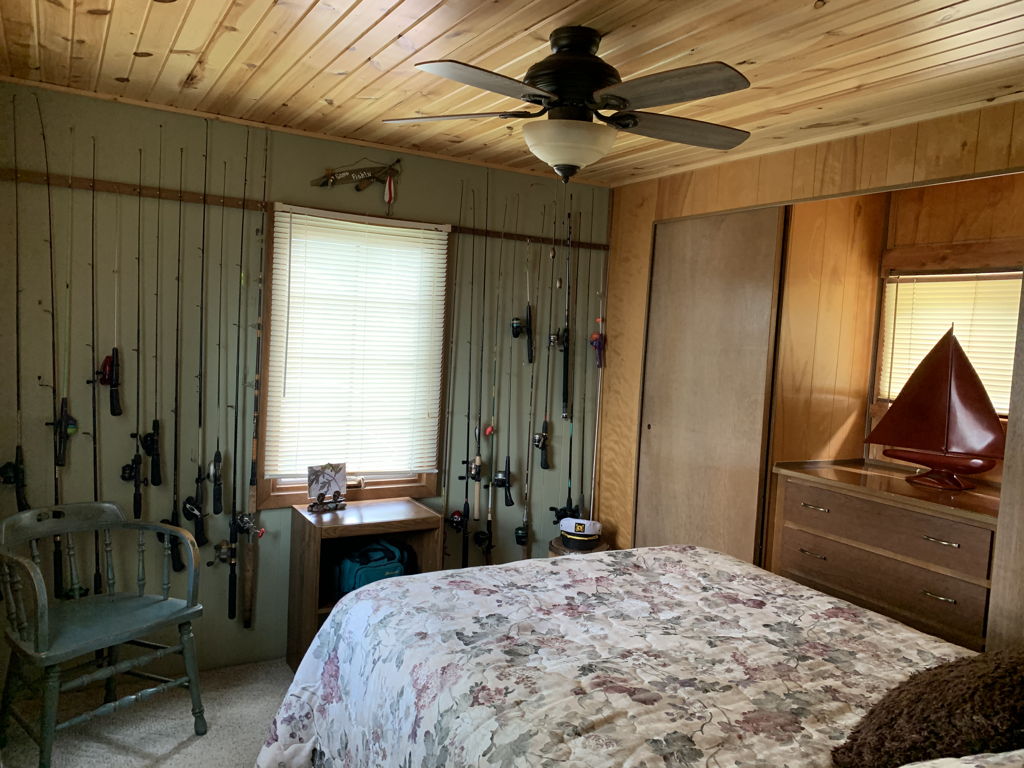 Wow – right?! The vibe is now much more welcoming and it definitely feels more cozy. The last place I did big changes in was the kitchen. Unfortunately…I’m terrible with before photos and forgot to take some of the kitchen! Please use your imagination to picture an outdated, grimy space with peeling wallpaper that was powder blue and white with a teapot pattern everywhere you looked. Some of the walls were partially painted white over the wallpaper – but it never got finished. This is the room I’m most proud of because it was the first time I used removable wallpaper. It was definitely the biggest challenge. I was extremely nervous to do it and of course, my grandma wanted to help that day, so I had an audience! But once I had the first piece up, I rejoiced, knew what do to, and was able to get it all done in a day. I applied a weathered wood wallpaper to the backsplash area of the counters and behind the sink. I painted the rest of the walls the same light grey as the extra bedroom. Cleaning was key in this area. I magic erasered every surface several times! It made an amazing difference. I also rearranged how some of the items were on the counters and bought grey kitchen rugs to bring the grey from the wallpaper into the room a little more. Here is an after photo of the kitchen: 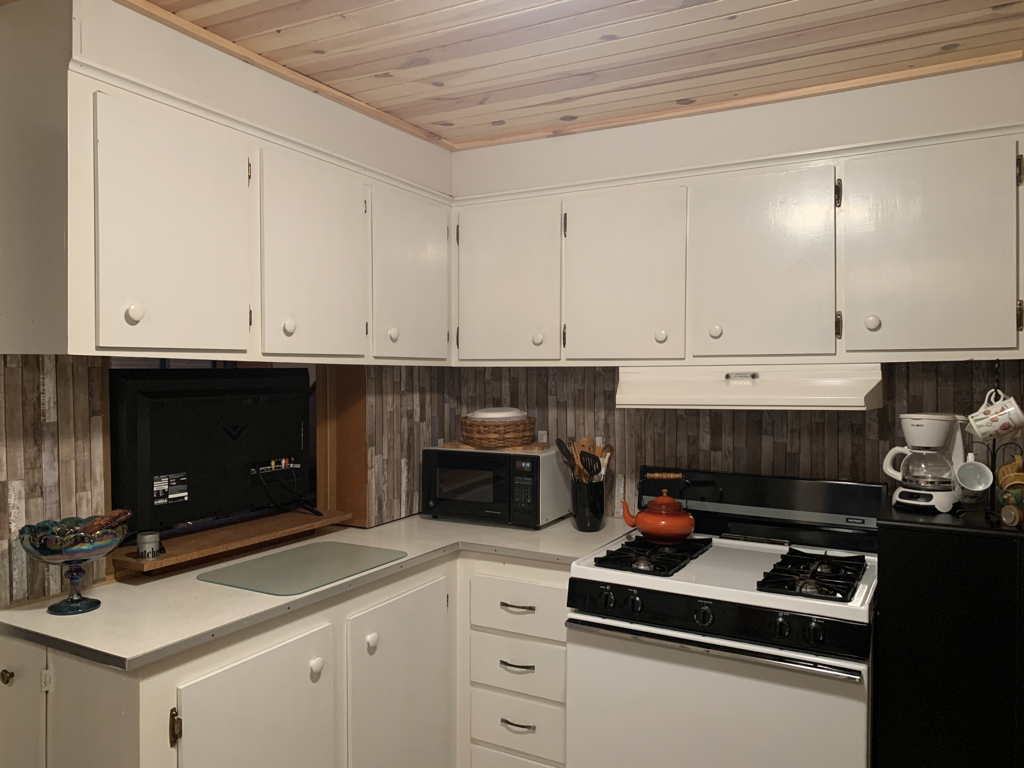 In case you are wondering, I found the wallpaper at Menards. I bought 3 rolls but only needed part of one. It cost around $30.00 – well worth it. I did a little facelift to the living room. Removed wallpaper, patched holes, rearranged the wall décor, and bought a new cover and throw pillows for the couch. Little things, but the room is now cohesive. 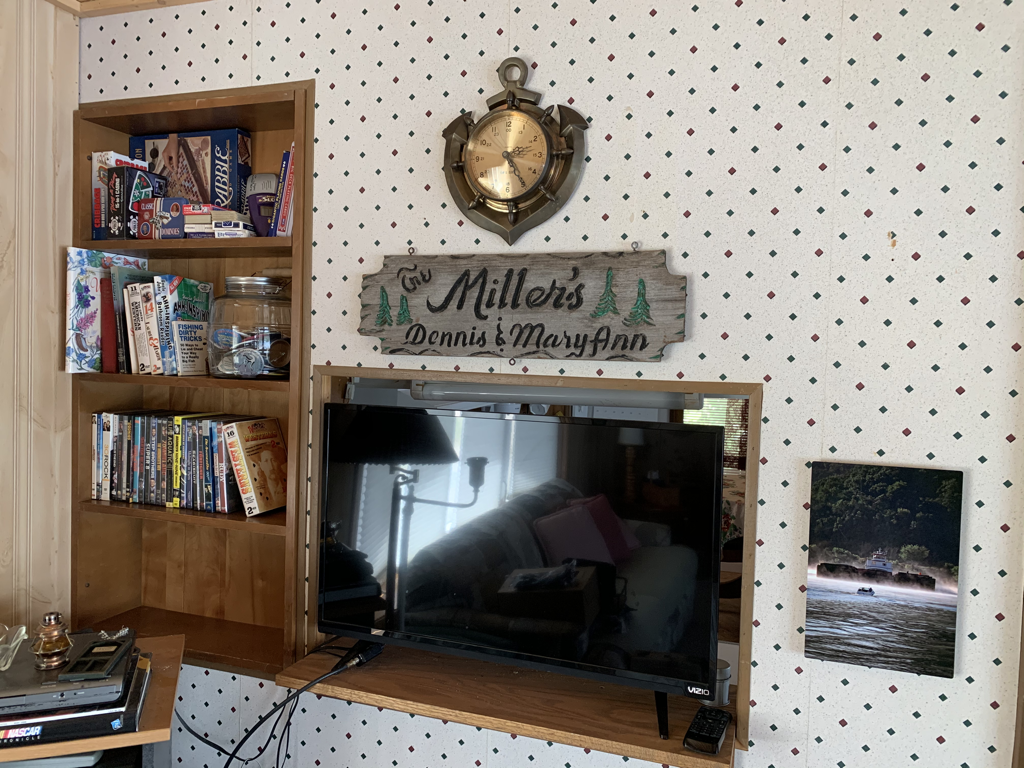 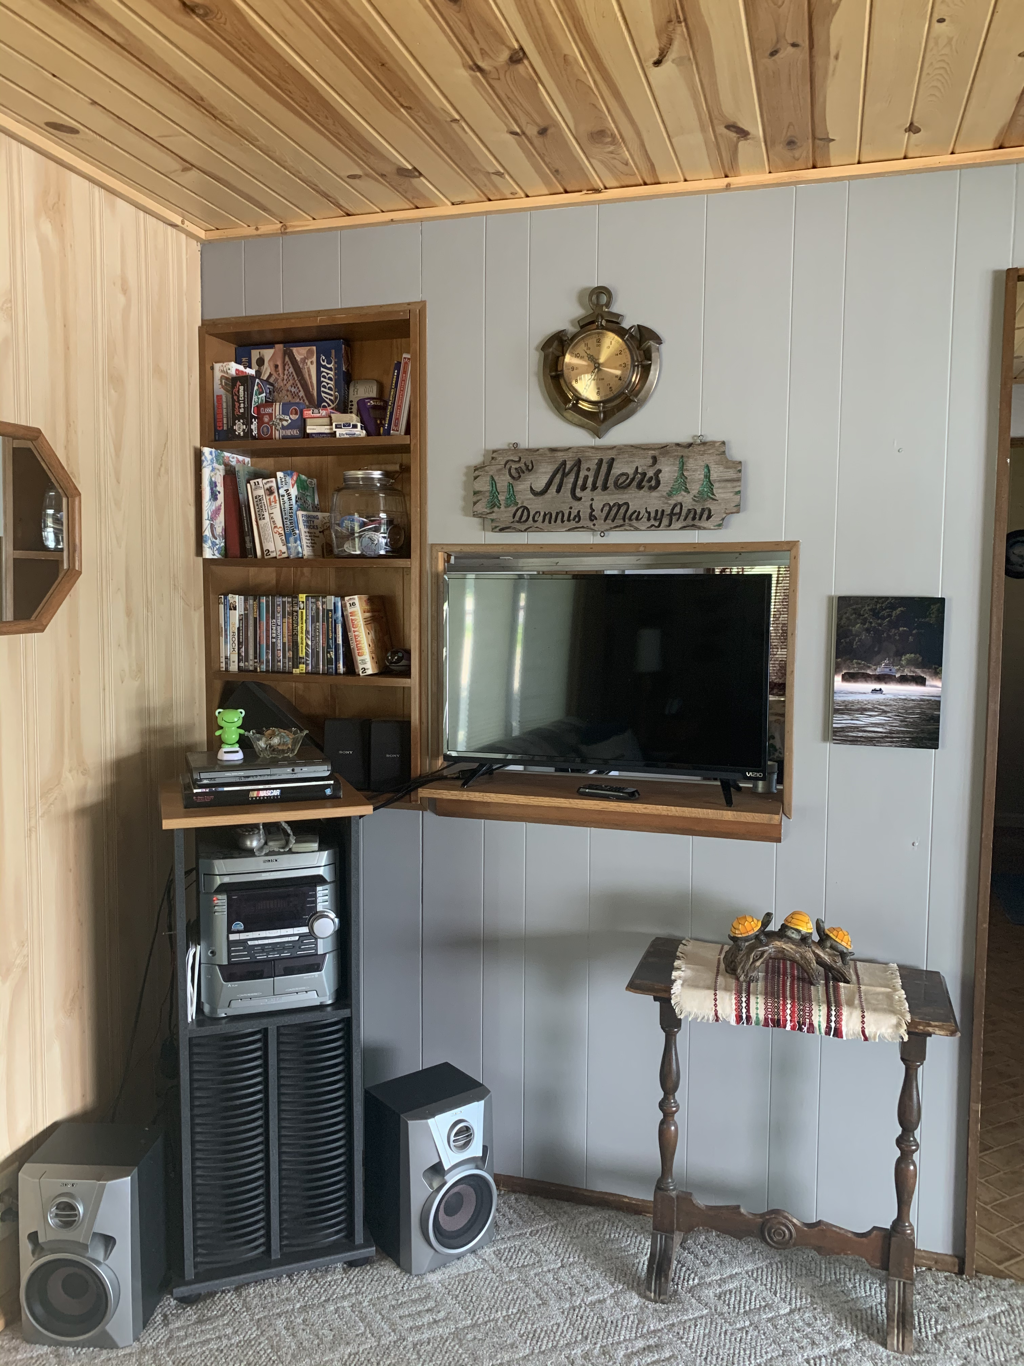  And lastly, I organized the crap out of the dining room. There is a buffet in there that has always been piled with miscellaneous items from years ago. My goal was to at least clear off the top and make room in the cabinets. Mission accomplished! I added a bright tablecloth to the dining table to inject some energy into this area and made the theme “bald eagles and wolves" using décor from throughout the cabin. I also displayed all of the buttons we’ve collected from past “Fish Days” (Lansing's town festival) we’ve been around for. We take a lot of pride in those.   For a quick, cheap update, I'm pleased with how everything turned out! I ultimately did it for my grandma. We are very fortunate that she allows us to enjoy the cabin, so it felt good to show her my gratitude through this work. She was extremely pleased with the results and that makes my heart feel so full. There are a lot of memories in that cabin, many tied to my grandpa. Seeing the cabin change from what it was when he was alive was hard for her, I know, but breathing new life into it has given her a renewed interest in spending time there. I'm so glad I could give her that gift. 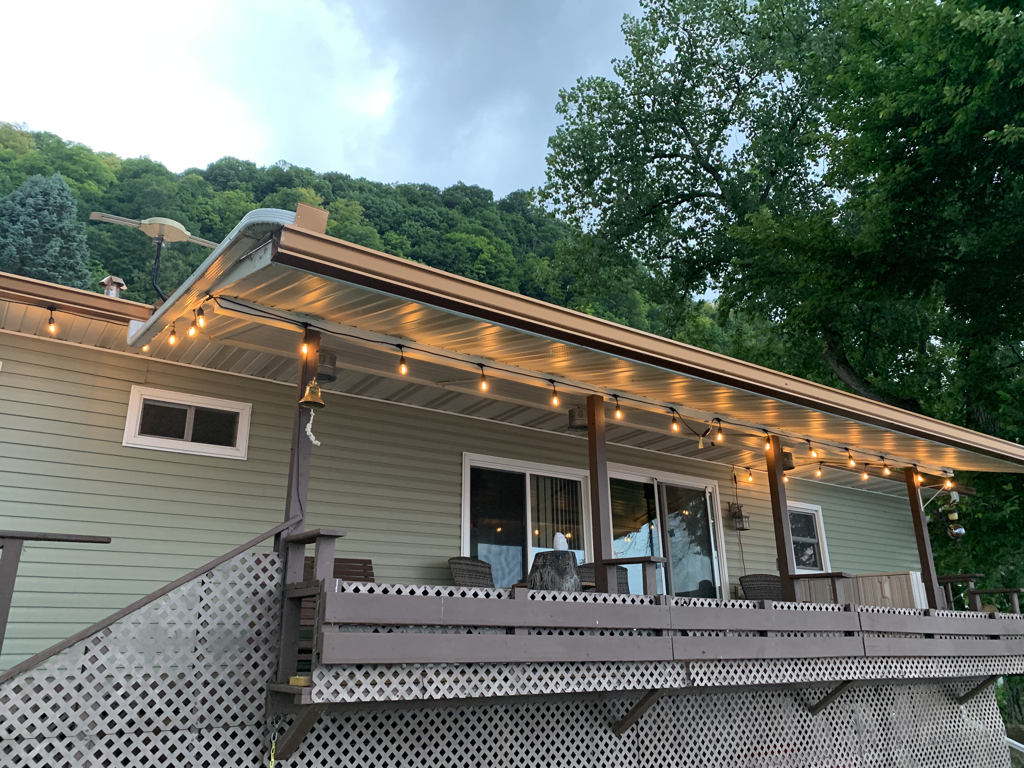 Looking for an adorable DIY project for Easter? I’ve got just what you’re looking for! While browsing Dollar Tree for a few Easter/Spring décor items to freshen up what I currently have, I ran across inspiration for a project. One item led to another and I had a full vision for the vignette we have placed just as you pull in our driveway. I knew I wanted to put sticks with plastic eggs hanging from them in the wash bin. But then I found a felt bunny head that I thought would be cute peeking out from the bin as well! Here is my vision brought to life:  I mean, come on. That face! Here is what I used to create the bunny:
  If you make any mistakes, that’s what the sander is for. I sanded the edges, smoothing out any unintended mis-cuts and bumps. I then sanded the flat sides of the wood, wiping them down with a cloth afterwards, so I had a good surface for the paint. I chose to connect the bunny head to the 2x4 before painting. I attached them together with two long screws through the face of the bunny. I did this because there are normally high winds where I put this piece of décor and I didn’t want it to fall apart. If you will be putting this on a porch or indoors, you could easily use wood glue or construction adhesive.  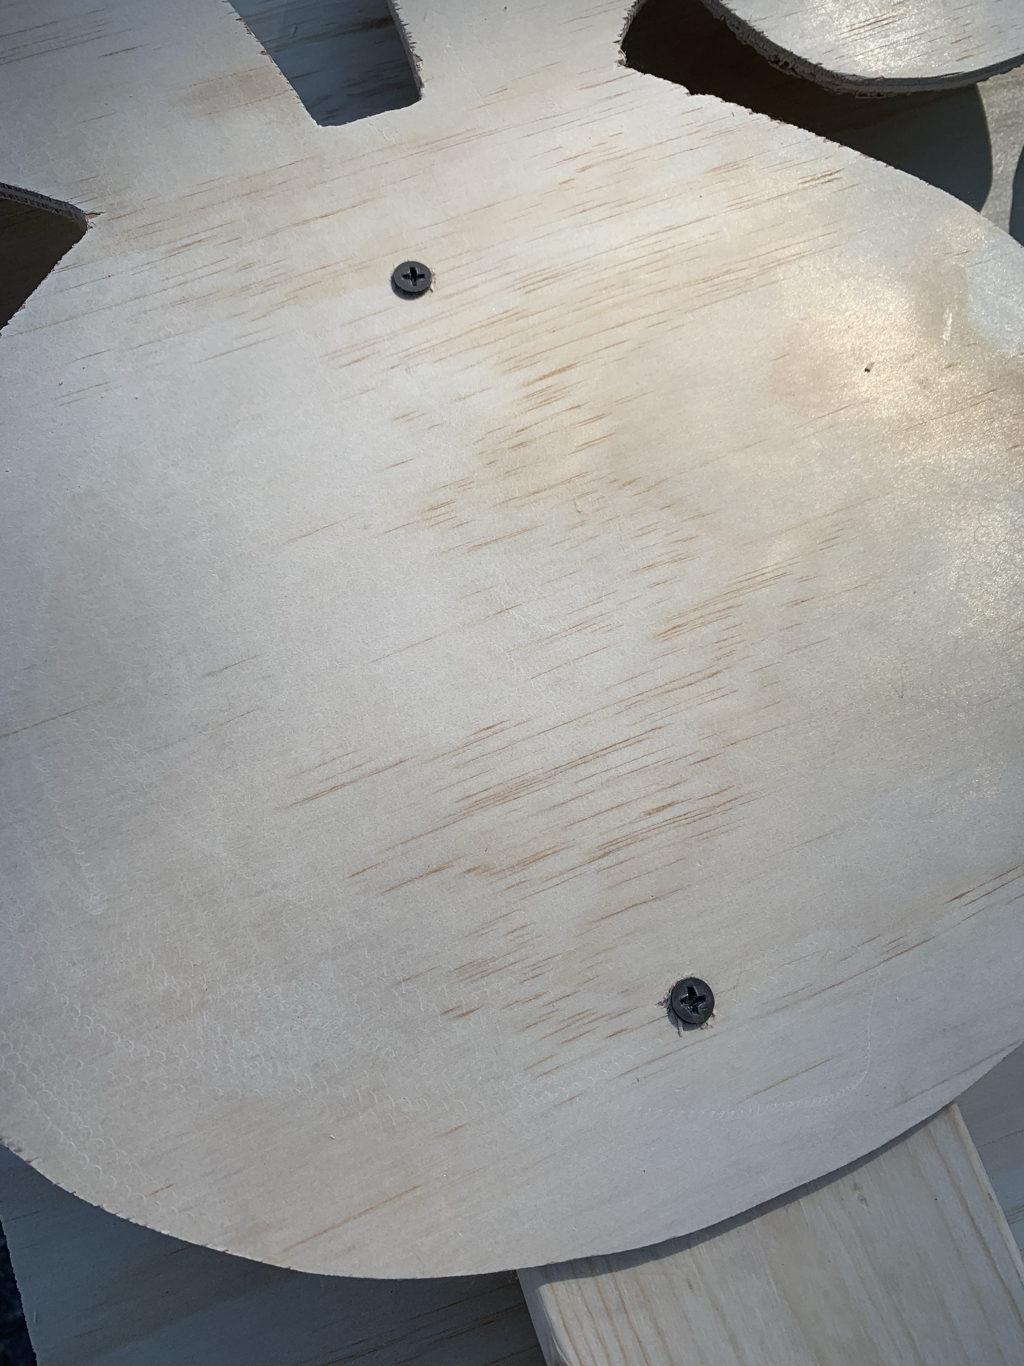 Once attached, I started to paint. I used white outdoor paint as the base and applied spray paint with a brush for the facial features (I work with what I’ve got at home!). I finished it off with a coat of clear poly spray paint to seal it up. I chose to paint both the back and front white because the back is visible from the road. I utilized the facial features on the felt bunny head to paint in the ears, eyes, nose, and mouth. I have to give credit to my husband for that idea!  I might cut the 2x4 down a little bit to lower the head a little more, but I can’t help but smile when I see this sweet bunny peeking out of the wash bin, welcoming me home! Here’s another angle for your viewing pleasure:  Happy Easter!
I love outdoor lighting. Solar lights. String lights. Tiki torches. Even campfires and fireworks if those count! There’s just something magical about it. I like the intimate vibe it adds to exterior spaces. My in-laws just purchased a camper and have enjoyed a summer full of adventures. I wanted to make my mother-in-law something for their camper/campsite for her birthday. She also enjoys outdoor lights, so I thought a colorful LED camping light to set outside their camper would be a great gift! Here’s what you need to make your very own:
Making this light is super easy and inexpensive. First, get your lights ready. The ones I purchased came with batteries and two large, double sided adhesive dots. Insert the batteries and stick an adhesive strip to the bottom of each light. Remove the lid of your container and secure the lights to the bottom. 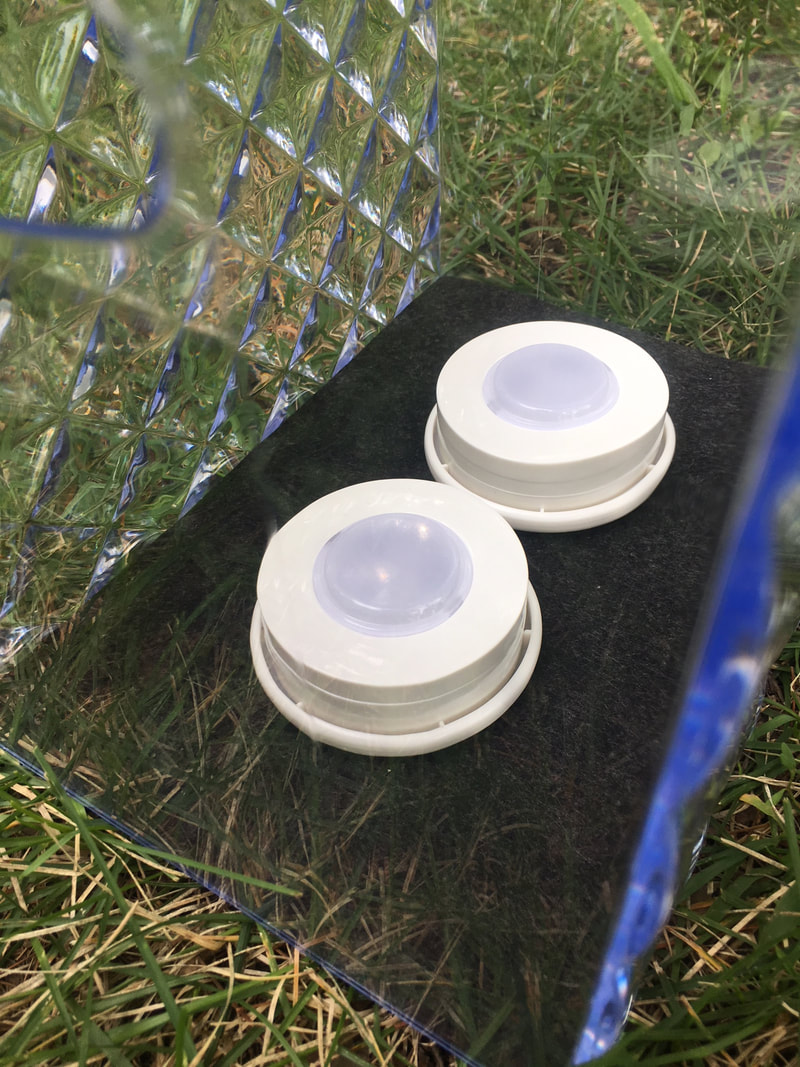 Test your remote to make sure everything works! Try turning the lights on and off, changing colors, and changing themes. I ended up making two camping lights and the great thing about the puck lights I used was that one remote could control all four lights, even though each set of two came with their own remote. 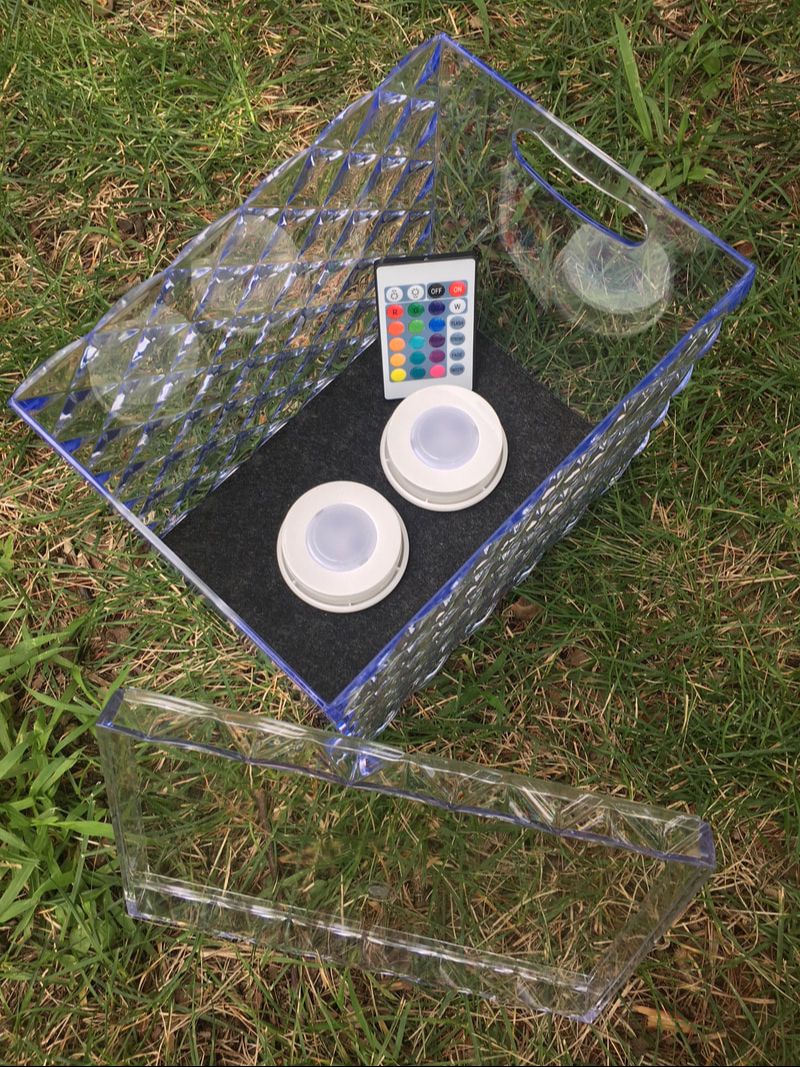 Once you have the lights in place and you know they work, place the lid back on the container. You’re done! It’s time to enjoy. These would be perfect for camping, outdoor décor at home, and even indoor décor if you want to add lighting to a small nook or vignette.   Since Spring refuses to show its face outdoors here in Iowa, I decided to start my own Spring indoors by growing seedlings! This is the first time I have ever attempted to grow my own seedlings indoors. I have tried starting seeds outdoors unsuccessfully because I couldn't keep them moist enough. Normally, I buy everything I need for my gardens from a nursery or hardware store. The plants are hardy and ready to get in the ground. This year I want to see if I can create a "full circle" garden by starting the seeds, planting the seedlings, harvesting veggies from the plants, and preserving the veggie seeds for seedlings next year. My fingers are crossed really hard that this will work - but we'll see! Because I didn't know how successful I'd be with seedlings, I didn't want to spend a lot of money to get started. That's why I went the eggshell route. So far, it has been a good option for me. Here's what I am using for my seedlings:
Step 1: Gather & Rinse Eggshells I started three long trays of seeds. This required 4 1/2 dozen eggs. I was able to fit 1 1/2 egg cartons in each tray, equaling 36 pods for seeds. Be sure to rinse out the eggshells. After rinsing, I placed each eggshell half back into the egg carton to dry and prepare for the next step. 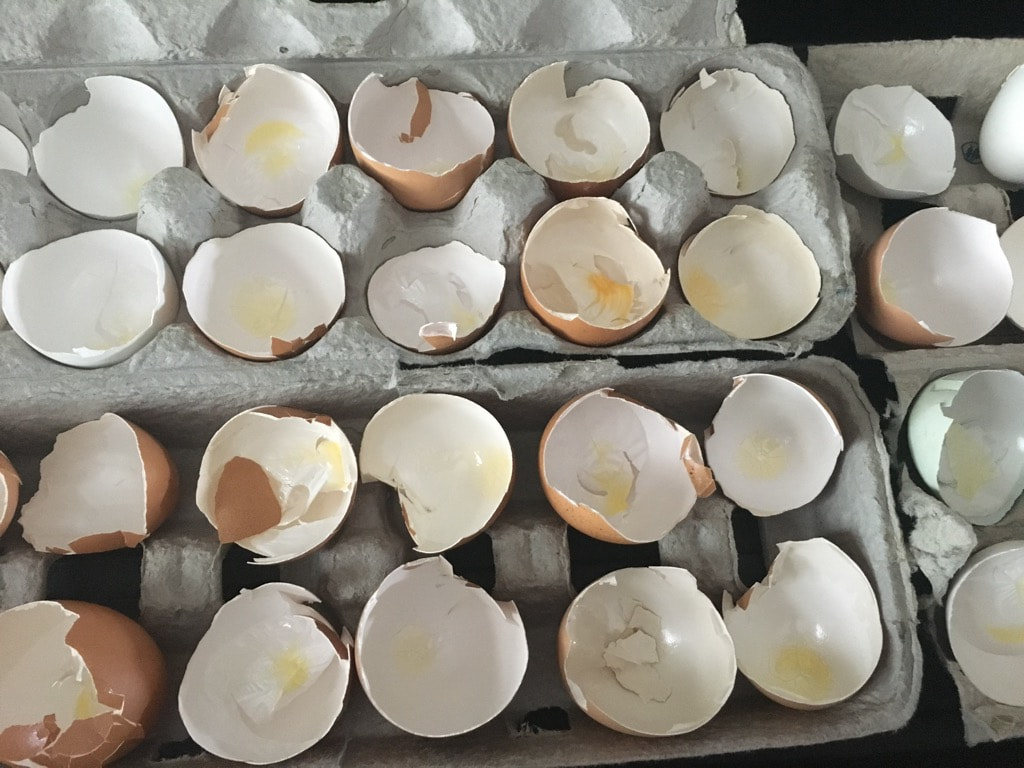 Step 2: Add Dirt & Seeds I filled each eggshell half about 3/4 full of soil, planted the seeds as directed on the packet, and sprinkled a little more soil over each eggshell. I then soaked the soil and seeds with water.  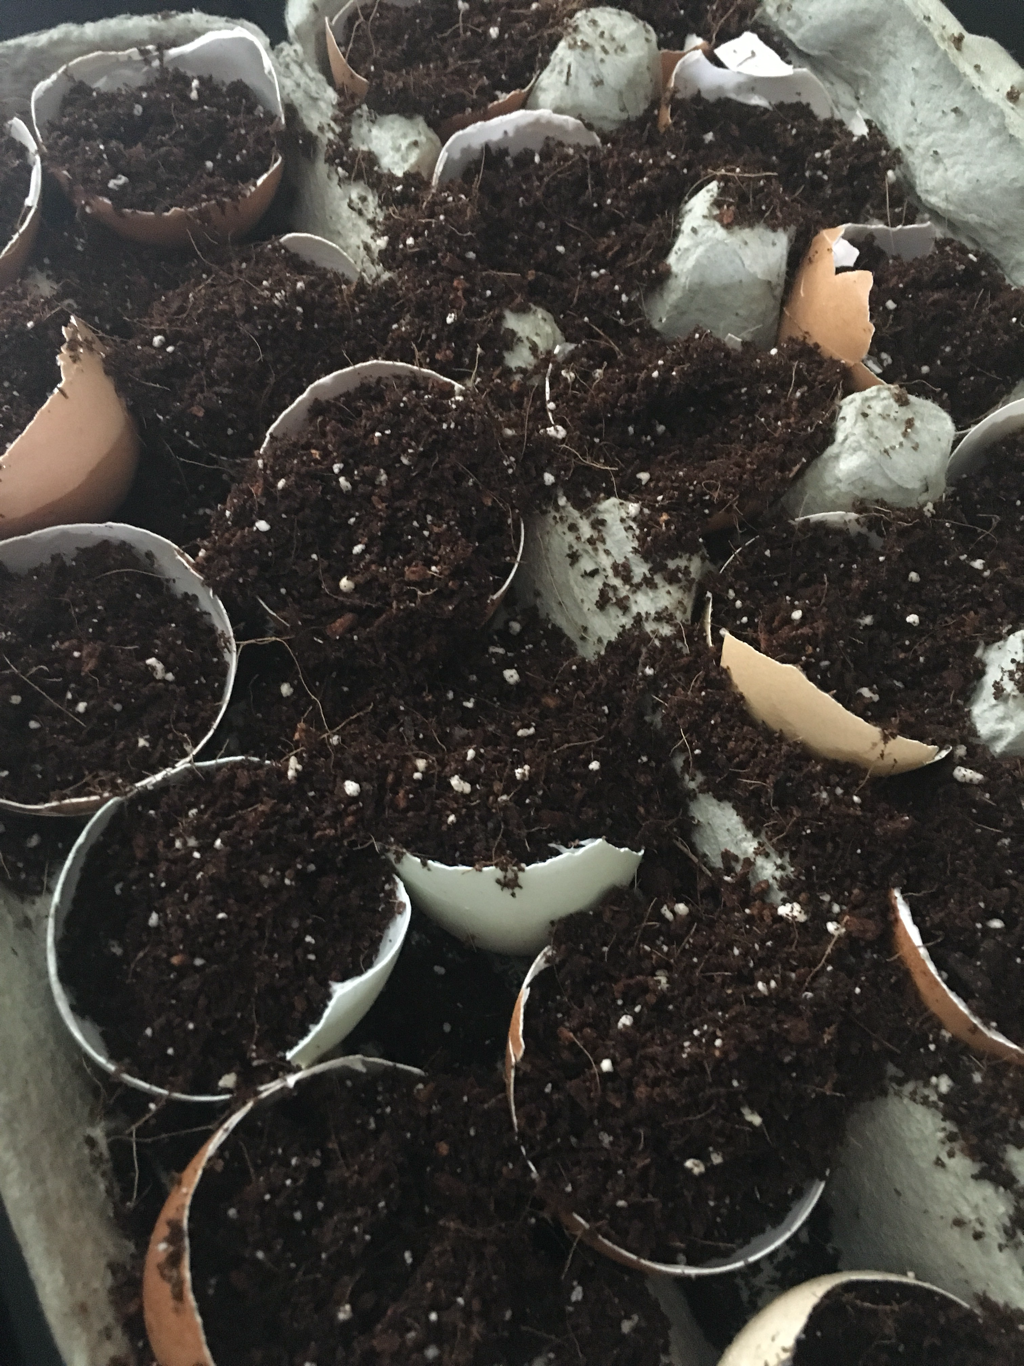 To identify what I was growing, I wrote with a Sharpie on clothespins and clipped them to the sides of the cartons. 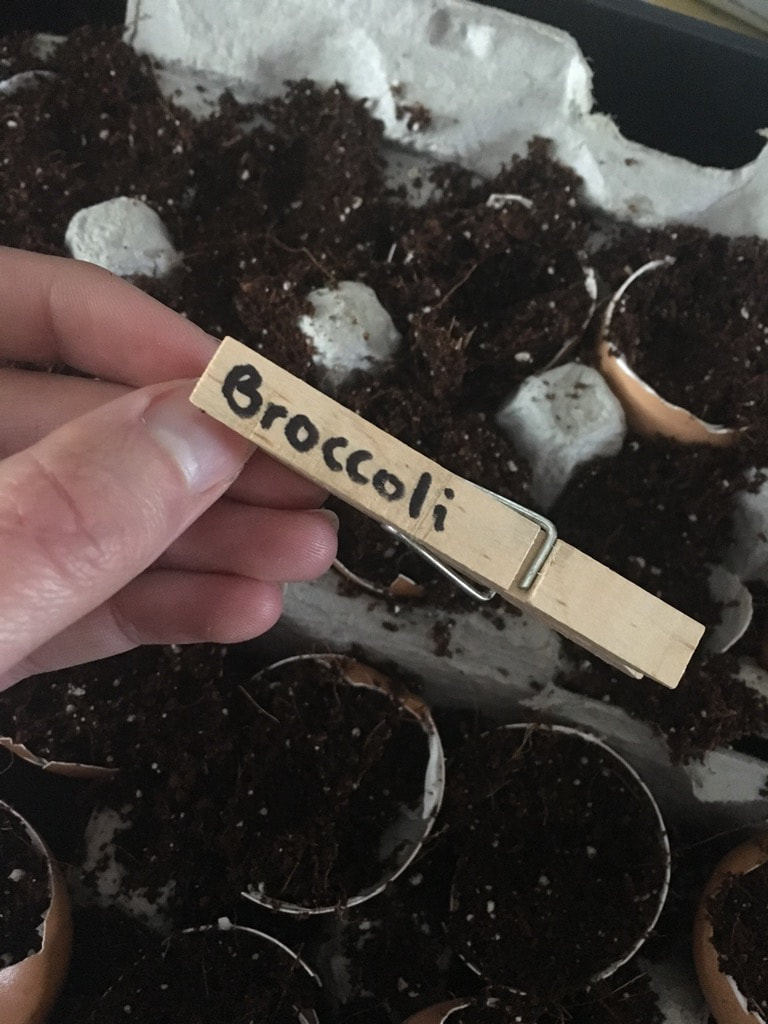 Step 3: Fill Trays & Find Some Sunshine You can get creative with whatever you choose (or choose not) to hold your egg cartons in. I purchased seed starter trays from Menards with a clear, domed lid for my cartons, but I read online you could simply cover your cartons with plastic wrap. You'd probably just want to set your cartons on something because if you're using a non-Styrofoam carton, it will get soggy. Whatever you choose to do, just make sure you have something to help create humidity so the seeds can germinate. Once you have the eggshells situated, find some sun! Or at least some good natural light. We don't have a lot of places in our house for this, so I had to do some rearranging to make it work. My grandma gifted me with my great grandma's grow light plant stand and I positioned it in the front/east side of our house in front of a large window. In the evening, I turn on the grow light for a little extra exposure. 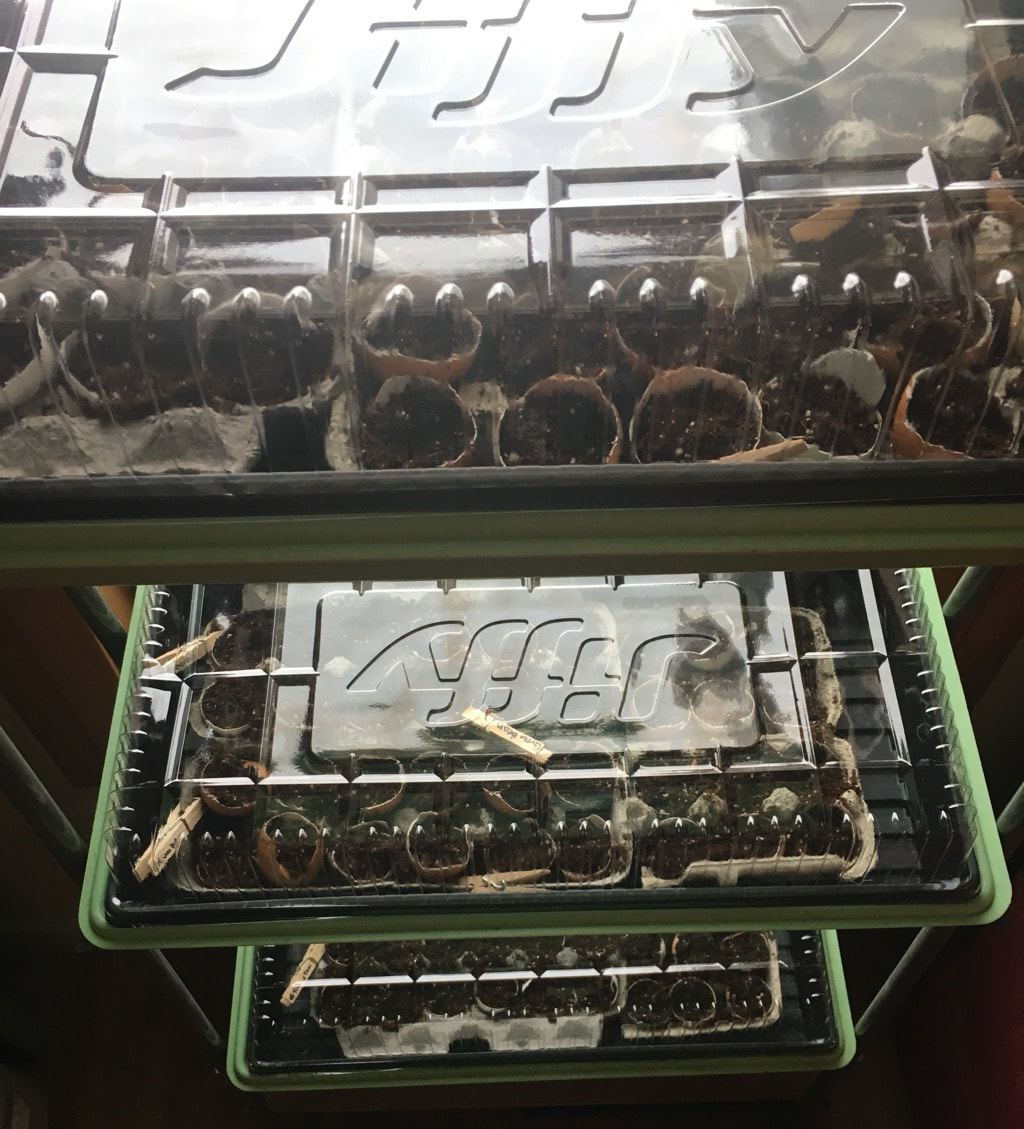 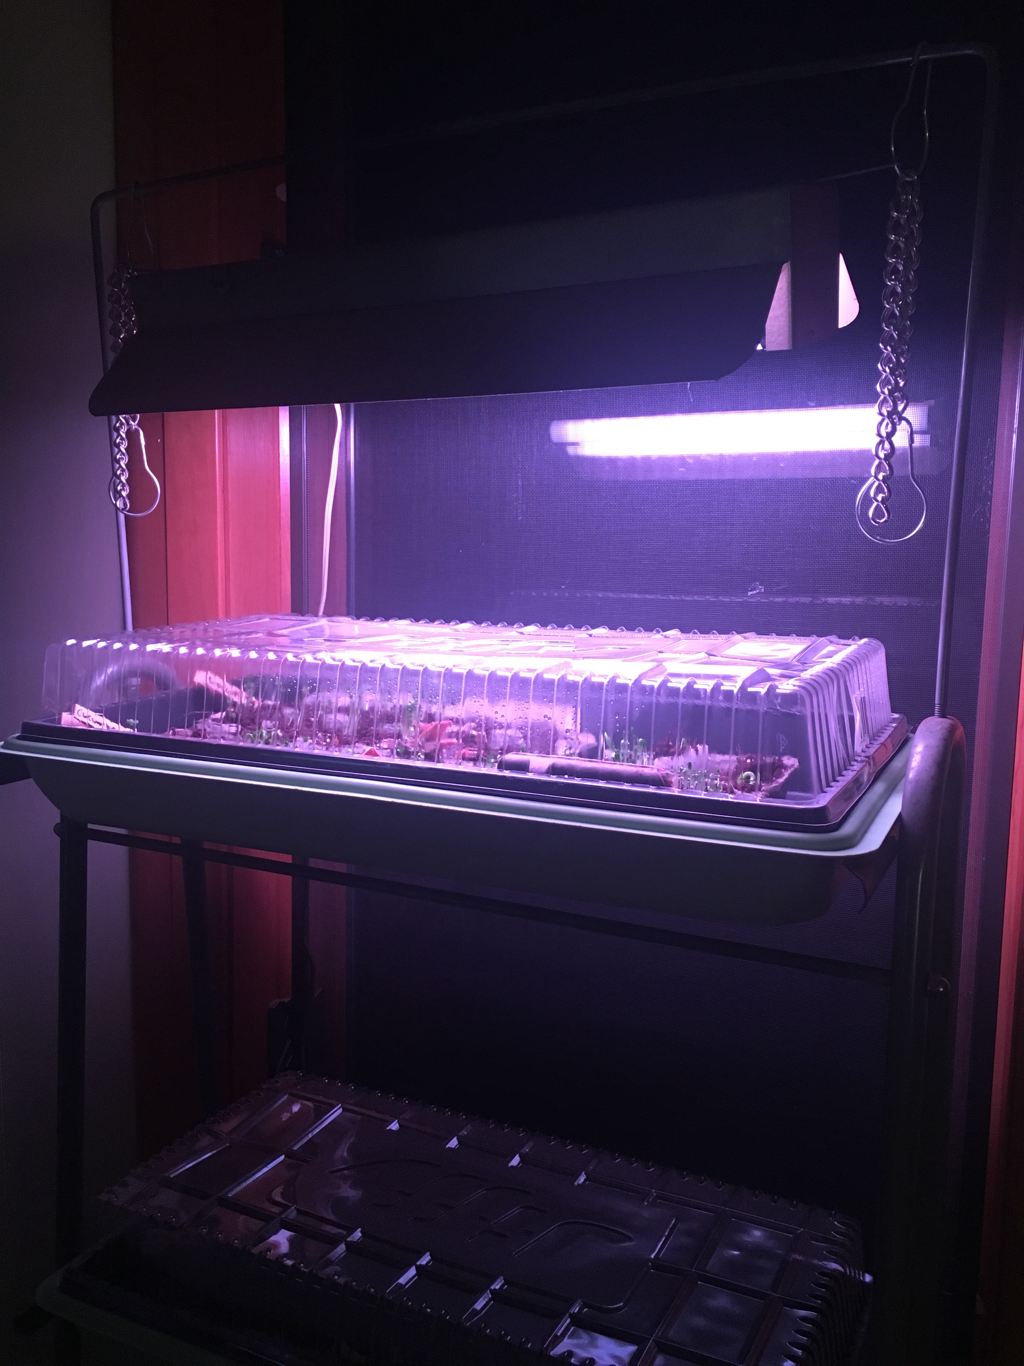  Step 4: Rotate Trays & Water Occasionally The way I'm growing my seedlings is based a little on online research and a lot on my own instincts when checking in on my trays. I rotate trays every other day to make sure they're getting equal light both through the window and from the grow light at night. I also turn them around once in a while so different sides of the sprouting seedlings are getting the light they need. I soak the soil good once a week. I check in between watering to make sure the top layer of soil is wet. If it seems dry, I spritz with a spray bottle. You don’t want the soil to be too wet for too long, otherwise you are at risk for mold and root rot.  Step 5: Whisper Kind Words & Enjoy I truly believe that speaking kindly to plants helps them grow. So when I'm checking on the seedlings or feeling proud of how they're progressing, you better believe I'm giving them words of encouragement! I've seen some really promising results in the first week, with a good 50% of my seeds starting to sprout! Here's what my cucumbers looked like at the end of week one. As promised, I'll share more progress photos as the weeks go by! 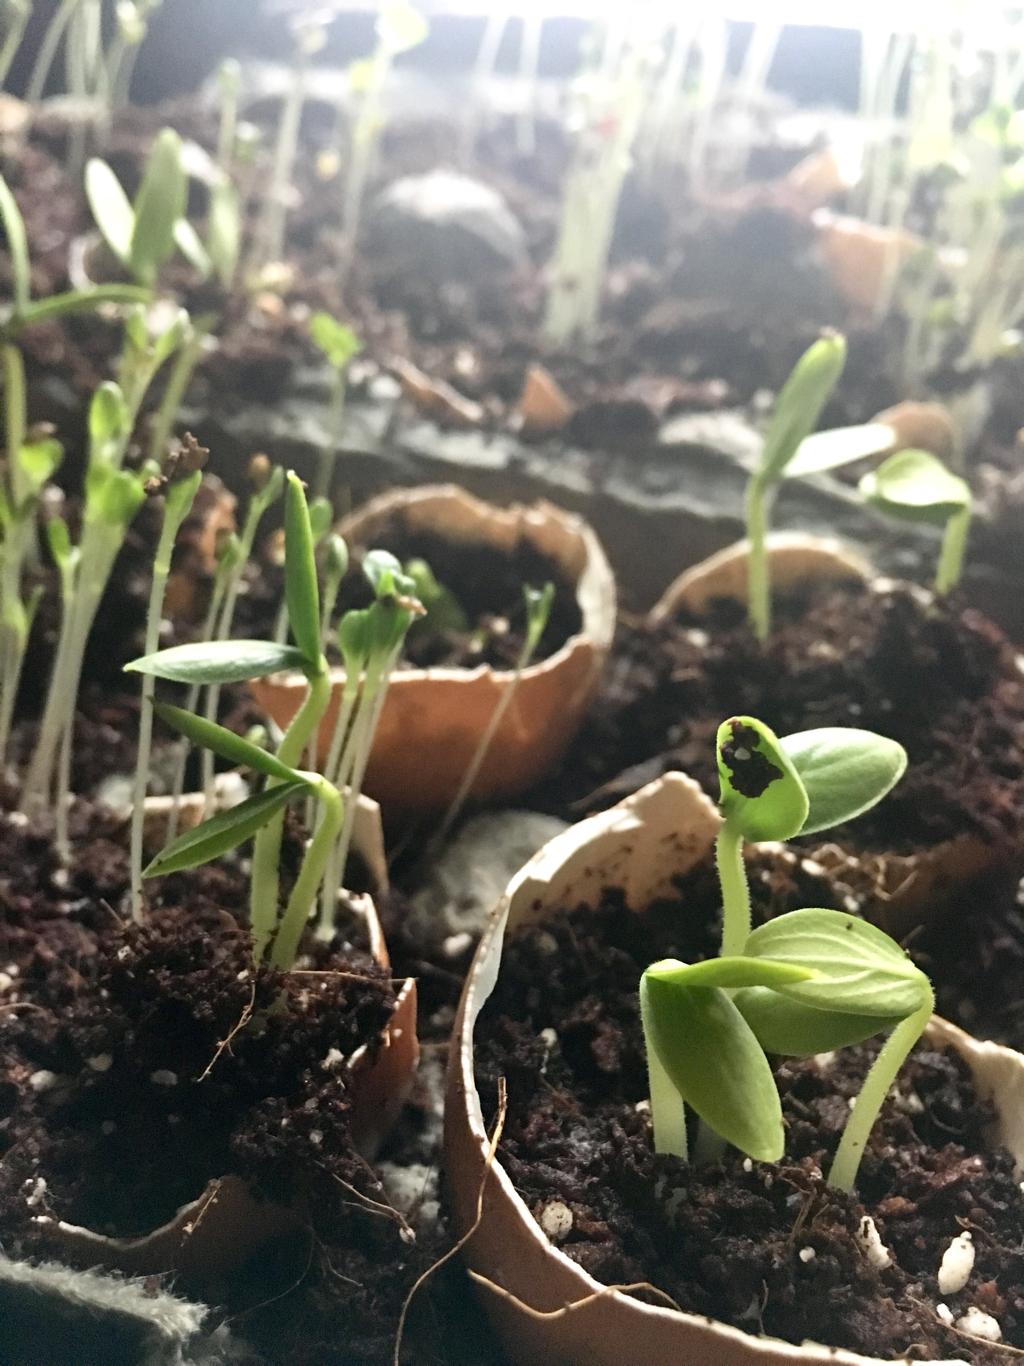 End of week two and I’ve already had to move the green beans into larger containers because they’re getting too tall for the humidity domes! 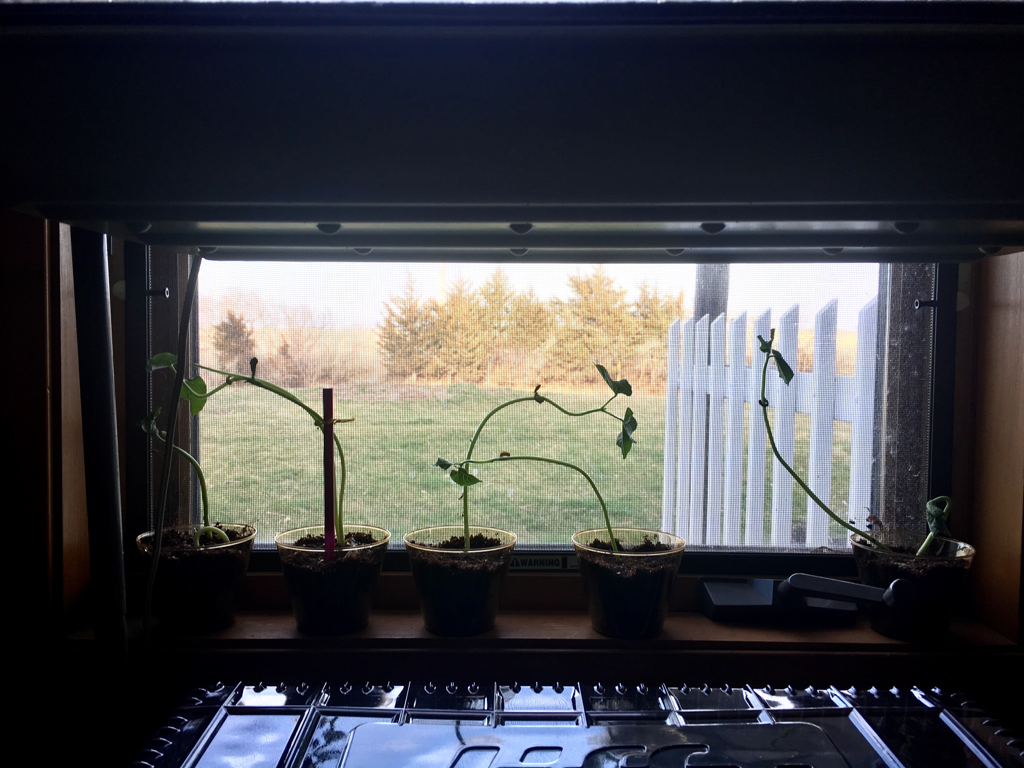 It’s week three and some seedlings are strong while others haven’t come through. The cucumbers are looking good, I’m seeing a new type of leaf sprouting from them. The tomatoes are also coming along. Other items, like the lettuce and herbs have good days, then bad days. Trying to figure out the balance of water, sun, and airing out the trays (when they smell like they may be on the brink of molding).  Week four has been a tough one. Some of the little guys I thought would pull through shriveled up...I still haven't mastered the water/sun/airing out ratio. BUT - I did replant some lavender seeds and they're showing their pretty green sprouts! 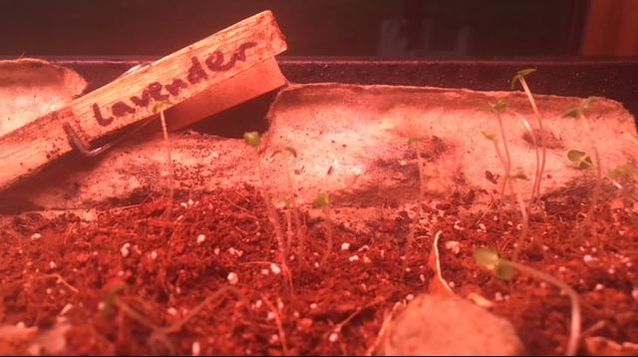 In the middle of week five I planted the green beans outside and they're doing great. 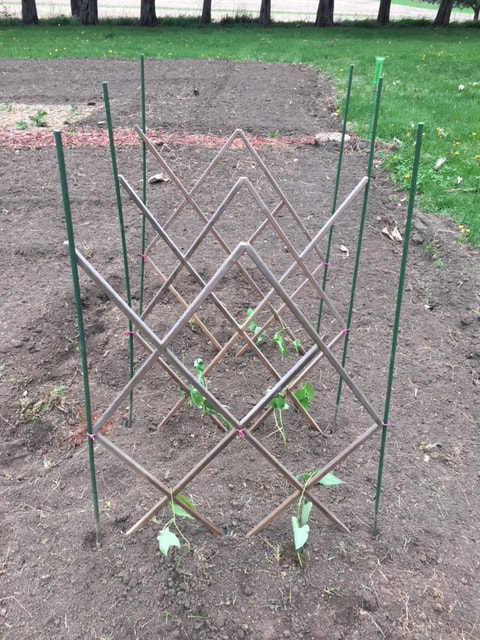 My green beans ended up being the sole survivors from my first year dabbling in seedlings. Find out more in this blog post. I'm humbled by the experience and will try again next year! I am still proud of the green beans - they've produced their first few bean pods!  When you live in a small house, every nook, cranny, and surface is valuable. If you don't want to build on an addition to increase your living space, maximizing the space you have is a must! Our kitchen is tiny. We have one short strip of cabinets and countertop, most of which is taken up by our sink and stove. We've found it challenging to pull meals together with the limited space, and we certainly can't both be working in the kitchen at the same time. One day it occurred to me that our stove top area had potential to be a work surface. So I made it into one! Here's how. What you'll need:
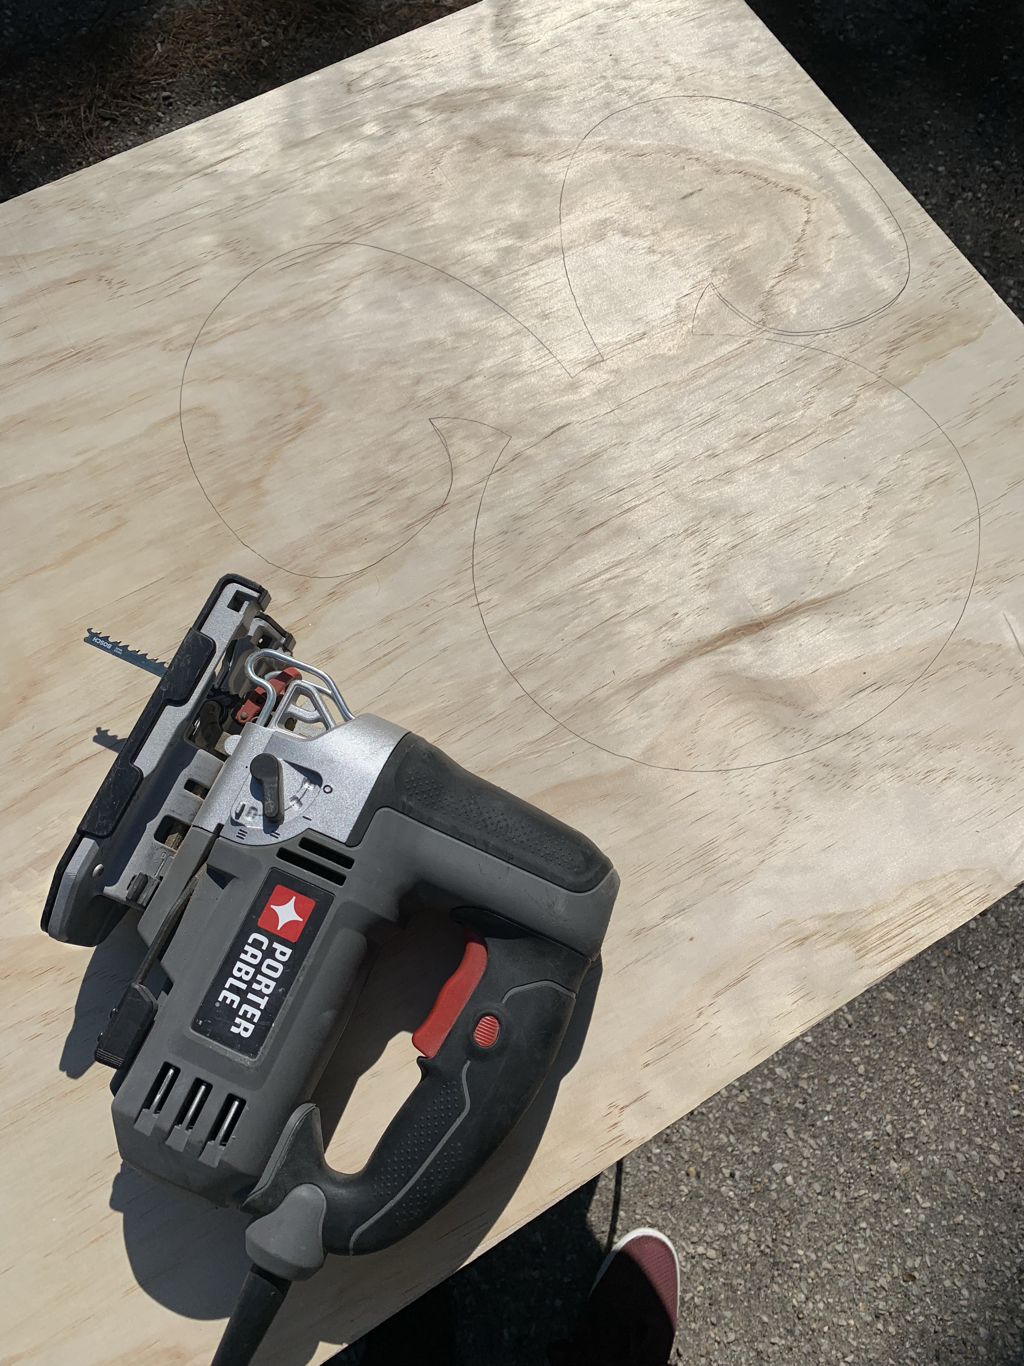
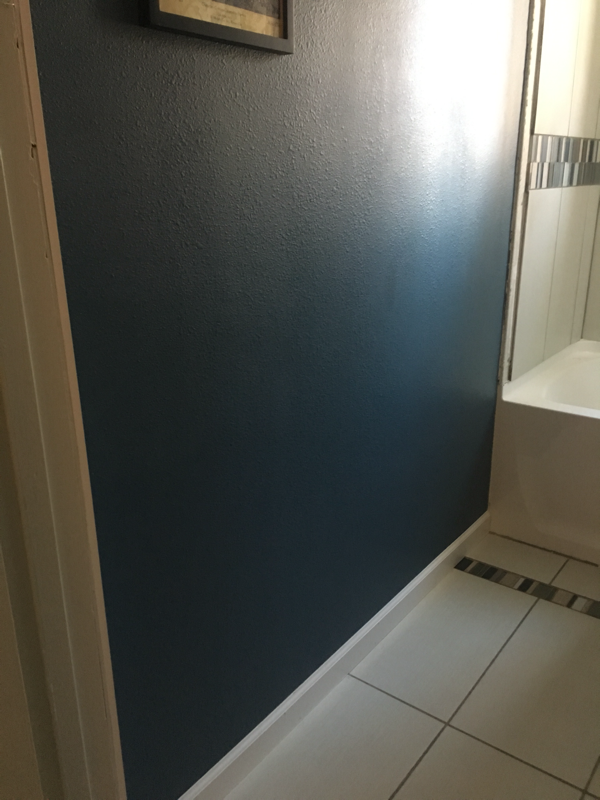
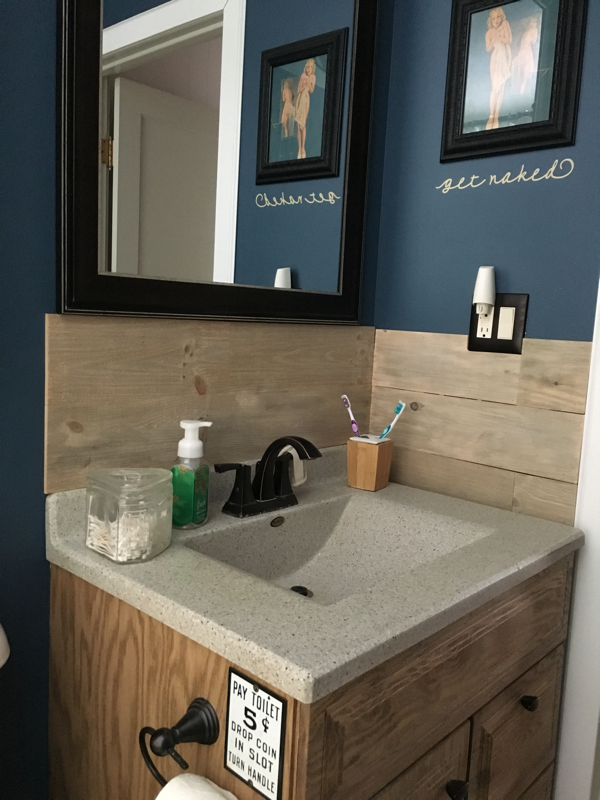
I'll start by offering this disclaimer: This is NOT a cutting board! If you're interested in making this a cutting board work surface, research the correct wood types for that type of work. OK, now back to business. After measuring your stove top and deciding how much you want the work surface to overlap your countertop, use your tape measurer and pencil to mark where you need to make your cuts on the edge glued board. I chose to have my work surface run the full depth of the stove top and overlap my countertop two inches on each side.  When marking your cuts, make two marks. One for the actual cut and another one inch in from the cut mark (or whatever the width is of the inner piece of your circular saw to the left of the blade). You'll be using the saw guide, so you need to account for the inner piece of your circular saw since the saw blade is not flush to the guide. Once you have your marks in place, snap your saw guide onto the edge glued board, lined up with the mark to the left of your cut mark. I used a framing square to ensure my saw guide was straight, which I encourage you to do as well.   After the guide was in place, I made my cuts! I included a picture of the saw blade I used. It was pure magic. Cut through the wood like butter! I had been using two other blades that kept binding, but this one pulled through.  When I had the edge glued board cut, I moved on to the pieces that would act as "feet" for the bottom of the work surface. I added these because I didn't want the work surface to slide back and forth across the stove top. I wanted the bottom boards to catch against the edges of my countertop. I placed the feet around 2 1/4 inches in from the outer edges of the work surface. I secured them to the bottom with wood glue and brad nails. 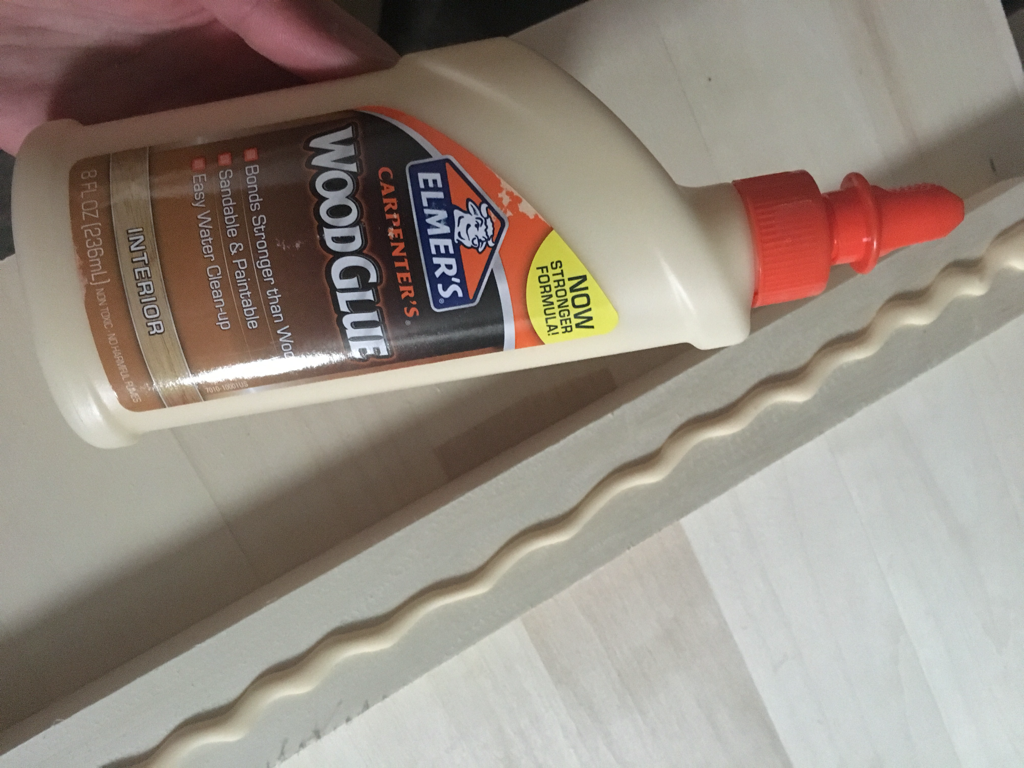 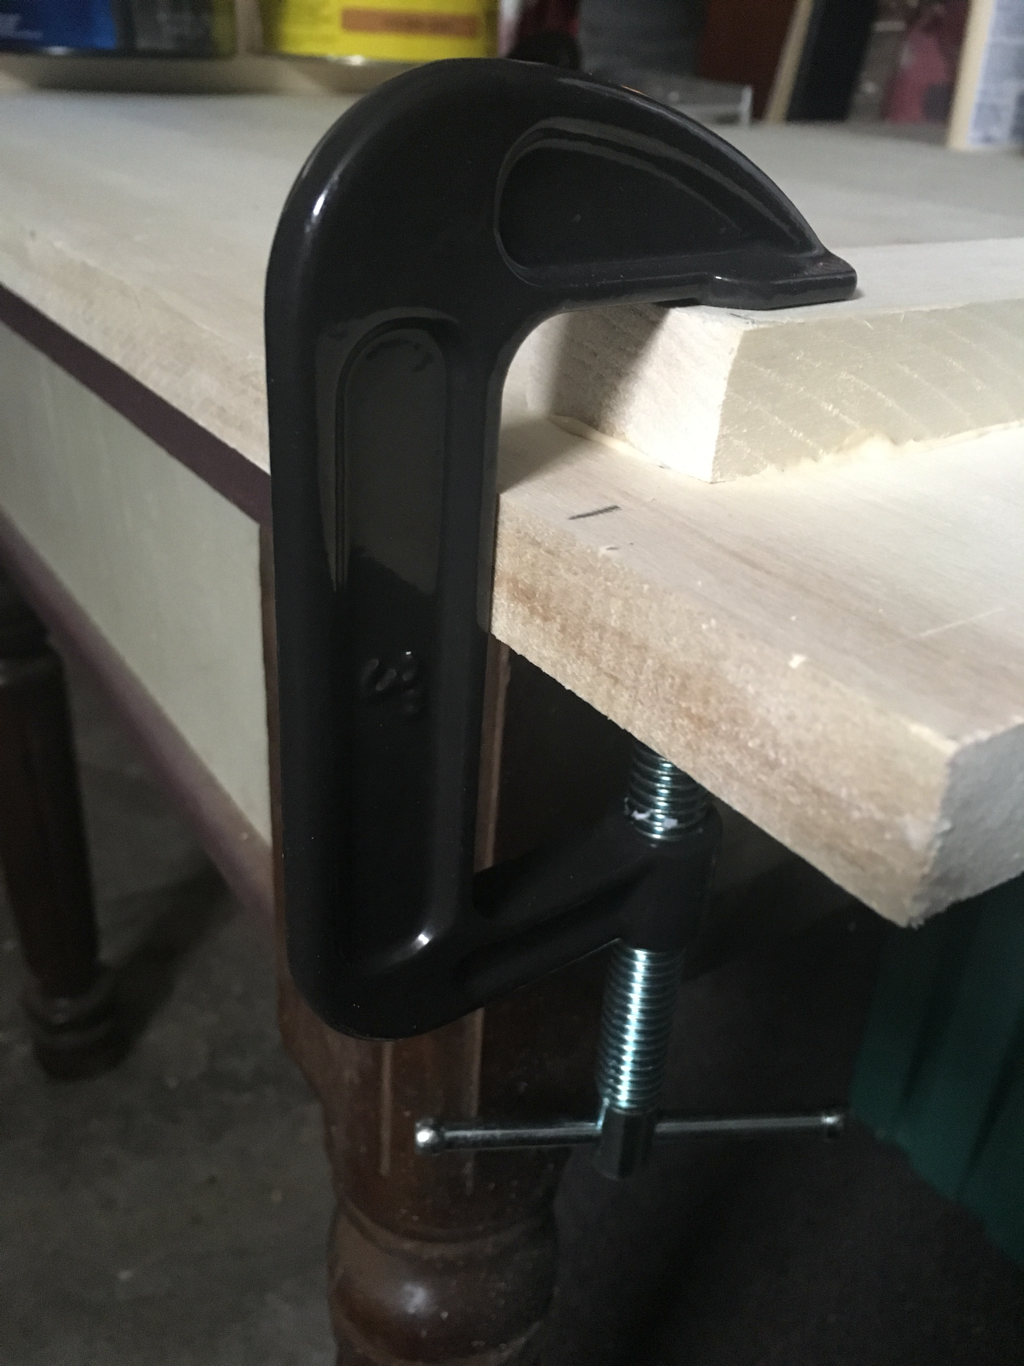  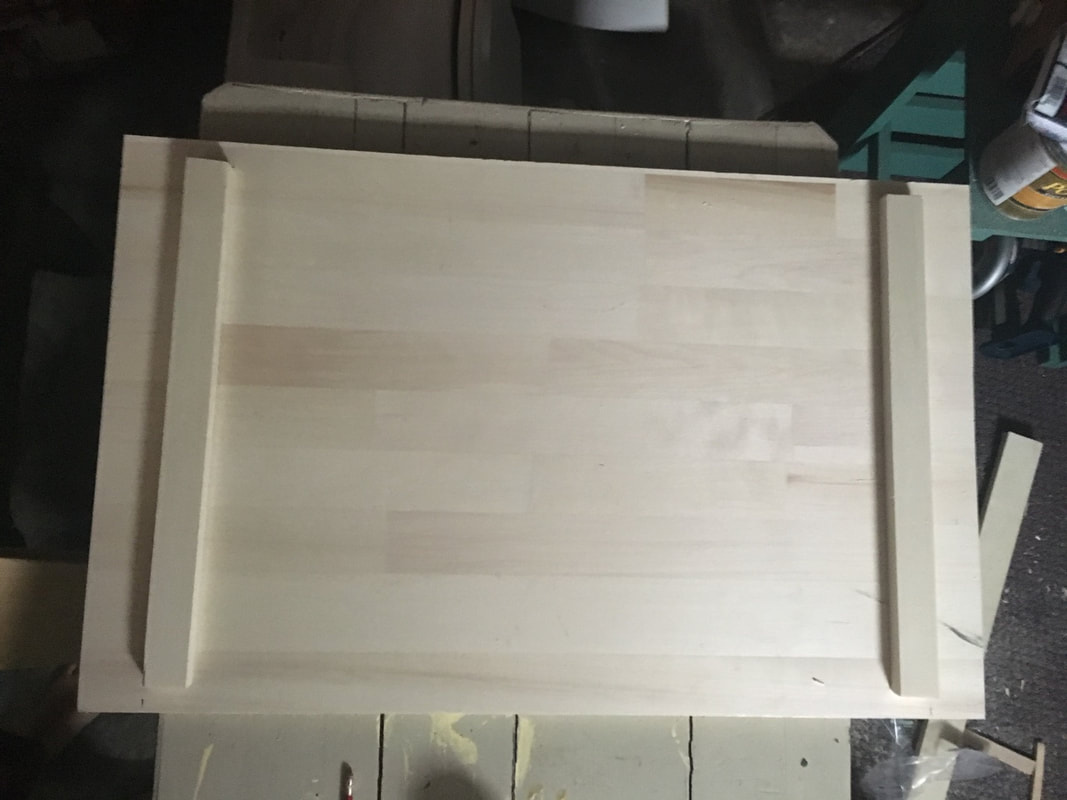 The final steps were to sand and stain! I lightly sanded the entire edge glued board and feet before staining. I also like to wipe down the wood with a damp cloth. I once heard this helps the stain soak in more effectively. 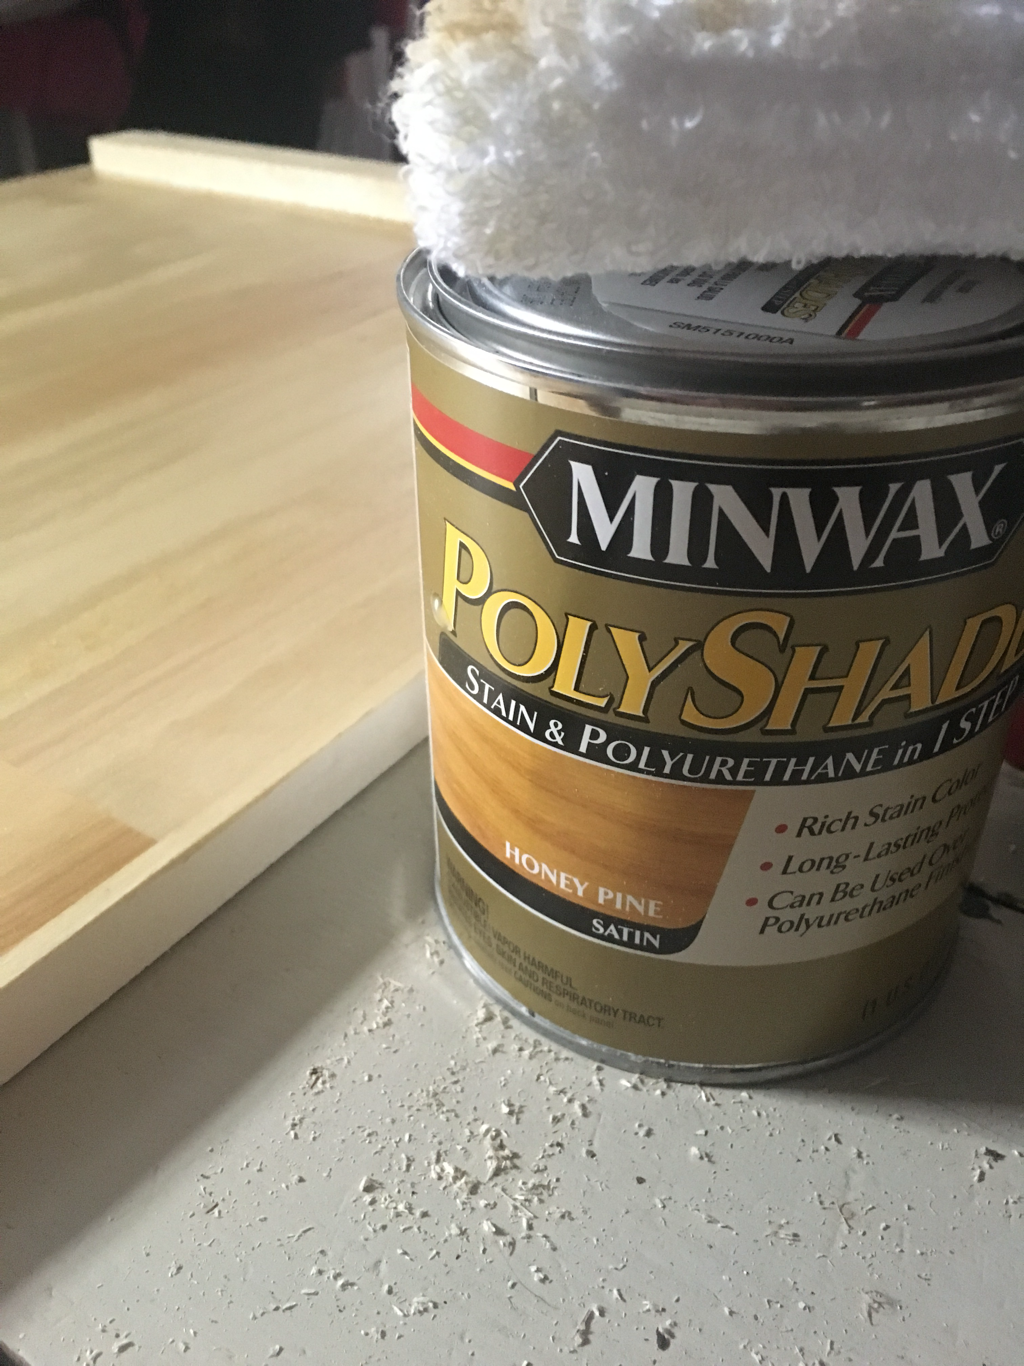 After applying two coats of stain and letting it dry for a few days, the work surface was ready for duty! 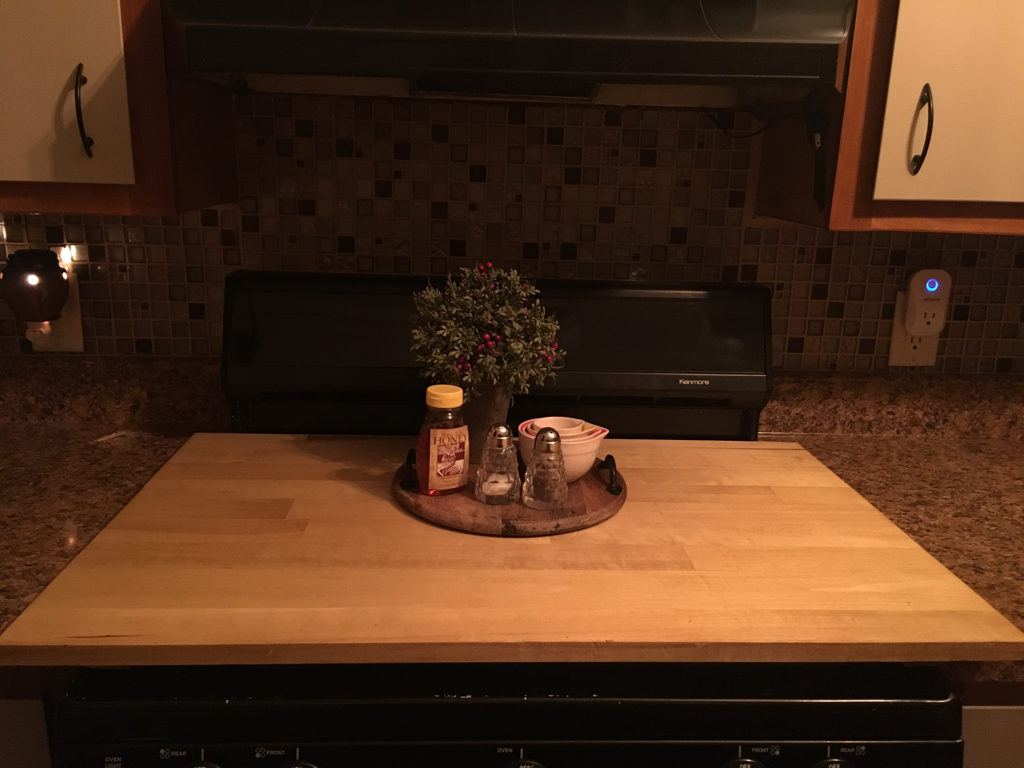 Now that I have this, I can't imagine what life was like before! It is so nice to have 34 more inches of usable space in our kitchen. Doesn't sound like a lot, but it has been a game changer. 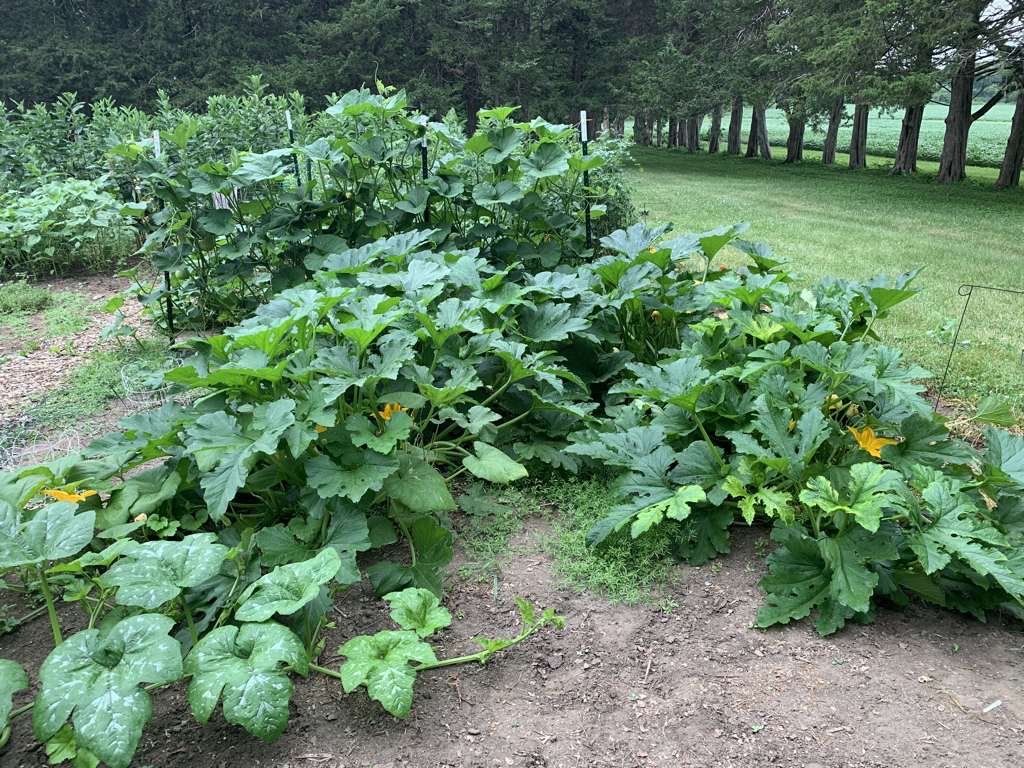 I’m a big picture person. When it comes to envisioning a space, pulling everything together, and setting the wheels in motion, I’m your girl. But when it comes to the finishing work, the small steps needed to complete a project, I’m the biggest procrastinator! I want to see the big parts of a project DONE. I don’t have patience for the little things. Case in point – our bathroom. Our beautiful bathroom that we completely gutted and redid just a little over a year and a half ago. Although at first glance it was wonderful and shiny and new, there were still things to do. Like trimming the tub/shower tile out with bullnose tile. And finding a solution to disguise the water marks that were appearing on our deep blue paint under our hanging bath towels and around the sink. Oh, and fixing the vanity drawer knob that fell off months ago. I finally decided that I was not allowed to start another project until I finished the little things still looming over me in our house. Such a painful decision, but I didn’t want to be the girl who had a hundred partially finished projects to her name. I want to be the girl that gets it DONE! We got moving on all of the lingering projects in the bathroom. Bullnose tile is ordered. Vanity drawer knob is fixed. And we found a solution to make visible water marks on our walls a thing of the past. In this post, I’ll show you how we installed wood planks in our bathroom to act as a rustic feature on the wall underneath our hanging bath towels and a backsplash for our sink. What you’ll need:
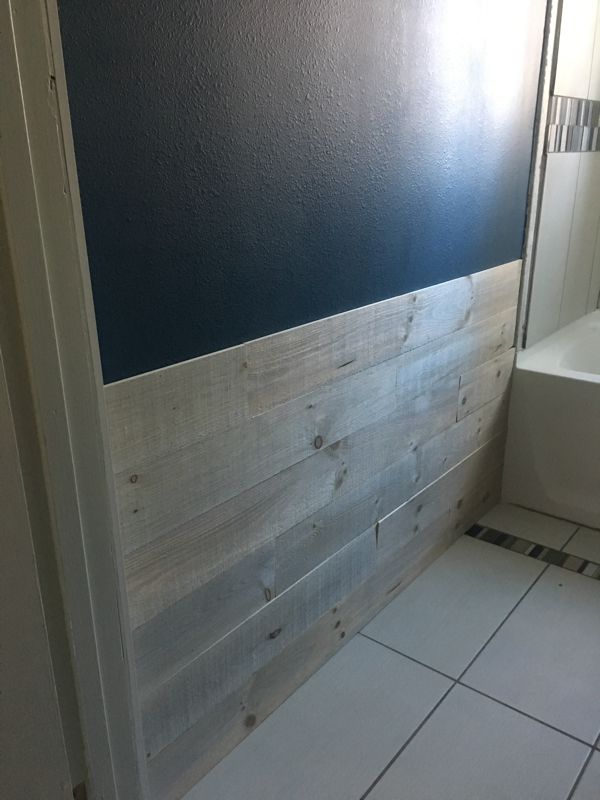
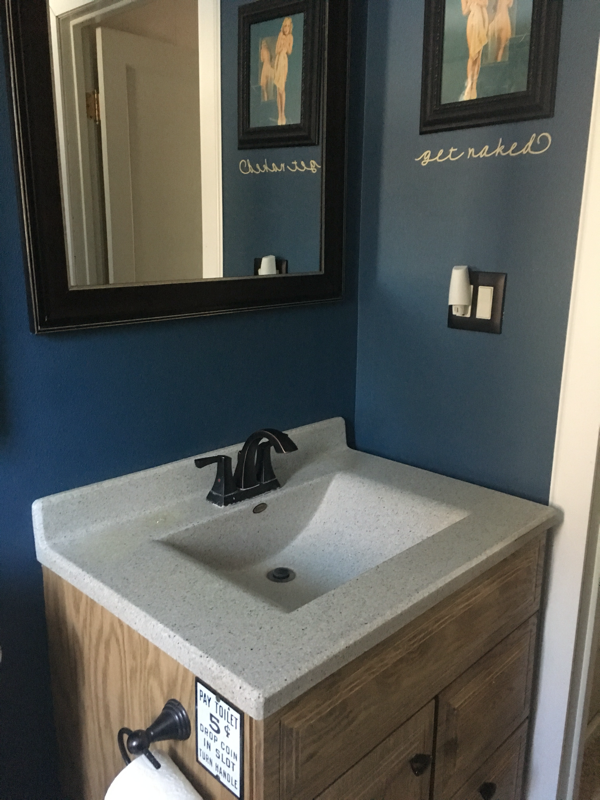
You’ll start by measuring the surface area you want to cover to purchase the amount of wood planks you need. We bought over because we knew there would be a boo-boo here and there!   We had floor molding that needed to be removed from the area before we could start, so Joel took care of that with a screwdriver and hammer.  Next, you’ll plan how you want your planks to look. We started with a full plank in the bottom left corner of the wall, measured the gap left between the full plank and the tub, and cut a piece to fit that area. We used the rest of the plank we cut to start the next row, continuing to rotate full planks with cut planks to create a non-uniform look. 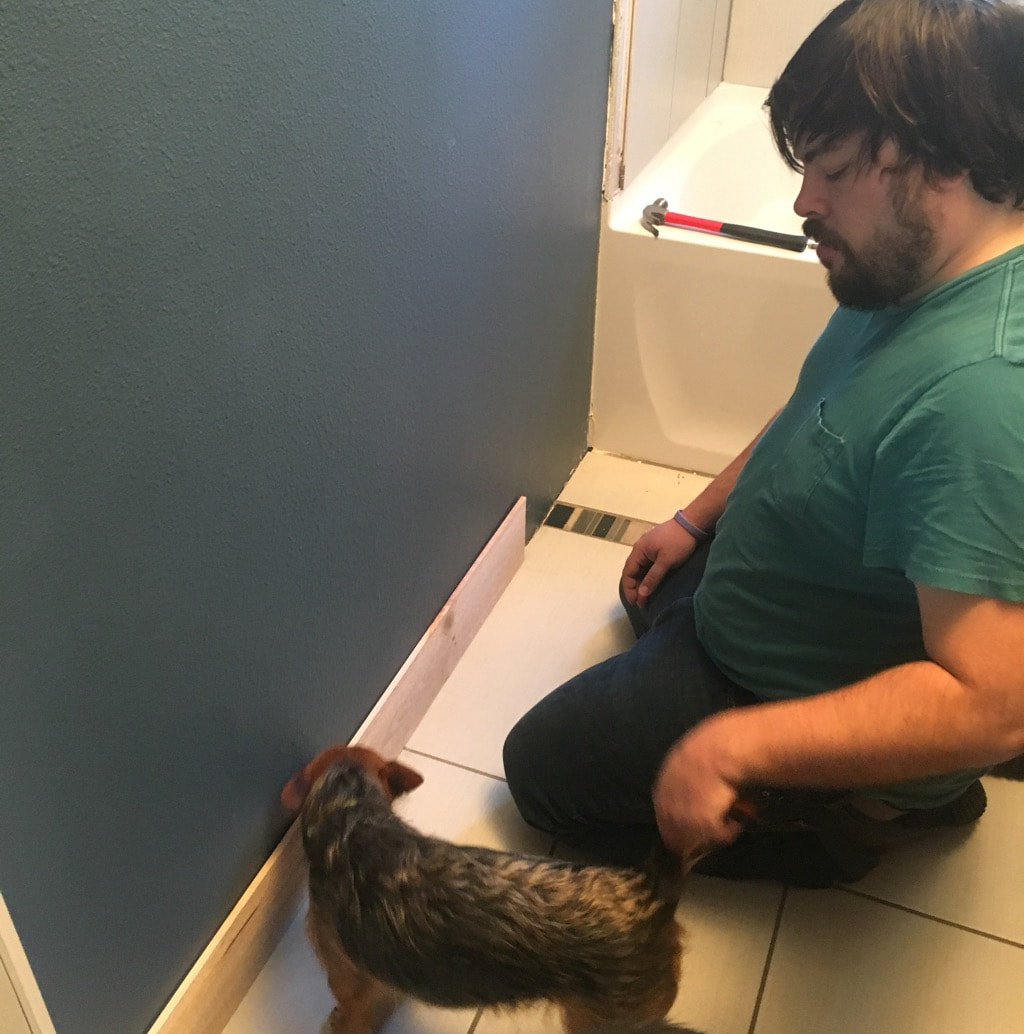  If we experienced any issues fitting the boards flush with the wall or each other, we either sanded them down just a tad or tapped them in with a hammer. 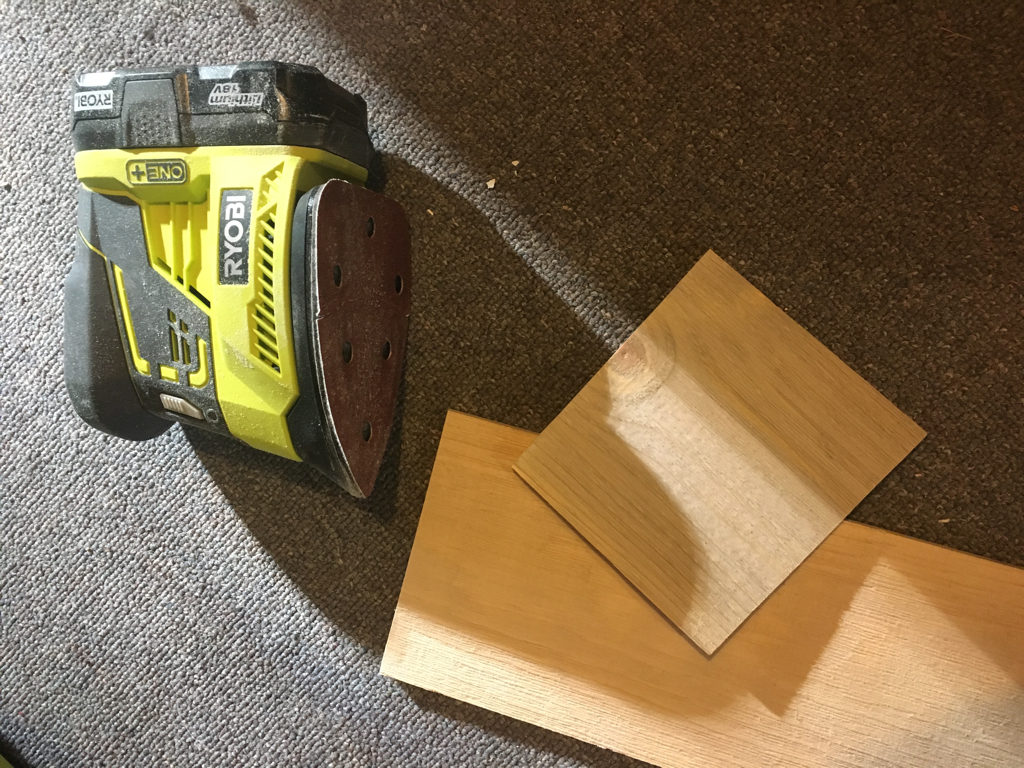 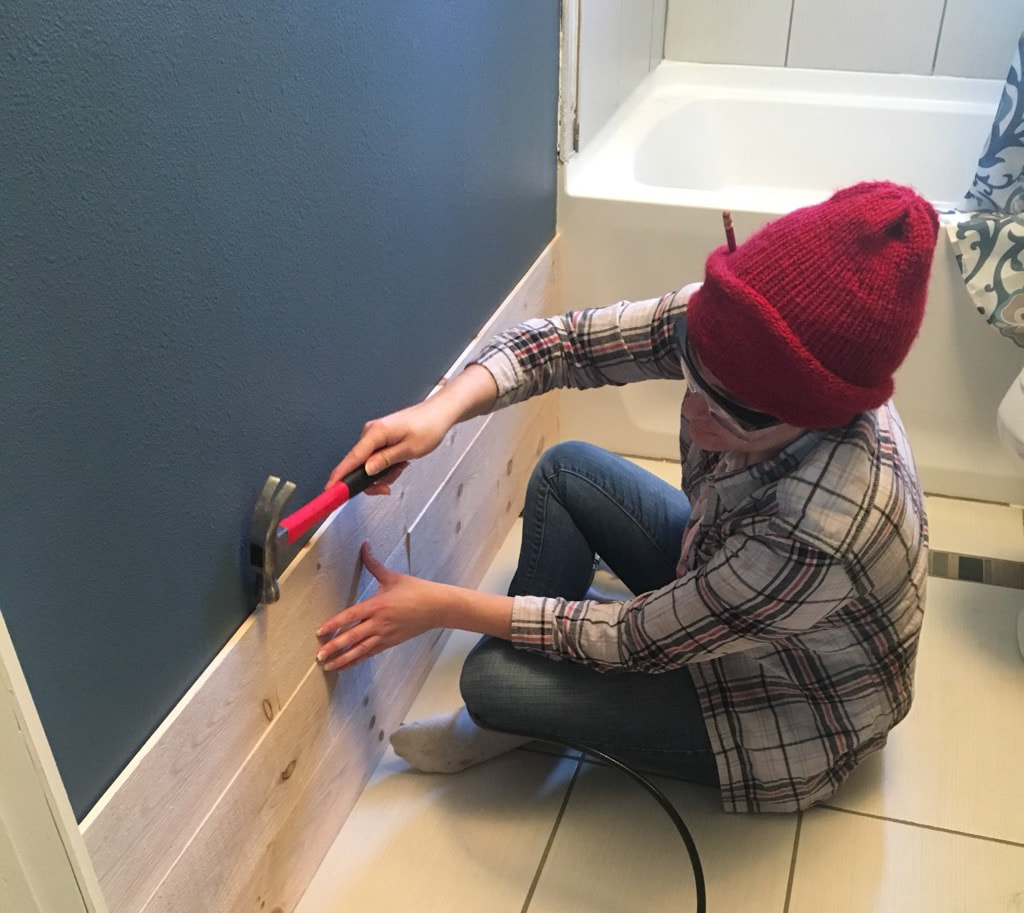 To secure the boards, we used an air brad nailer with 1 ¼ inch nails. This nail size worked well because the planks were less than 1/2 inch thick. 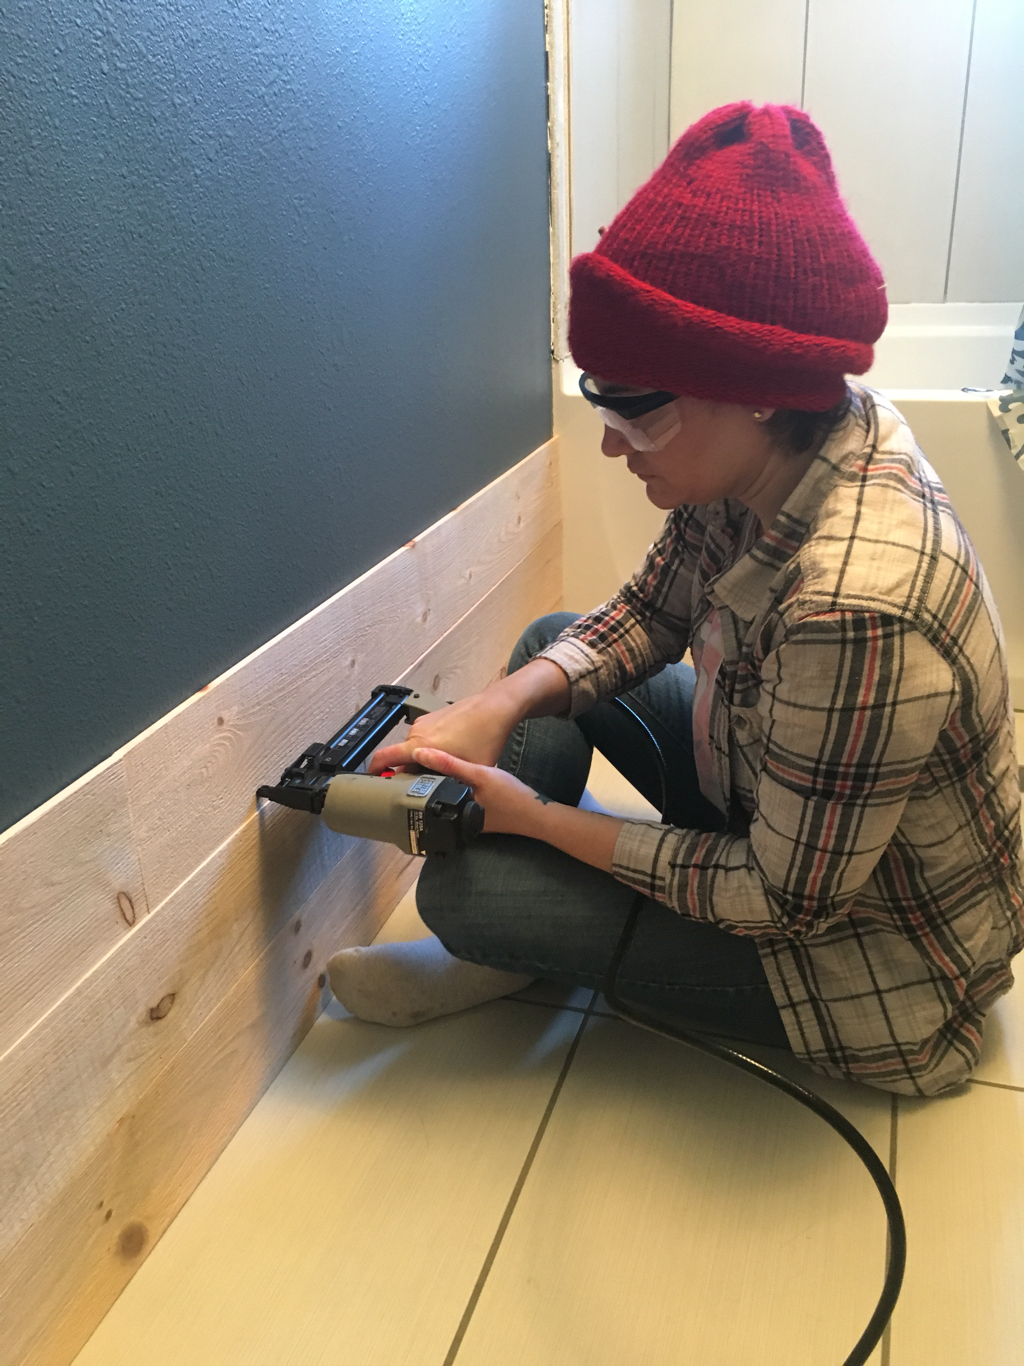 The circular saw blade we used worked perfectly, because again, the planks were pretty thin.  We chose to do the wall first because we could usually use at least one full plank in each row, which made it easier, and we didn’t exactly know what we were getting ourselves into! It was good practice for us. Around the sink was a little more intricate. Every piece needed cut, measuring had to be precise, and we had both a corner AND an outlet to figure in. With come creative thinking and teamwork we figured it out and I’m so proud of Joel for his work around the outlet! 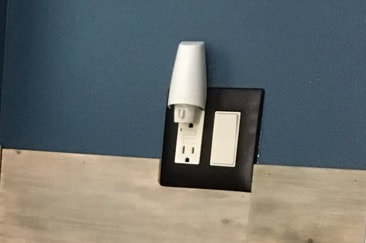 To finish everything off, I coated all planks with three layers of polyurethane to prevent any water damage. I chose a satin finish because I’m not a huge fan of high gloss and I wanted the planks to maintain their rustic look. I may eventually use some clear caulk around the edges to further protect the wood. 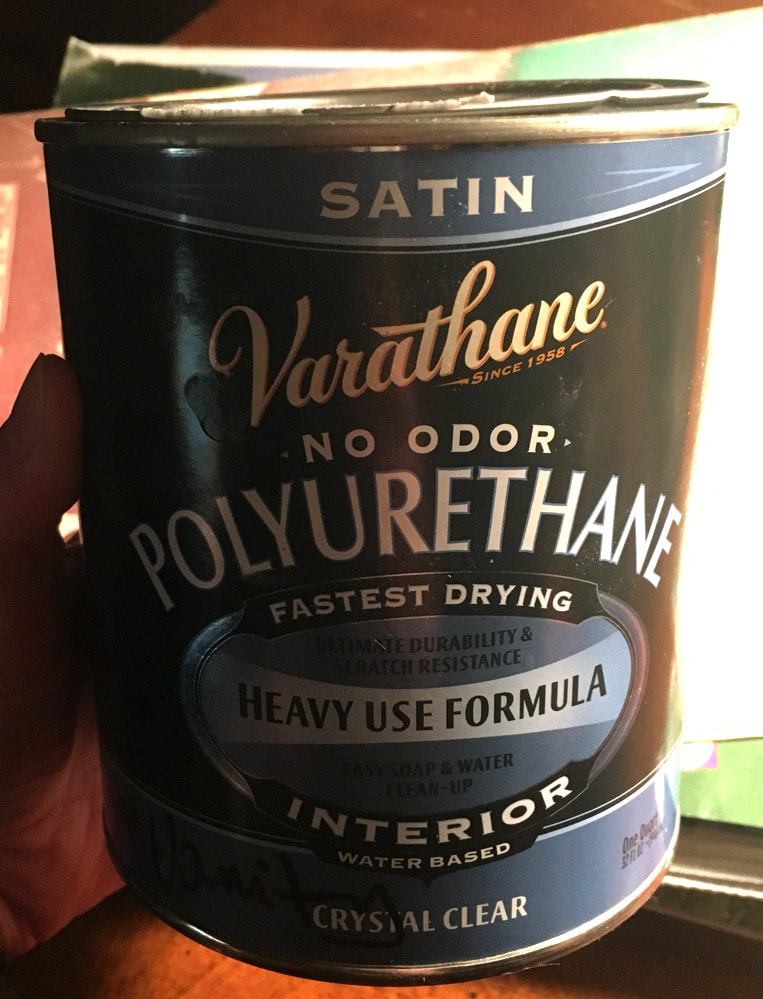 Here it is, in all its glory! Very proud of us because this is the first woodworking project we’ve attempted together and it went so well. It really was an easy project that made a huge difference in our bathroom. We both absolutely love how it turned out. Once the bullnose tile is installed (I won’t do a tutorial on that because I already did one on tiling here) the bathroom will be DONE and then I can pick something new to work on! Playing with electricity, especially in an old house, can be a little nerve wracking. But that didn't stop us from swapping out the light fixture in our kitchen! Expert details on how to install a light fixture can be found here. Who better than Bob Vila to walk you through this? We're definitely not experts, but I'll show you some visuals and a life hack we learned from our installation below. The first and most important step is SHUTTING OFF THE BREAKER TO THE AREA YOU'LL BE WORKING ON! Next, start to carefully remove the existing light fixture.  We chose to take out the plate that extended across the electrical box and utilize the new one. We did recycle the old screws because the depth of the electrical box was more than the length of the screws that came with the new fixture.  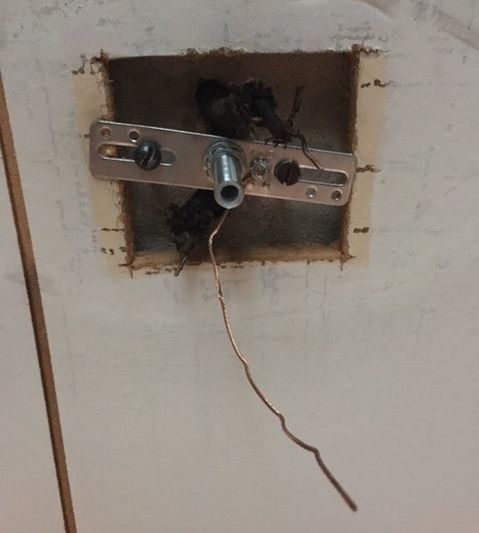 Before we began to install the fixture, we needed to trim and strip the wires at the top of the fixture where it would hang. We did not have wire strippers, so here's a life hack: You can use scissors (as long as you use them gently). I applied light and consistent pressure with the scissors on the casing of the wires until I was able to slide it off. The goal is to remove the casing without severing any of the wire. 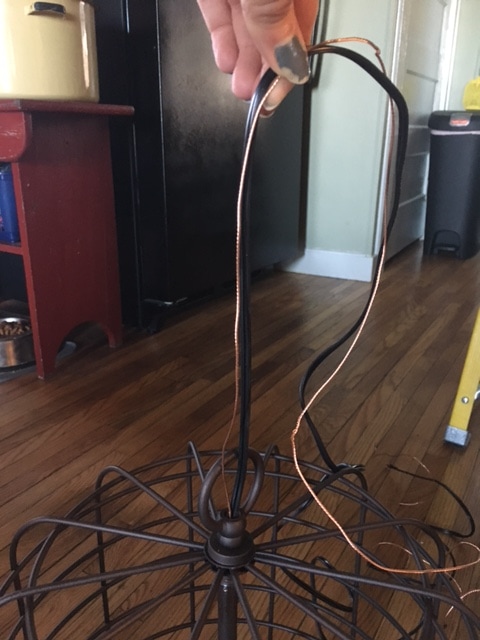 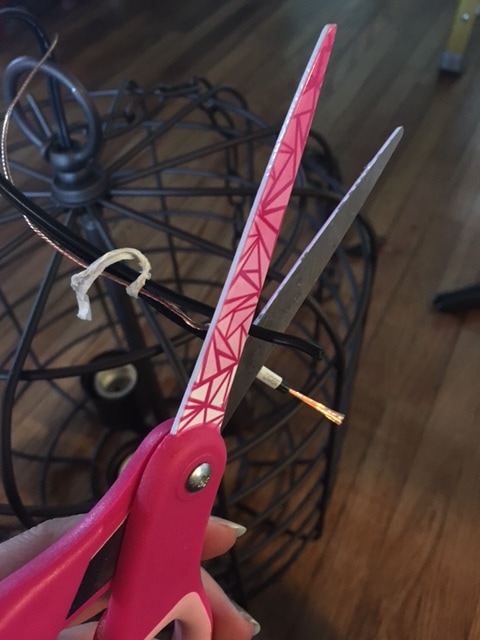 Once that was complete, we cut the chain to the desired length and wove the wire through it. 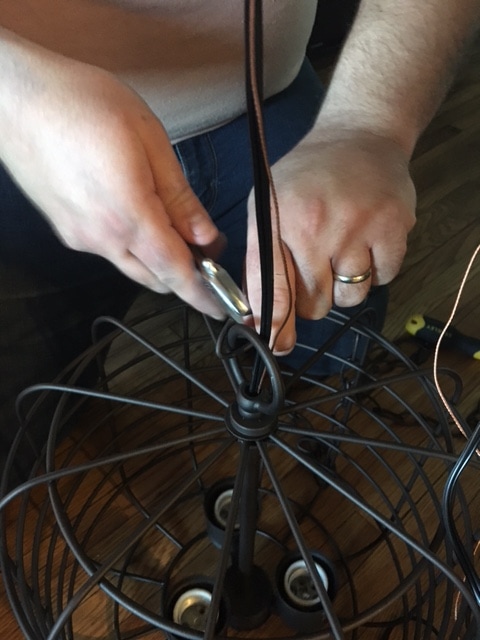 Following the instructions in the box, we connected the electrical box and fixture wires accordingly, securing them with wire nuts. The final step included fitting the fixture's base over the electrical box and securing it. 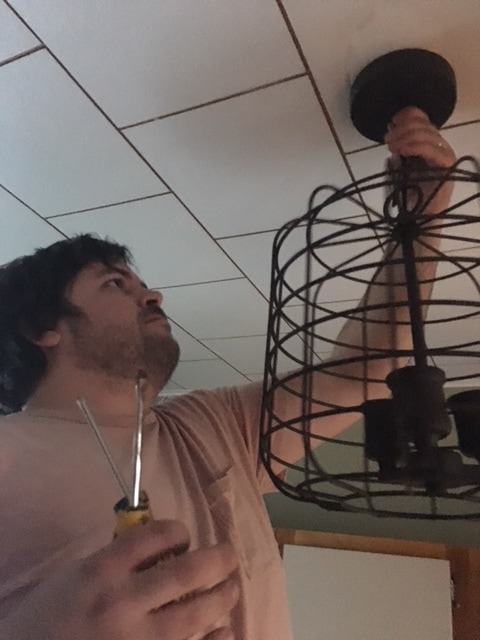 We love the warm glow of this fixture's Edison bulbs and its farmhouse style. We got this one from Menards if you're interested! 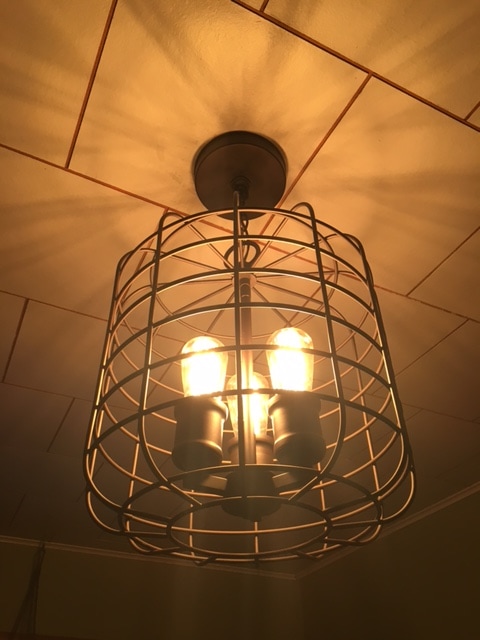 |
Archives
August 2022
Categories
All
|


 RSS Feed