Busy Hands, Happy Heart
|
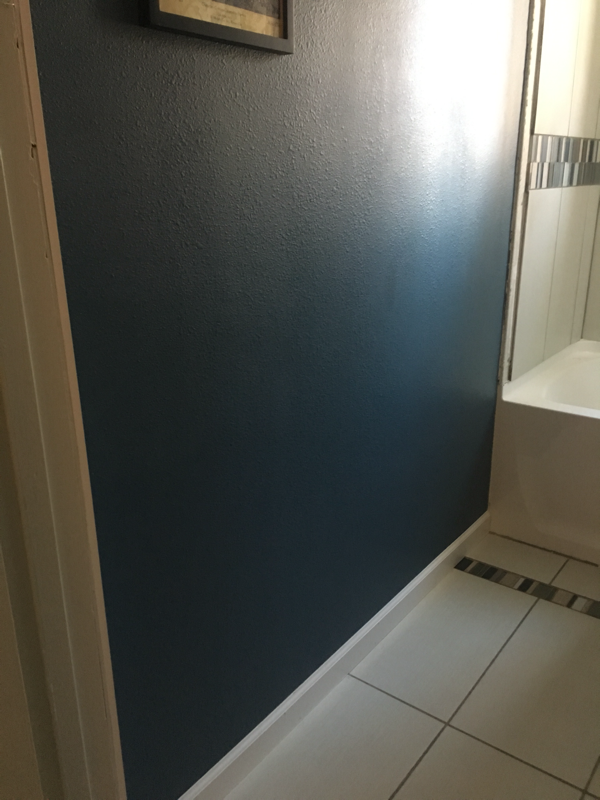
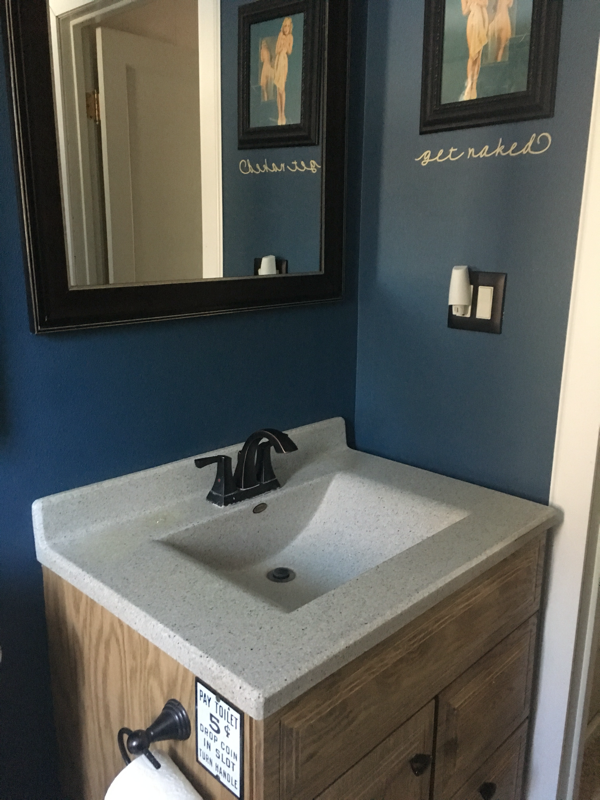
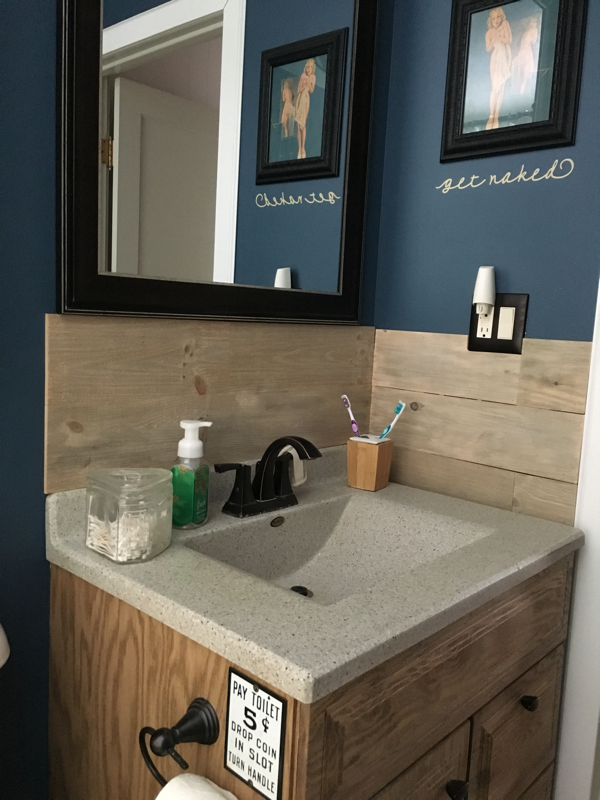
I’m a big picture person. When it comes to envisioning a space, pulling everything together, and setting the wheels in motion, I’m your girl. But when it comes to the finishing work, the small steps needed to complete a project, I’m the biggest procrastinator! I want to see the big parts of a project DONE. I don’t have patience for the little things. Case in point – our bathroom. Our beautiful bathroom that we completely gutted and redid just a little over a year and a half ago. Although at first glance it was wonderful and shiny and new, there were still things to do. Like trimming the tub/shower tile out with bullnose tile. And finding a solution to disguise the water marks that were appearing on our deep blue paint under our hanging bath towels and around the sink. Oh, and fixing the vanity drawer knob that fell off months ago. I finally decided that I was not allowed to start another project until I finished the little things still looming over me in our house. Such a painful decision, but I didn’t want to be the girl who had a hundred partially finished projects to her name. I want to be the girl that gets it DONE! We got moving on all of the lingering projects in the bathroom. Bullnose tile is ordered. Vanity drawer knob is fixed. And we found a solution to make visible water marks on our walls a thing of the past. In this post, I’ll show you how we installed wood planks in our bathroom to act as a rustic feature on the wall underneath our hanging bath towels and a backsplash for our sink. What you’ll need:
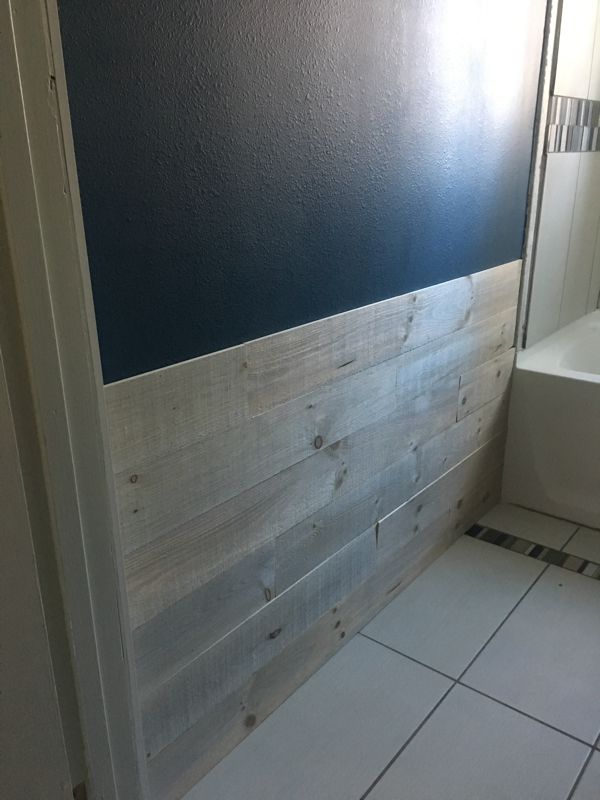
You’ll start by measuring the surface area you want to cover to purchase the amount of wood planks you need. We bought over because we knew there would be a boo-boo here and there!   We had floor molding that needed to be removed from the area before we could start, so Joel took care of that with a screwdriver and hammer.  Next, you’ll plan how you want your planks to look. We started with a full plank in the bottom left corner of the wall, measured the gap left between the full plank and the tub, and cut a piece to fit that area. We used the rest of the plank we cut to start the next row, continuing to rotate full planks with cut planks to create a non-uniform look. 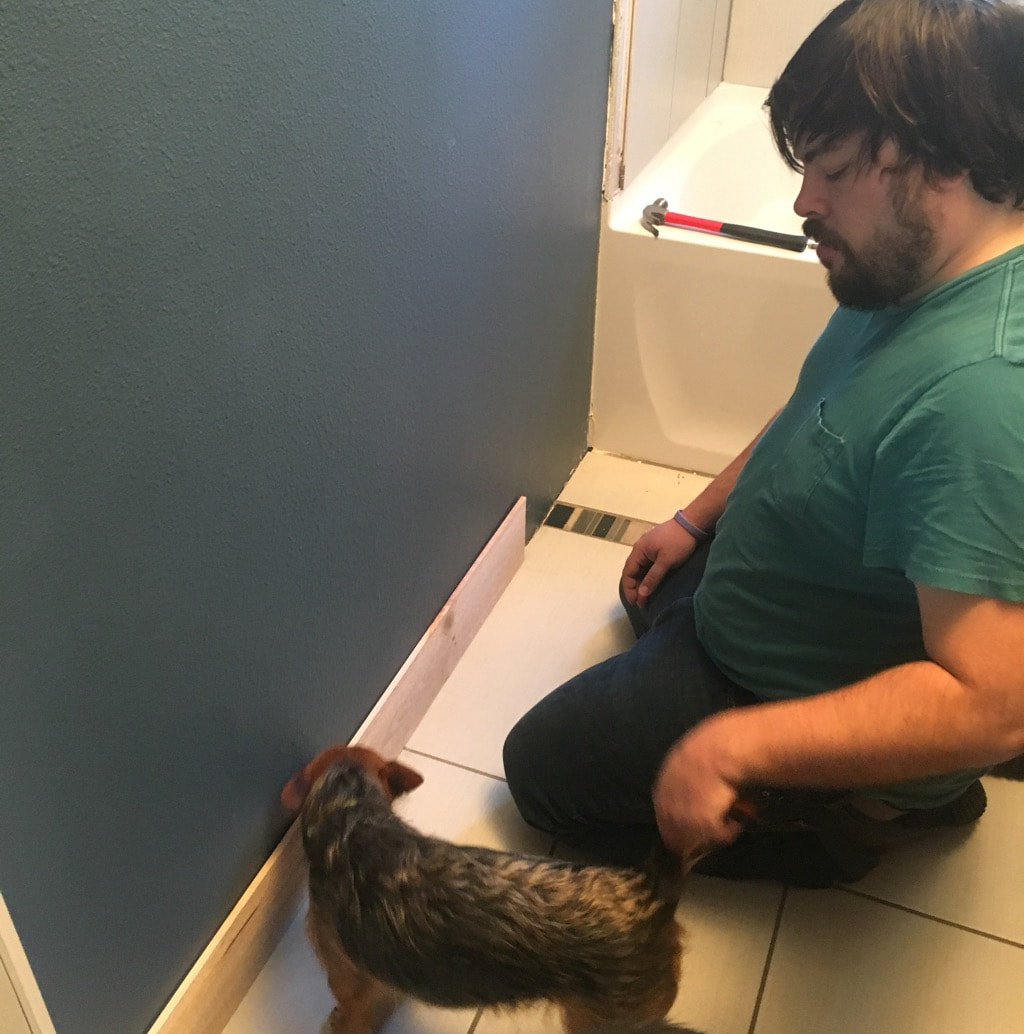  If we experienced any issues fitting the boards flush with the wall or each other, we either sanded them down just a tad or tapped them in with a hammer. 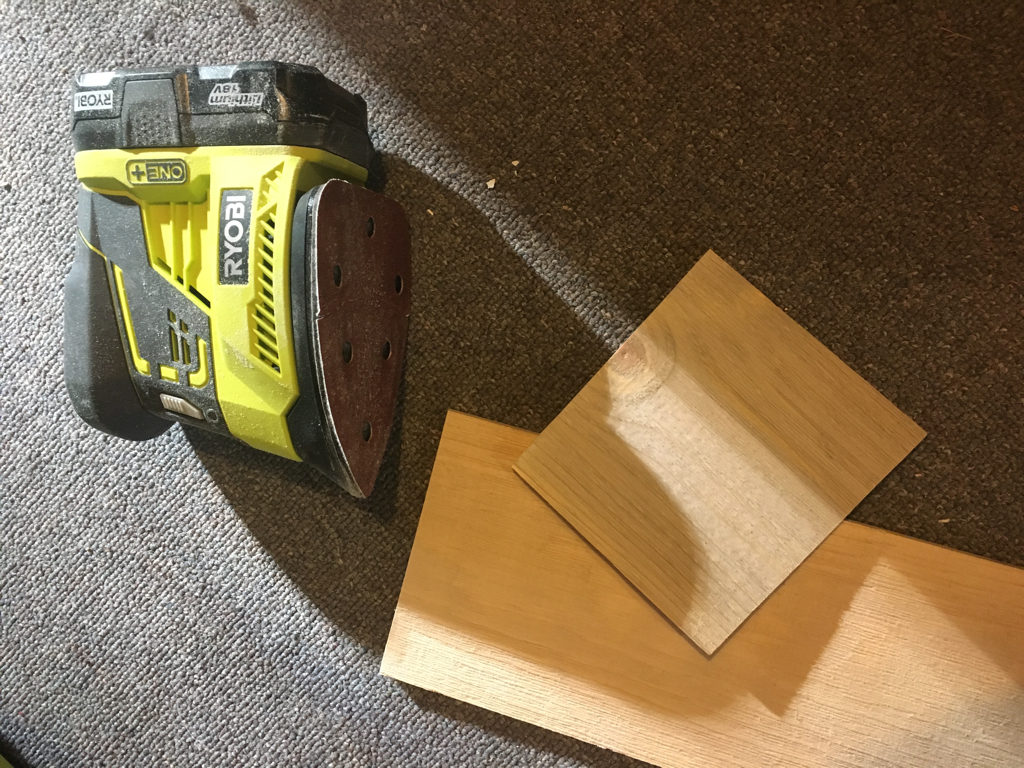 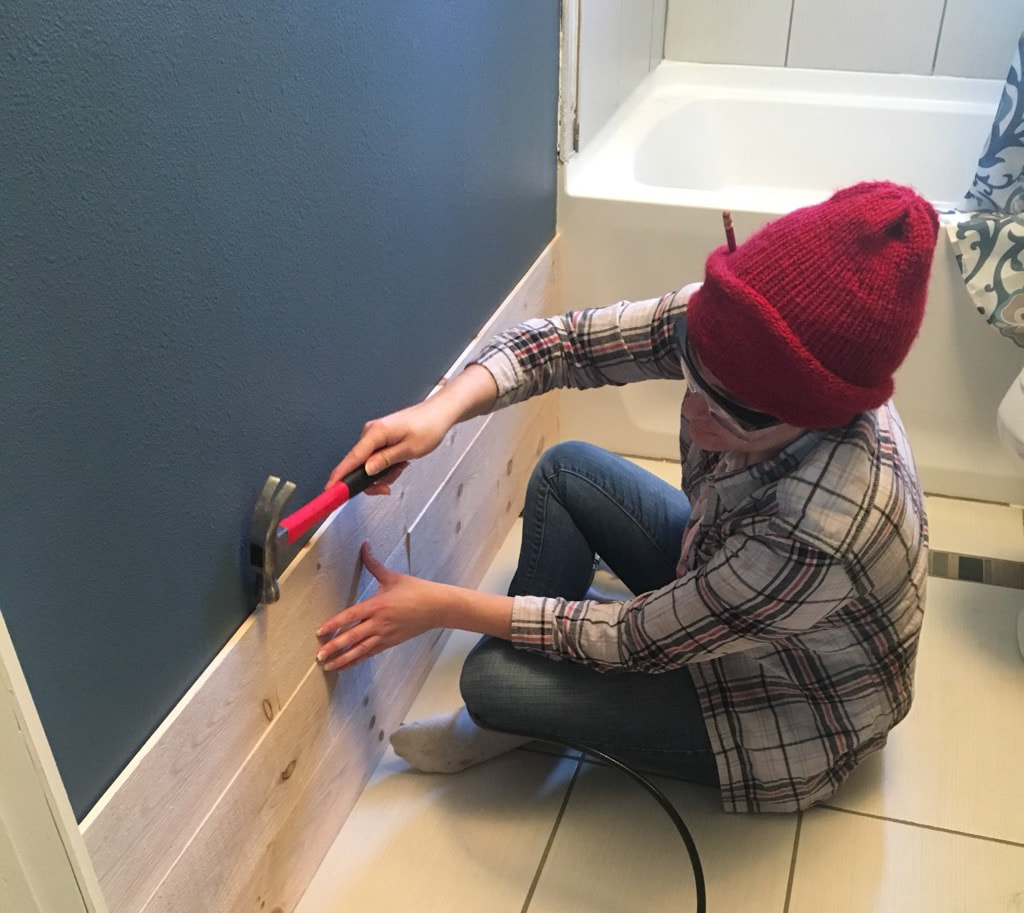 To secure the boards, we used an air brad nailer with 1 ¼ inch nails. This nail size worked well because the planks were less than 1/2 inch thick. 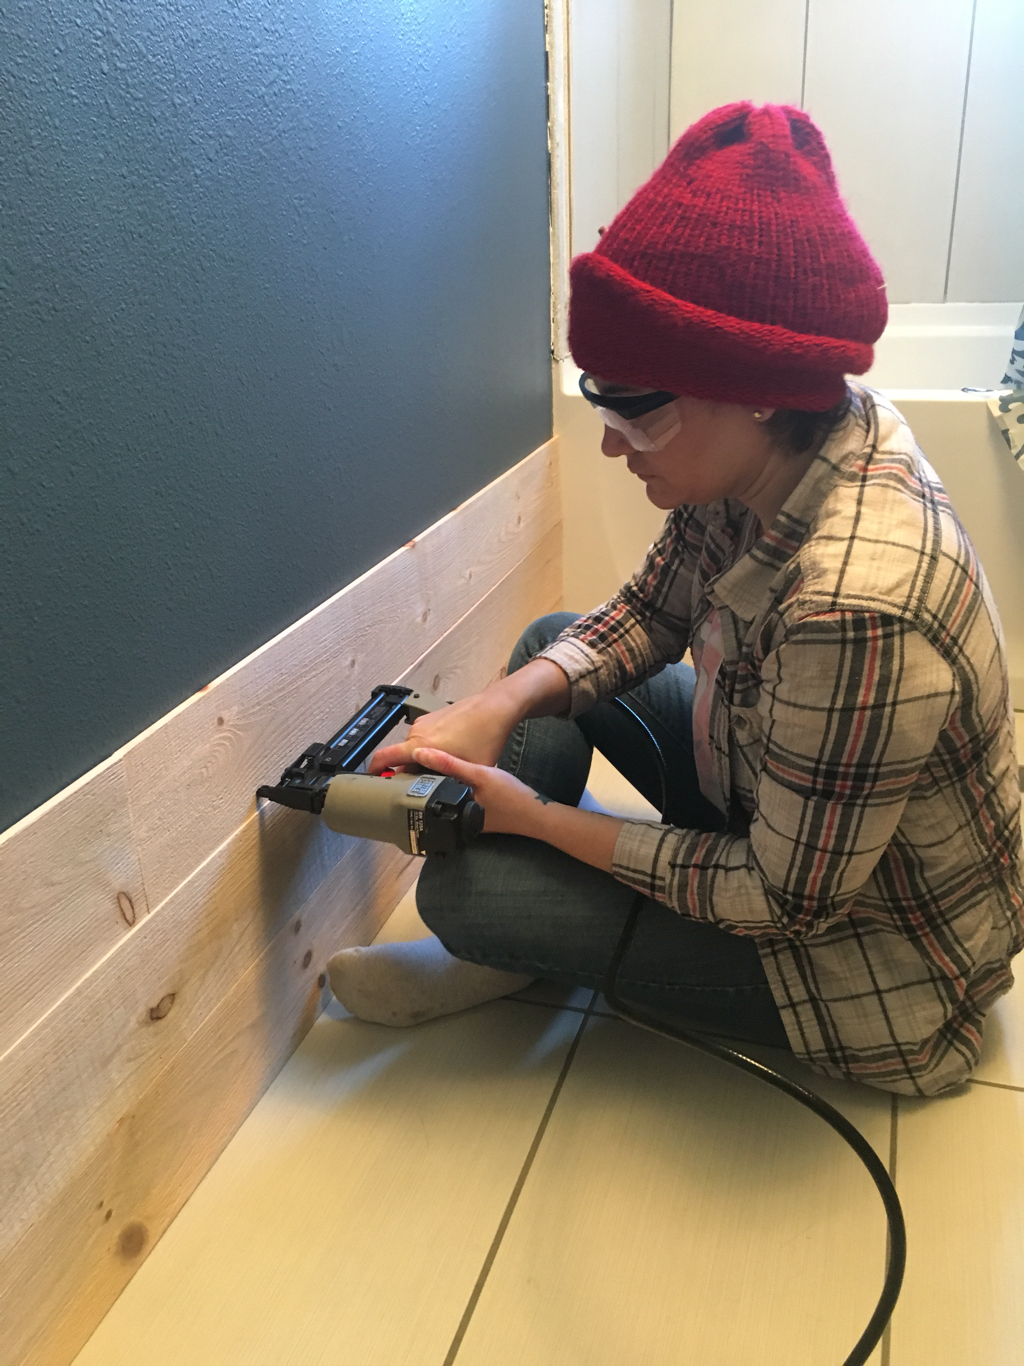 The circular saw blade we used worked perfectly, because again, the planks were pretty thin.  We chose to do the wall first because we could usually use at least one full plank in each row, which made it easier, and we didn’t exactly know what we were getting ourselves into! It was good practice for us. Around the sink was a little more intricate. Every piece needed cut, measuring had to be precise, and we had both a corner AND an outlet to figure in. With come creative thinking and teamwork we figured it out and I’m so proud of Joel for his work around the outlet! 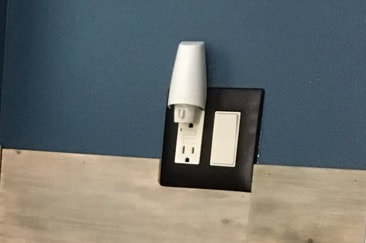 To finish everything off, I coated all planks with three layers of polyurethane to prevent any water damage. I chose a satin finish because I’m not a huge fan of high gloss and I wanted the planks to maintain their rustic look. I may eventually use some clear caulk around the edges to further protect the wood. 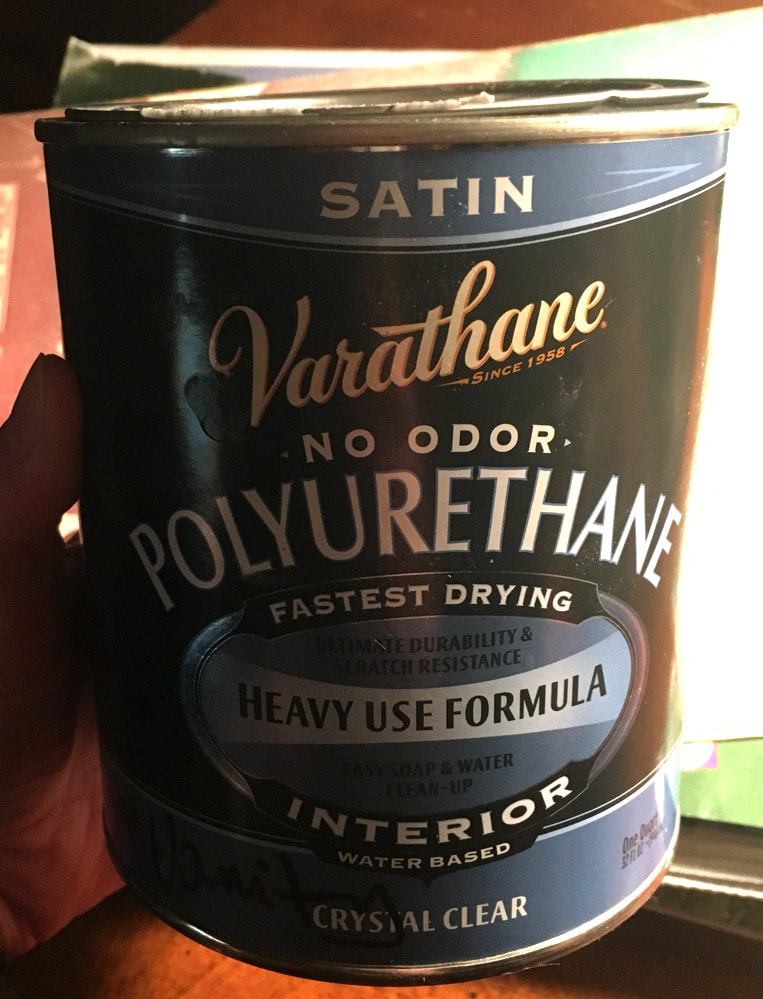 Here it is, in all its glory! Very proud of us because this is the first woodworking project we’ve attempted together and it went so well. It really was an easy project that made a huge difference in our bathroom. We both absolutely love how it turned out. Once the bullnose tile is installed (I won’t do a tutorial on that because I already did one on tiling here) the bathroom will be DONE and then I can pick something new to work on!
0 Comments
Leave a Reply. |
Archives
August 2022
Categories
All
|
 RSS Feed