|
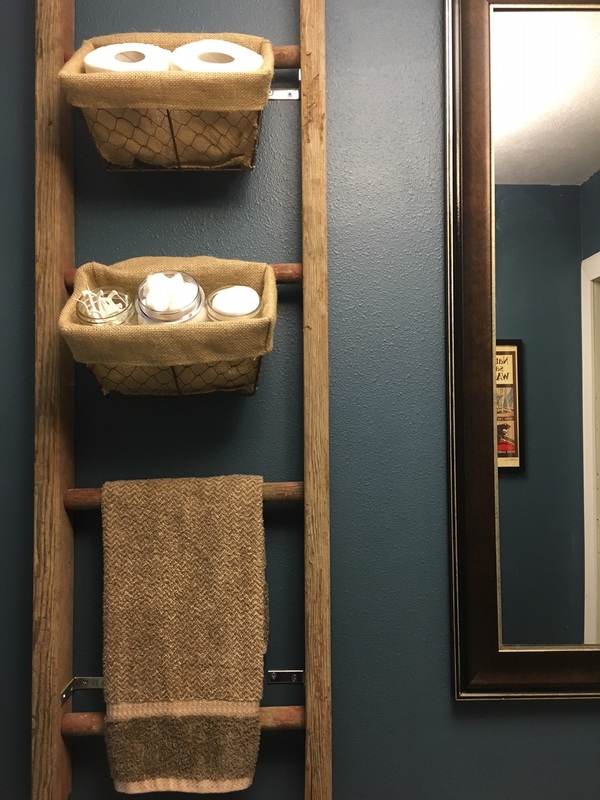
Now that I have a country home, I feel that I can utilize ladders as part of my decor. I've always loved the look, but it didn't fit with the style of our previous home. I went "picking" in my dad's corn crib and found two short, dusty ladders left over from my sister's wedding. They were already cut and the perfect size for what I needed. If you're looking to recreate what I did, it would be just as easy to find a long wooden ladder and cut it into 3-4 foot portions. That was my Plan B if picking didn't work out! I'm showing you how I used a ladder to act as storage in our bathroom. I attached the ladder to the wall above the toilet with four L brackets, one on the inside of each corner. If you don't like the silver brackets showing (or standing out as much as they appear to in my photo), you could easily spray paint the brackets beforehand. I didn't mind, because I figured what I put up would help distract from them, so I left mine "raw." Let's call it a country/industrial look! I finished the ladder off with two small baskets I found at the store "At Home" for $4 each and attached them through the back with zip ties. The burlap covers the ties, so they are not visible. Doing this saved me money by not requiring me to buy the S hooks I had planned to use. I then threw a hand towel over the second to last rung and I was done! It looks great and is functional - which is important in our tiny house - every space counts.
I mentioned that I also found a second short ladder during my picking adventure. I use the second ladder in our living room to hold blankets. See below!
0 Comments
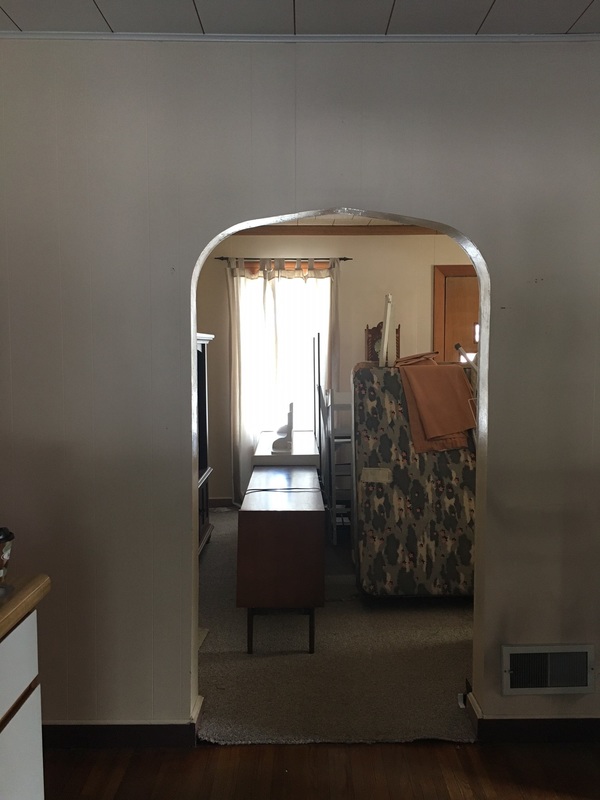
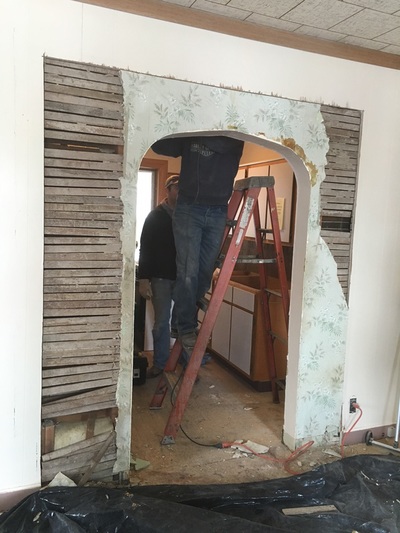
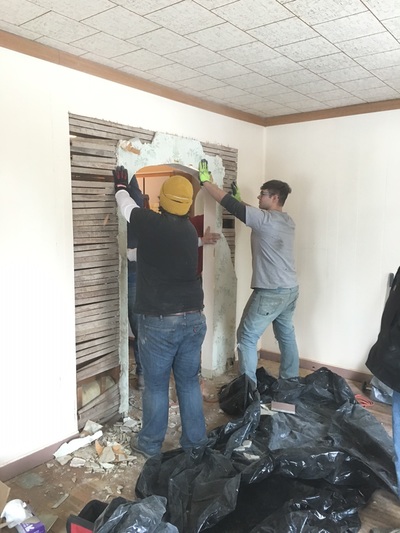
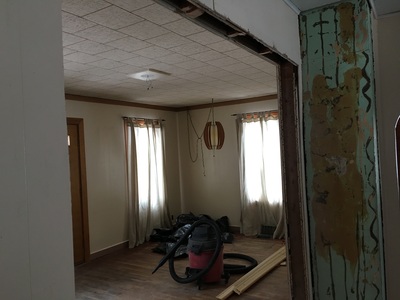
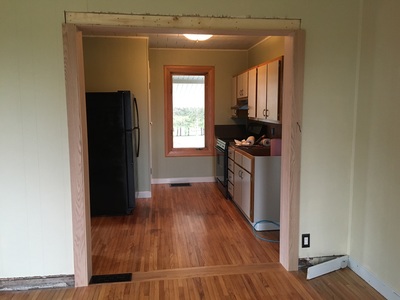
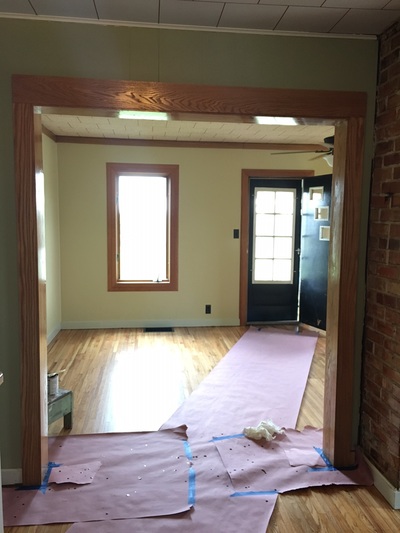
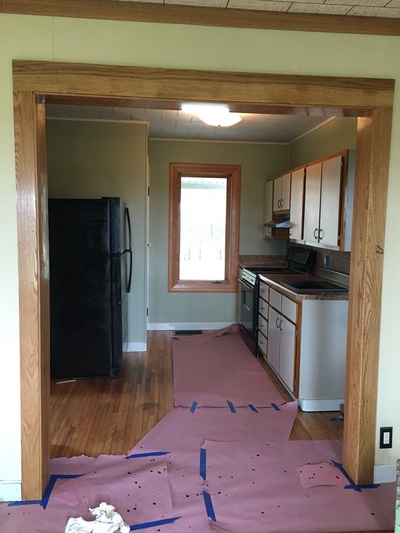
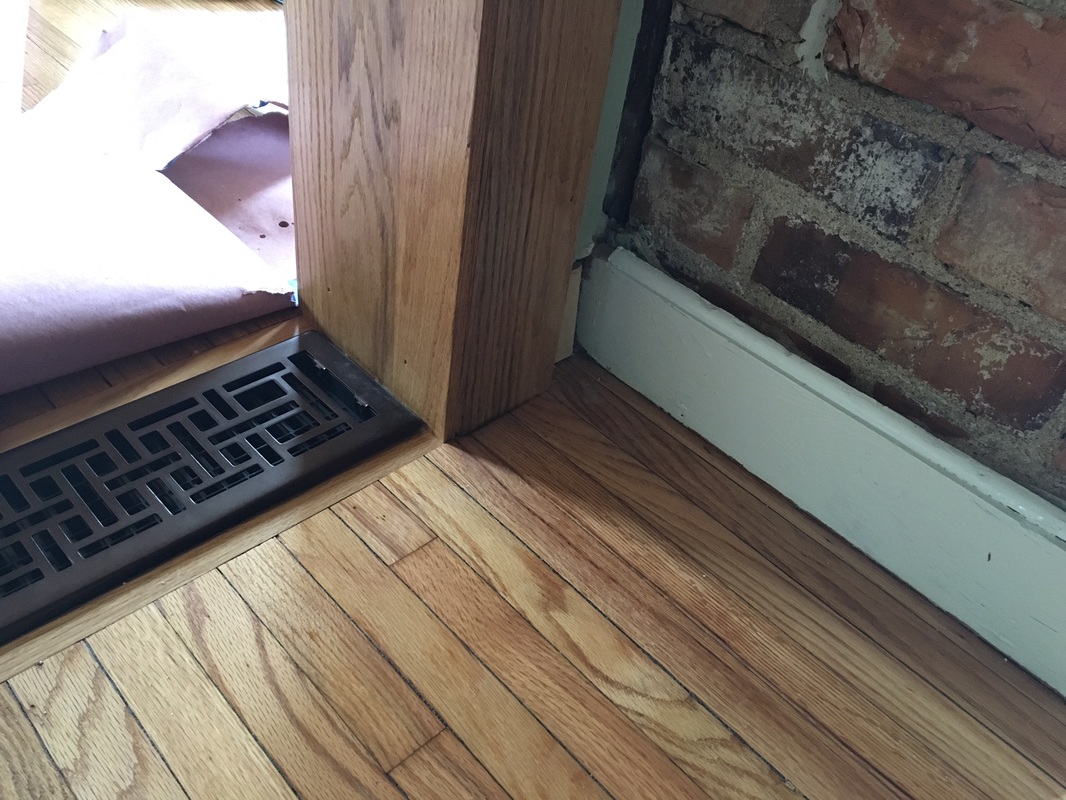
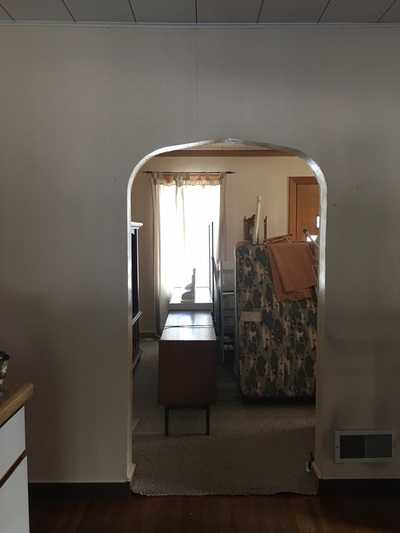
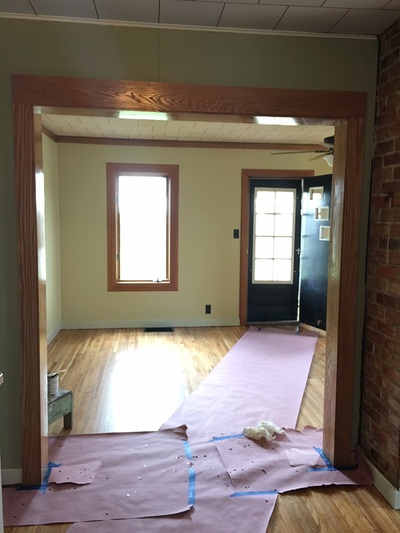
At some point in the life of our house, the owners made three of our small door openings even smaller by rounding off the top (pictured below). I'm sure it was very "of the time" and deemed a good idea at the moment, but for us, one opening in particular was a little too small. I wanted a clear sight line from the kitchen into the living room. The existing door opening would not have worked...so we knocked it out! The first thing we did was tear away the wood paneling and floor molding to see what we were dealing with underneath. Luckily, there was no electrical running in this area. The only item we had to address later was the heat vent that you can see in the photo above. This vent became a floor vent vs. a wall vent. Once we knew we were in the clear and had drawn out our lines for the opening, out came the Sawzall! From there, it was a pretty fast process. Once we had the larger hole in the wall, and after a few more things in the house progressed, we reinforced the vertical edges of the opening because this is a load bearing wall. We then wrapped the edges of the new opening with oak wood trim. My final step was sealing the oak wood trim with a stain/poly finish. The end result was magnificent. The finish on the trim ended up matching exactly with our newly finished hardwood floors, the sight line is much improved, and it really makes the whole area feel bigger! Below are photos from both angles of the finished opening - first, looking into the living room; second, looking into the kitchen. The photo below gives you a closer look at how well the trim matched our hardwood. You can also see where we relocated the wall vent into the floor. That process was also easily done by disconnecting the existing section of duct work and (after the floor was patched in/finished) placing a new vent cover over the trimmed down duct. Because I like side by side comparisons...below is the before and after!
|
Archives
August 2022
Categories
All
|


 RSS Feed