Busy Hands, Happy Heart
|
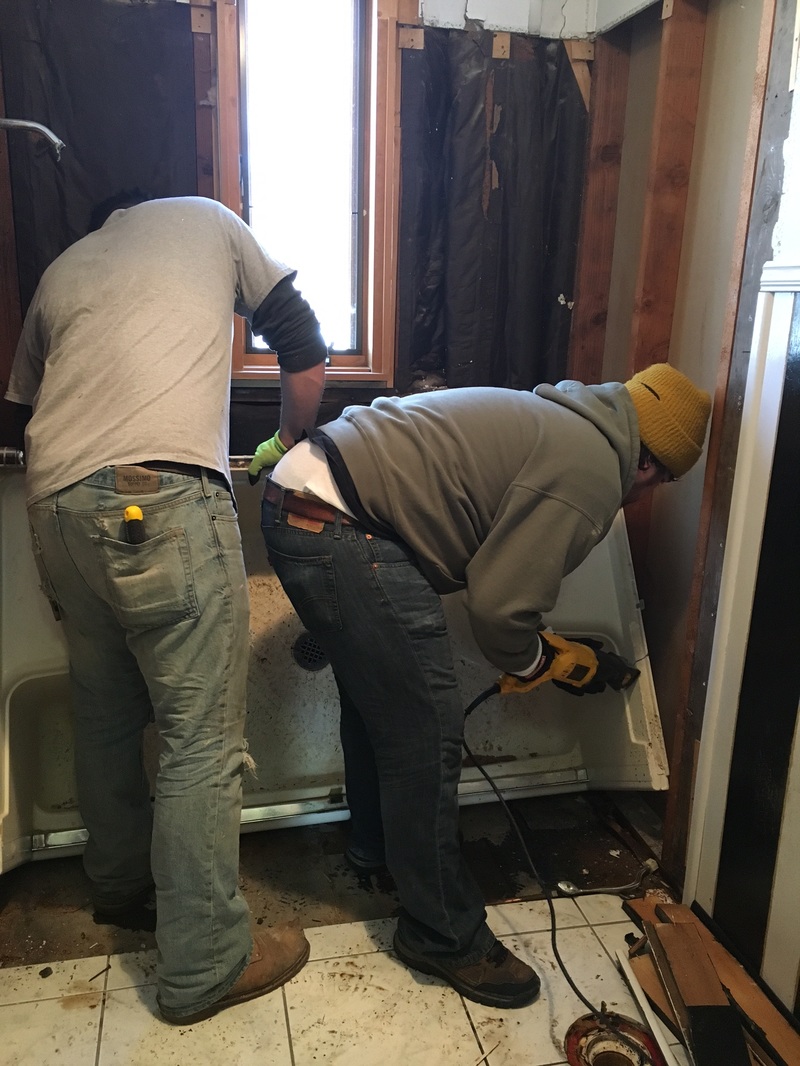
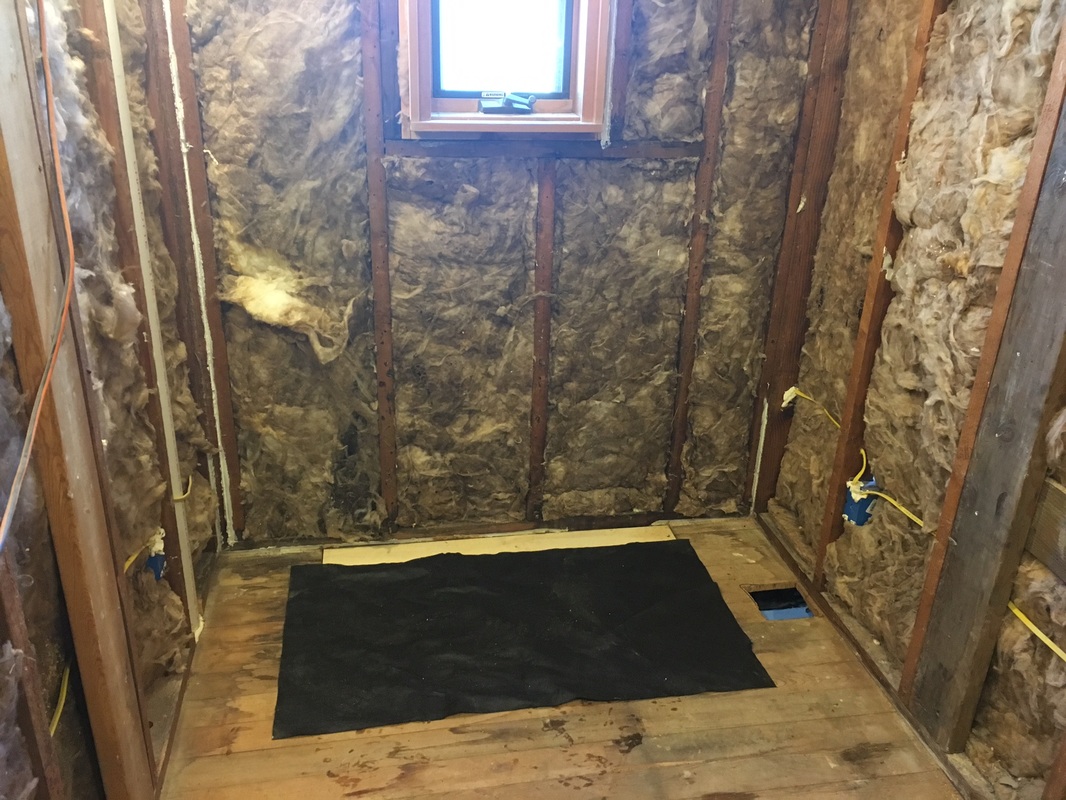
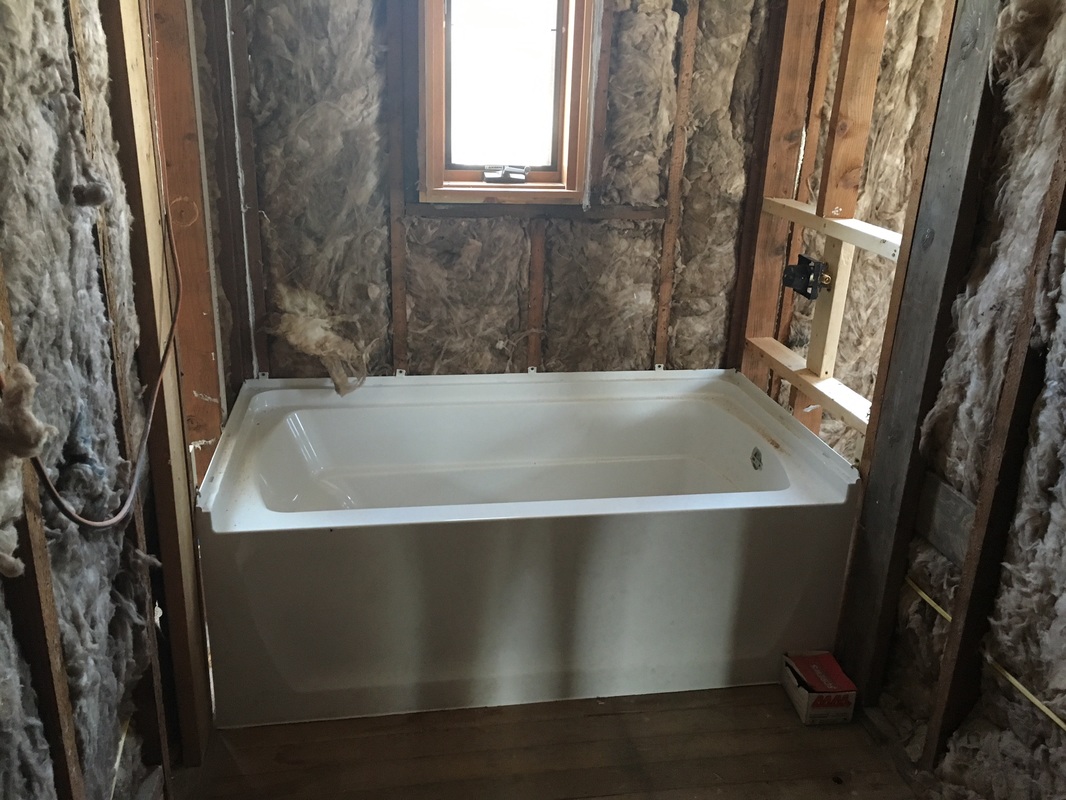
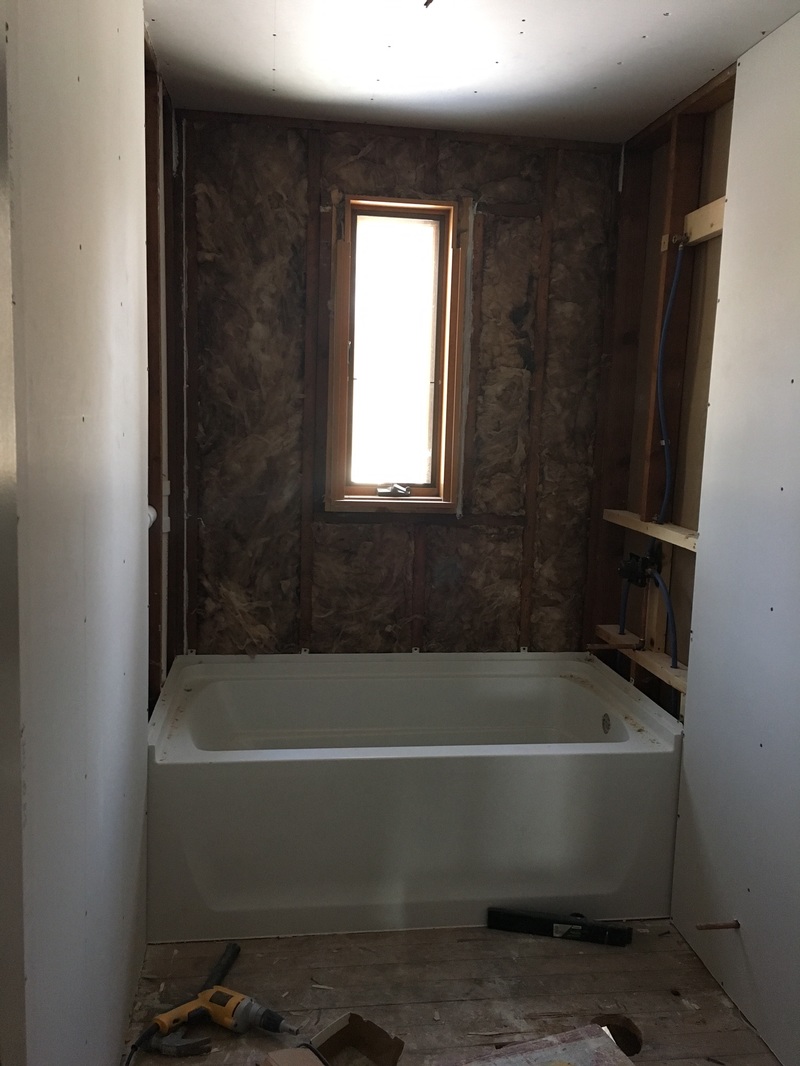
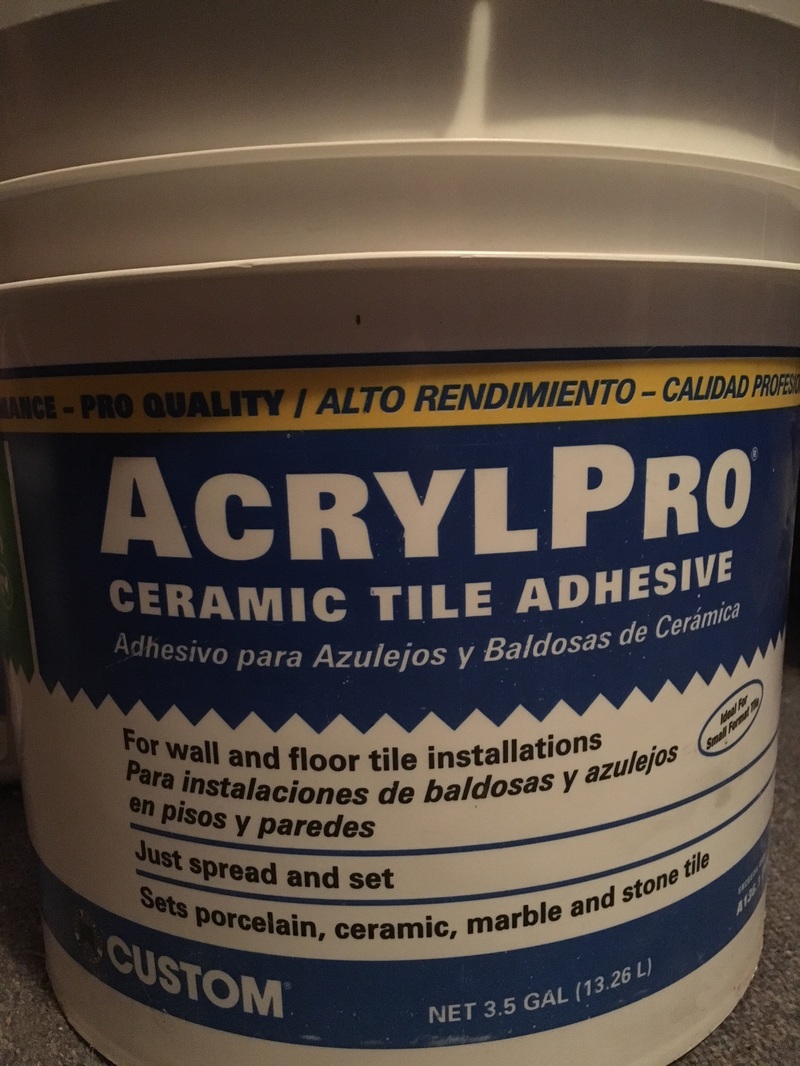
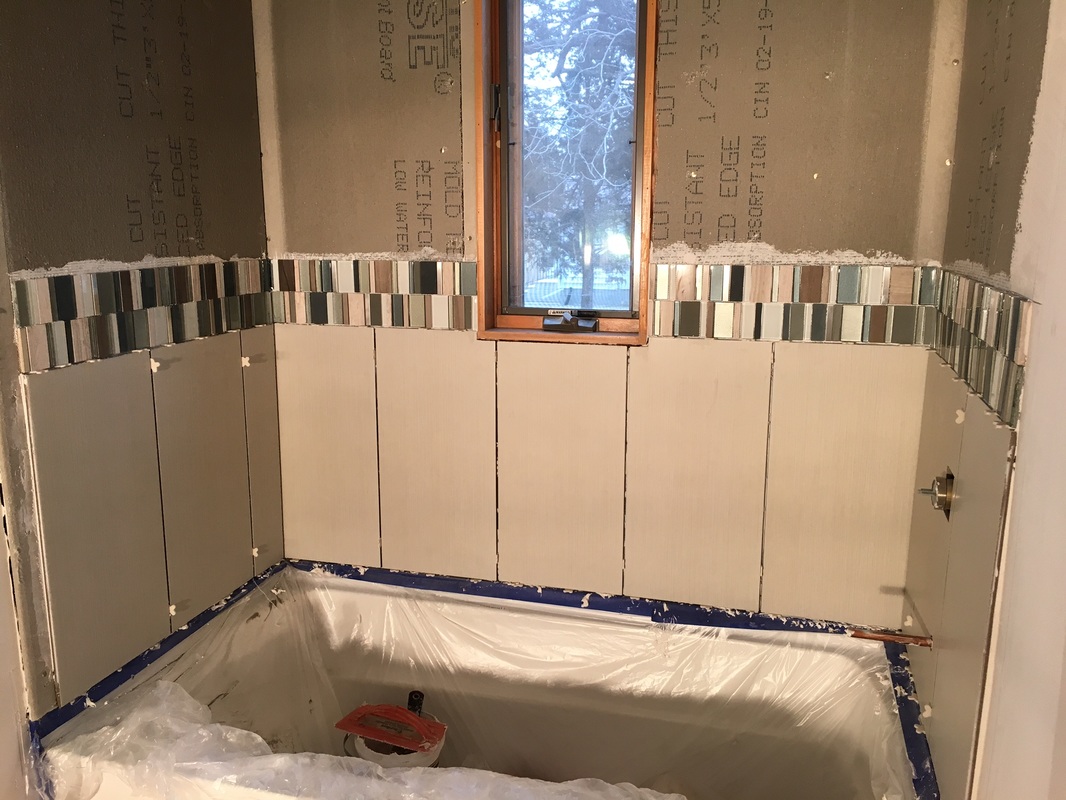
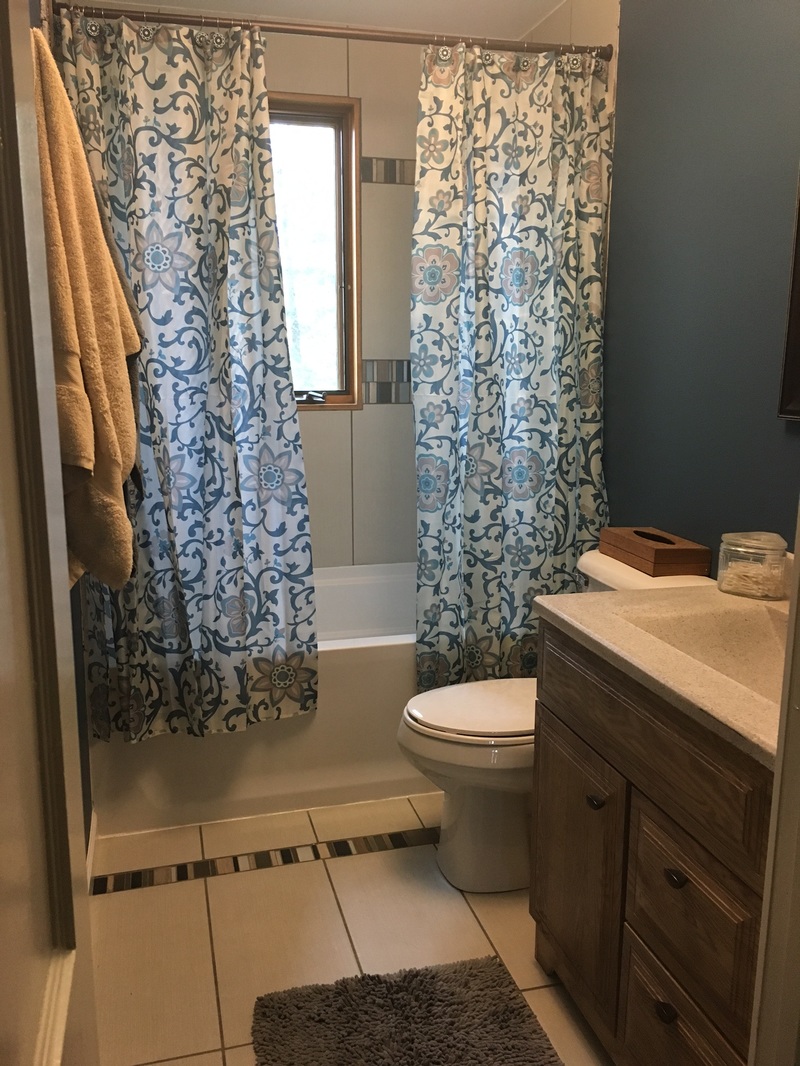
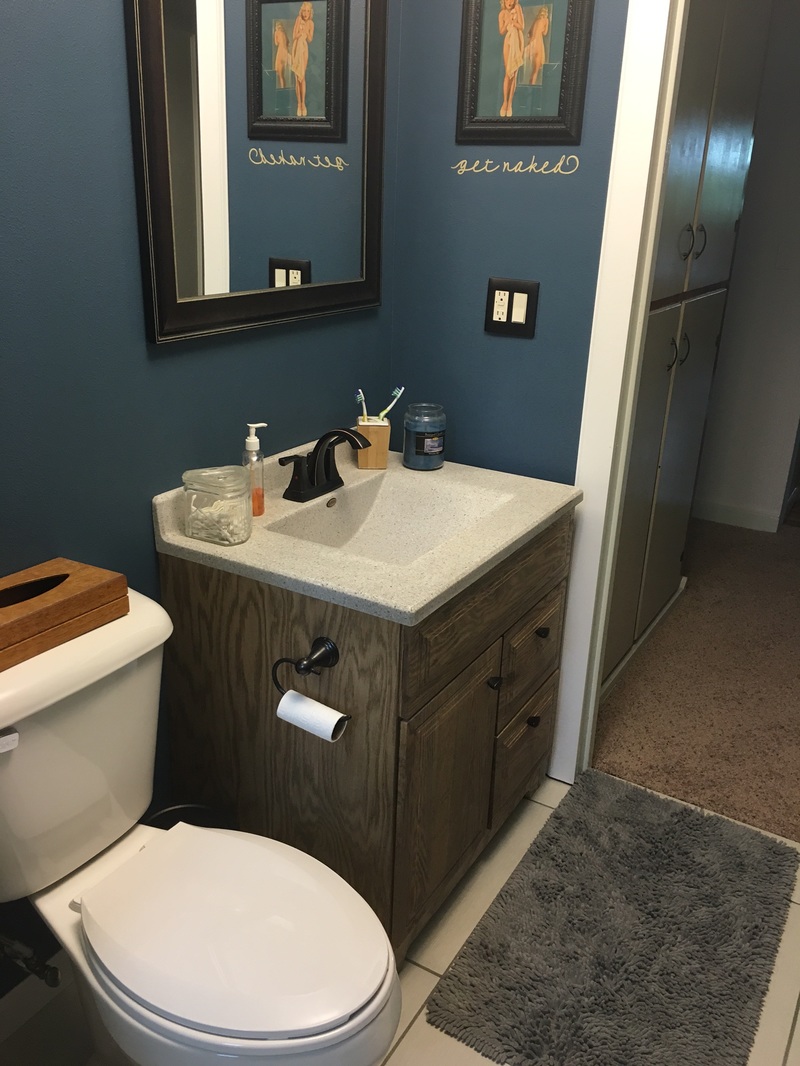
We got a little more in depth with the bathroom renovation than we initially expected, but it turned out to be for the best. There's something nice about being the first people to put our buns on the toilet...and other perks! Today I'm writing about tiling a bathroom. We tiled the tub surround and the floor. I opted for larger, porcelain tiles (to save time and money) and paired them with some lovely small, glass tiles to add some visual interest. I chose to run the large tiles the same direction, the long way vertically, in order to create the illusion of a larger bathroom. I think it worked, but you can be the judge of that! To get to the tiling part, we had to do all of this first: We installed cement bakerboard around the tub before we got started with the tiling. It is a special type of 'drywall' that resists moisture. Here are some other supplies we needed to get the job done:
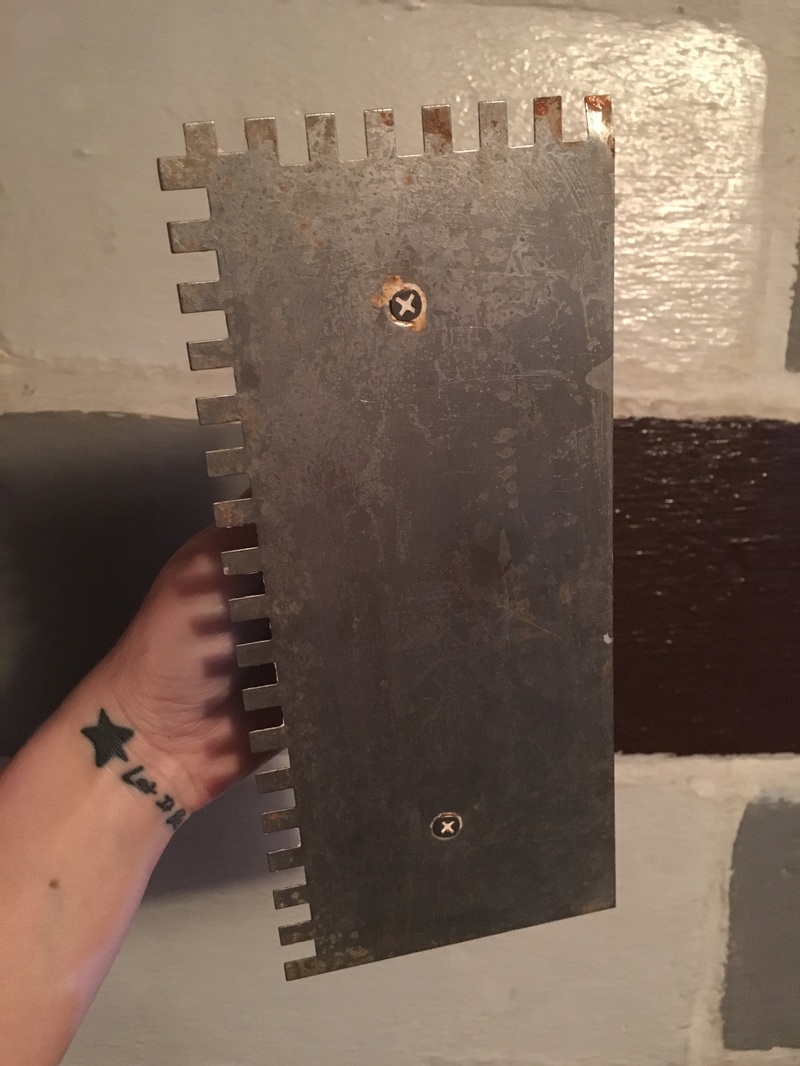
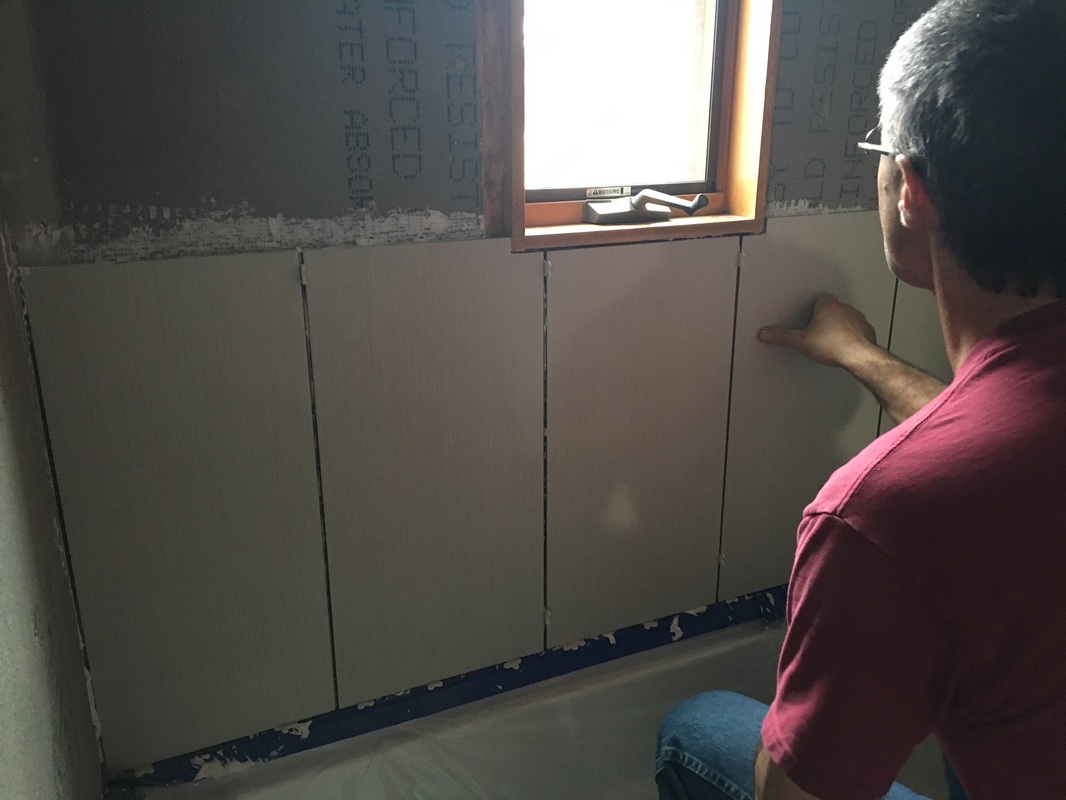
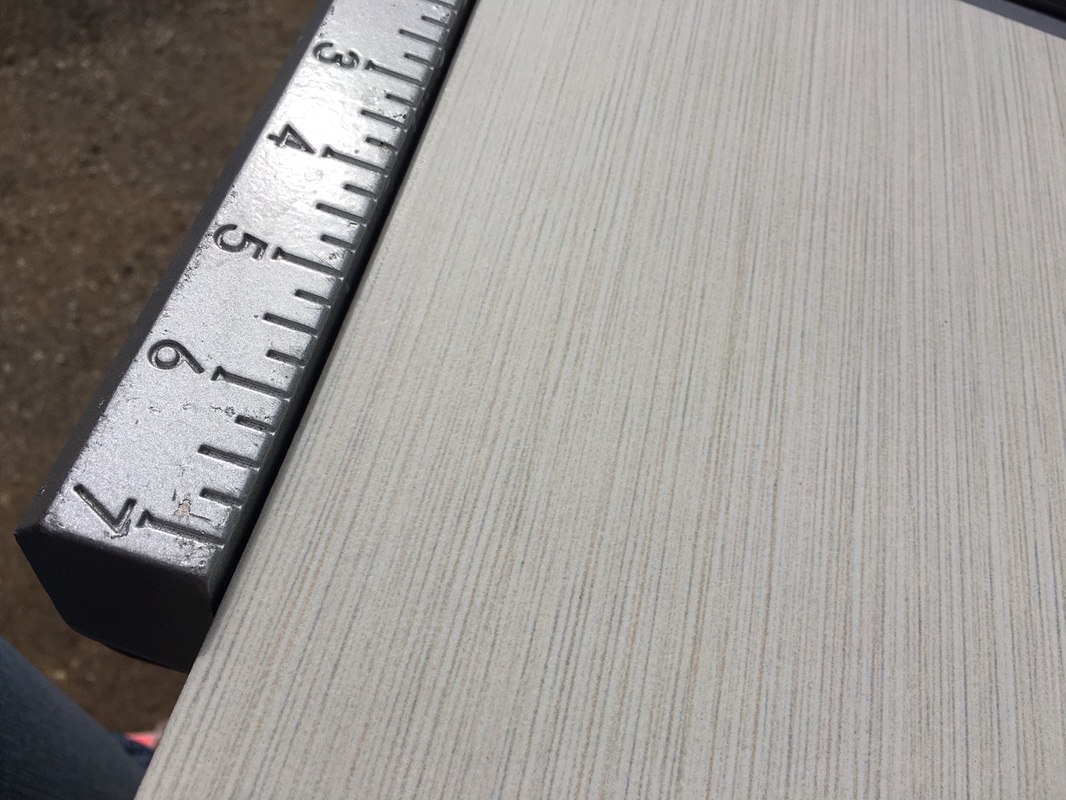
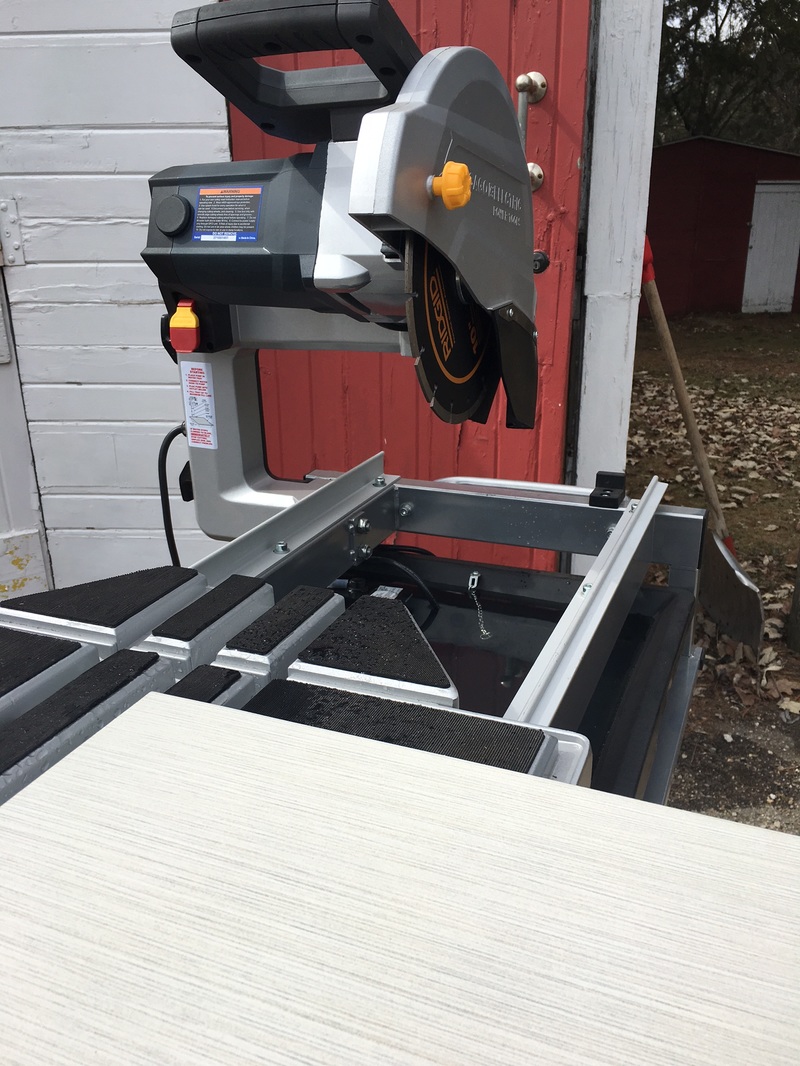
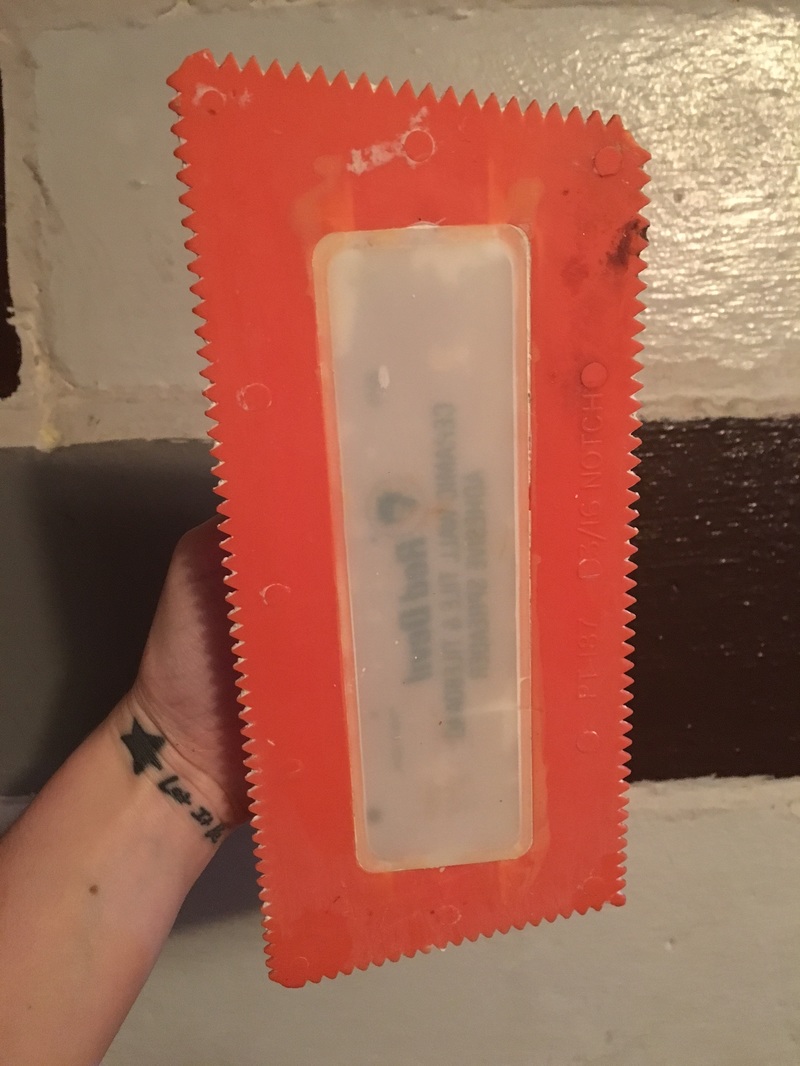
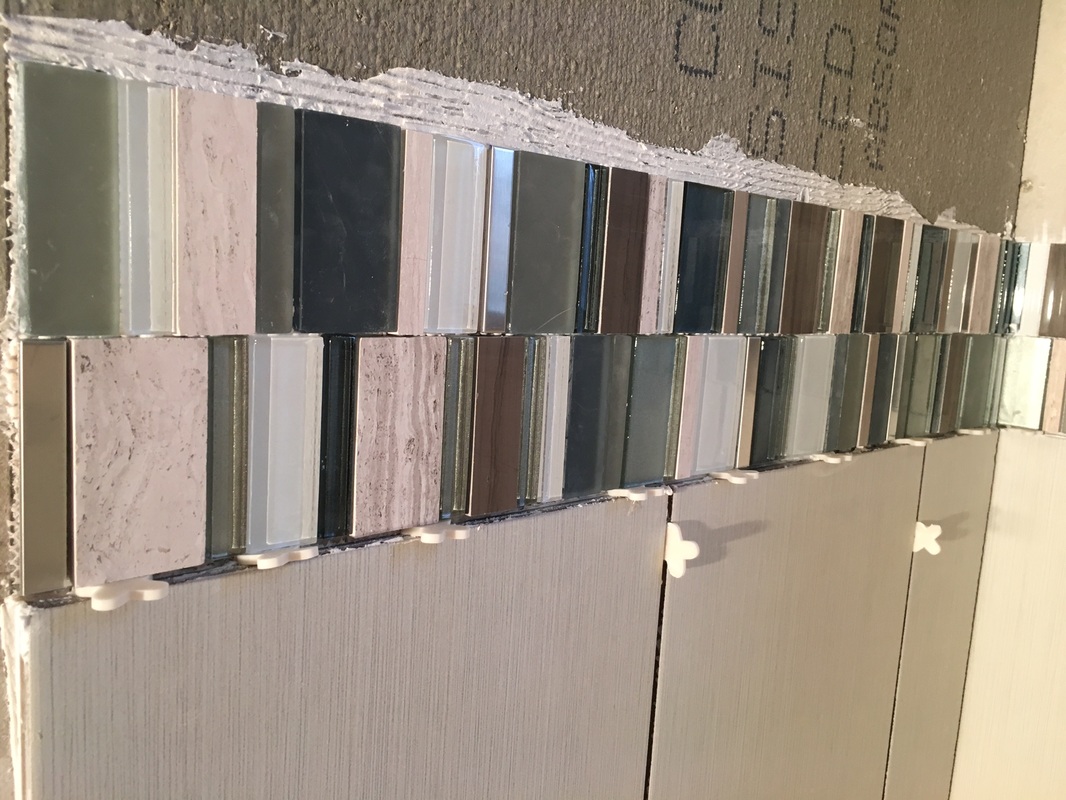
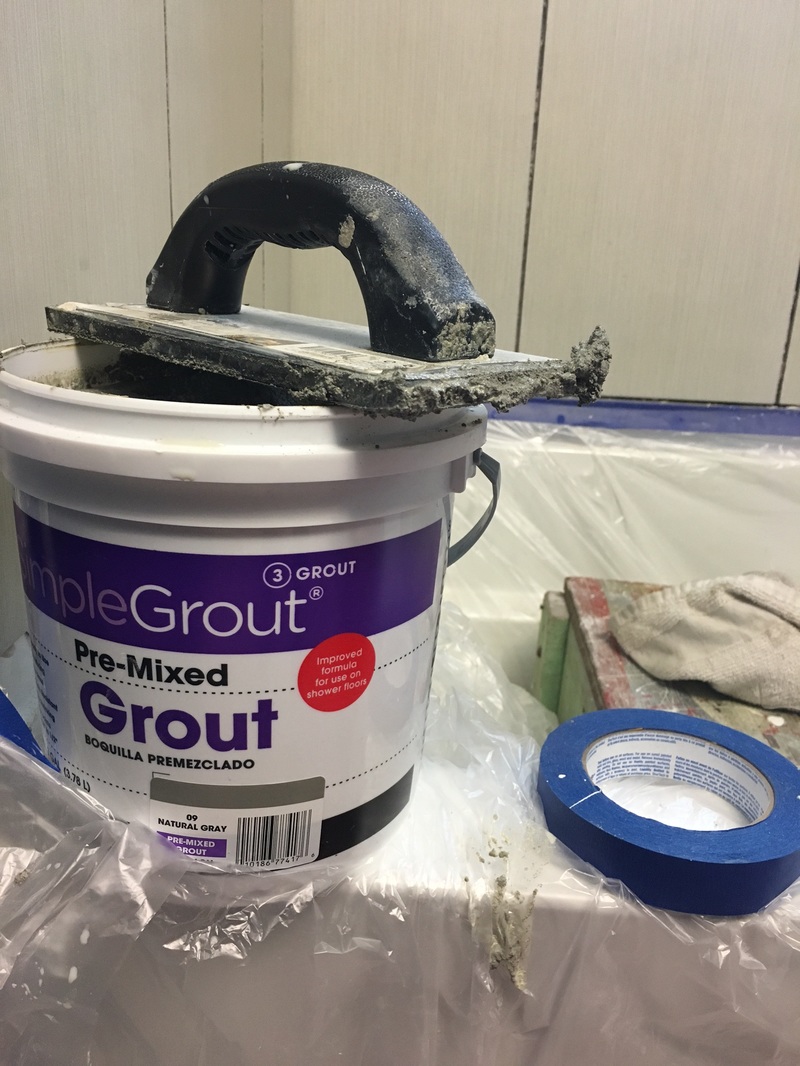
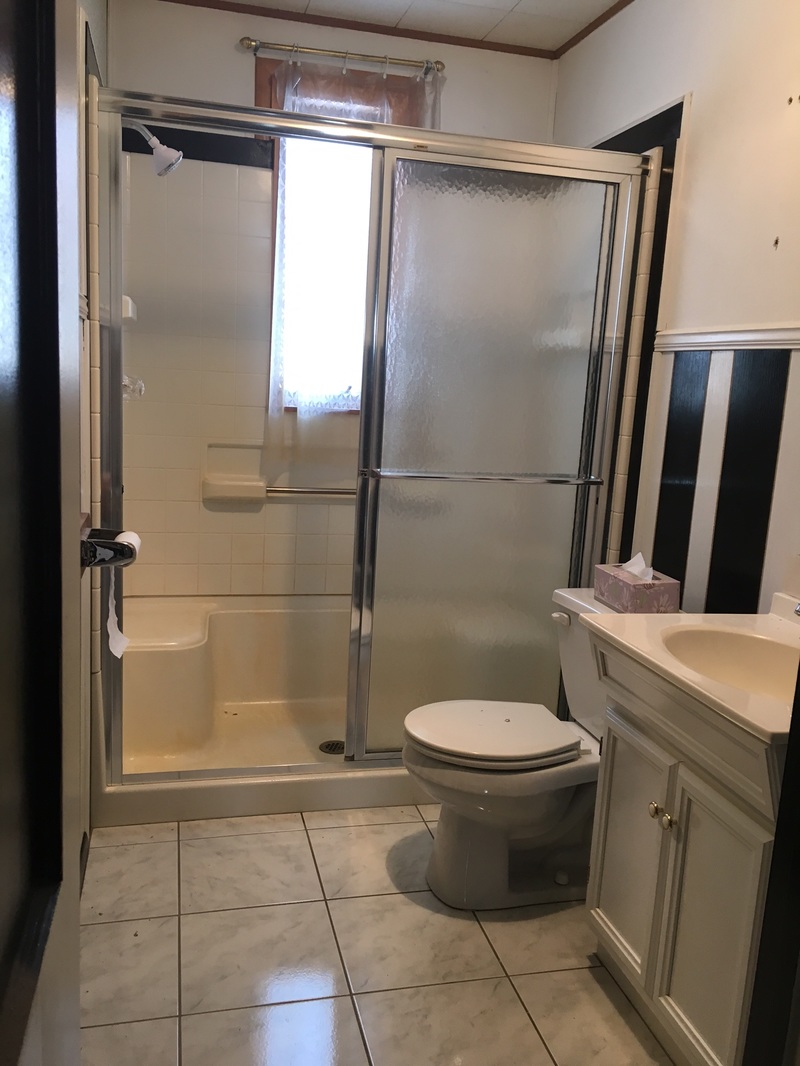
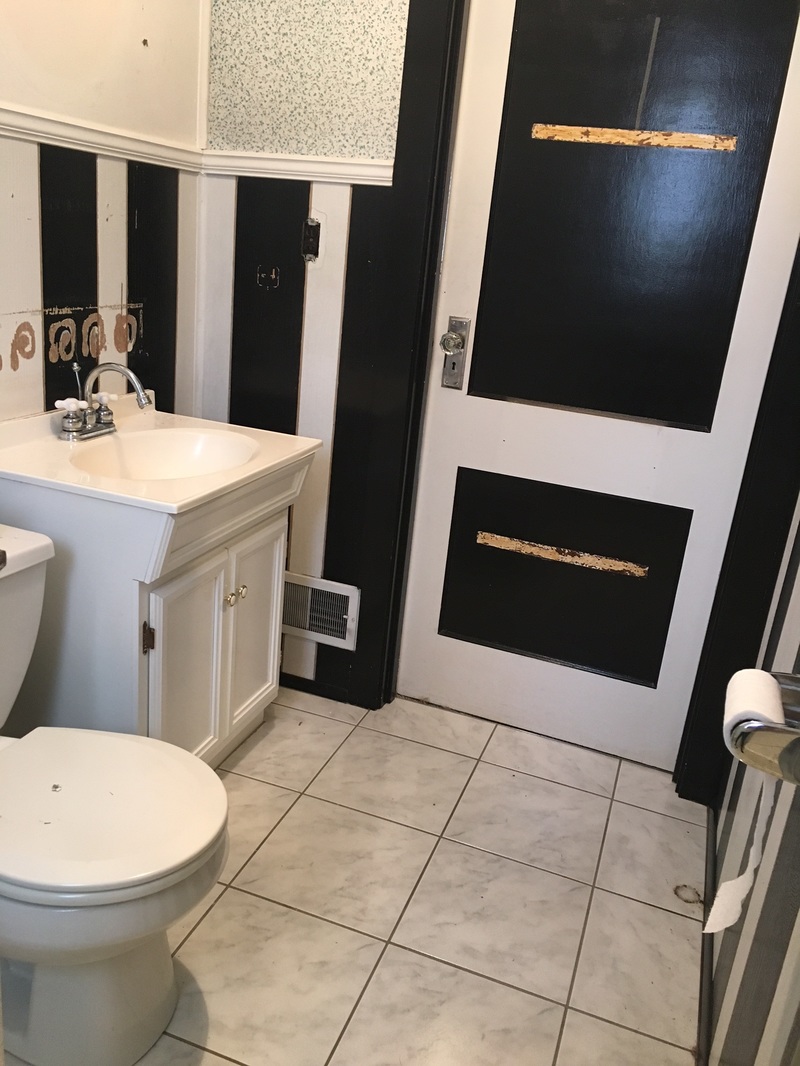
We started by measuring out our tiles and creating a game plan. We started from the center of the surround, under the window. We took a trowel with large gaps (pictured below), spread the adhesive, and starting putting the tiles up: When it came time to needing to cut the large tiles, we measured and marked the tiles accordingly. We then used a water saw to make cuts. For small cuts (like to cut out the holes for the shower fixtures) we used a small grinder with a blade (not pictured): After the first layer of large tiles were done we mixed in the small tiles. The glass tiles came in 12x12 sheets and could easily be cut away from each other with a razor blade and arranged. They were really simple to use and are what I opted for on our kitchen backsplash (which I'll share later). For the small tiles, we used a trowel with small gaps (pictured below). For both the large and small tiles, excess adhesive could easily be wiped away with a towel: Because the tiles were so large, we opted to wait a day between each layer of the surround. As we placed each large tile, side-by-side and stacked, we inserted spacers as needed: For the floor, we followed the same exact process: 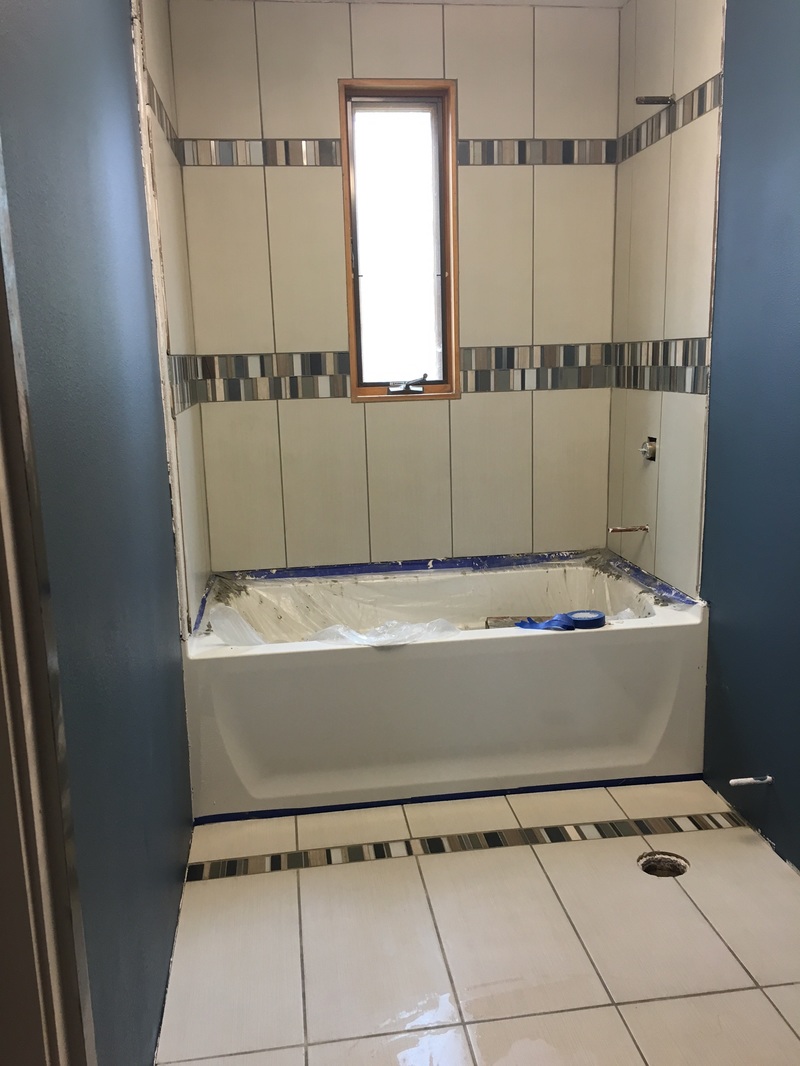 Once the adhesive was nice and dry (and everything stayed as we put it!!) we moved onto grouting. I chose to do a dark grey grout to pop against the white tiles. Grouting ended up being much easier than I was expecting. It was a little stressful at first, you have to get a system down, but once you get going it's a breeze. It's a wet process, so I didn't take photos of the physical grouting...but here's what I used to do it: All you do is load up your trowel with grout, spread it over the cracks, and keep smoothing over the cracks until they are completely filled. The most important part is to wipe off the grout with a large sponge before it dries. I grouted a small section, wiped it down with a sponge, and repeated. I touched up with a towel as I needed to. If the grout looked like it was getting a little dry from having the lid off, I put some water into it to loosen it up, making it easier to spread. Once the grout was done, we finished everything off with white caulk around the ceiling, around the top edge of the tub where it met the surround, and around the base of the tub where it met the floor. We used the type below. Again, a very forgiving material. You can scrape/roll off excess caulk that spreads out of the cracks. 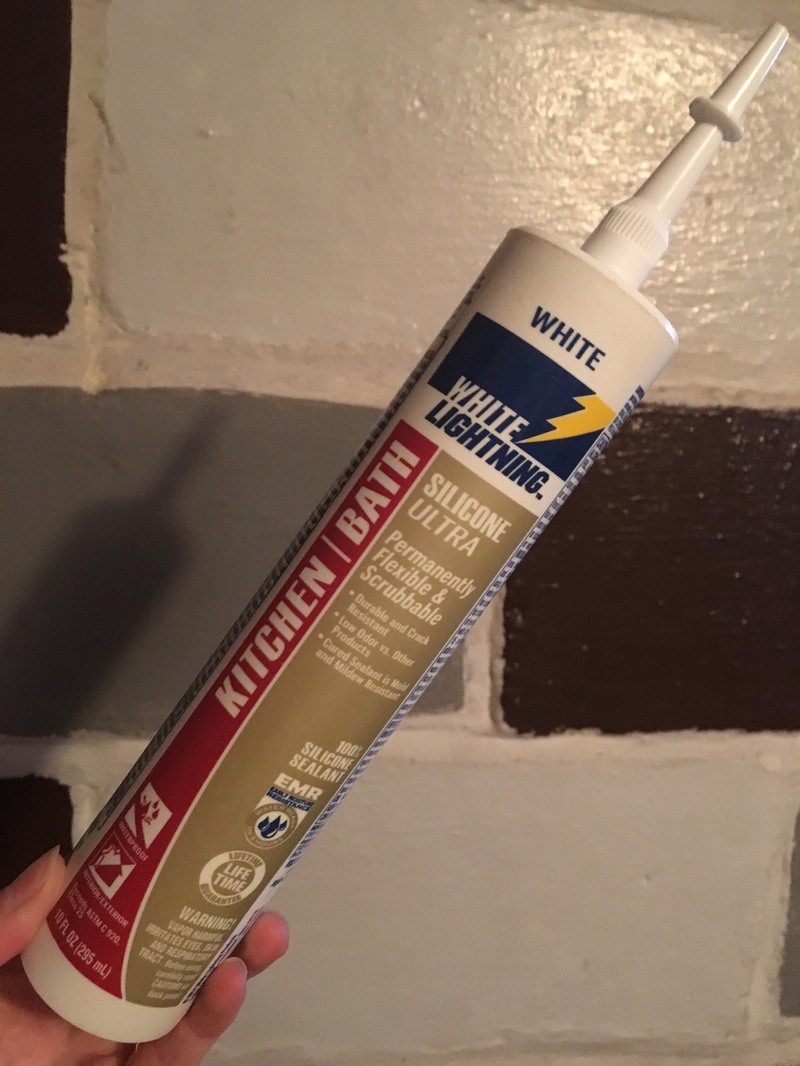 After all that, here she is - our pride and joy! If you have any questions, ask away. Before: After:
1 Comment
When I told people I was going to spray paint our white appliances black, they were intrigued, but skeptical. Understandably so. Others were more supportive - wanting me to do it first so they knew if they could try it on their appliances at home! I'll start by giving you a supply list of items that were helpful for me:
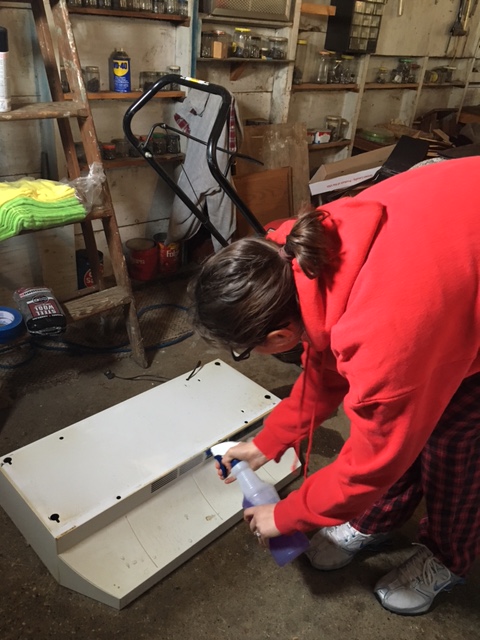
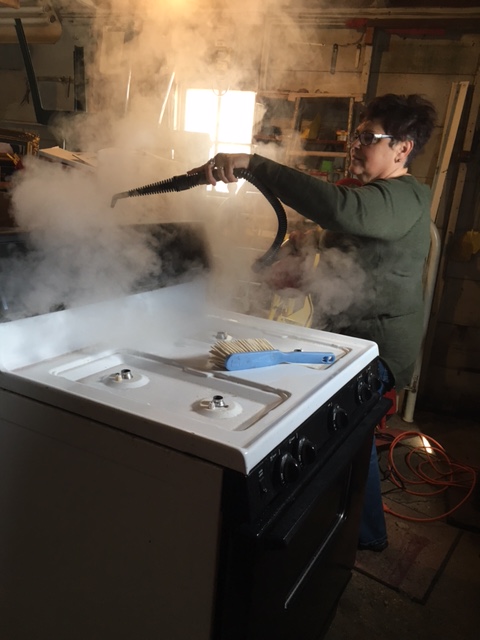
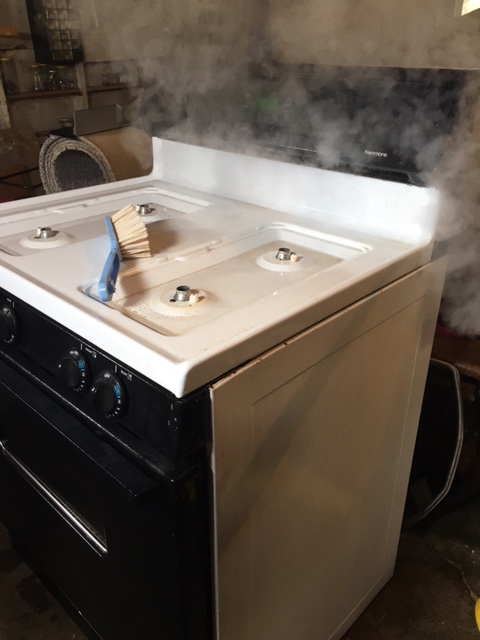
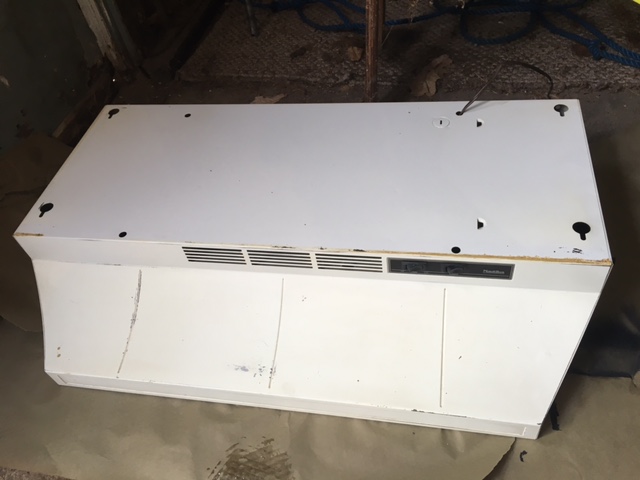
We started by spraying down the oven hood and the oven with Fabuloso (can be found at the local dollar store near you and is a pretty powerful grime cutter) and then steamed both items with my mom's amazing steam cleaner.
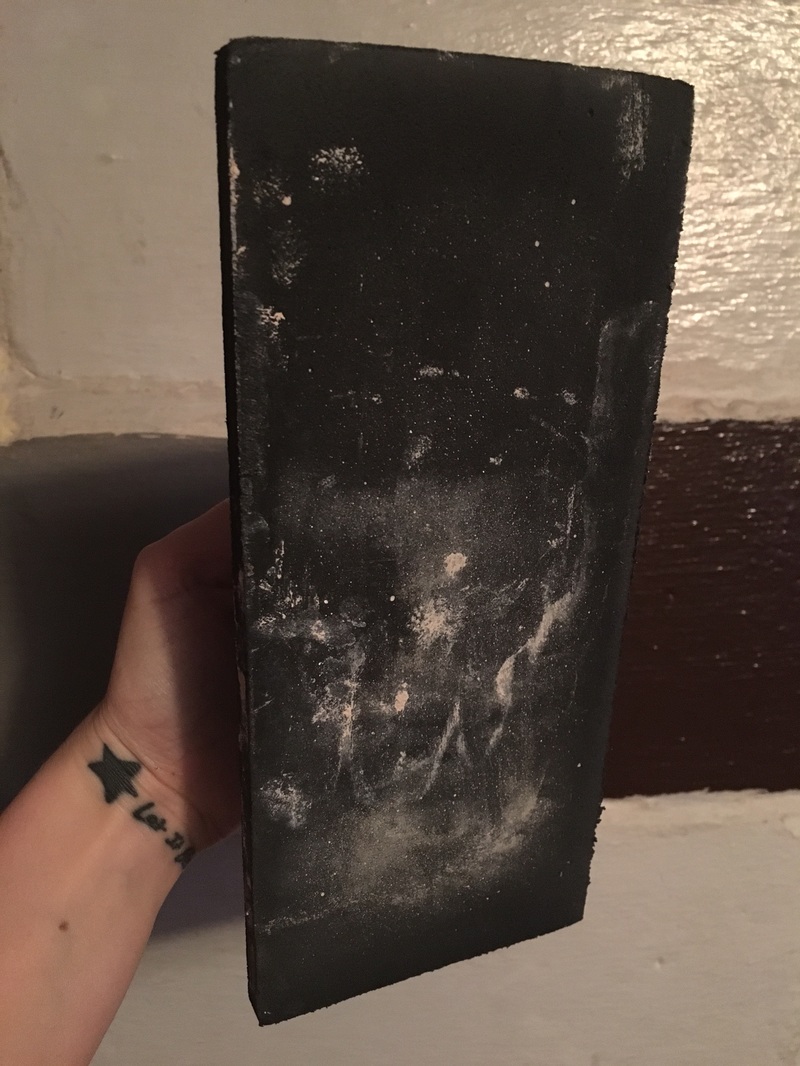
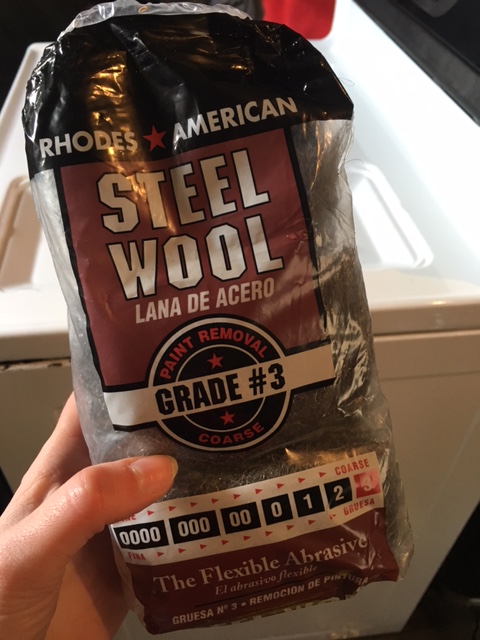
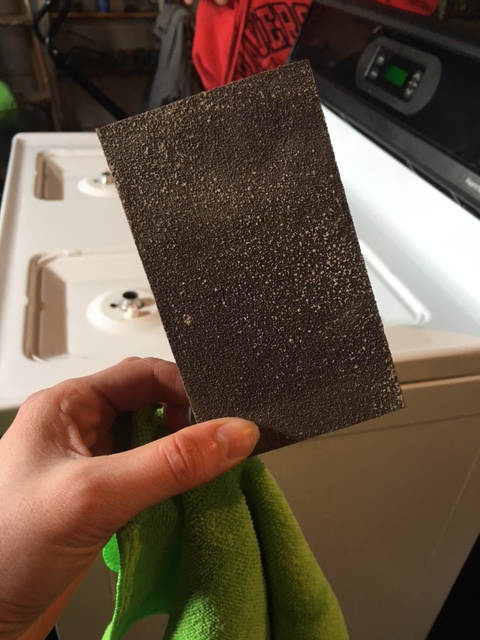
Next came a good scrub down with steel wool to get the remaining pieces of "ick" off both items. I then dried everything off with a microfiber towel and proceeded to sand. I sanded and wiped down both items around three times. You want to make sure the enamel paint on the items is roughed up enough to grab onto the spray paint. I sanded until the enamel paint began to loose its shine, looking dull.
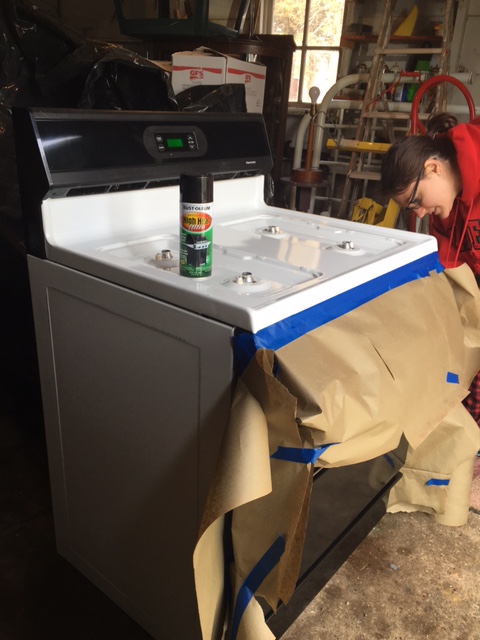
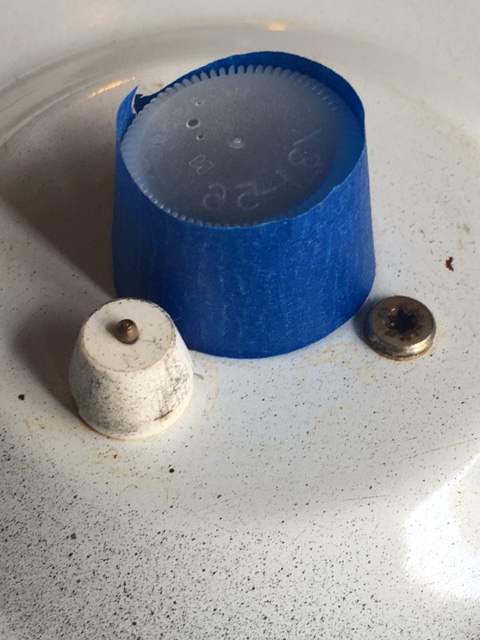
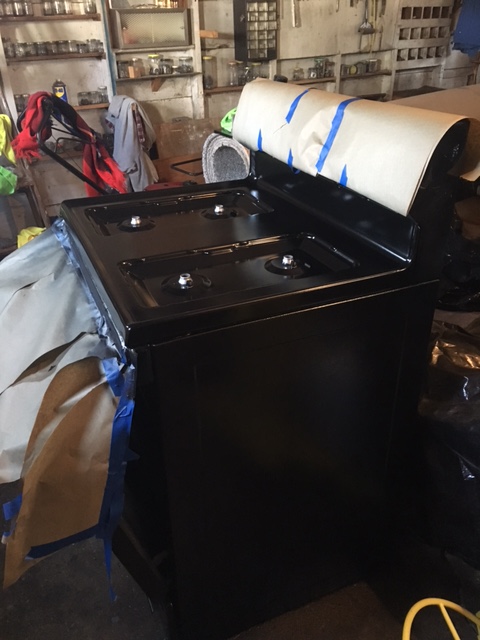
I got lucky because the back control panel and the front of the oven was already black, so all we needed to do is paint the top and sides. In order to preserve what didn't need to be painted, we covered everything up with butcher paper and painting tape. My sister came up with a GENIUS idea to cover the burners that I'd highly recommend. She wrapped painting tape around water bottle caps and set them right over the burners! Perfect fit and not a drop of paint got on or in the burners. It takes a team, people! 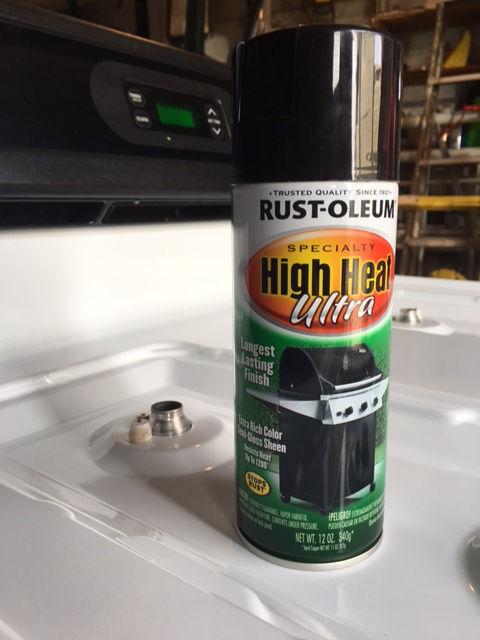 Next step...the moment of truth...spray painting an appliance that would be really expensive to replace if I f#$@ed up too bad...
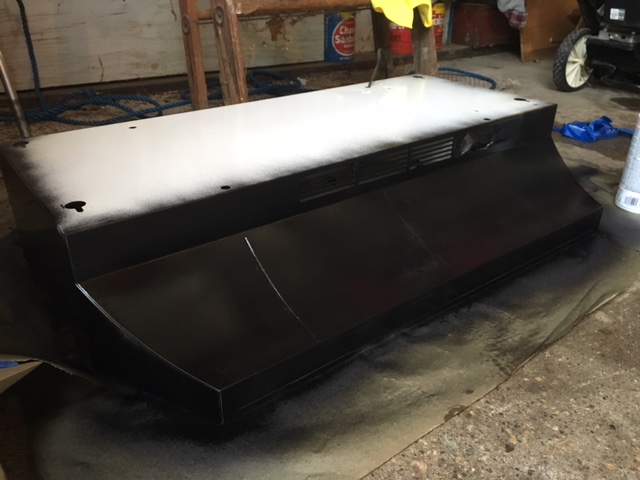
SUCCESS!! Both items turned out great. A few tips while spray painting:
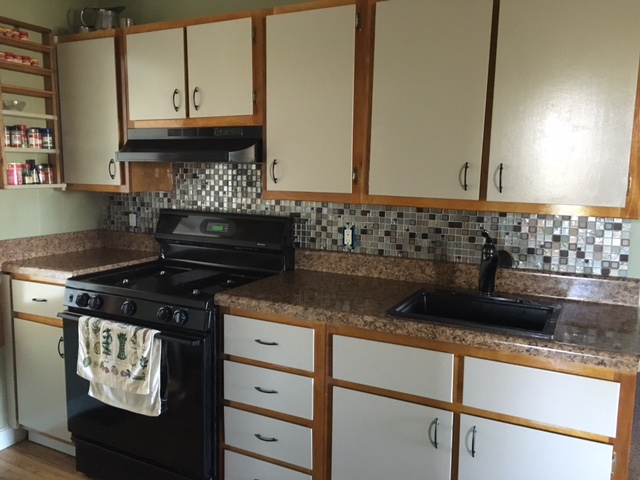 Here is our oven hood and oven in their natural habitat. Spray painting was an easy, cost-effective way to bring our new kitchen design together and is an option I'd use again (actually I already did...with our fridge...I'll post that later!). Happy DIY'ing, friends!
|
Archives
August 2022
Categories
All
|




 RSS Feed