|
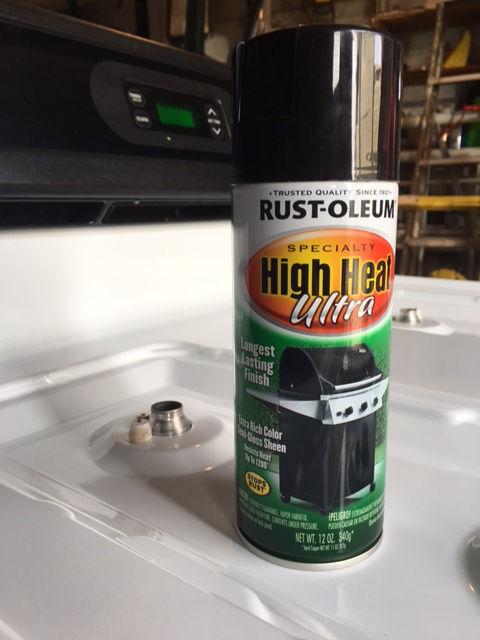
When I told people I was going to spray paint our white appliances black, they were intrigued, but skeptical. Understandably so. Others were more supportive - wanting me to do it first so they knew if they could try it on their appliances at home! I'll start by giving you a supply list of items that were helpful for me:
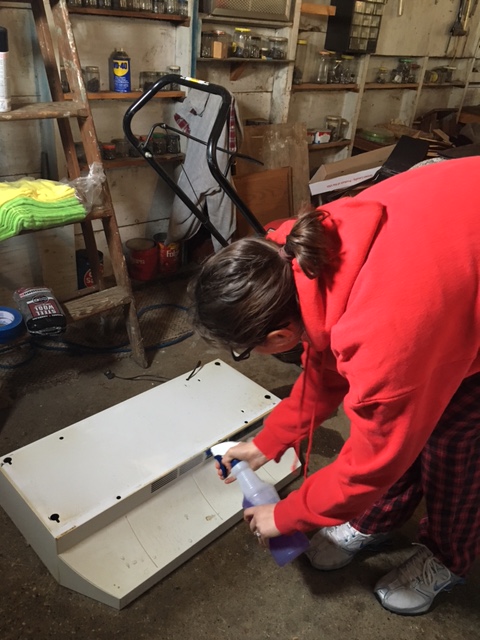
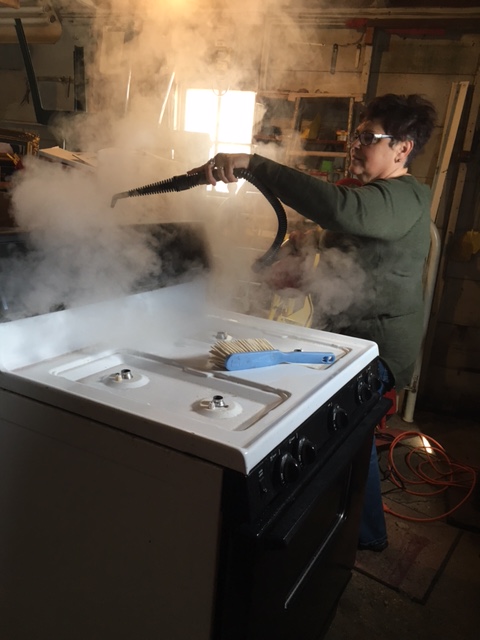
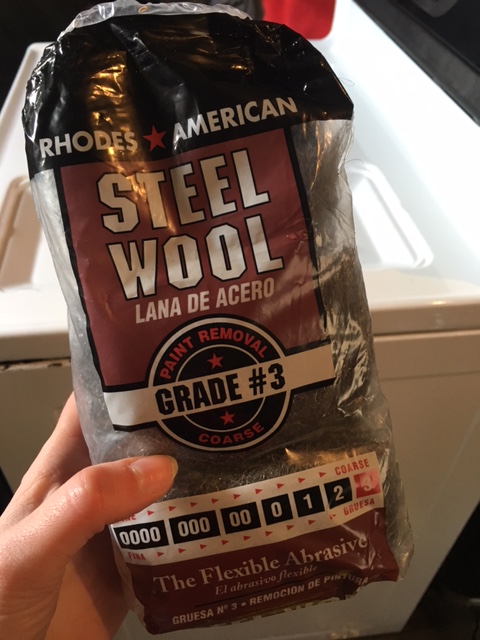
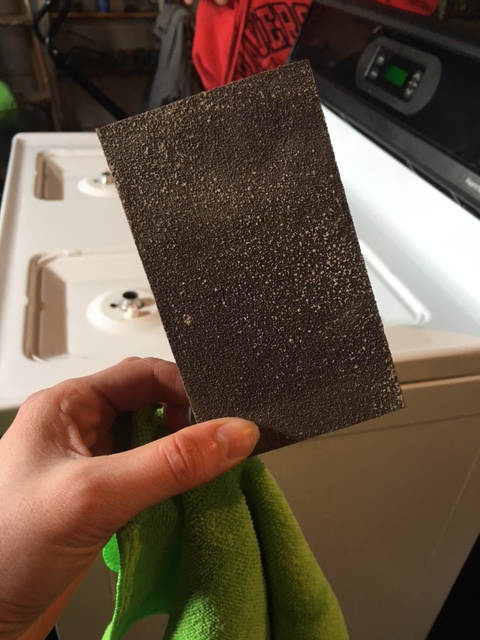
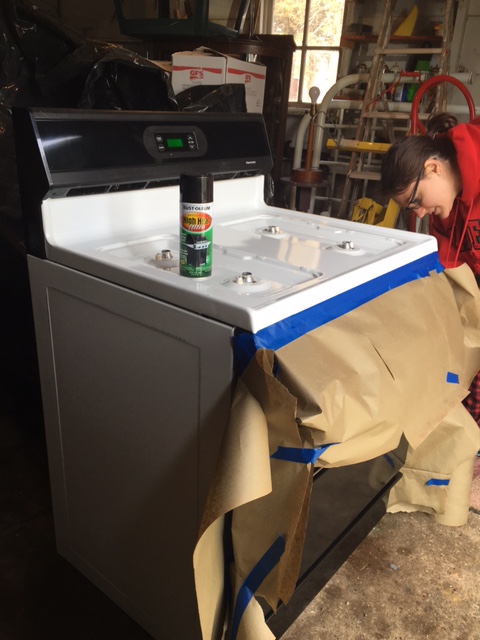
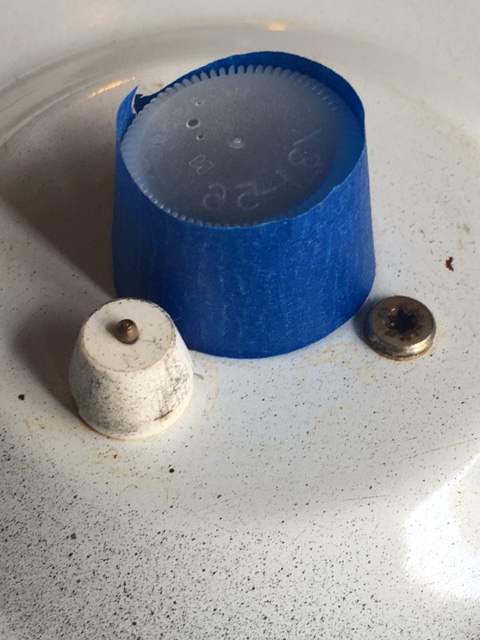
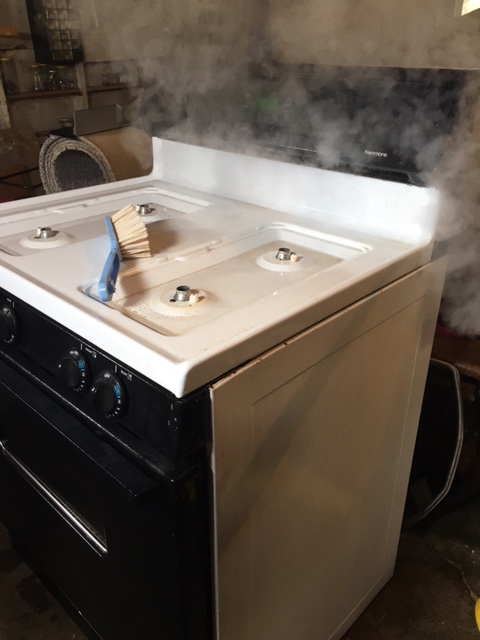
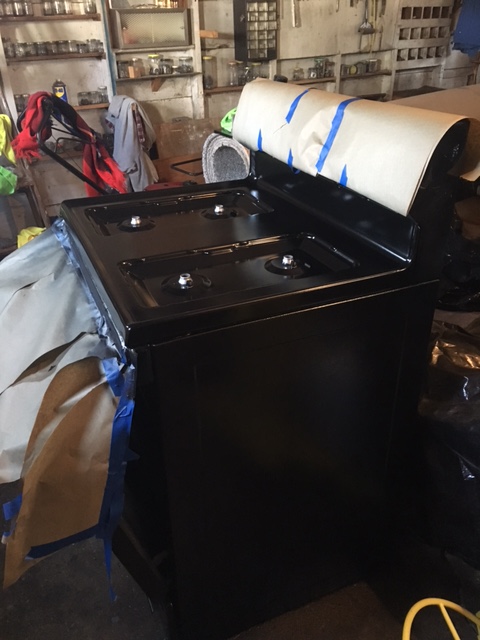
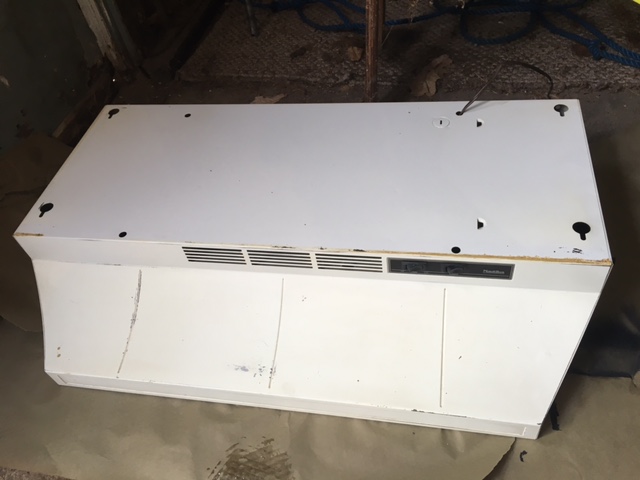
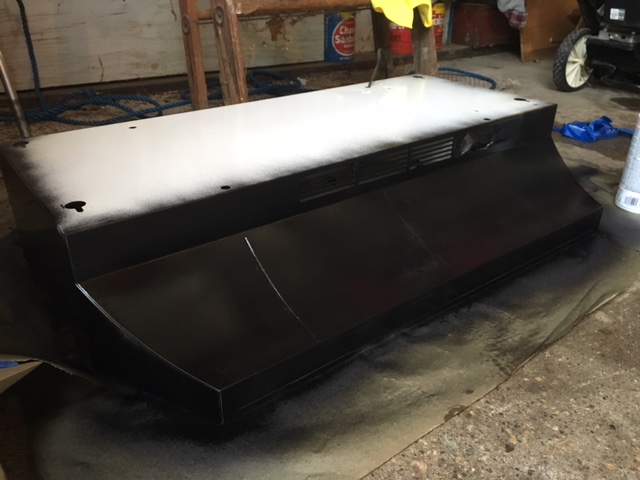
We started by spraying down the oven hood and the oven with Fabuloso (can be found at the local dollar store near you and is a pretty powerful grime cutter) and then steamed both items with my mom's amazing steam cleaner. Next came a good scrub down with steel wool to get the remaining pieces of "ick" off both items. I then dried everything off with a microfiber towel and proceeded to sand. I sanded and wiped down both items around three times. You want to make sure the enamel paint on the items is roughed up enough to grab onto the spray paint. I sanded until the enamel paint began to loose its shine, looking dull. I got lucky because the back control panel and the front of the oven was already black, so all we needed to do is paint the top and sides. In order to preserve what didn't need to be painted, we covered everything up with butcher paper and painting tape. My sister came up with a GENIUS idea to cover the burners that I'd highly recommend. She wrapped painting tape around water bottle caps and set them right over the burners! Perfect fit and not a drop of paint got on or in the burners. It takes a team, people! Next step...the moment of truth...spray painting an appliance that would be really expensive to replace if I f#$@ed up too bad... SUCCESS!! Both items turned out great. A few tips while spray painting:
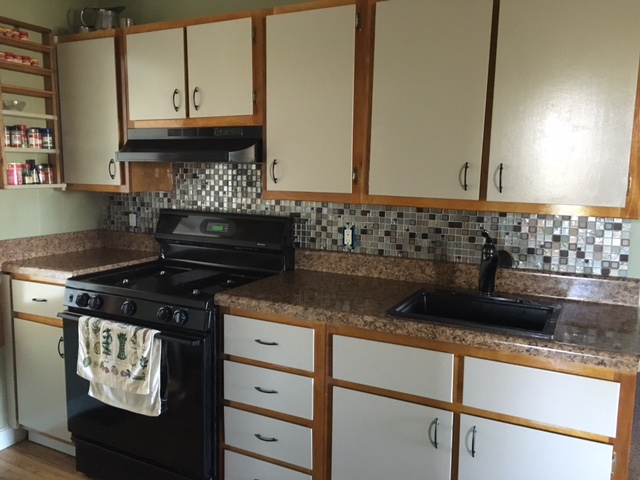
Here is our oven hood and oven in their natural habitat. Spray painting was an easy, cost-effective way to bring our new kitchen design together and is an option I'd use again (actually I already did...with our fridge...I'll post that later!). Happy DIY'ing, friends!
0 Comments
Leave a Reply. |
Archives
August 2022
Categories
All
|
 RSS Feed