|
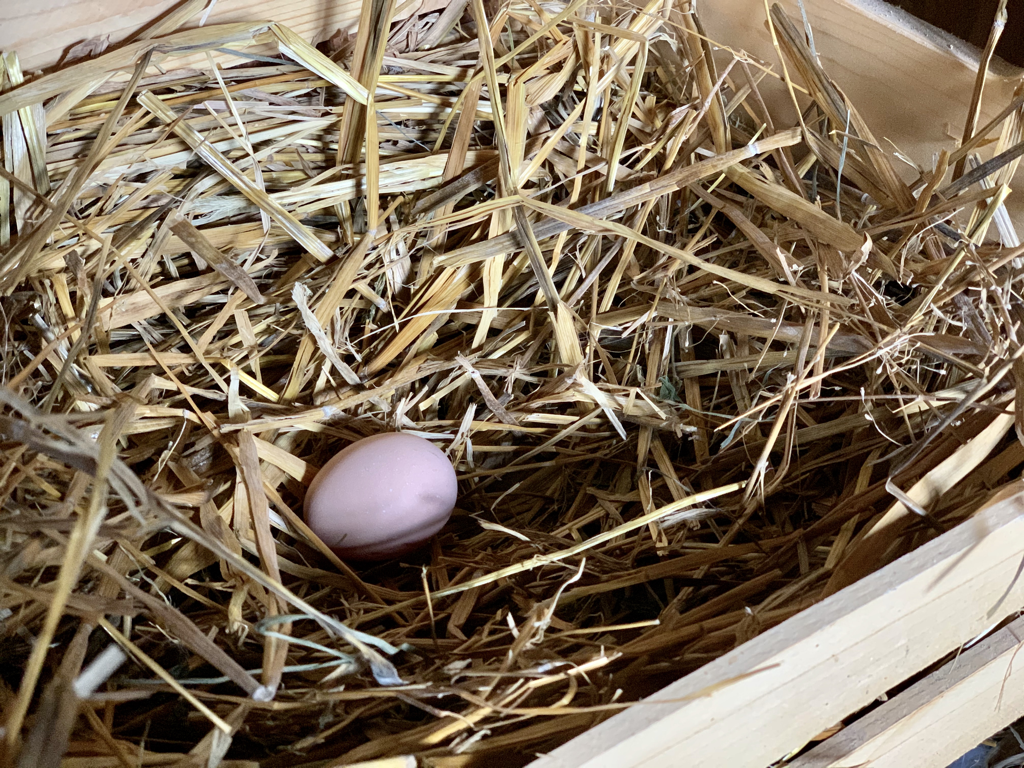
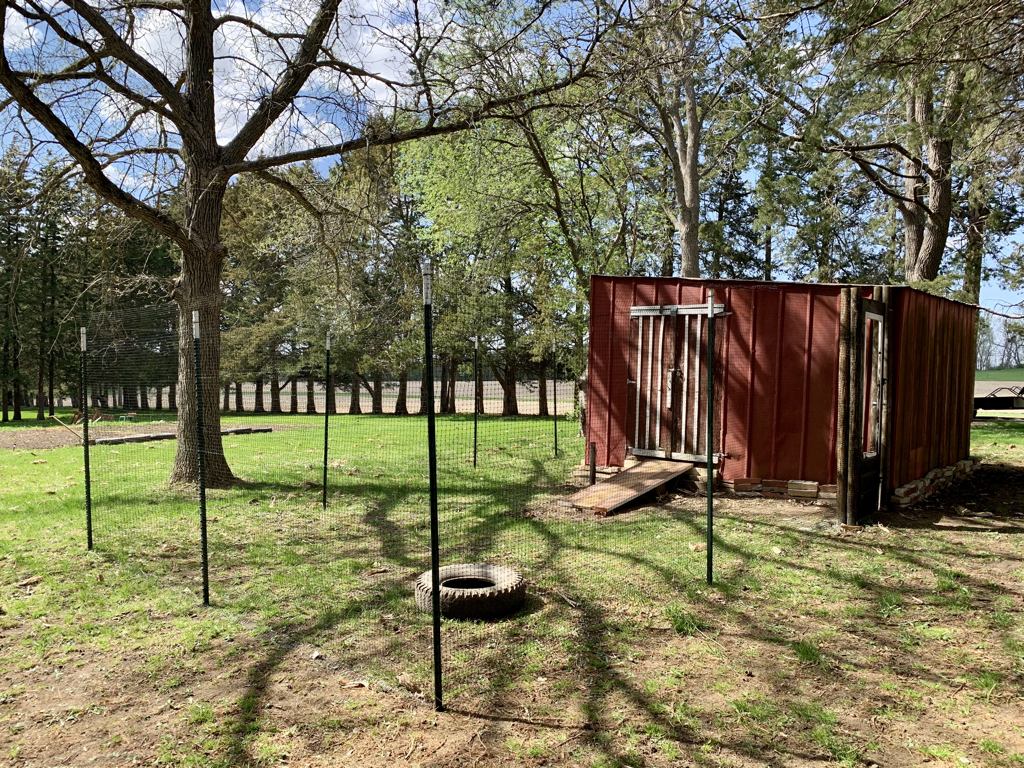
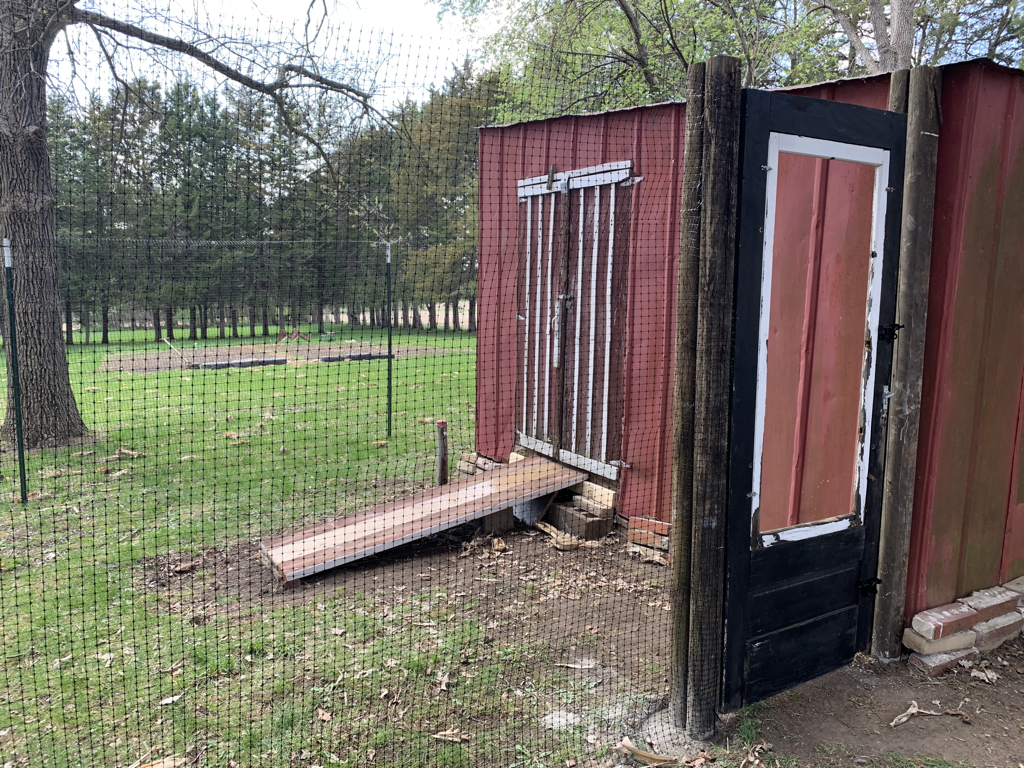
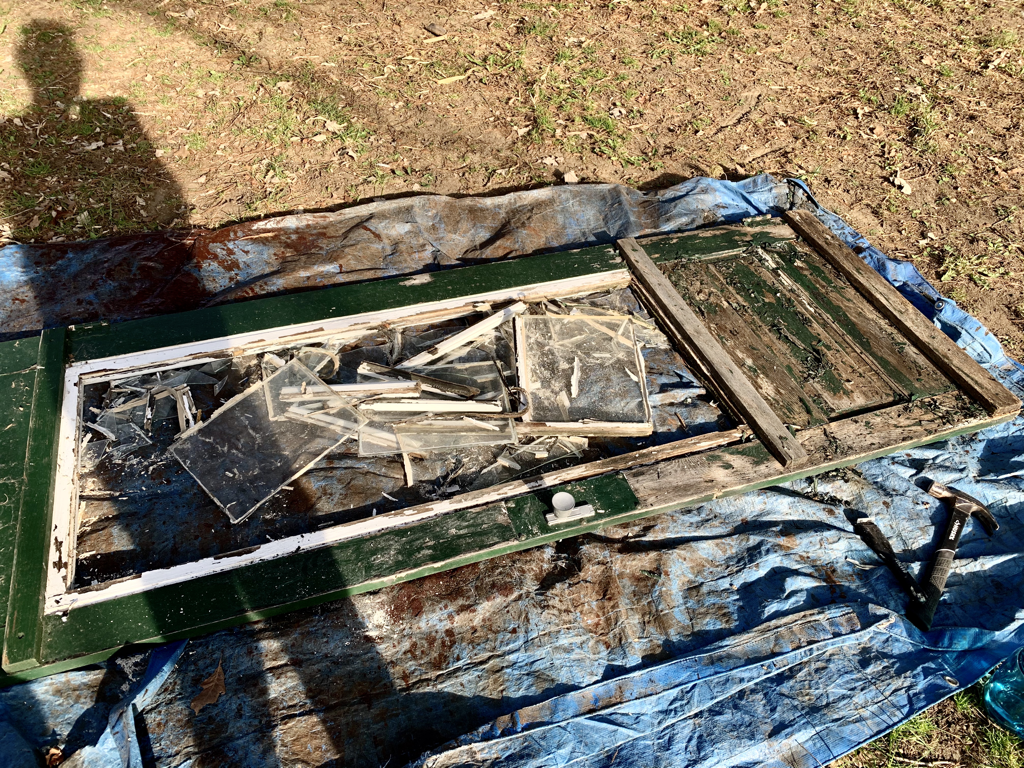
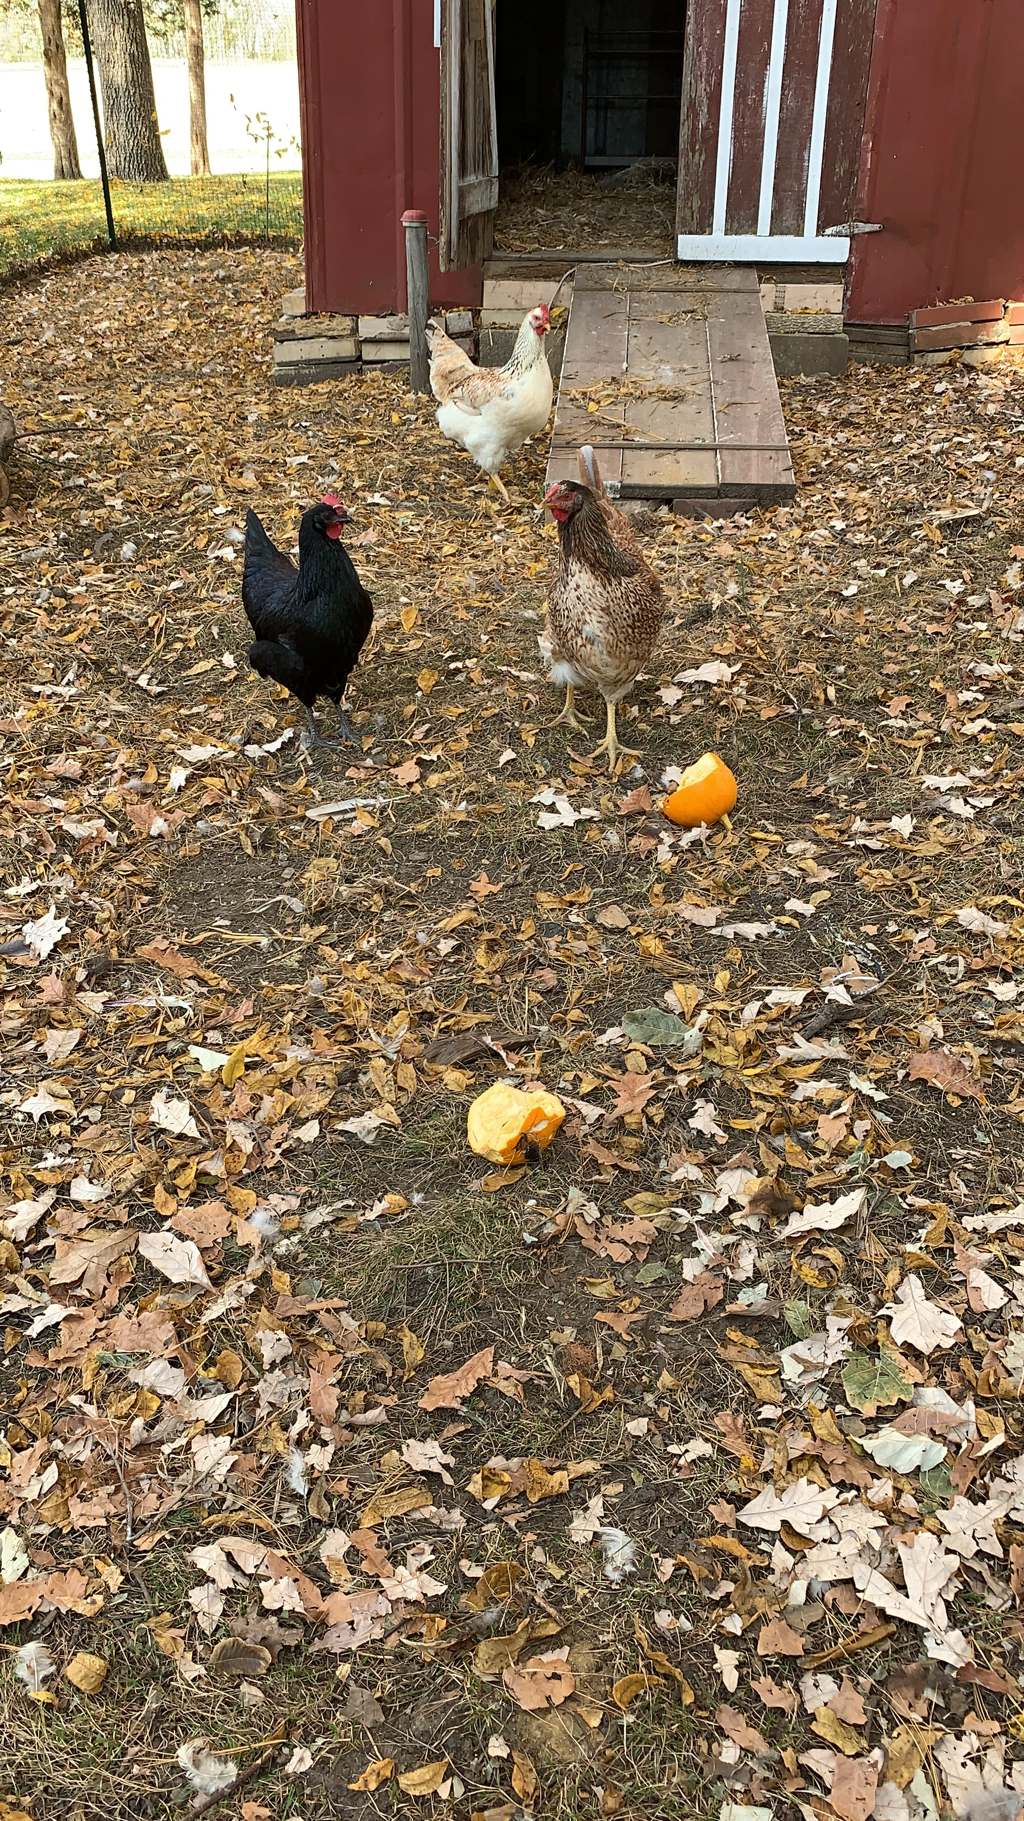
In celebration of our first hen laying an egg, I thought I’d share what we did to revive the chicken coop on our acreage. We are fortunate to have several buildings on our property that once served as shelter for farm animals. Though for many years, they have provided protection for a variety of wild animals passing through. Mice. Woodchucks. Possums. Cats. Toads. Who knows what else. We’ve had our fair share of battles ridding our place of these animals, mice and woodchucks, especially. The more we address needed repairs on the buildings, the more we’re able to protect them and our stuff from critters. What started as a simple ramp repair on the chicken coop turned into us fully transitioning it from storage to a comfy home for laying hens. The ramp was completely rotted out. We were one more trip into the building from it collapsing under our feet. Wood rot is one of my least favorite things and has haunted me at our acreage. Our buildings are old and impressively sturdy – but none are free from wood rot. As annoying as it is, I have learned a lot about what it is and how to repair it. I’m still working on the “how to prevent it” part… I tore away all the rotted wood to see what I was working with. I added a fresh 2x4 to rest the new boards on. I also found some bricks to put at the bottom of the ramp to keep the wood up off the ground, preventing it from getting and staying wet – leading to rot. Our home came as is with everything included, so most times I have a lot of supplies I need at my fingertips. In the case of the ramp, I had a leftover 2x4, there were three flawless, thick pieces of barn wood in the coop, and I used some bricks that were given to me from a torn down outdoor fireplace. I cut the boards to size with my circular saw, screwed the 2x4 piece to the building and then the barn wood planks to the top of the 2x4. I used long screws throughout, two screws in each board securing them to the 2x4. To keep the slabs of wood together, I stapled three thin pieces of wood – looked like old moldings of some sort – horizontally across the three boards. I hoped this would prevent the wood from drifting away from each other and help the hens get up the ramp when it was slick. I left enough room in between the barn wood for a little air to circulate through, again, hoping to prevent rot. Once the ramp was finished, there wasn’t much more to do to the building because it is in very good shape. I raked any tree debris off the roof, caulked and painted the windows, swept the floor, knocked down some spider webs, and caulked any holes (it has a metal roof and siding). We also ended up adding a turbine vent to the roof so there was a little bit more air circulation. The next item on the “to do” list was to outfit the building with all of the things hens need to live a content coop life. Nesting boxes, roosts, a feeder, and waterer. I received hand me down waterers from a family member, so just had to pick up a feeder. I chose the largest one because I’m lazy and want to refill it as little as possible! I chose to suspend both the waterer and feeder a few inches from the ground by hanging them from the ceiling using chains and S hooks I had. In Iowa, it gets pretty cold starting in the Fall. Beginning in October, we put up a heat lamp on a timer for the ladies and hooked up a heated drinker base so their water wouldn’t freeze. This is the base we purchased and really like it. For the roosts, I placed some random items around to get me started – a ladder, some wooden pallet type things, a step stool, a blanket rack, a tiered plant holder. None of which I think the hens like, so I’m figuring out something new at the moment. One of the roosts they do like is one I put by the window. I used two curtain rod hooks and a broomstick. I placed it just under the window and I find one or more of them on it each morning. The nesting boxes were something I researched quite a bit, but ended up doing my own thing (hoping it would work). For the most part, I used what I had that was just collecting dust in the coop. I affixed a large piece of plywood to the wall. To that, I connected four wooden crates with the top two wood strips removed from the front of each of them. Those came from Menards. I read that it is bad if hens start roosting in/on the nesting boxes, so I ended up using simple shelf brackets and boards to create 45-degree angle hoods over the boxes. The last thing I added was a little ramp for them to use. Not sure that they do, but it was something I had that fit perfectly, creating the cutest little corner in the coop! I have had no issues with them roosting in the boxes. I put hay and a ping pong ball in each one and they have been laying in the boxes. The ball is supposed to resemble an egg and help guide them to laying where you want them to. As a side note, I chose to put hay down to make cleaning out the coop easier. I also wanted it for my garden to help the soil nutrient balance. I read chickens like to scratch at the ground, so sometimes I’ll hide mealworms around in the hay. I think of it as a fun little game for them. The last thing we did was put a fence up around the coop. I bought 7 foot heavy duty deer fencing and 8 foot t-posts to use. It worked for a bit, until a critter bit a hole through it. We ended up reinforcing just the bottom part of the fence with 2-3 foot tall chicken wire. That did the trick. Landscaping staples and zip ties are two of my favorite garden and décor supplies. We secured the fencing to the ground with the staples and to the stakes with zip ties. Super simple and easy to take down if we need to. The door connected to the fence so we can get in is crafted out of two tall fence posts that were chilling in the woods on our property and our old storm door. The posts were put into place using cement and we attached the door to the posts using its original hinges and long screws. I knocked the glass out of the door and covered the openings with deer fencing. We attached a couple of slide bolt locks to keep the door closed. The hens are little rock stars. As of this post, all three are laying like crazy. We can get a dozen eggs over the course of a couple days. They seem happy in their space and we’ve enjoyed watching them. We’re not friendly with each other necessarily, but instead like to observe each other from afar! They’re great eaters. Produce doesn’t go to waste anymore. Anything close to spoiling is tossed into their pen and it disappears quickly – especially pumpkins! It’s turning out to be a very nice partnership overall, allowing us to live a little more sustainably and toss out less waste. It’s also nice to share eggs with our family, friends, and neighbors!
3 Comments
|
Archives
August 2022
Categories
All
|



 RSS Feed