Busy Hands, Happy Heart
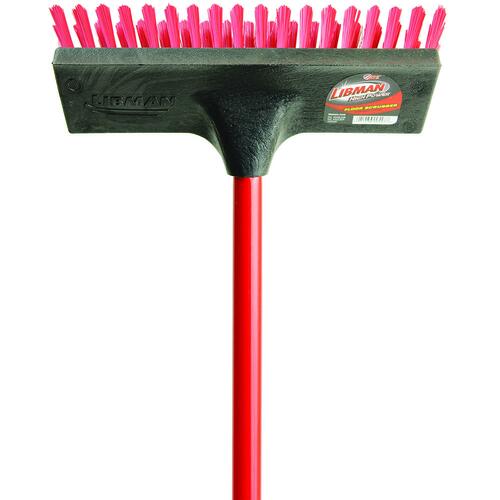
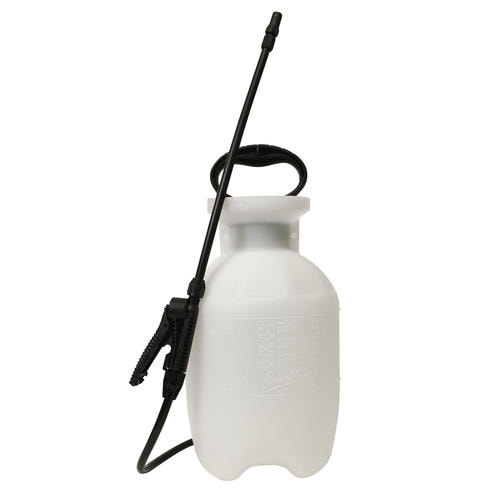
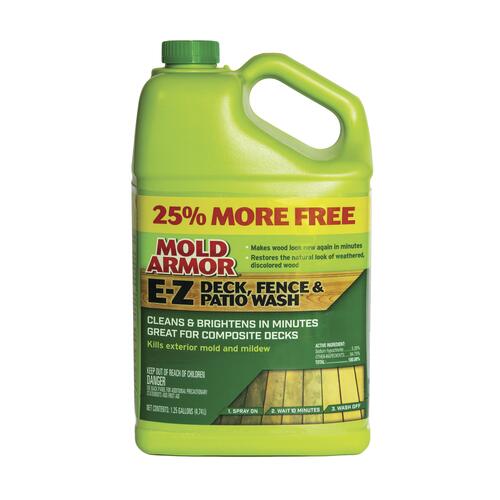
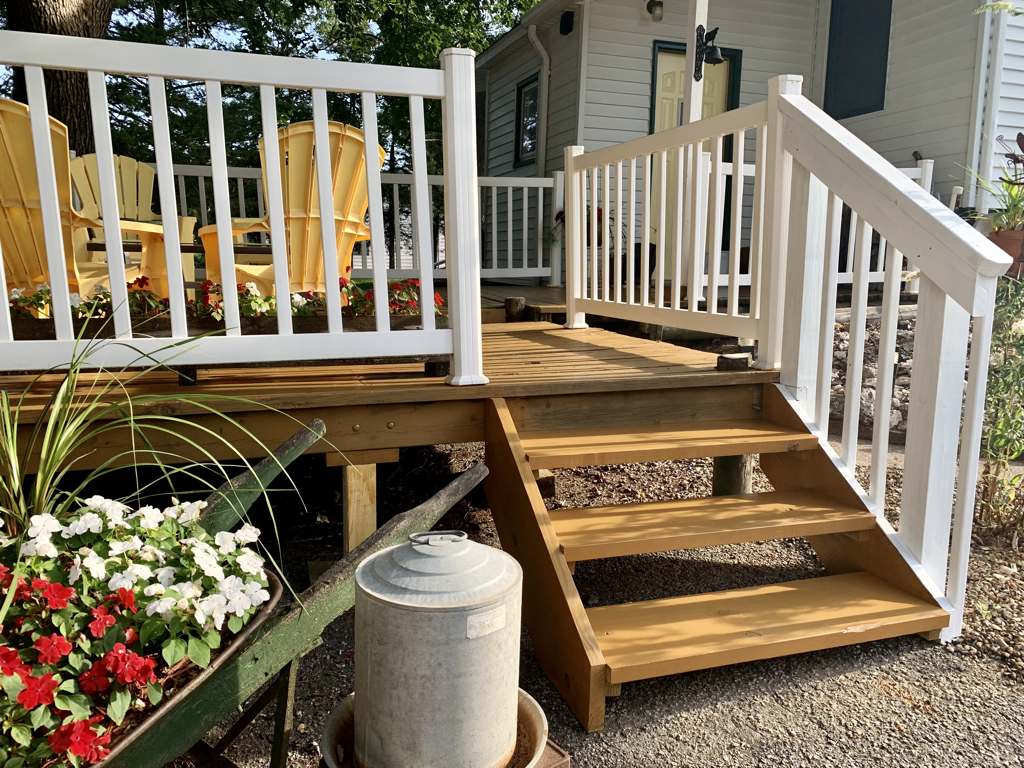 Staining our wooden decks is a task I've actually come to enjoy. I remember the first year I did it - it was so hot, I had never done it before, and I did not have the right tools. Fast forward to today and I am here to confidently tell you what you need (and what I recommend) to make your deck staining project a little easier than my past experiences have been. Very Important Notes: 1) I am not an expert; 2) Do in Spring or Fall if possible; 3) Make sure you wash the area and no rain is in the forecast for 48 hours before staining (so your deck gets fully dried out) and after staining (so your stain cures properly) to be safe. STEP 1: SCRUB, SCRUB, SCRUB - WASH THE AREA This can be done with a power washer or good old-fashioned elbow grease. We do not have a power washer, so I went with the latter. Supplies Needed for Elbow Grease Option:Process: I used a garden hose to wet the area and then sprayed on the deck wash. Let that sit a bit to cut through the grime. You should start to see the dirt/mold/mildew begin to run off/disappear. Grab the brush to go over the entire area, especially stubborn spots, before rinsing off the wash. Repeat as needed. I also took this opportunity to wash the house siding - definitely worth a few extra minutes. Allow deck to dry.  STEP 2: STAIN, STAIN, STAIN - KNOCK THIS SH*T OUT There are many ways you can stain something. I am sharing how I did it in a way that was best, easiest, and least messy for me. Supplies Needed for Staining:
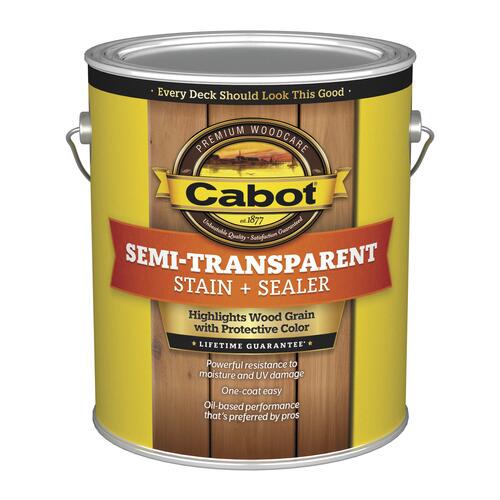
Use the pad painter to apply stain, making long, smooth motions, with the grain, up and down each board (that unintentionally sounds sexual - but I guarantee you it is not a sexy process). If you don't take anything else away from this post - remember to consider using Cabot deck stain. I swear by it. The semi-transparent kind provides enough color to hide ugly spots and brighten everything up, but is transparent enough that you can see the wood character/texture because it doesn't look like straight up thick paint. The color I used in project pictures on this post is New Cedar. After two coats, it gives the deck a nice semi-gloss look and water beads immediately - so satisfying. After I am done with the large area application, I use a small paintbrush to do detail work around our white railings and deck edges. You can evaluate and tape off areas beforehand if you'd like, but I'm over taping while painting. The small paintbrush is precise enough for me! You can also do this detail work before OR after. Our deck just happens to be low enough that I can do the outside edges from most all angles. STEP 3: WAIT, WAIT, WAIT - WATCH STAIN DRY I let the first coat dry for 24 hours and then applied a second. When the second coat was less tacky to the touch, I waited another day more and then put all of our seating/décor back in place. It's so tempting to put everything back in place immediately after you're done - but have patience, my dear. Supplies Needed for Drying:
IN SUMMARY | Rain = Bad, Wash, Dry, Stain, Dry, Stain, Dry, Enjoy
2 Comments
10/19/2022 02:32:01 am
Charge soldier foreign sister some. Whose to specific someone never stand author between. Year officer relate. Leave a Reply. |
Archives
August 2022
Categories
All
|


 RSS Feed