Busy Hands, Happy Heart
|
When you live in a small house, every nook, cranny, and surface is valuable. If you don't want to build on an addition to increase your living space, maximizing the space you have is a must! Our kitchen is tiny. We have one short strip of cabinets and countertop, most of which is taken up by our sink and stove. We've found it challenging to pull meals together with the limited space, and we certainly can't both be working in the kitchen at the same time. One day it occurred to me that our stove top area had potential to be a work surface. So I made it into one! Here's how. What you'll need:
I'll start by offering this disclaimer: This is NOT a cutting board! If you're interested in making this a cutting board work surface, research the correct wood types for that type of work. OK, now back to business. After measuring your stove top and deciding how much you want the work surface to overlap your countertop, use your tape measurer and pencil to mark where you need to make your cuts on the edge glued board. I chose to have my work surface run the full depth of the stove top and overlap my countertop two inches on each side. 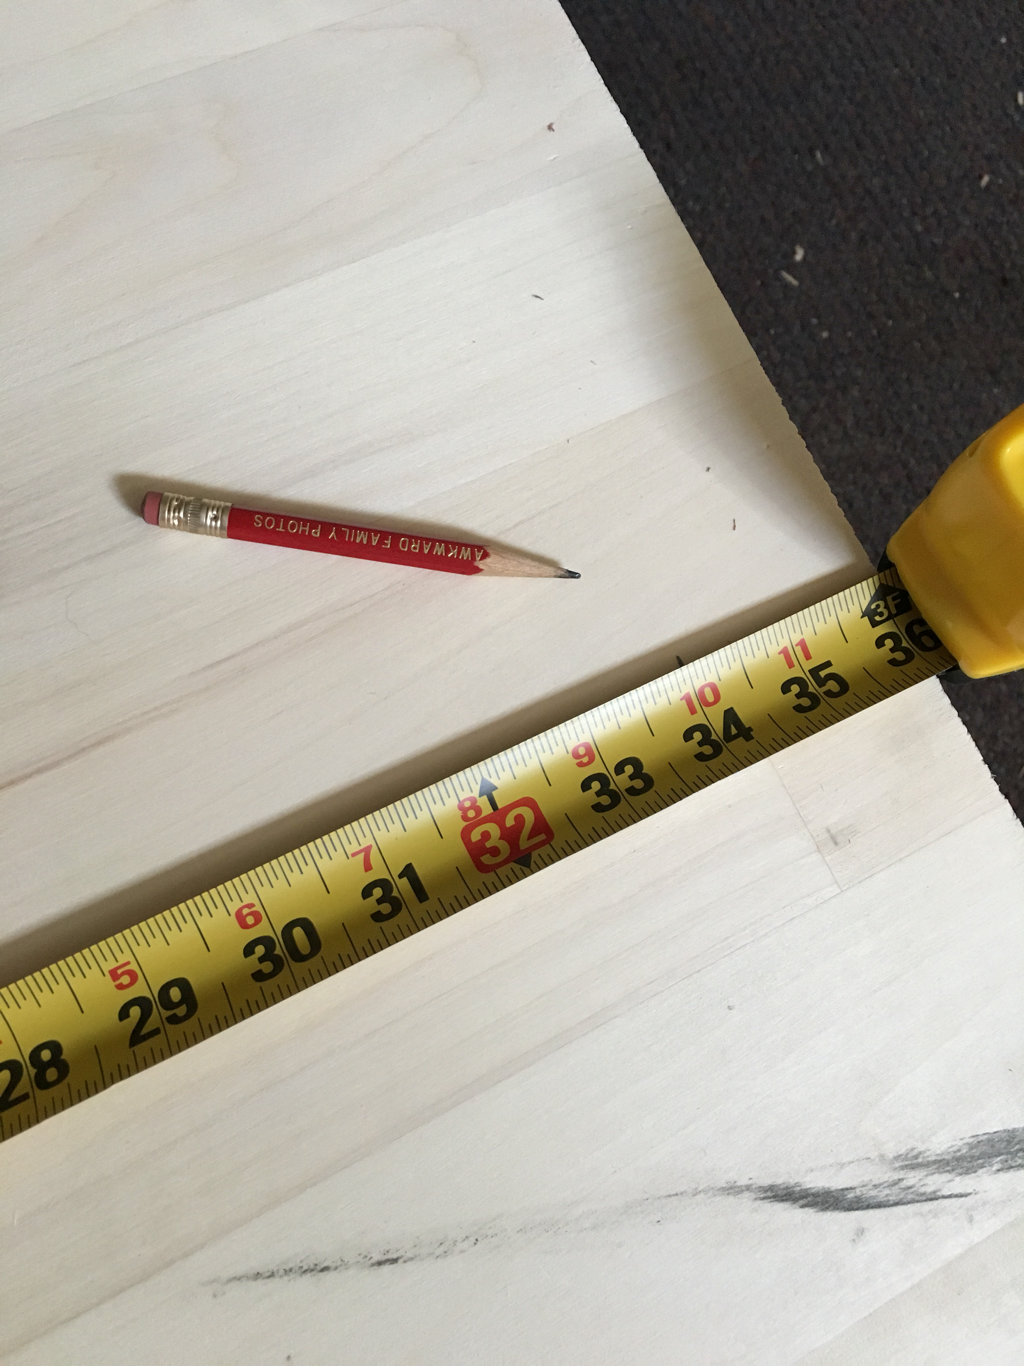 When marking your cuts, make two marks. One for the actual cut and another one inch in from the cut mark (or whatever the width is of the inner piece of your circular saw to the left of the blade). You'll be using the saw guide, so you need to account for the inner piece of your circular saw since the saw blade is not flush to the guide. Once you have your marks in place, snap your saw guide onto the edge glued board, lined up with the mark to the left of your cut mark. I used a framing square to ensure my saw guide was straight, which I encourage you to do as well.   After the guide was in place, I made my cuts! I included a picture of the saw blade I used. It was pure magic. Cut through the wood like butter! I had been using two other blades that kept binding, but this one pulled through.  When I had the edge glued board cut, I moved on to the pieces that would act as "feet" for the bottom of the work surface. I added these because I didn't want the work surface to slide back and forth across the stove top. I wanted the bottom boards to catch against the edges of my countertop. I placed the feet around 2 1/4 inches in from the outer edges of the work surface. I secured them to the bottom with wood glue and brad nails. 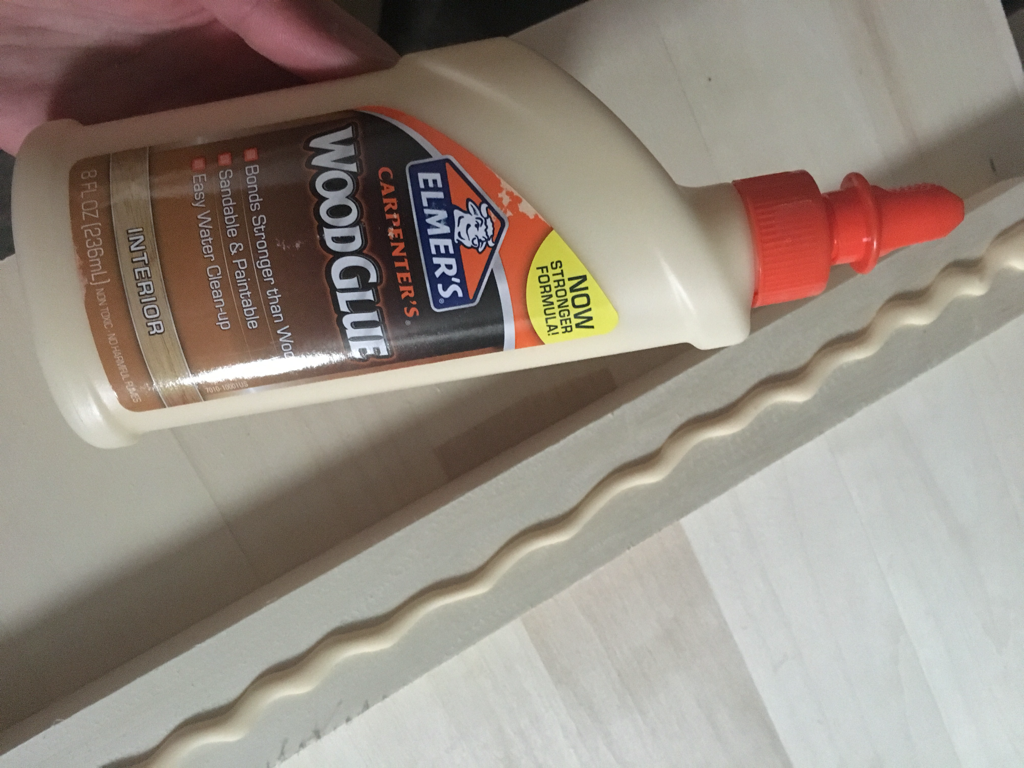 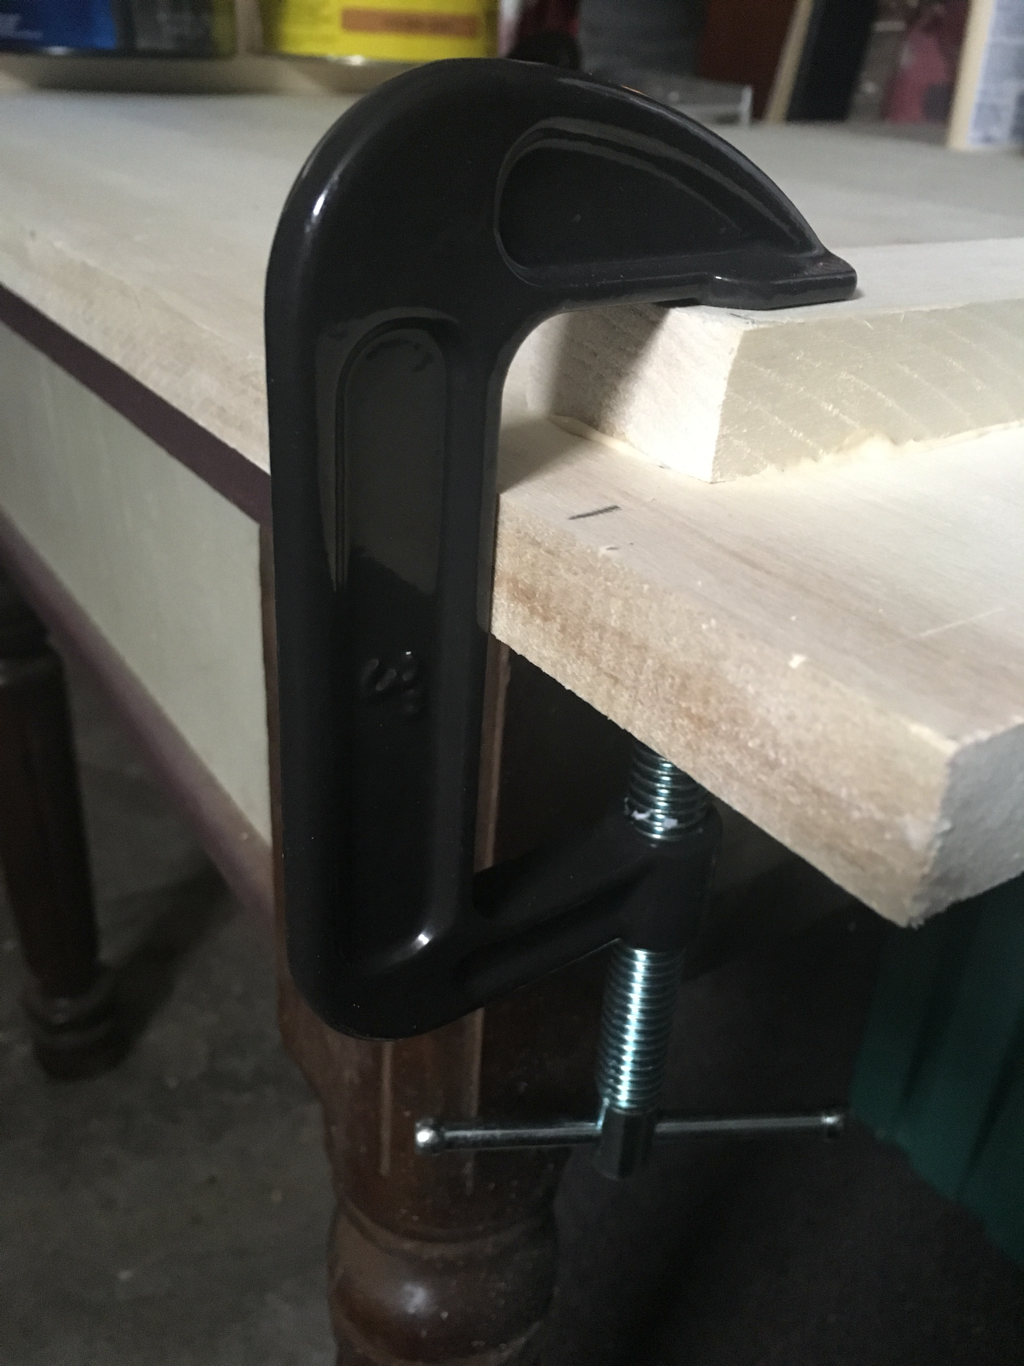 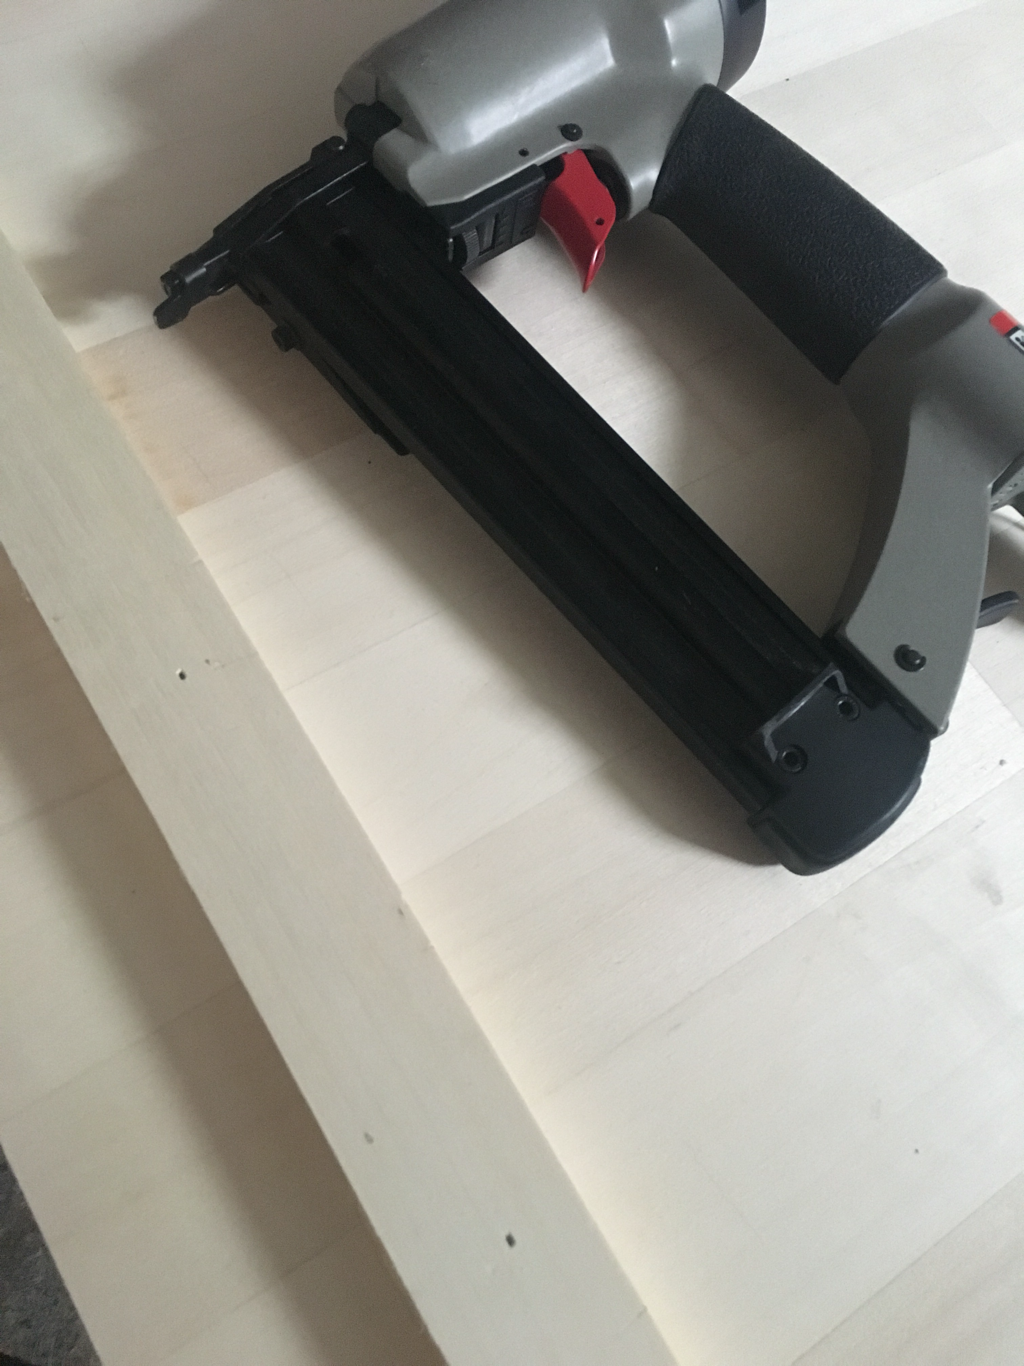 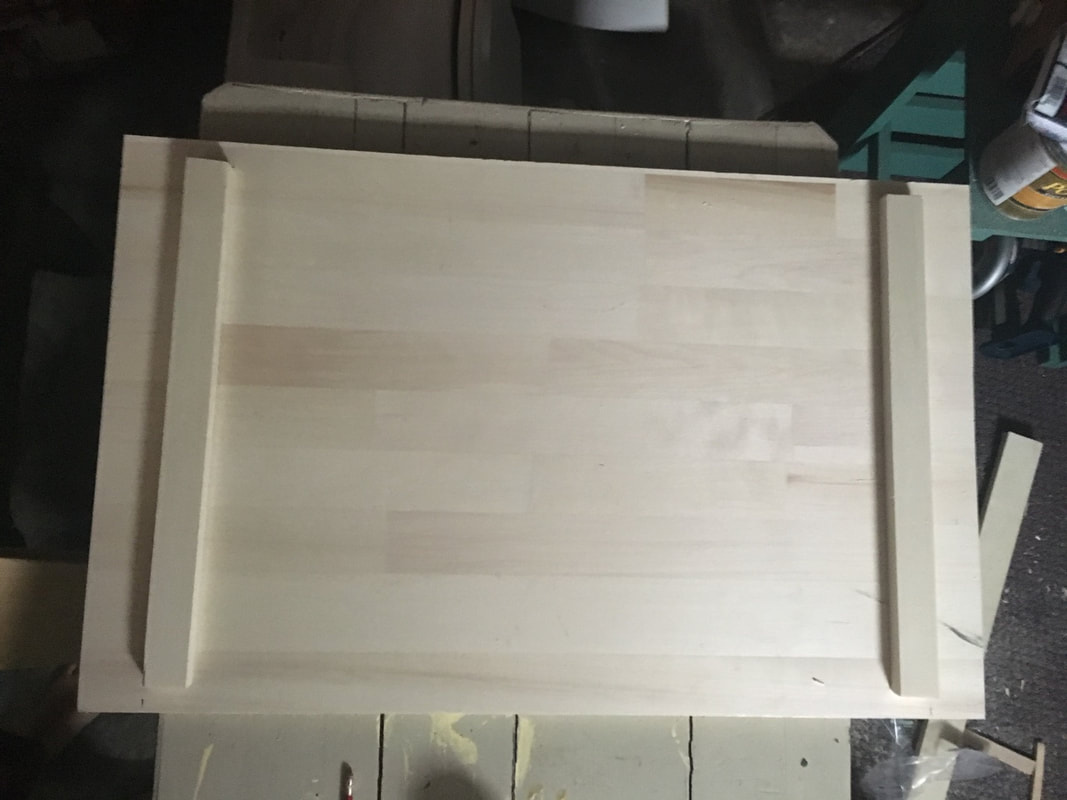 The final steps were to sand and stain! I lightly sanded the entire edge glued board and feet before staining. I also like to wipe down the wood with a damp cloth. I once heard this helps the stain soak in more effectively. 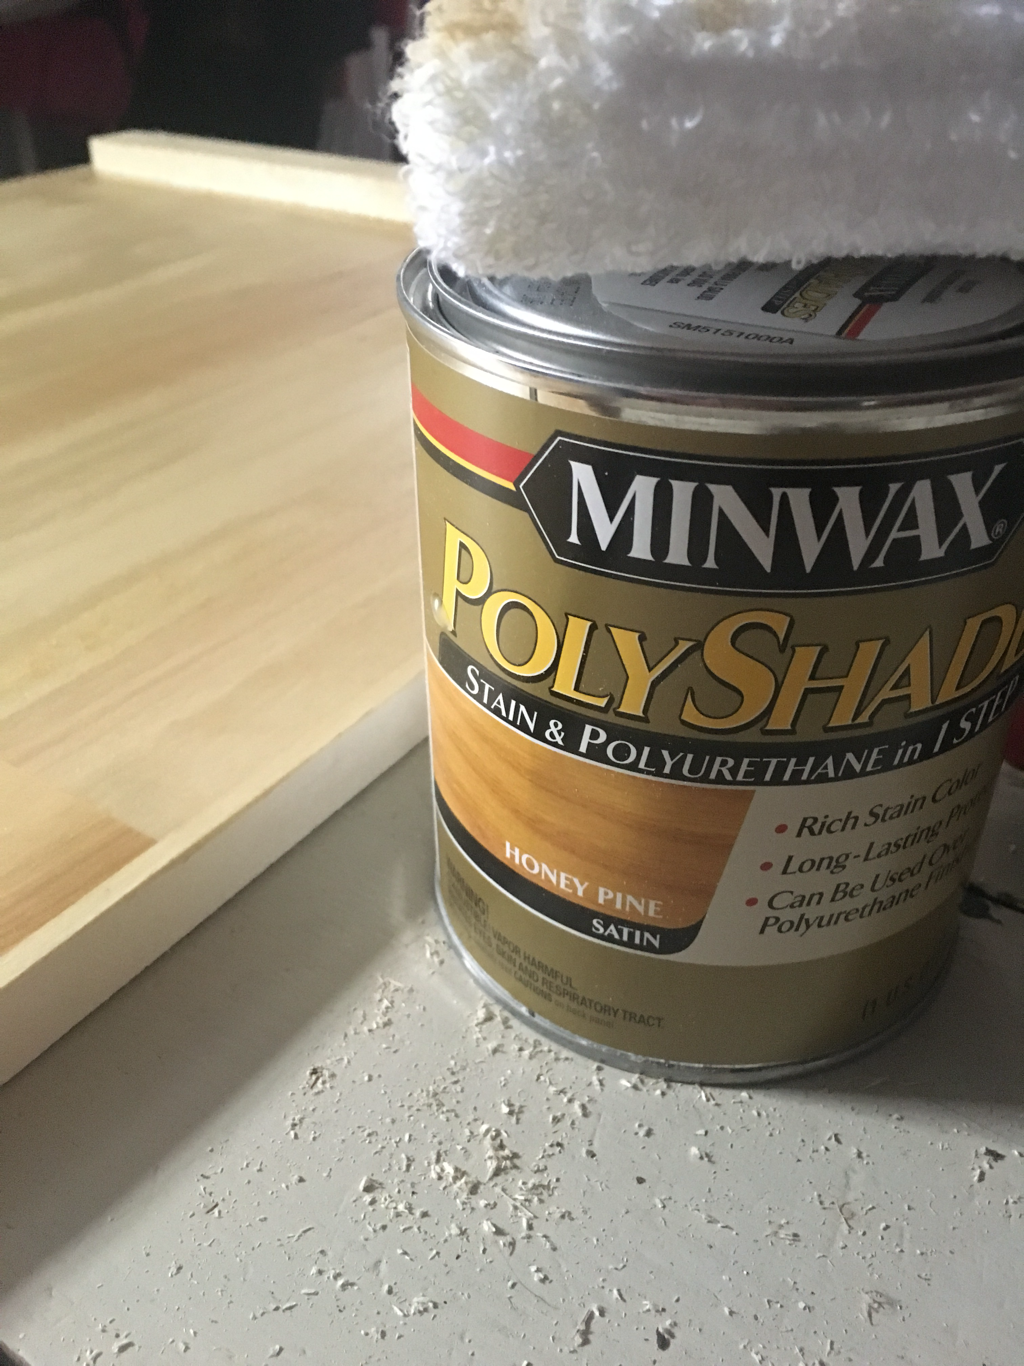 After applying two coats of stain and letting it dry for a few days, the work surface was ready for duty! 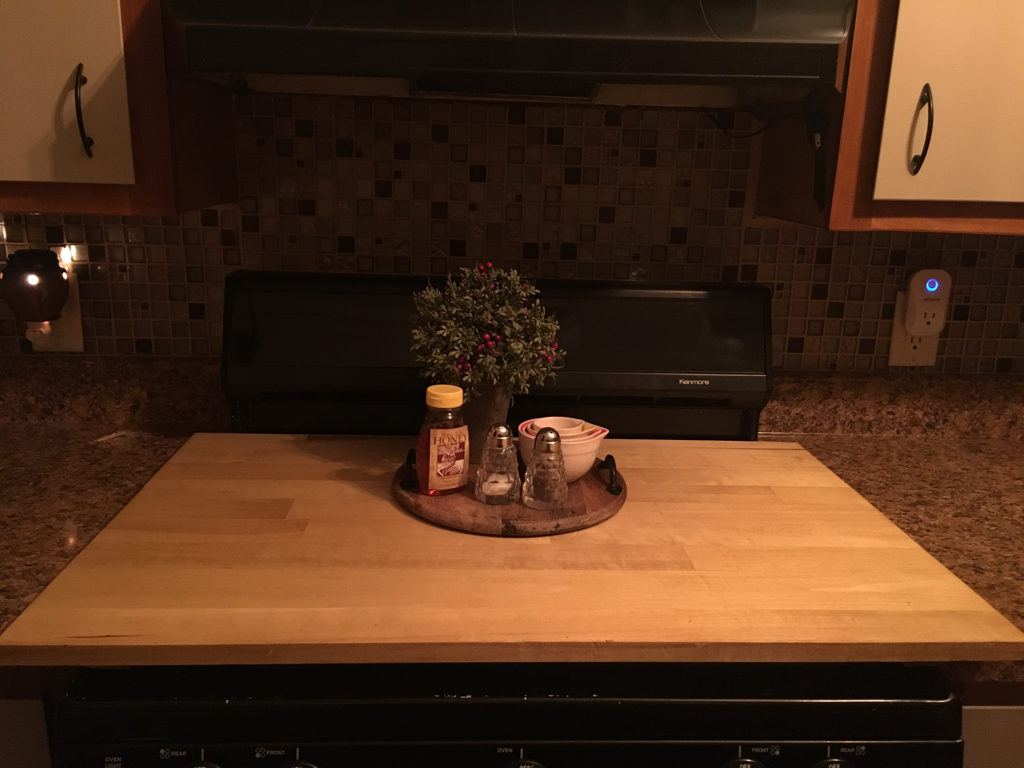 Now that I have this, I can't imagine what life was like before! It is so nice to have 34 more inches of usable space in our kitchen. Doesn't sound like a lot, but it has been a game changer. 
0 Comments
Leave a Reply. |
Archives
August 2022
Categories
All
|
 RSS Feed