Busy Hands, Happy Heart
|
Once I see a DIY project I like, it's hard for me to wait long before executing it myself. On a recent trip to Cedar Rapids, Joel and I drove through a neighborhood of large homes that we have frequented over the years. One house that always catches my eye has the cutest outdoor décor for every season. They had added an address marker sign on their front porch made from an old window and wooden numbers. The day after seeing their sign, I was searching for the supplies I needed to make one for our home! I was able to complete this project in under two hours and $20. Here's what you'll need:
I found a great old window at Habitat for Humanity ReStore in Waterloo for $5.00. 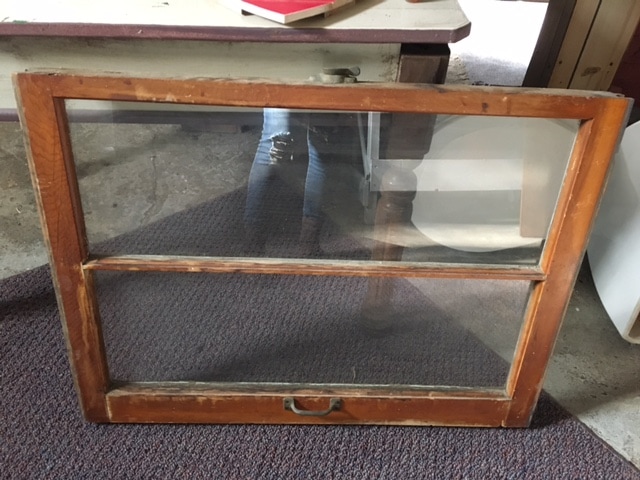 After cleaning up the window, I started working on the numbers. The numbers I found are from Menards and they cost around $3.00 per letter. I started by sanding each number with a sanding block. 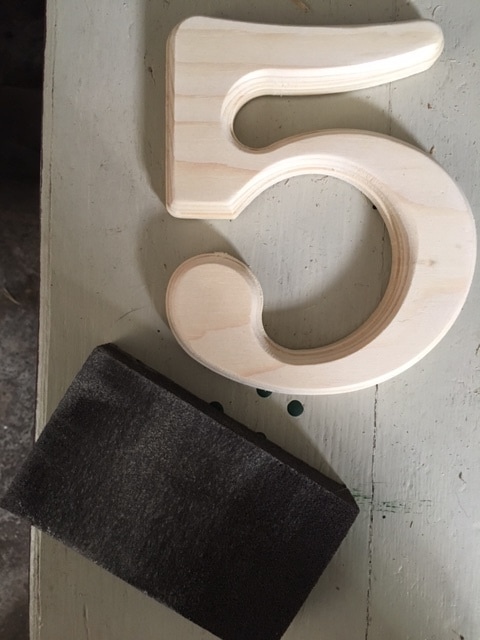 From there I started painting. I used the same yellow outdoor paint that I used on my front and back doors so the sign would match my set color scheme. 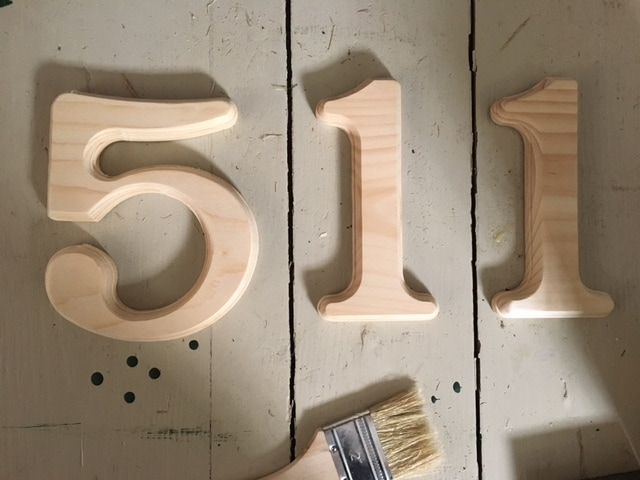 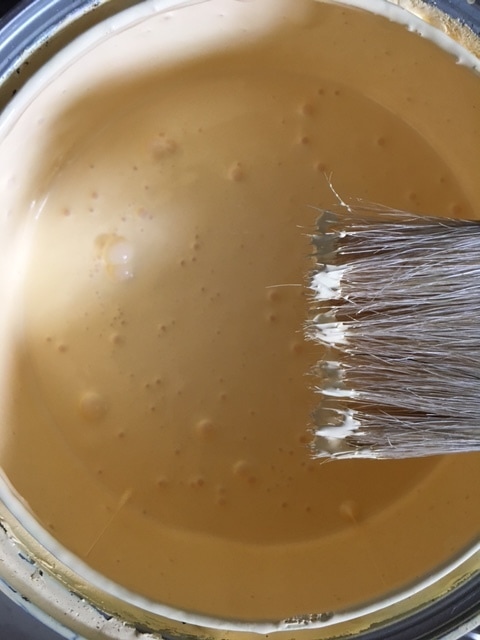 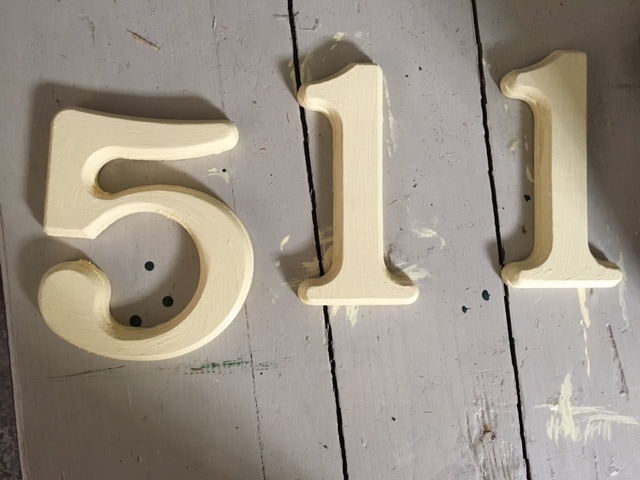 While I let the letters dry, I started painting a design on the upper portion of the window. This part is optional and depends on the type of window you find. The original idea I saw utilized a window frame with four small sections that ran side-by-side horizontally, big enough for one wooden number in each section. Because I couldn't find that type of window, I got creative! 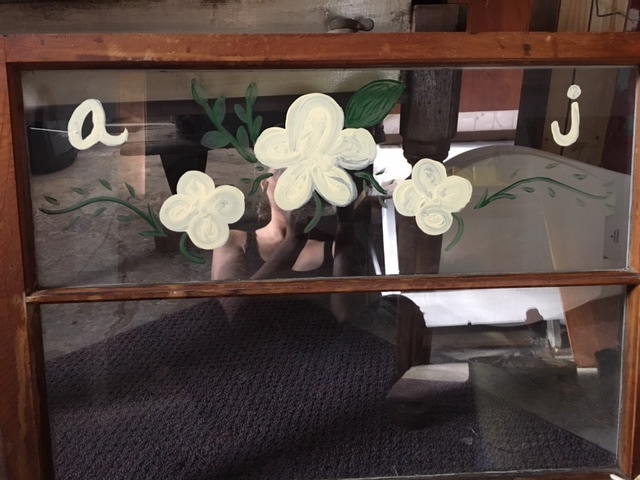 Once I finished painting the upper portion of the window, I started gluing the numbers to the lower portion. I started by using Gorilla Glue, shown in the photo below, but it did not hold up in our cold Iowa weather. I also don't think it's the best for use on glass. For my second attempt at gluing on the numbers, I used Power Grab adhesive. Power Grab requires a caulk gun. Once I had the tube in the gun, I applied a narrow line of adhesive down the middle of each number. 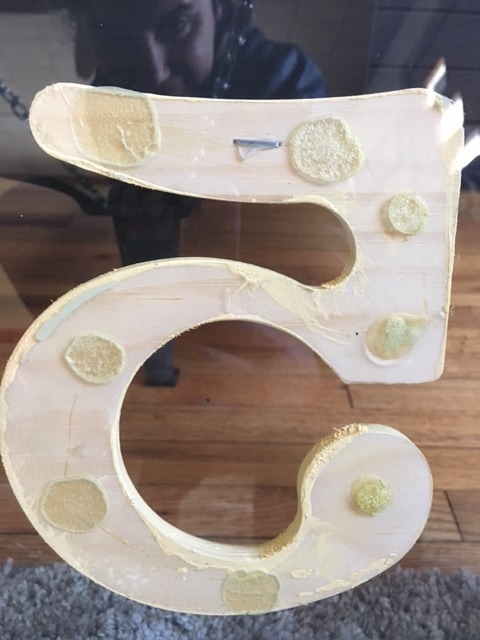 I let the paint and glue dry overnight. Here's what it looked like before I started adding the hardware to hang it up. 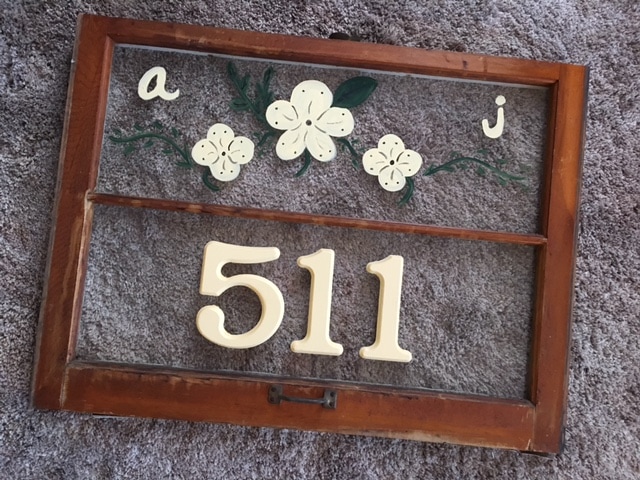 The hardware I used are called screw eyes. I placed two screw eyes on the top of the window and two screw eyes into the wooden beam I chose to hang this piece from.  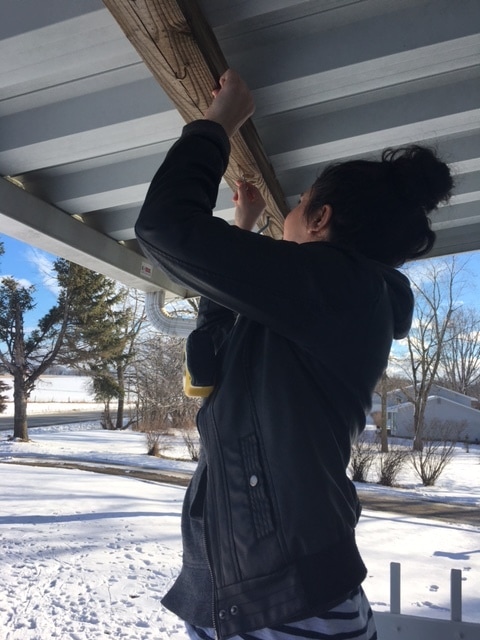 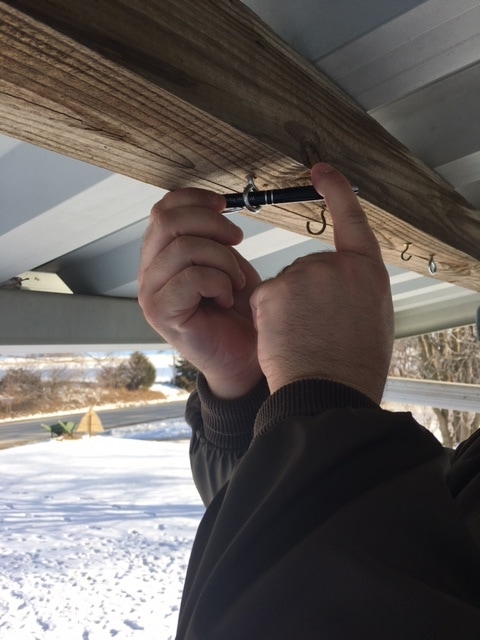 PRO TIP Courtesy of Joel - To help drive in the screw eyes, you can use a screwdriver or pen to twist the screw eye into the wood after you have it started. When it came time to hanging this sign, I used my old friends: zip ties. I love zip ties. You could go a more heavy duty route by using S hooks (which I eventually will), but to get this hung up (due to my excitement of seeing this project finished) I used zip ties. To ensure it was reinforced until I get S hooks, I used three zip ties per side. 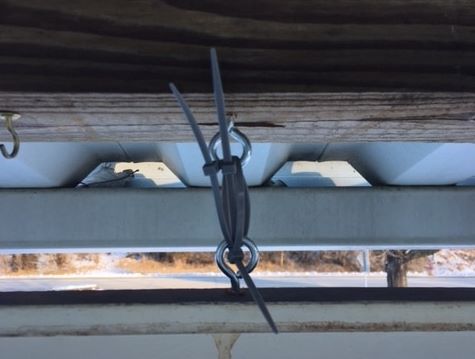 When everything was secure, we stood back to admire our work. This turned out really great and is a nice piece to have hanging when we don't have seasonal décor on the front porch. Here's the finished project: 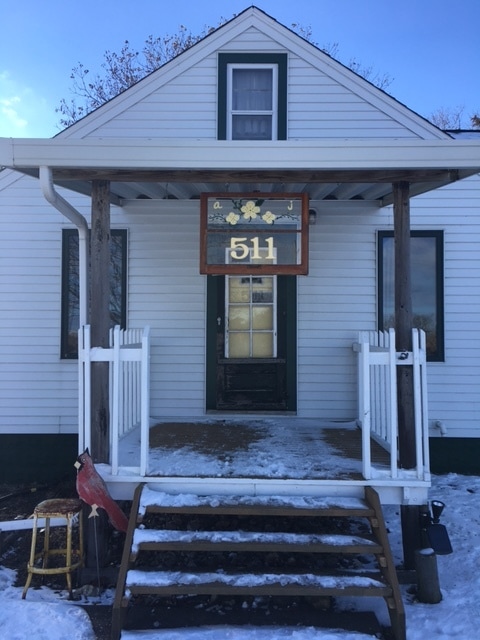 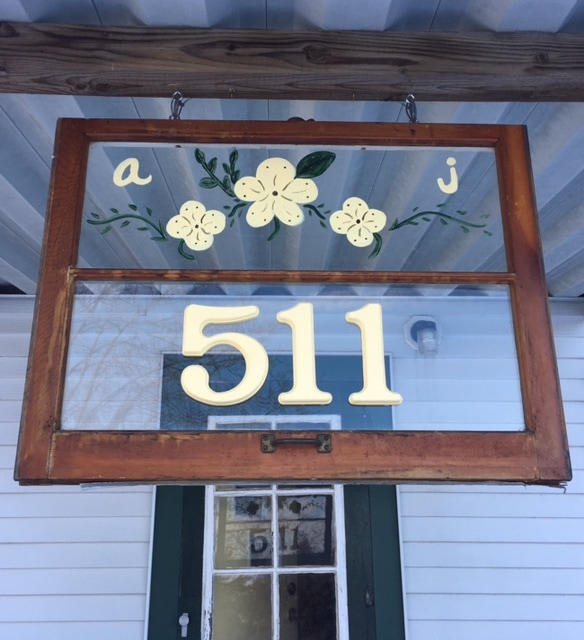
0 Comments
Leave a Reply. |
Archives
August 2022
Categories
All
|
 RSS Feed