Busy Hands, Happy Heart
 I'll just start like this. Poster frames are EXPENSIVE. If you've been following along with my blog, you know that's not my style. I either get it cheap or make it myself! We have a lot of posters. Being huge music fans, we have quite the collection. We also love vintage posters featuring interesting illustrations. The palmistry guide poster I created this DIY magnetic poster holder for has been in the back of a cabinet, just waiting for its debut. Well folks, today is the day! To make this project, you'll need the following:
This project is really as short and sweet as you'd imagine. Measure the width of your poster and cut your wood strips to size. You can either size them to the exact width of your poster or leave a little extra wood on the ends. I left about a 1/2 inch on each side of the poster with my strips. Choose which side of the wood you want to face out and place that side face down. Start attaching the magnets to the back side so they will line up with each other when it's time to hang the poster.  Snap two of the wood strips to the top of the poster and make a hanger with the twine. I tied my twine to the outside edges of the poster on the wood strips, one of the benefits of letting the wood extend out from the poster just a bit. If you cut the wood to fit the exact width of the poster, you could attach two small screw-in eye hooks to the wood strip that will be flush to the wall, tying twine through the hooks. 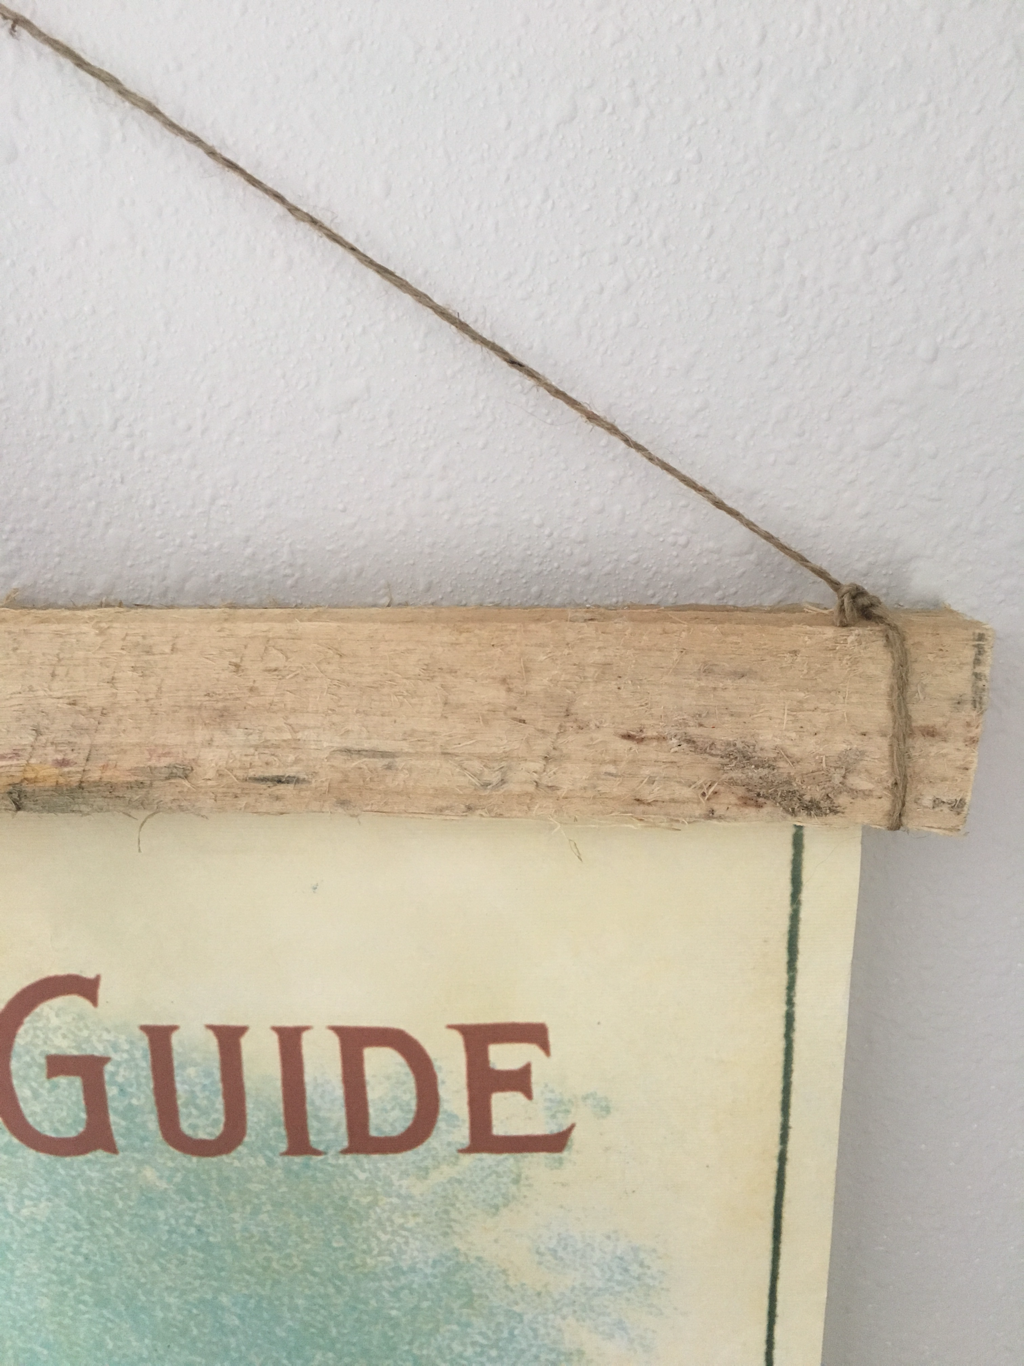 Snap the other two wood strips to the bottom poster and hang on a wall of your choice! I love the rustic look of this poster holder. It fits in with our current décor nicely and saved us a few bucks. Have fun giving this easy project a try!
1 Comment
|
Archives
August 2022
Categories
All
|
 RSS Feed