Busy Hands, Happy Heart
|
I searched and searched for Christmas ideas for the decorative area I have on top of the hill as you turn into our driveway. I didn't find a solution that 100% worked for/spoke to me, so I combined some of the visuals I saw into a project that was the best fit for our space. I ended up drawing inspiration for this project from a pallet Christmas tree I saw and made one out of wood lath instead. Here's what you'll need:
I started out by taking a piece of lath to the space I wanted to put the Christmas tree in and marking the width of how long the bottom piece should be with a pencil. Once I had the bottom piece marked, I planned to mark each piece of lath 1/1.5 inches in from the first mark (and so on) as I worked my way to the top of the tree. I laid out my lath one piece at a time, starting with the bottom and started measuring/marking where my cuts would be. You'll need a good amount of floor space. 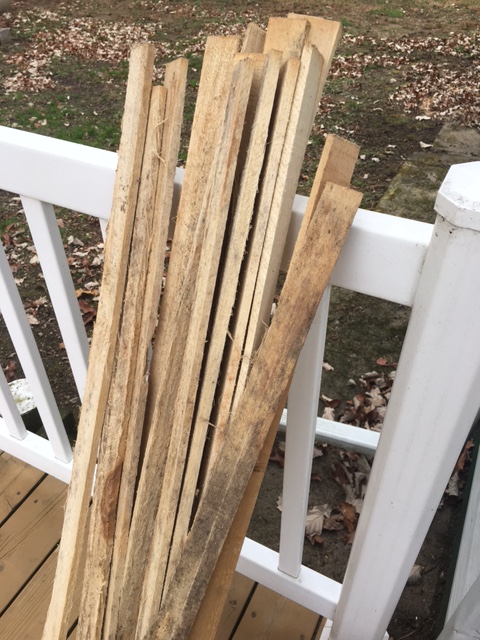 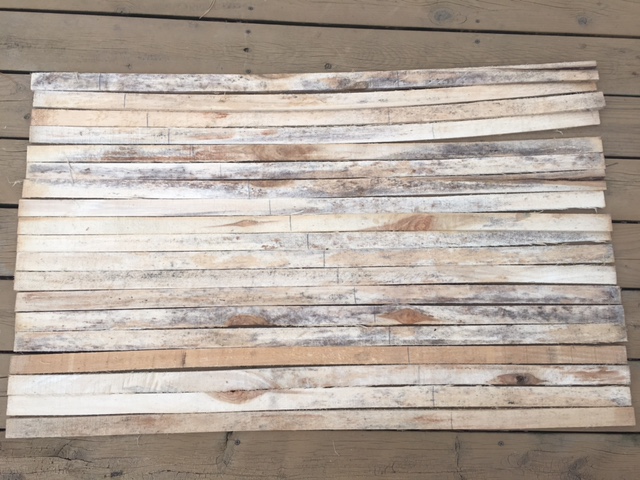 Note the pencil marks on the lath. This is where I made my cuts. Once I had each piece marked, I cut the lath using a circular saw. 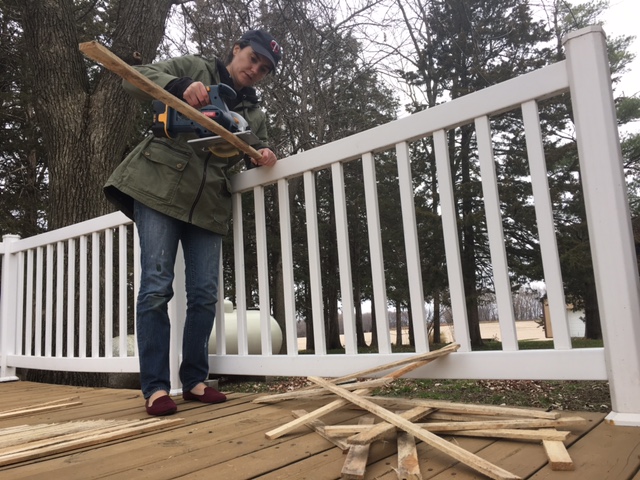 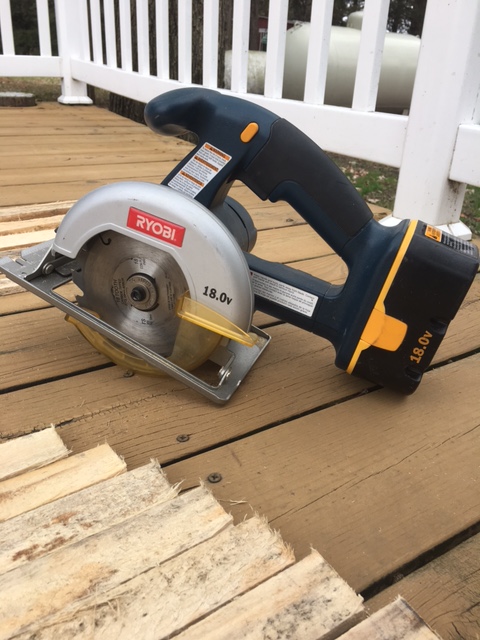 As I cut each piece, I made sure to stack them back in the same order. 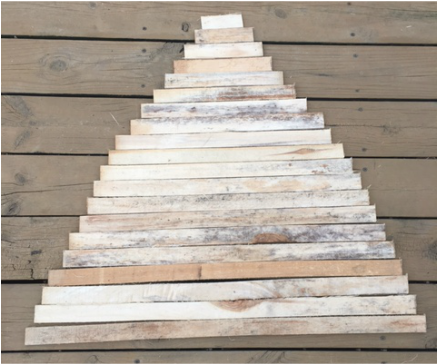 Once I was finished with the "branches" of the tree, I used another piece of lath to create the "trunk." I sawed a point on the bottom of the trunk to help secure it in the ground when it came time. 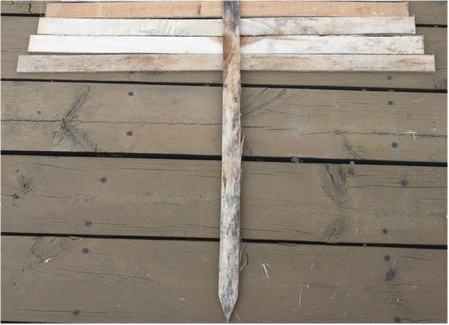 Because lath is pretty lightweight, I chose to simply glue the branches to the trunk. I used Gorilla Glue, which is extremely strong glue. With this type of glue, it is important to get the surfaces that you are gluing together wet first. I used a damp washcloth. 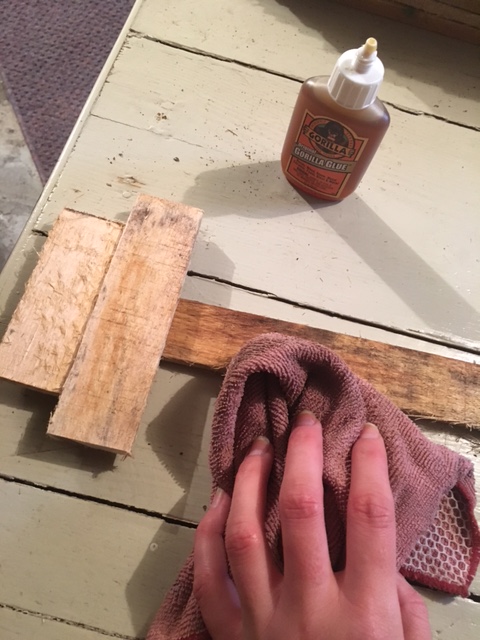 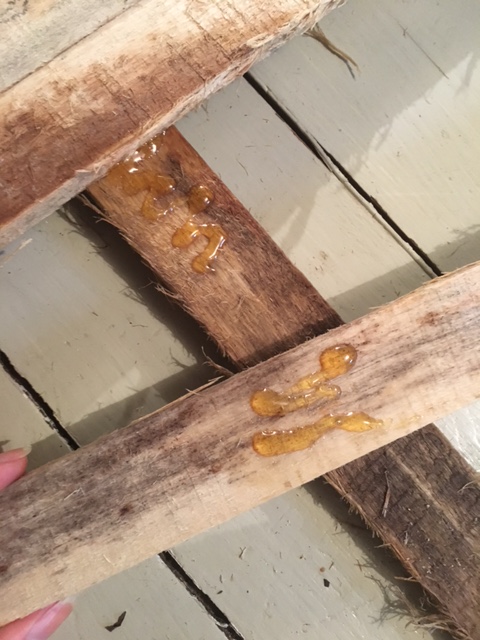 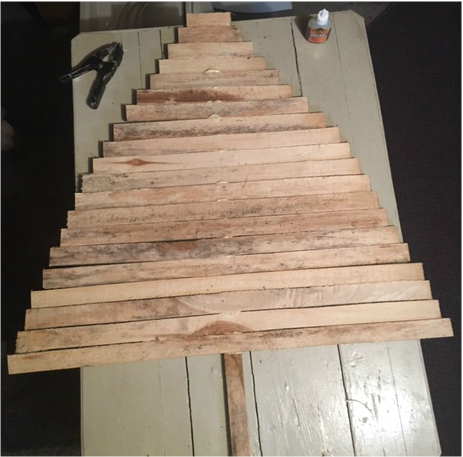 Also, with Gorilla Glue you are encouraged to clamp items together or use another type of heavy pressure to press items together. I clamped the top piece and used full paint cans down the center to press down on the rest of the lath. It worked really well. I let this project dry overnight and painted it the next morning. I used a green, matte, outdoor paint. I dressed it up a little more by adding some dots to mimic lights or ornaments with yellow, high gloss, outdoor paint. 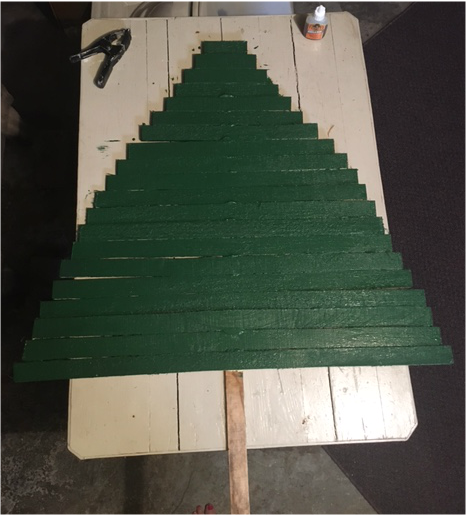 We bought a metal stake to reinforce the tree and used 20 gauge metal wire to attach the tree to the stake. We pounded both the stake and the tree into the ground before connecting with the wire. You can also see in the photo below that the Gorilla Glue expands really nicely to ensure a good bond. 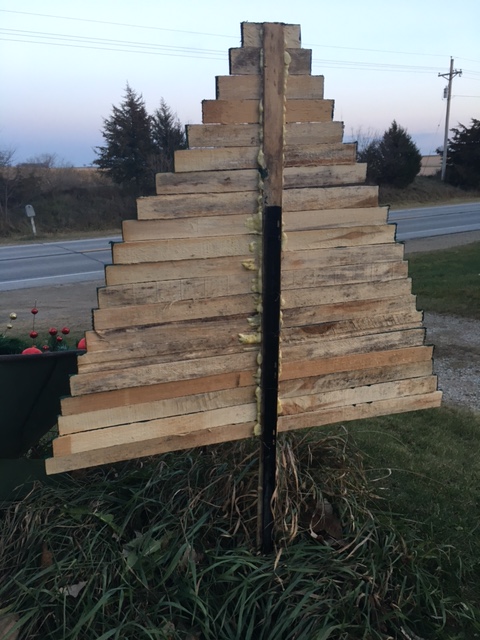 Here's the final product! I ended up adding a red bow to the top for an additional pop of color and to tie it more closely to the decor I put in the wheelbarrow. 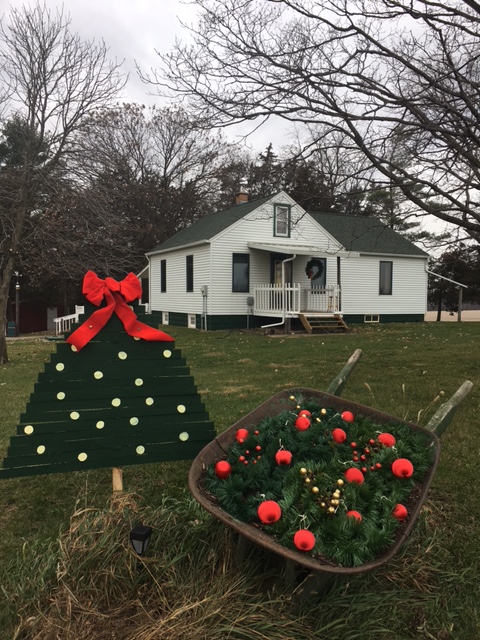
0 Comments
Leave a Reply. |
Archives
August 2022
Categories
All
|
 RSS Feed