Busy Hands, Happy Heart
|
I have never had a pantry as an adult. Over the years, my food has taken up space in cabinets, a gutted antique stove, a counter top bread box, and shelving going down to a basement. Since moving to our new, smaller home, any overflow of canned goods has lived in a cardboard box in our basement. Yeah…not ideal, but we made it work. Even after admitting to this, having a pantry is still something I never thought I needed until I had the opportunity to create one and it has already brought me so much joy! This post is less of a step-by-step DIY and more of a DIY challenge. Instead of expanding your space or buying storage to accommodate your needs, how can you use a current space in a completely unexpected way? Enter, our old coal room. This sentence alone should give you a good idea as to how old our home is. Last Fall I had the genius idea of replacing the roof on this room as the old one was starting to cave in and we believed mice were getting into our house through it somehow. My quick and easy fix turned into my dad and I completely tearing it out! 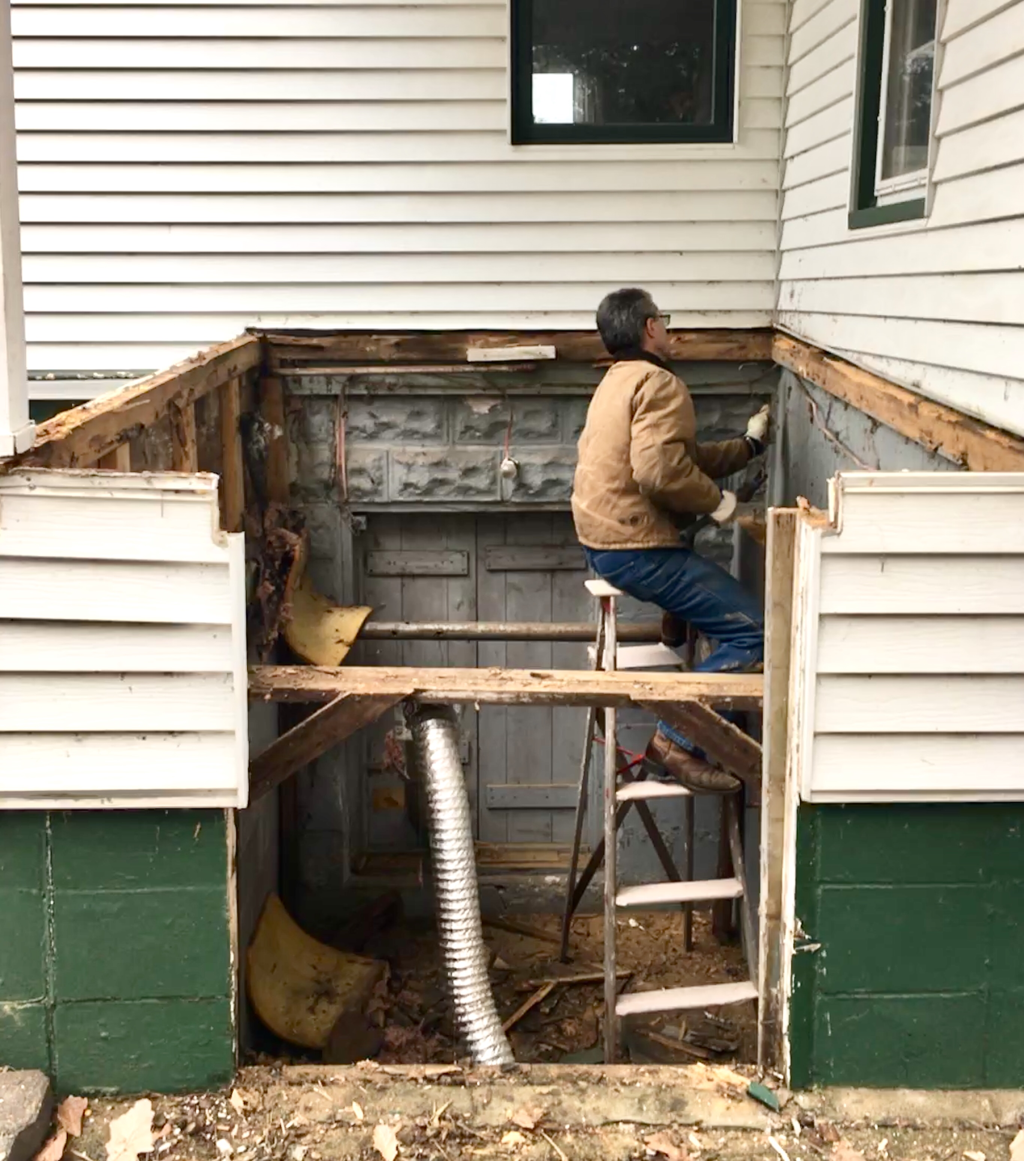 To protect our basement from the elements, we placed plywood over the door opening that led into the coal room, securing 2x4s to the interior door frame to screw the plywood into (this detail is important). I then sealed over the plywood with tar on the exterior facing side and there it sat until this Fall when we were able to track down some free fill to put in the huge hole left behind. It just so happens that at the same time we were filling the hole, we had started giving our basement a bit of a face lift. As I was painting the walls around the interior coal room double doors, I opened them up and took a good look at our handy work.  Here’s why the 2x4s are important. When screwing them in, we accidentally created THE PERFECT set of shelves…Instead of filling this space in and sealing it up, I knew I had to do something functional with it. After chatting with my dad (my DIY guru and consultant if you can’t already tell) and he thought it would work! That’s all I needed to hear! After scrubbing it out, I painted the inside a serene green with paint I had bought a while ago but never used:  I then impatiently waited for the paint to dry so I could move every package and can of nonperishable food we had into the space: 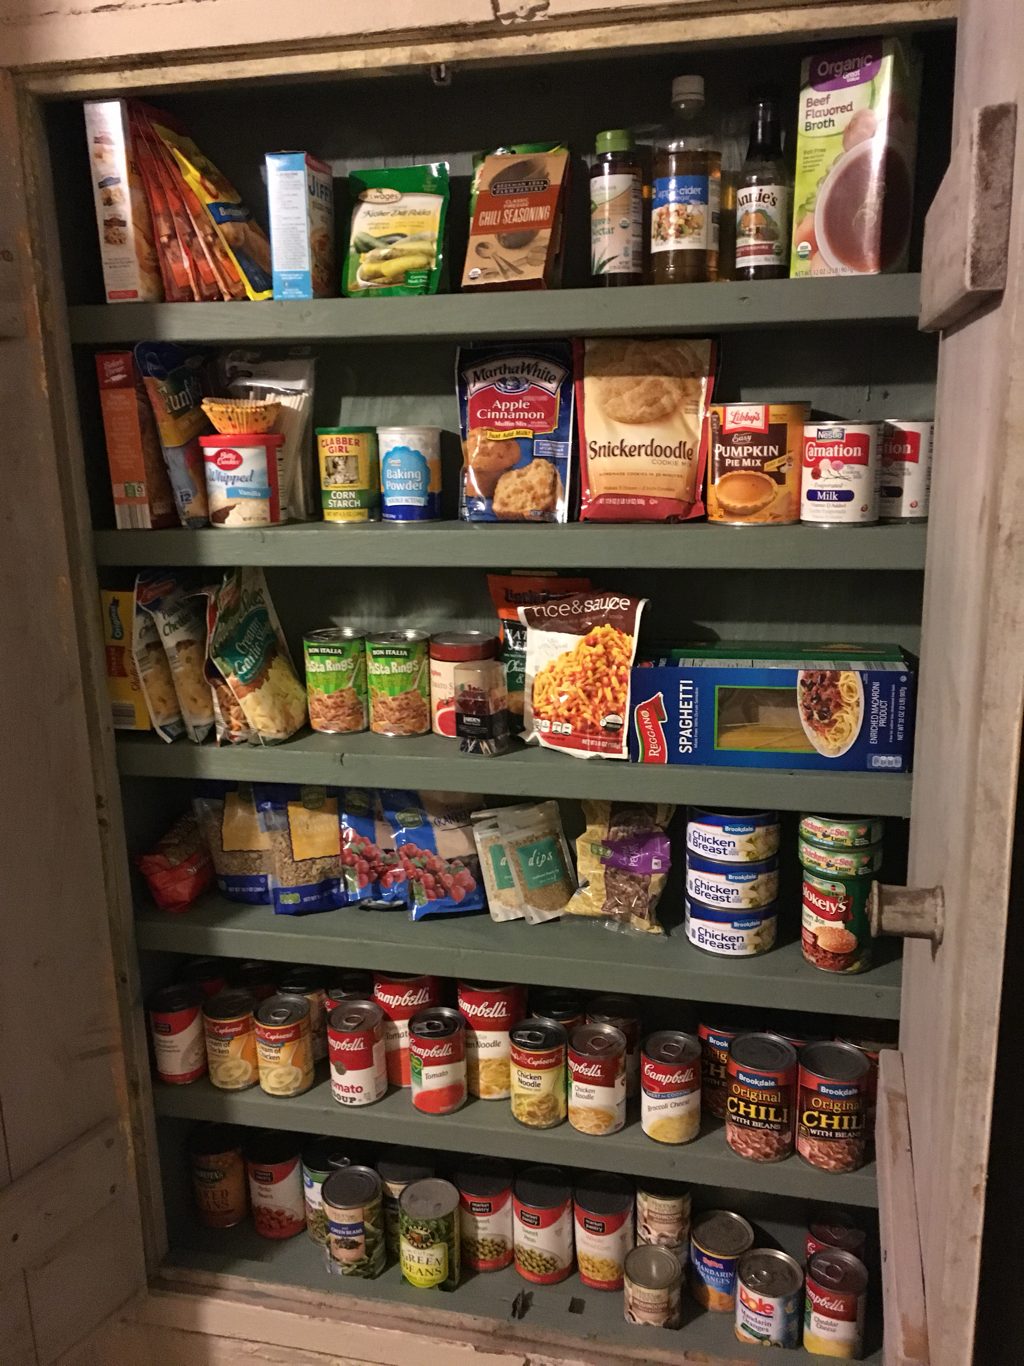 You’ll see that the area around the pantry is still a work in progress, but trust me, it’s better than it was! I also chose to not paint the insides of the double doors because I still wanted to keep a rustic farmhouse look to it. Sometimes, you just can’t recreate years of imperfect layered paint and everyday wear.
I hope this little project inspires YOU to rethink your space and to think twice about the projects on your to-do list. The first plan might not always be the best plan. Try to consider all of the possibilities!
0 Comments
I love decorating outdoors for Summer because it mostly entails lots of flowers! Here are a few vignettes and flower arrangements I pulled together this season to make the exterior of our home warm, inviting, and colorful. 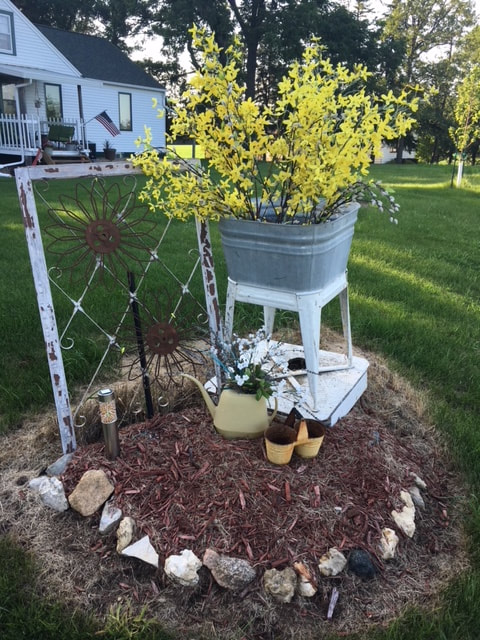 Don't mind the browned edges. I'm not a fan of weed whacking...so I use weed/grass killer around these types of areas! I just applied the spray, so this is an "in progress" shot.  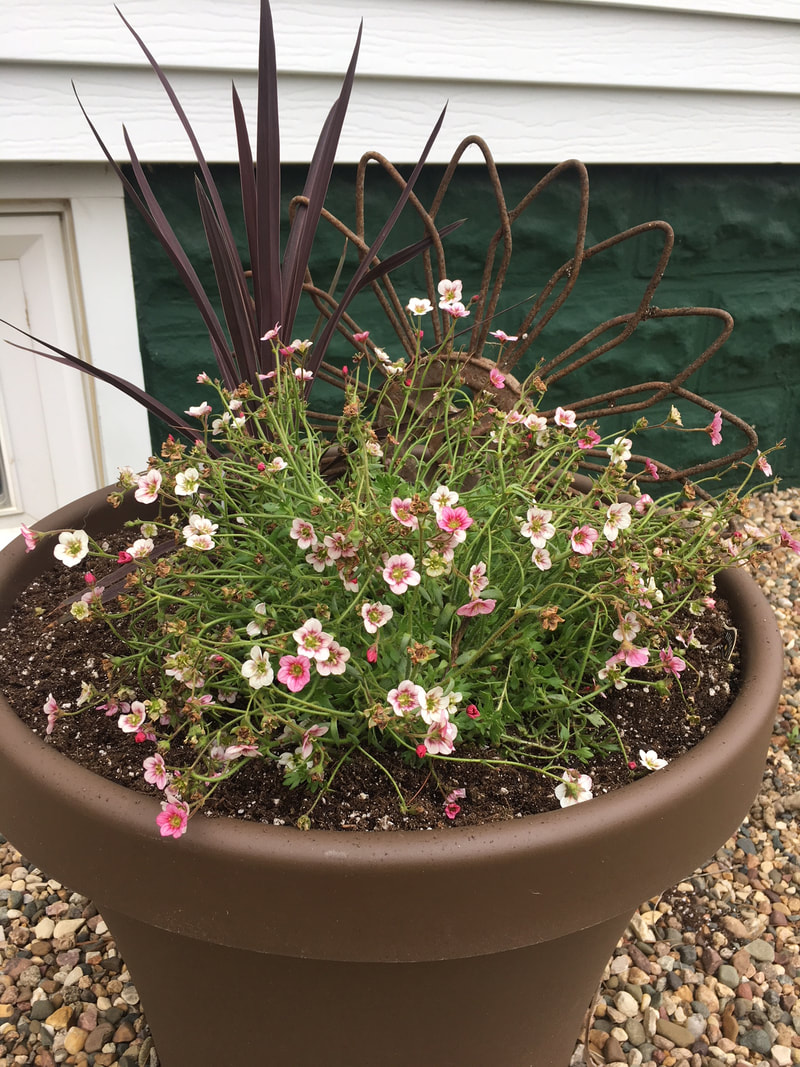 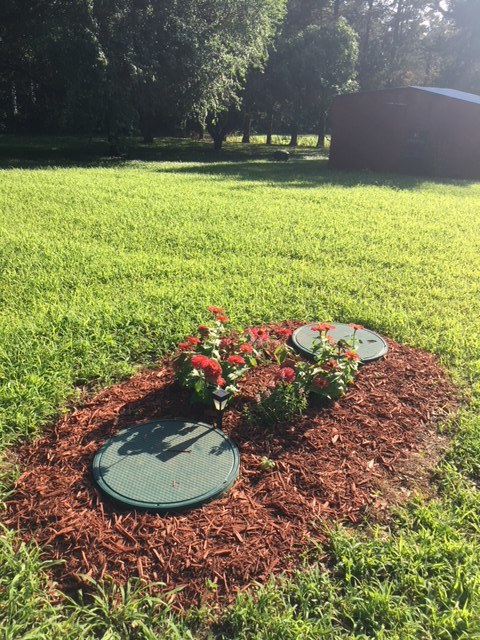 I'm not a huge fan of our septic tank covers, so tried to pretty them up with some flowers and mulch! 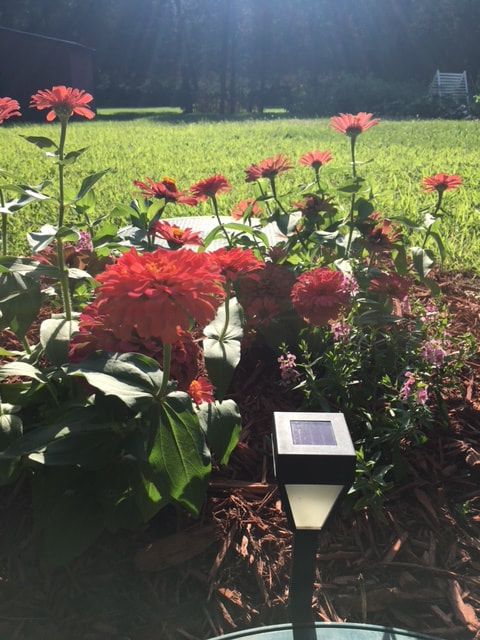 I love me a good solar light AND Zinnias! 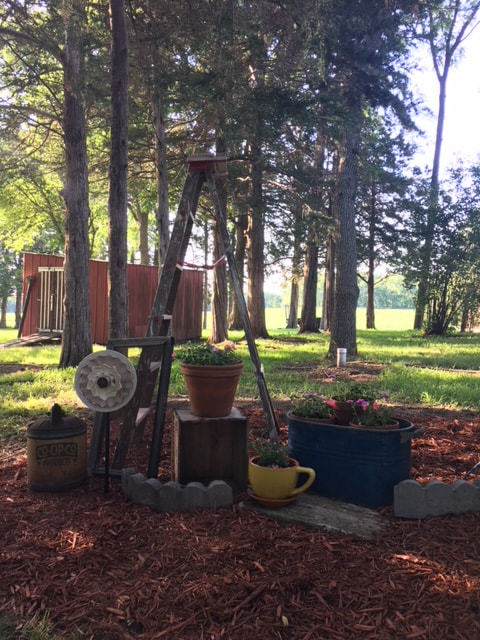 This is right next to our LP tank. I wanted peoples' eyes to be drawn to the vignette vs. the unsightly tank. 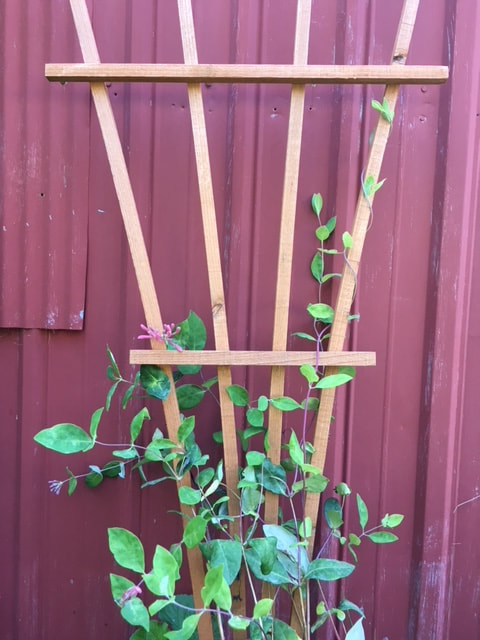 I love the pop of green against this red building. I'm excited for this to climb up the entire side. This is a Honeysuckle vine. 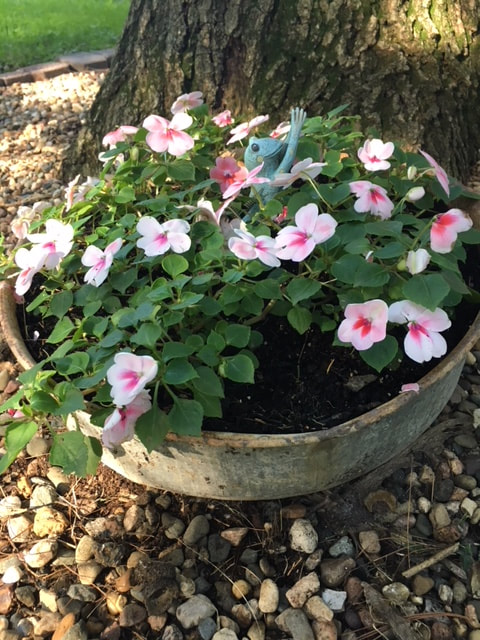 If it holds dirt, I'm probably going to make it into a planter!  From the moment I bought an old baby crib last year at an estate sale, I’ve been dreaming about the light fixture I’d make out of the mattress spring frame. I used the sides of the crib right away as a cucumber trellis, I’ve now got the mattress spring frame hung, and still have a couple of pieces left to use for some home décor signs. One item, three different types of projects! Always consider the possibilities for what may appear to be “junk.” Here’s what you need for this project:
First, I sanded down any bubbling rust spots and other imperfections on the mattress spring frame. I then wiped it down with a wet cloth and let it air dry. Once it was dry, I spray painted two coats over the entire frame. I didn’t hang the frame for a few days after I painted it, so it had more than enough time to dry. 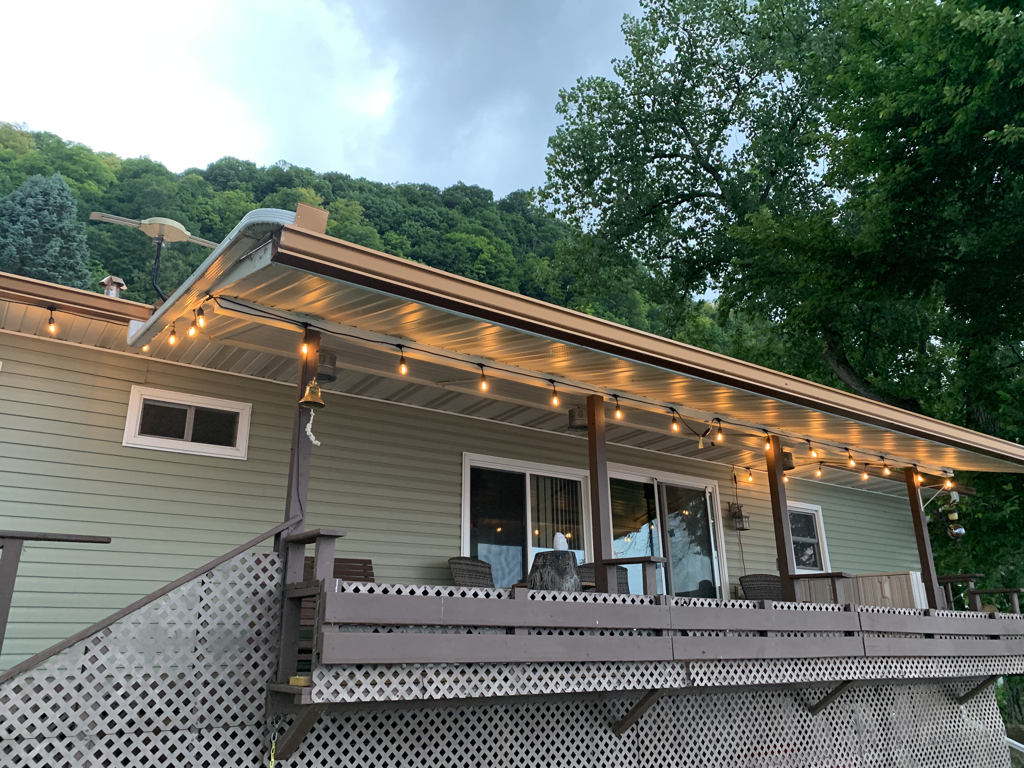 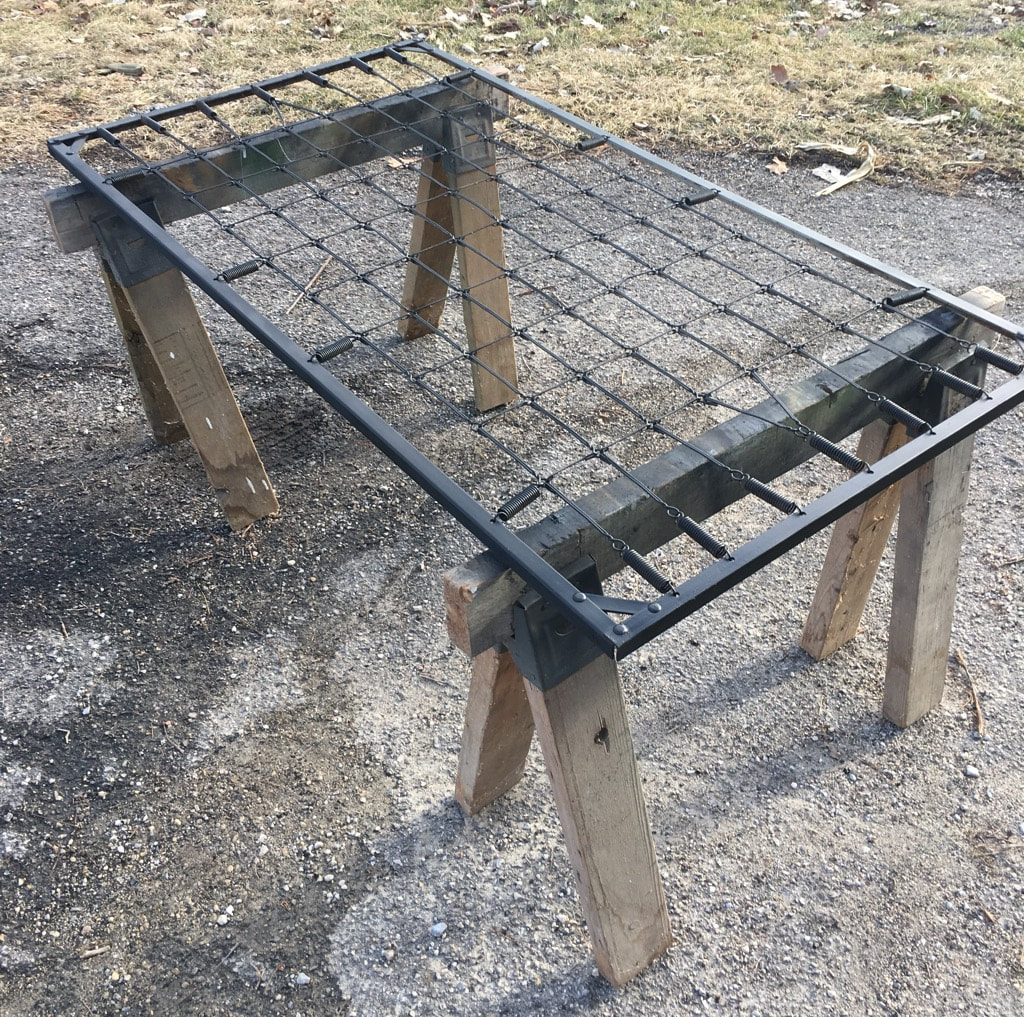 While I thought through the ideas I had for the full light fixture, I installed the light pendant. Unfortunately, the existing light fixture was placed in a poor spot that is very off center in the dining room, but this light fixture idea ended up working out well for where it was placed. Once I had a final plan in mind for where and how I’d hang the mattress frame, I measured out and marked where the swag light ceiling hooks would go. I determined where the marks would go by measuring the frame corner to corner. I didn’t have fancy tools like a laser level to guide me, so I did my best to eyeball my lines. My husband was there as a second set of eyes and we did pretty well! When my lines were marked, I placed the ceiling hooks by simply twisting them into our ceiling panels. 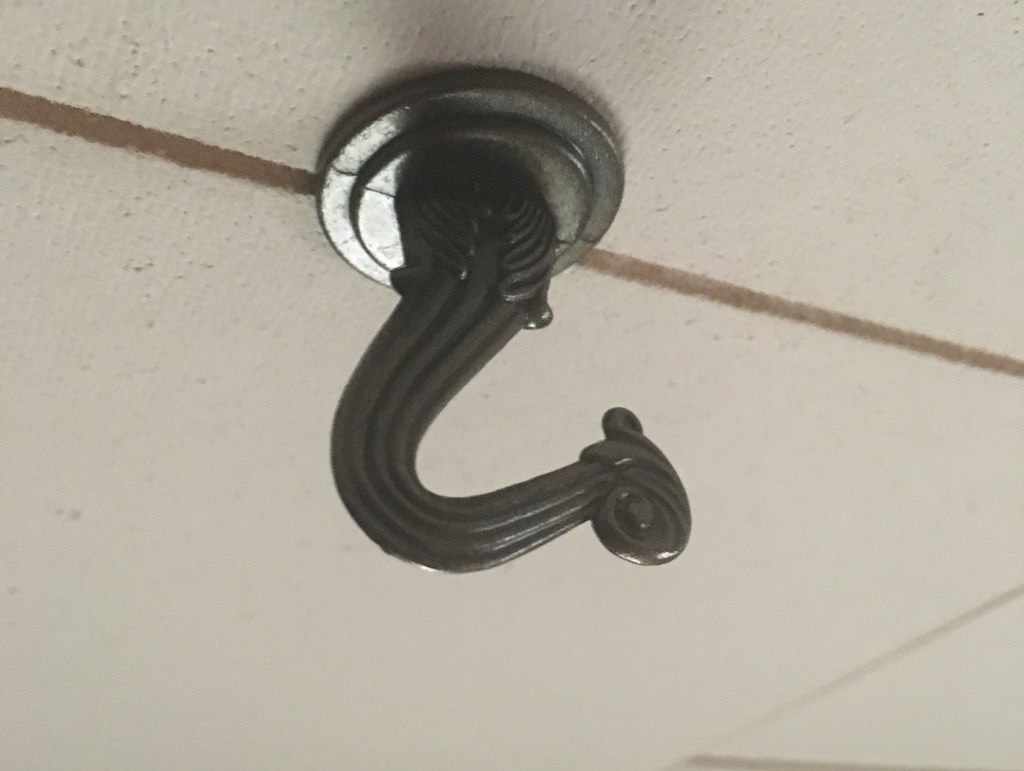 From there I attached loops of wire to the corners of the mattress frame and placed each corner loop over the ceiling hooks. You could also use small link decorative chain in place of the wire for a different look. I was in a hurry to do this (because I was excited) and strong wire was the only thing our small town hardware store had. I may replace it down the road. 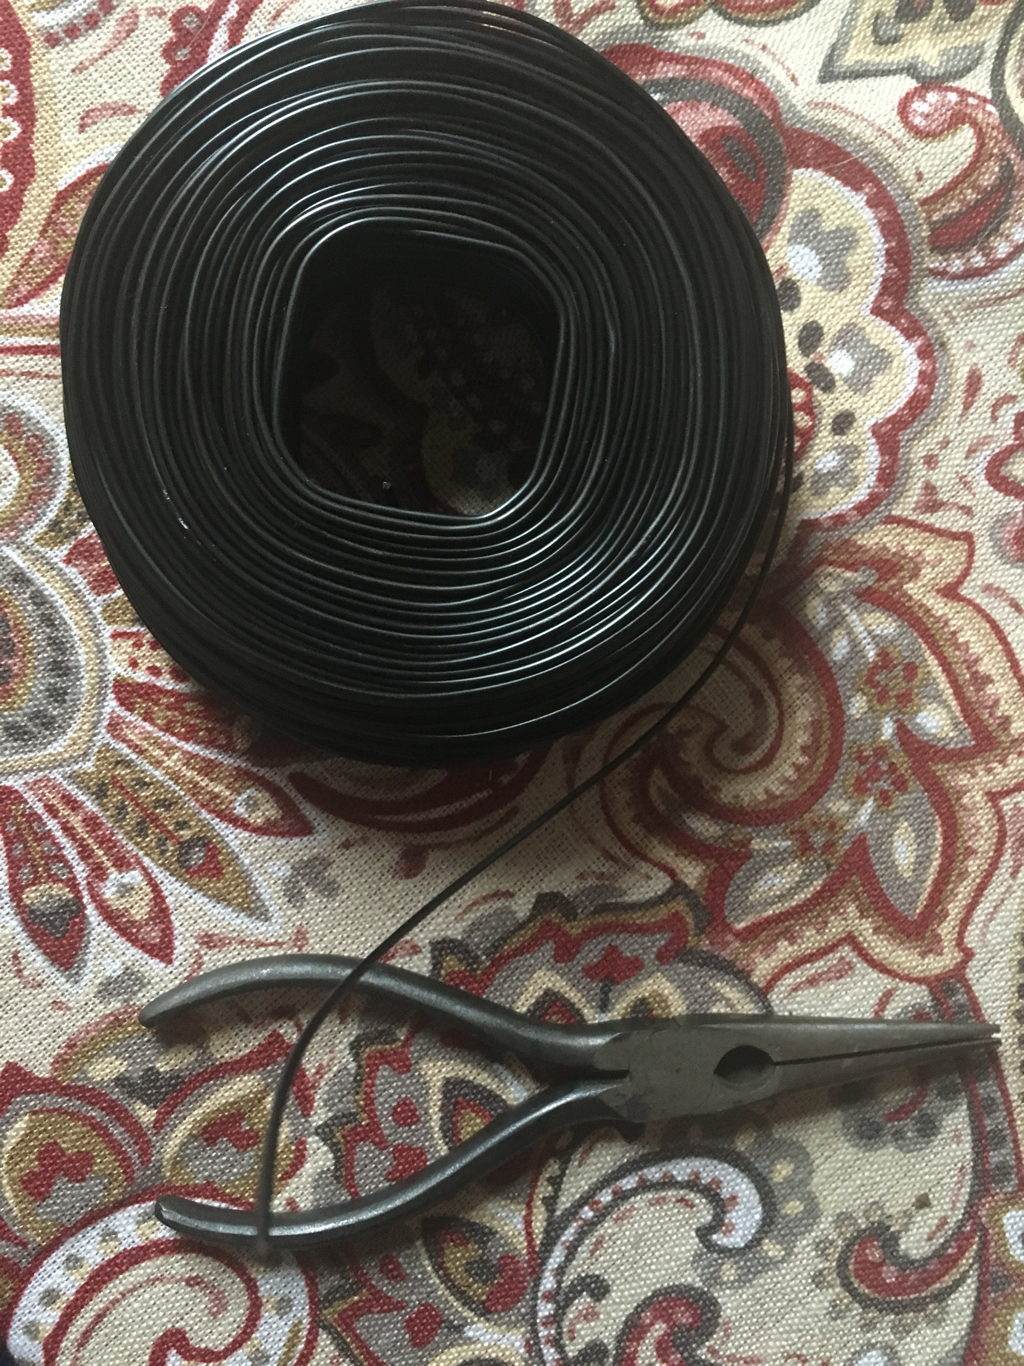 When the mattress frame was securely in place, I “styled” the light bulbs by stringing them through the frame.  The last step was to add Edison bulbs. I used three different styles of bulbs because I love Edison bulbs and couldn’t choose just one style when I had eight lights to fill! I love how this light fixture looks industrial and rustic at the same time. I plan to completely redo the seating in the dining room which will make the space come together even more.   When you live in a small house, every nook, cranny, and surface is valuable. If you don't want to build on an addition to increase your living space, maximizing the space you have is a must! Our kitchen is tiny. We have one short strip of cabinets and countertop, most of which is taken up by our sink and stove. We've found it challenging to pull meals together with the limited space, and we certainly can't both be working in the kitchen at the same time. One day it occurred to me that our stove top area had potential to be a work surface. So I made it into one! Here's how. What you'll need:
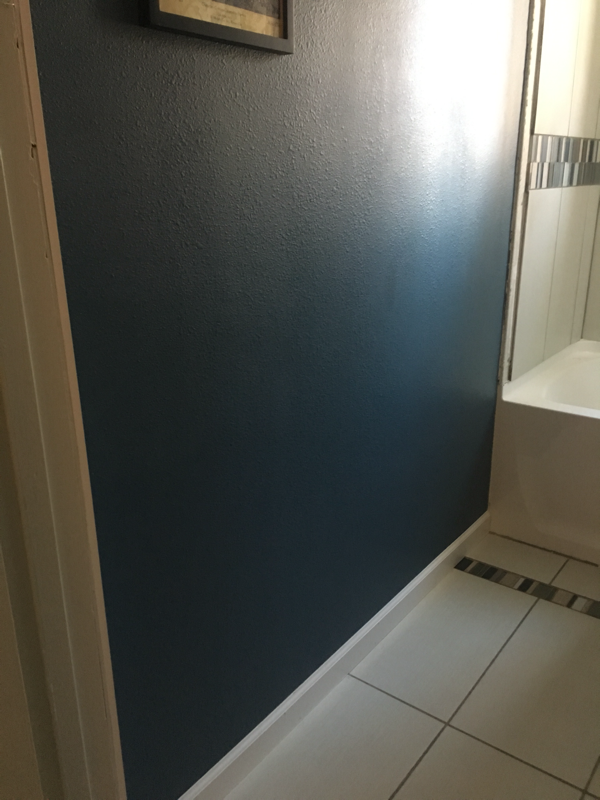
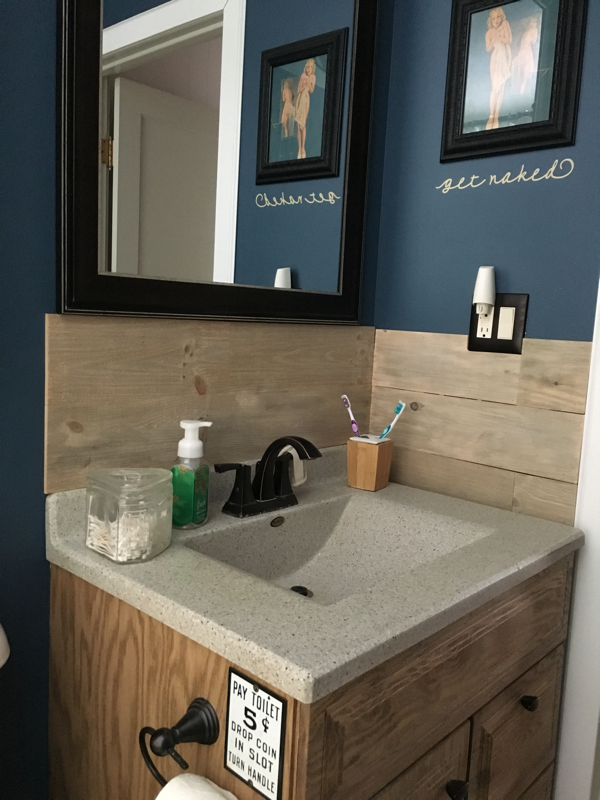
I'll start by offering this disclaimer: This is NOT a cutting board! If you're interested in making this a cutting board work surface, research the correct wood types for that type of work. OK, now back to business. After measuring your stove top and deciding how much you want the work surface to overlap your countertop, use your tape measurer and pencil to mark where you need to make your cuts on the edge glued board. I chose to have my work surface run the full depth of the stove top and overlap my countertop two inches on each side.  When marking your cuts, make two marks. One for the actual cut and another one inch in from the cut mark (or whatever the width is of the inner piece of your circular saw to the left of the blade). You'll be using the saw guide, so you need to account for the inner piece of your circular saw since the saw blade is not flush to the guide. Once you have your marks in place, snap your saw guide onto the edge glued board, lined up with the mark to the left of your cut mark. I used a framing square to ensure my saw guide was straight, which I encourage you to do as well.   After the guide was in place, I made my cuts! I included a picture of the saw blade I used. It was pure magic. Cut through the wood like butter! I had been using two other blades that kept binding, but this one pulled through.  When I had the edge glued board cut, I moved on to the pieces that would act as "feet" for the bottom of the work surface. I added these because I didn't want the work surface to slide back and forth across the stove top. I wanted the bottom boards to catch against the edges of my countertop. I placed the feet around 2 1/4 inches in from the outer edges of the work surface. I secured them to the bottom with wood glue and brad nails. 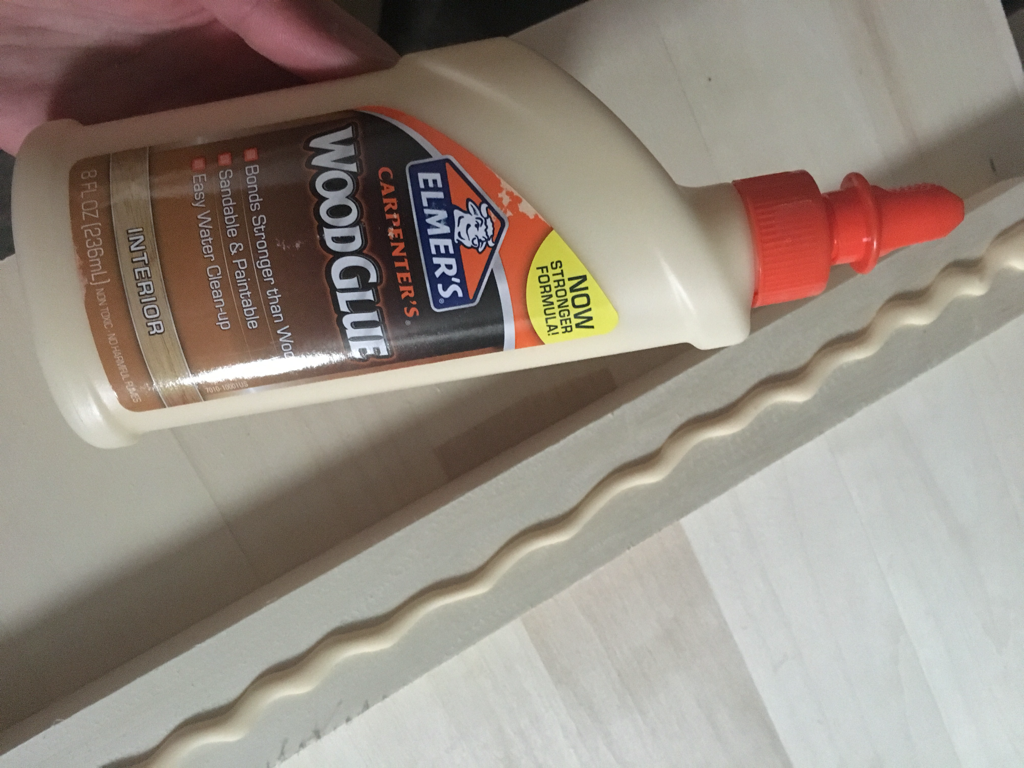 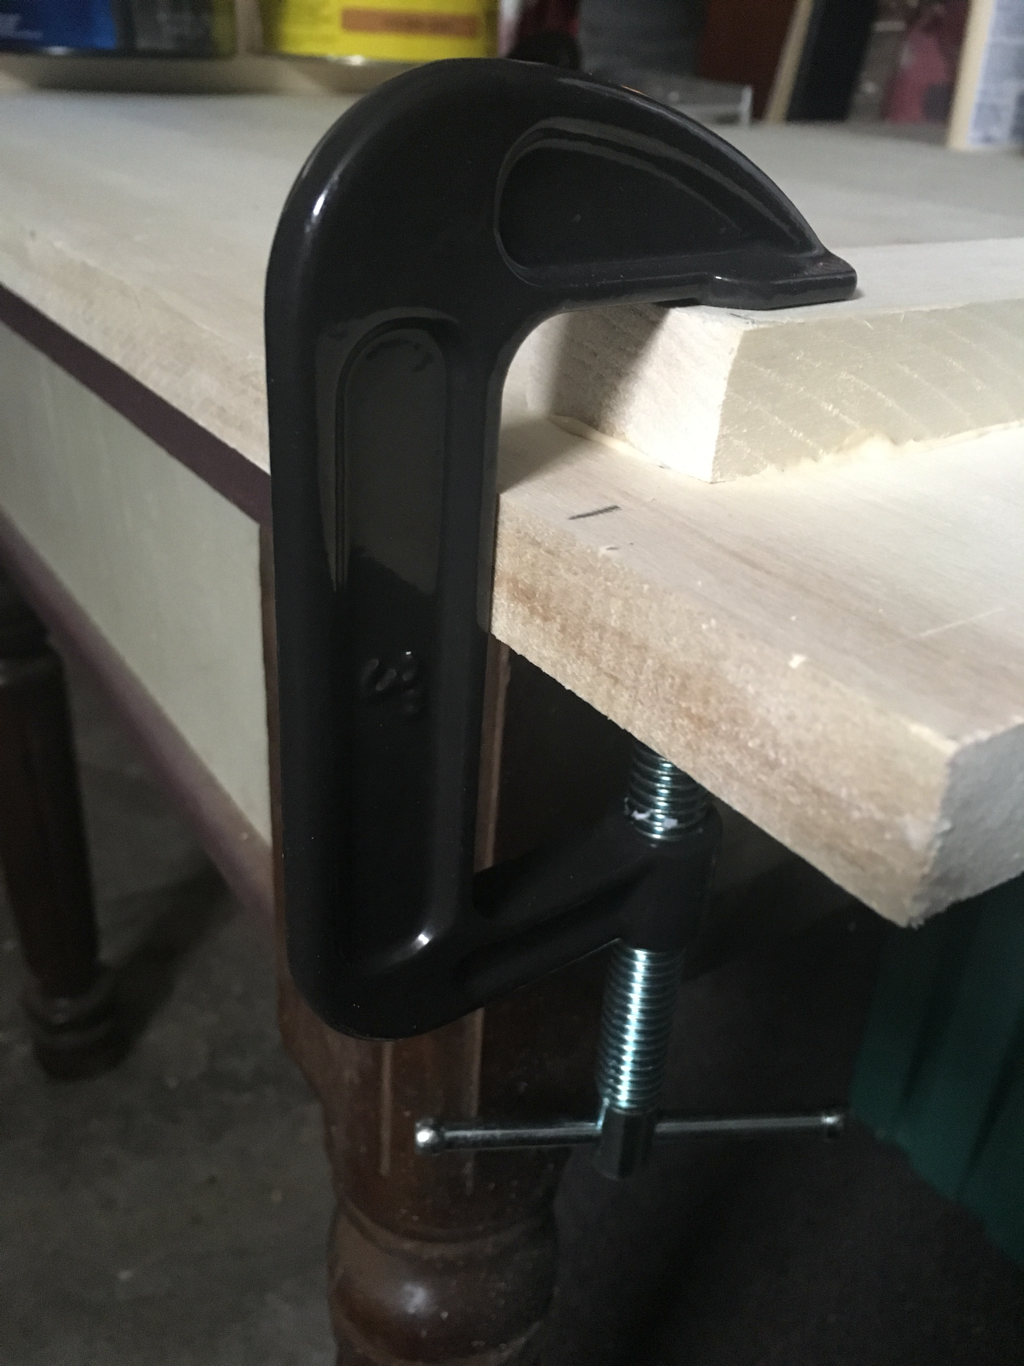  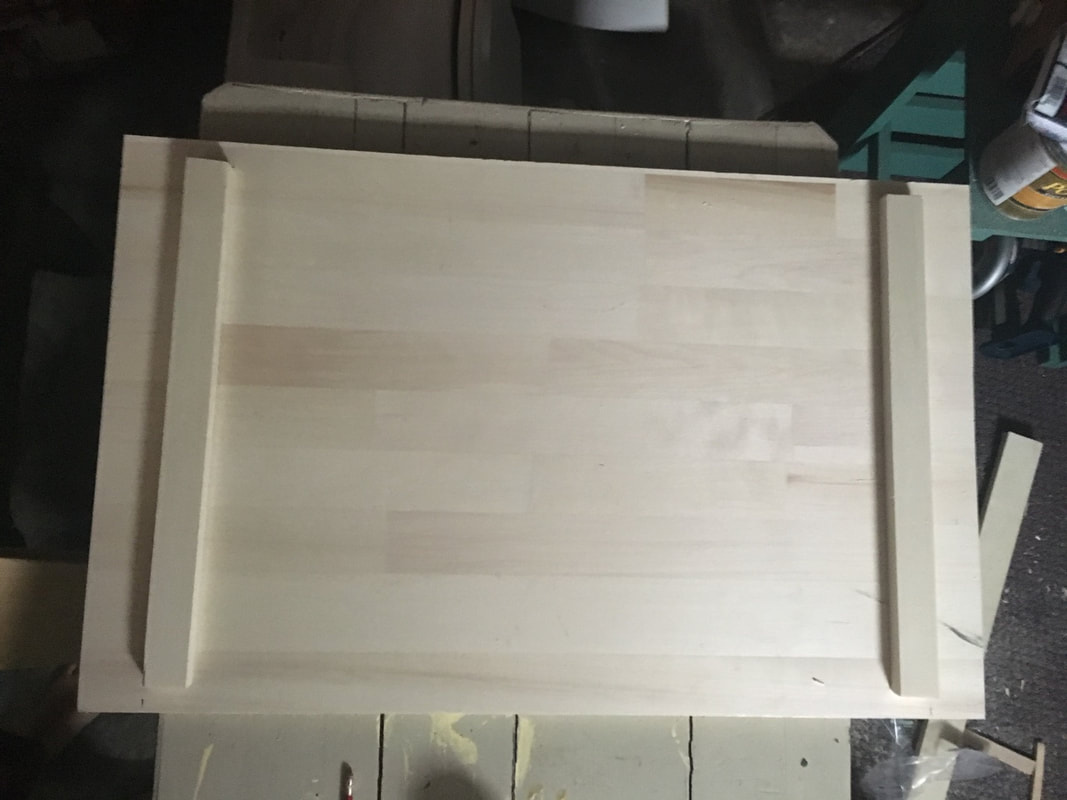 The final steps were to sand and stain! I lightly sanded the entire edge glued board and feet before staining. I also like to wipe down the wood with a damp cloth. I once heard this helps the stain soak in more effectively. 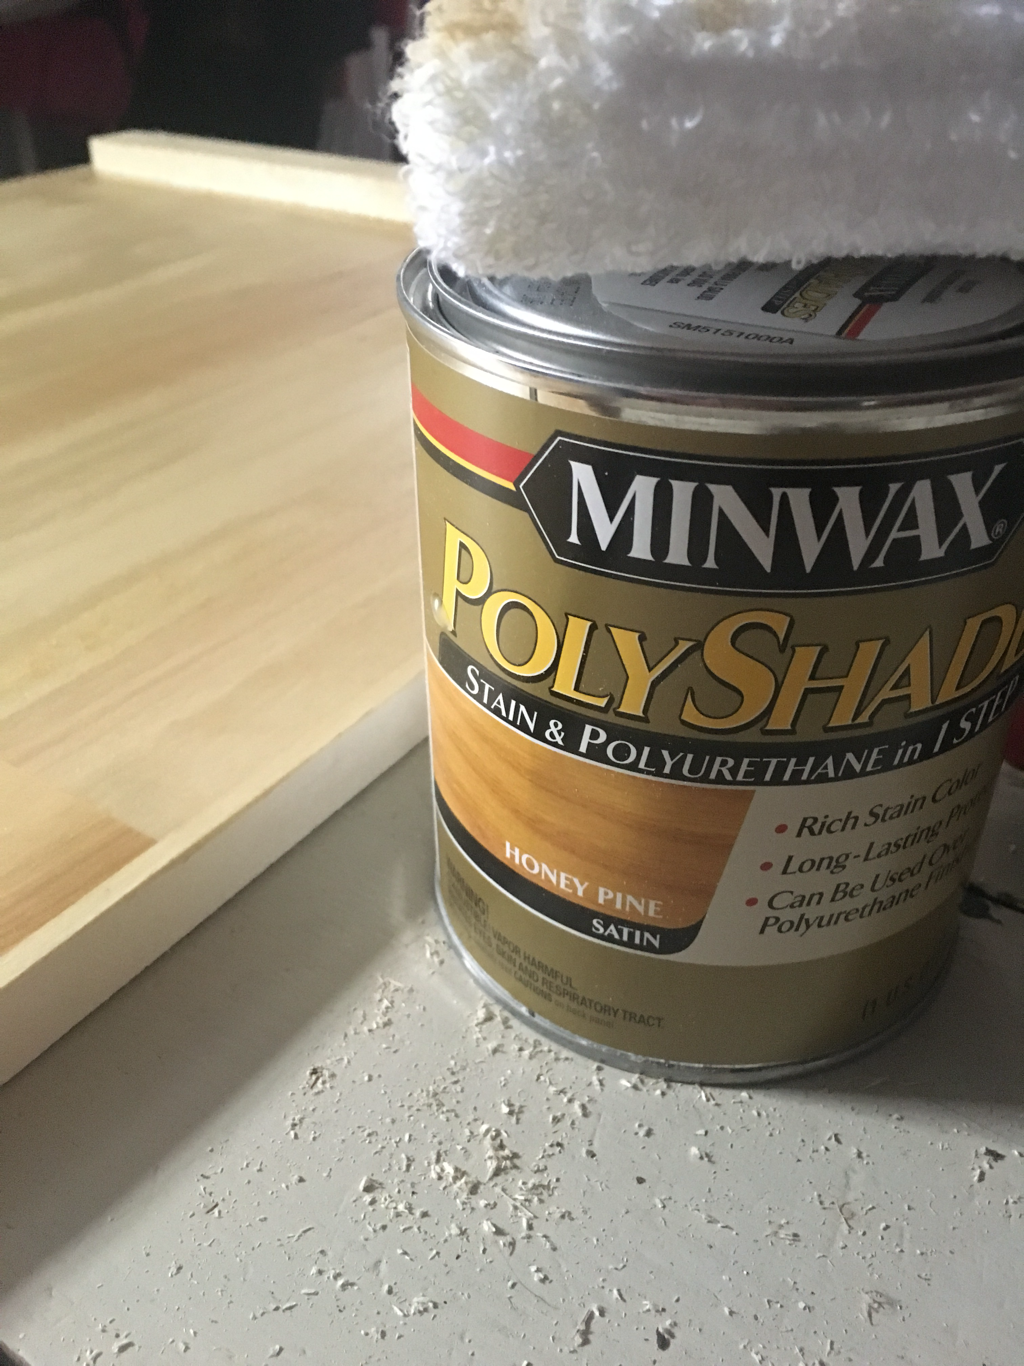 After applying two coats of stain and letting it dry for a few days, the work surface was ready for duty! 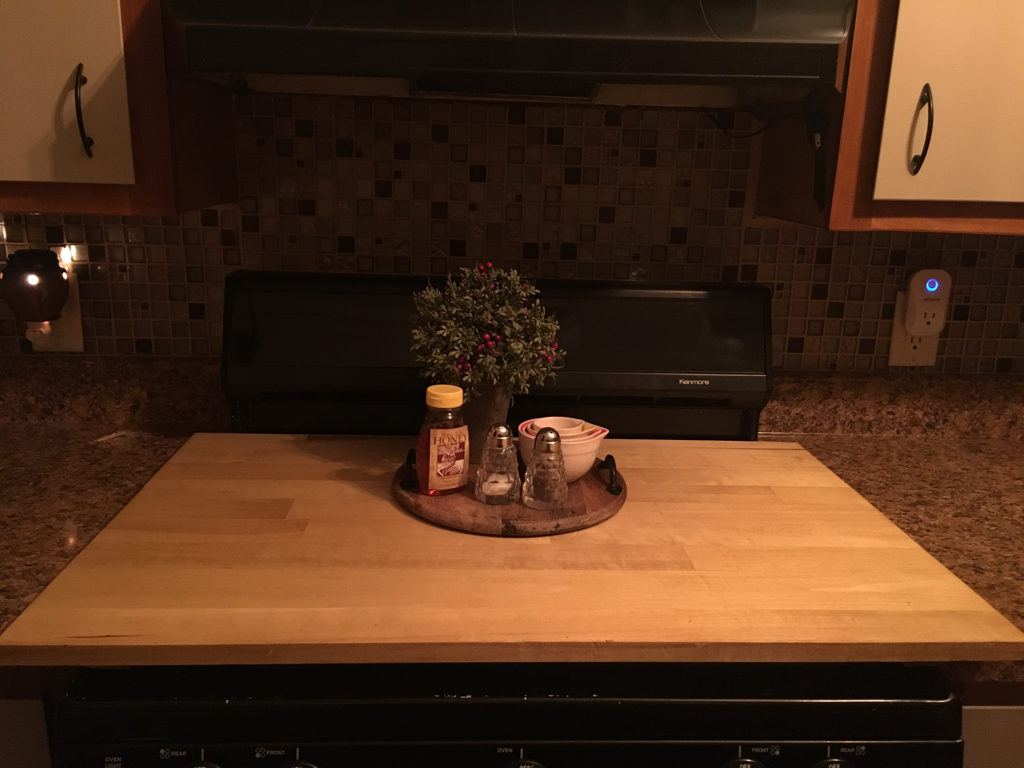 Now that I have this, I can't imagine what life was like before! It is so nice to have 34 more inches of usable space in our kitchen. Doesn't sound like a lot, but it has been a game changer.  I’m a big picture person. When it comes to envisioning a space, pulling everything together, and setting the wheels in motion, I’m your girl. But when it comes to the finishing work, the small steps needed to complete a project, I’m the biggest procrastinator! I want to see the big parts of a project DONE. I don’t have patience for the little things. Case in point – our bathroom. Our beautiful bathroom that we completely gutted and redid just a little over a year and a half ago. Although at first glance it was wonderful and shiny and new, there were still things to do. Like trimming the tub/shower tile out with bullnose tile. And finding a solution to disguise the water marks that were appearing on our deep blue paint under our hanging bath towels and around the sink. Oh, and fixing the vanity drawer knob that fell off months ago. I finally decided that I was not allowed to start another project until I finished the little things still looming over me in our house. Such a painful decision, but I didn’t want to be the girl who had a hundred partially finished projects to her name. I want to be the girl that gets it DONE! We got moving on all of the lingering projects in the bathroom. Bullnose tile is ordered. Vanity drawer knob is fixed. And we found a solution to make visible water marks on our walls a thing of the past. In this post, I’ll show you how we installed wood planks in our bathroom to act as a rustic feature on the wall underneath our hanging bath towels and a backsplash for our sink. What you’ll need:
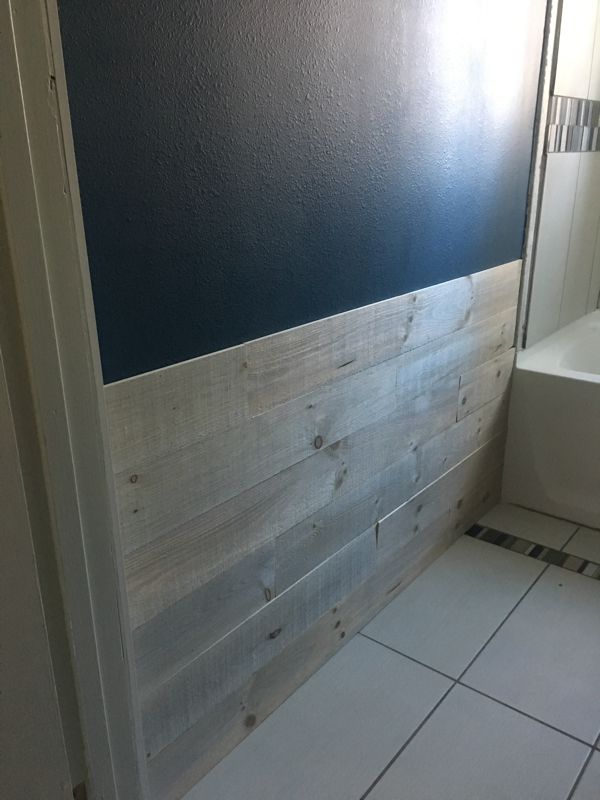
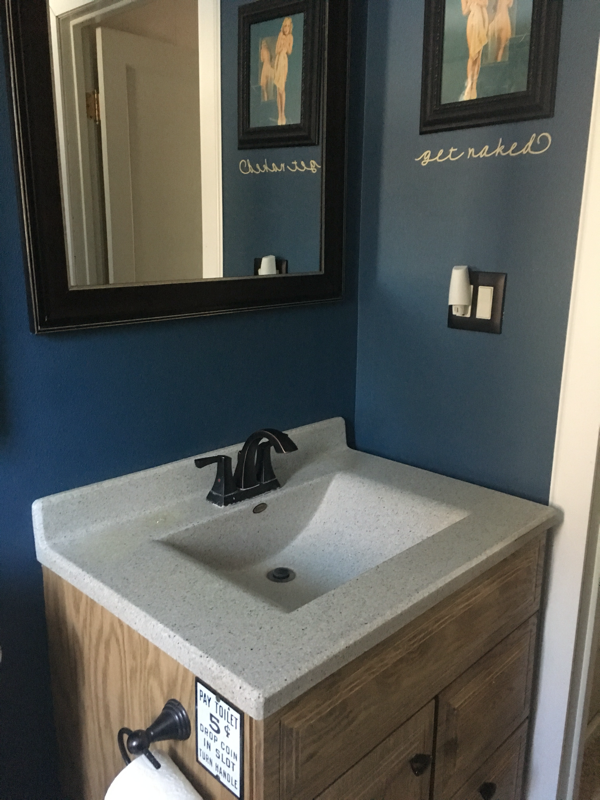
You’ll start by measuring the surface area you want to cover to purchase the amount of wood planks you need. We bought over because we knew there would be a boo-boo here and there!   We had floor molding that needed to be removed from the area before we could start, so Joel took care of that with a screwdriver and hammer.  Next, you’ll plan how you want your planks to look. We started with a full plank in the bottom left corner of the wall, measured the gap left between the full plank and the tub, and cut a piece to fit that area. We used the rest of the plank we cut to start the next row, continuing to rotate full planks with cut planks to create a non-uniform look. 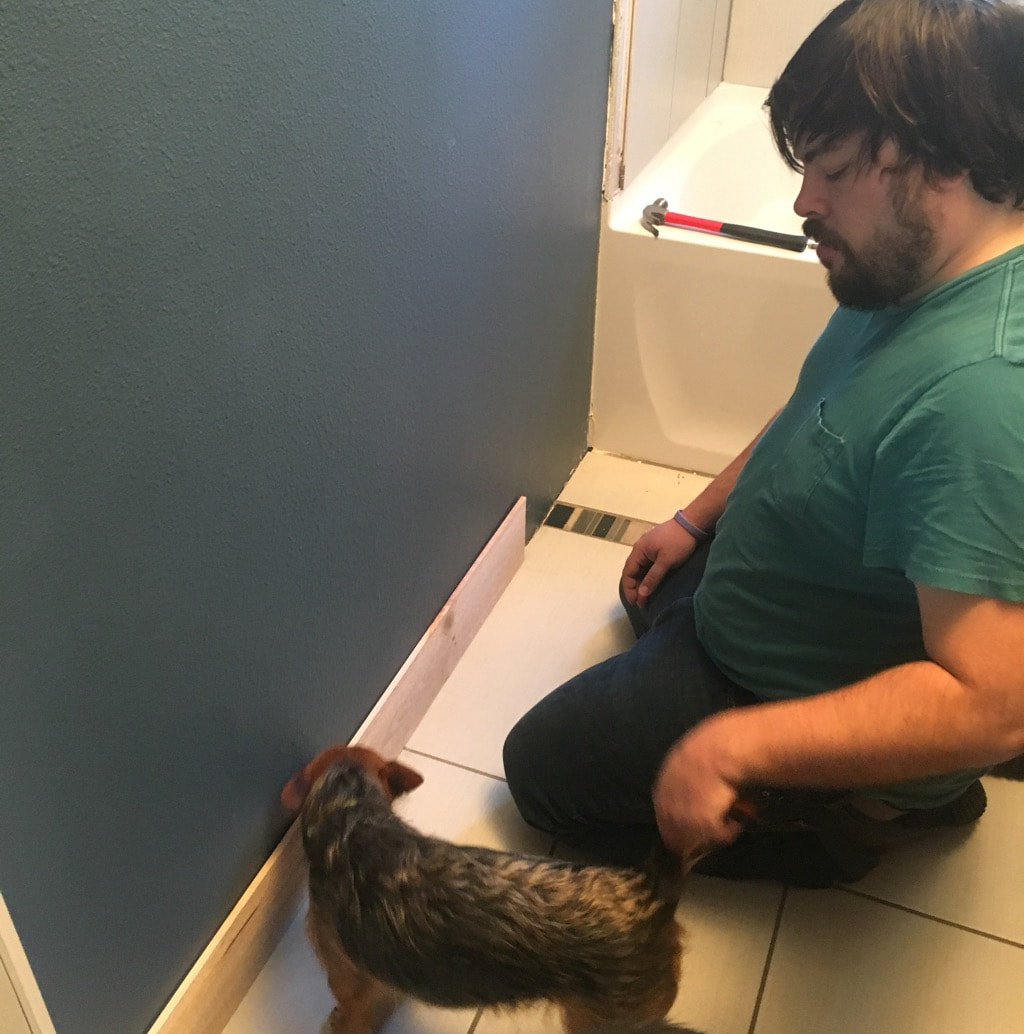  If we experienced any issues fitting the boards flush with the wall or each other, we either sanded them down just a tad or tapped them in with a hammer. 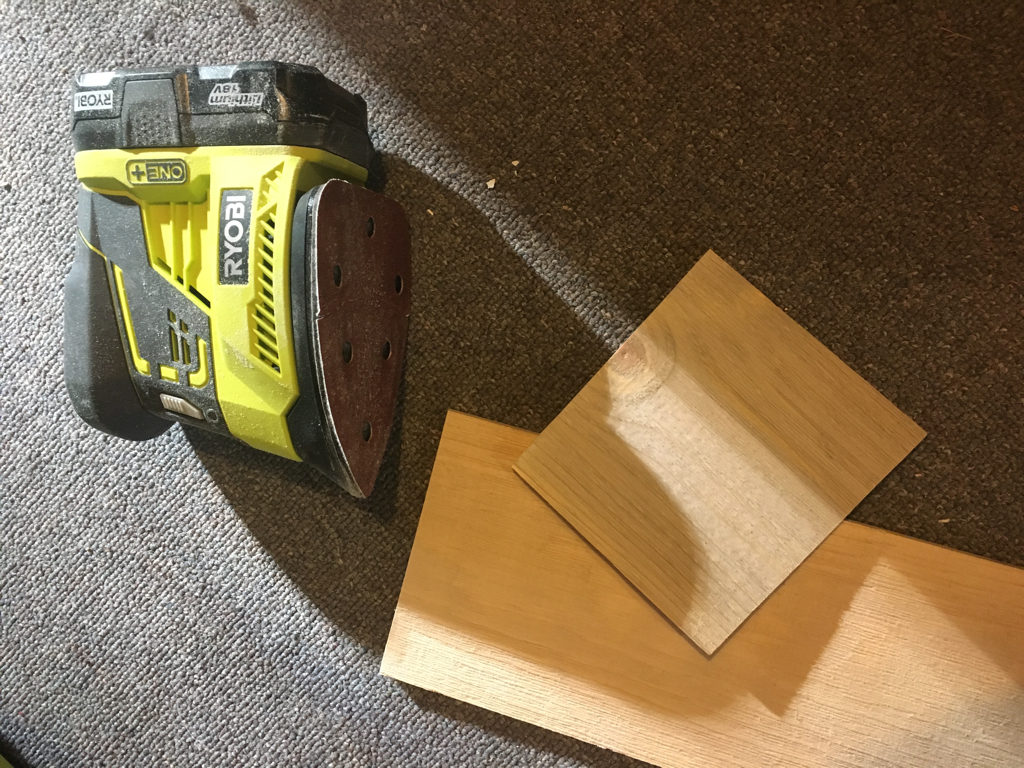 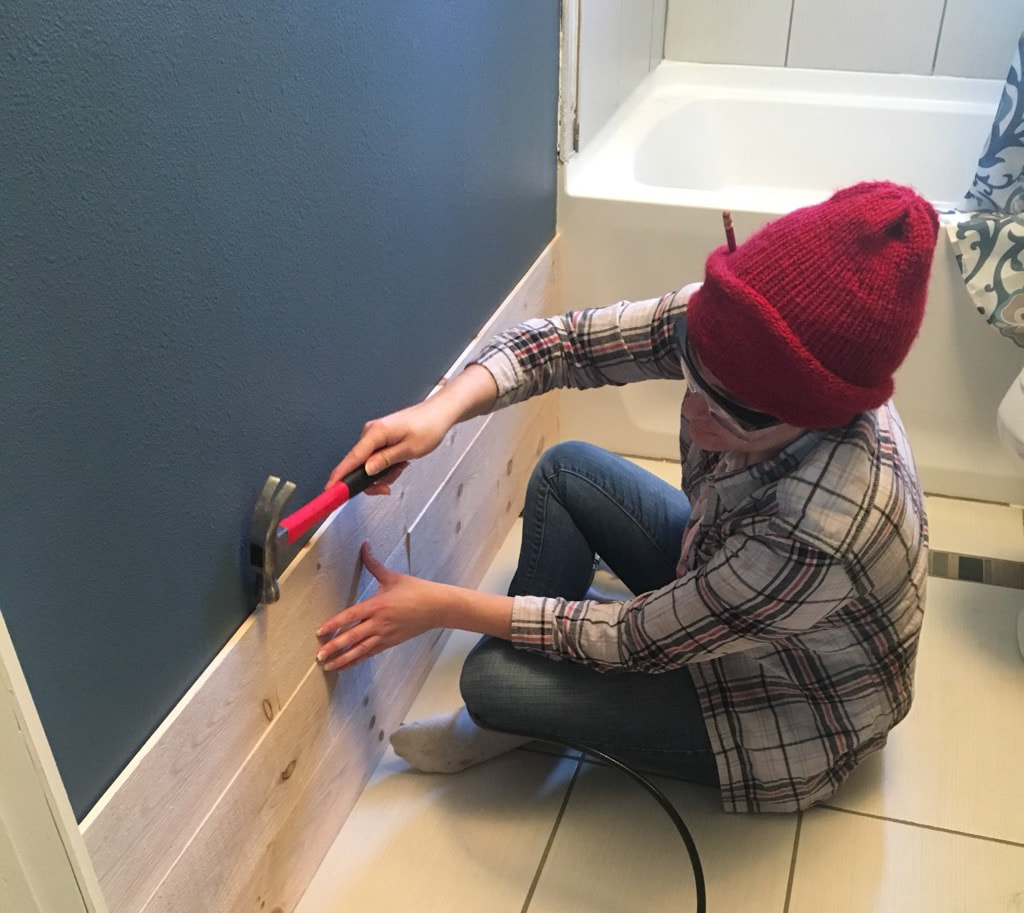 To secure the boards, we used an air brad nailer with 1 ¼ inch nails. This nail size worked well because the planks were less than 1/2 inch thick. 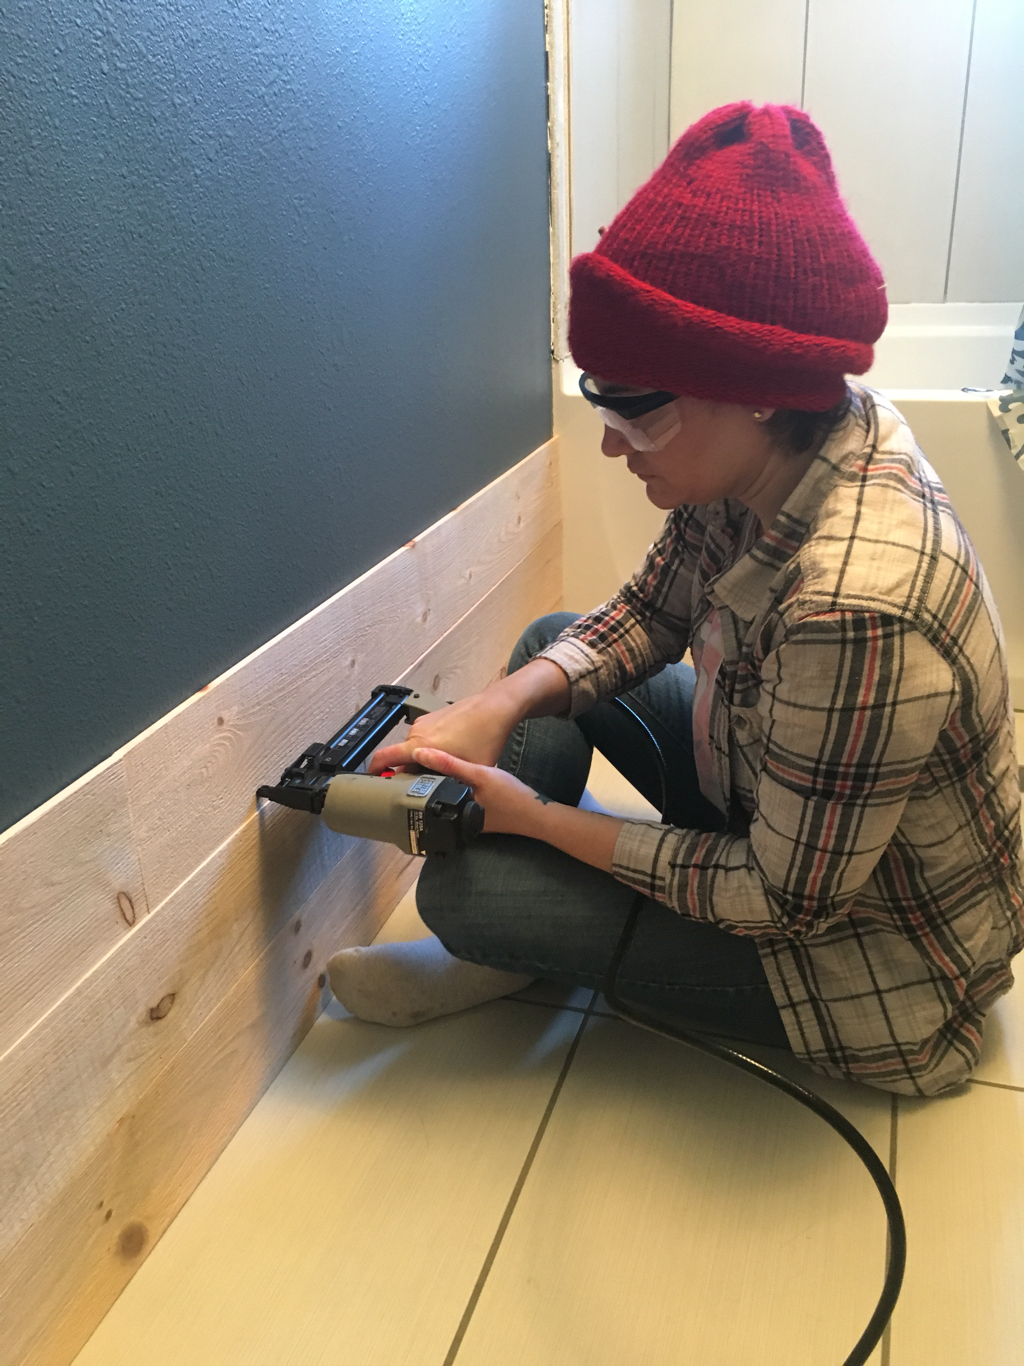 The circular saw blade we used worked perfectly, because again, the planks were pretty thin.  We chose to do the wall first because we could usually use at least one full plank in each row, which made it easier, and we didn’t exactly know what we were getting ourselves into! It was good practice for us. Around the sink was a little more intricate. Every piece needed cut, measuring had to be precise, and we had both a corner AND an outlet to figure in. With come creative thinking and teamwork we figured it out and I’m so proud of Joel for his work around the outlet! 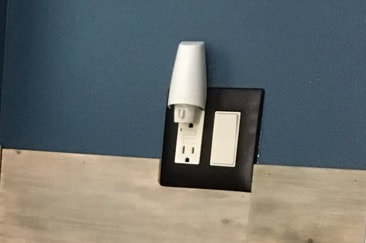 To finish everything off, I coated all planks with three layers of polyurethane to prevent any water damage. I chose a satin finish because I’m not a huge fan of high gloss and I wanted the planks to maintain their rustic look. I may eventually use some clear caulk around the edges to further protect the wood. 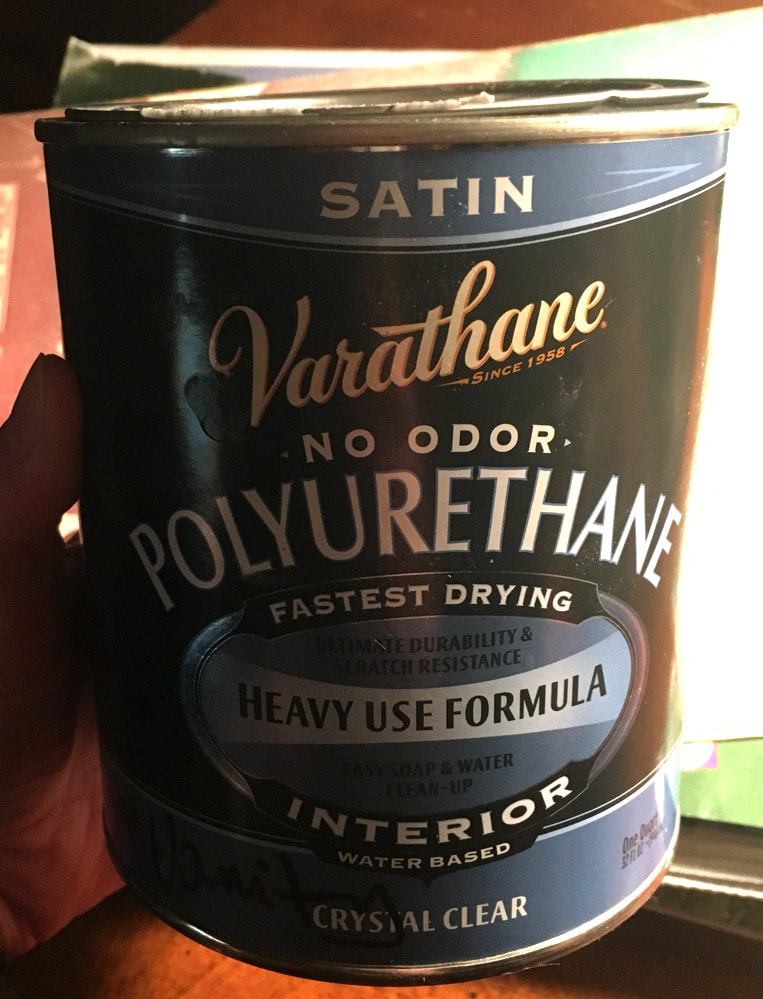 Here it is, in all its glory! Very proud of us because this is the first woodworking project we’ve attempted together and it went so well. It really was an easy project that made a huge difference in our bathroom. We both absolutely love how it turned out. Once the bullnose tile is installed (I won’t do a tutorial on that because I already did one on tiling here) the bathroom will be DONE and then I can pick something new to work on! 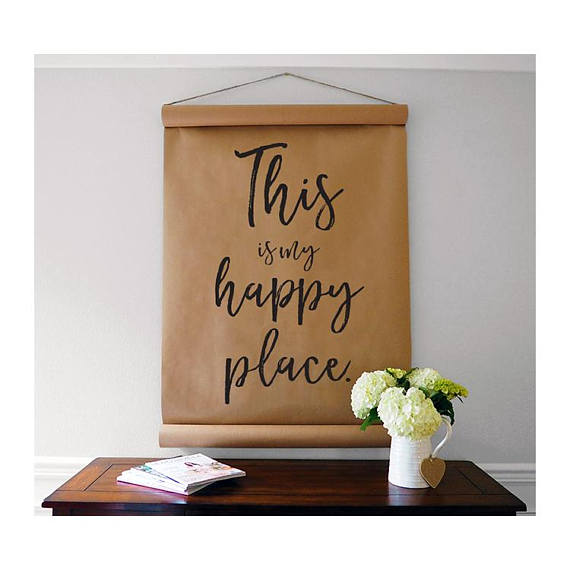 I've been obsessing over kraft paper scroll signs for a year or two now. I don't know why it never occurred to me to make one until this year...I continue to see them in the homes of some of my favorite home décor bloggers and just had to at least give it a try. I'm really glad I did. Here's what you'll need:
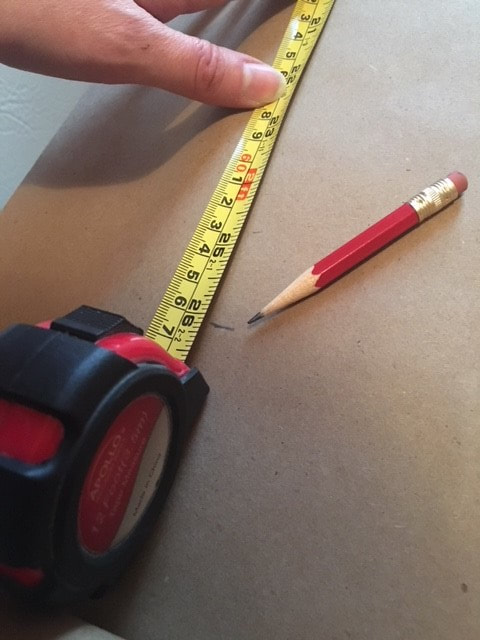 First you'll want to measure the wall space where the scroll will hang. Figure for an extra two inches on both the top and the bottom where the paper will be rolled. I had 30 inches of wall space to work with: two inches for the top roll, 26 inches for the hand lettering area and two inches for the bottom roll. Unroll a section of your paper, allowing the free end to roll up as desired. Measure and mark the area you will do hand lettering on. 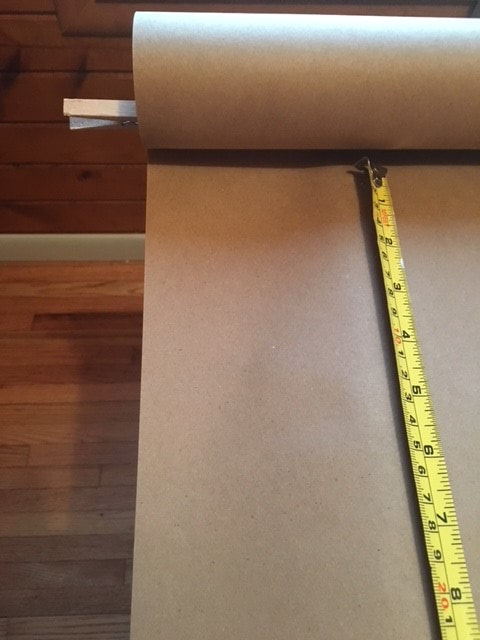 Secure the free end of the paper with clothespins. Determine how much rolled paper you want at the other end of the scroll and cut free from the whole roll of kraft paper. Secure this end with clothespins as well. 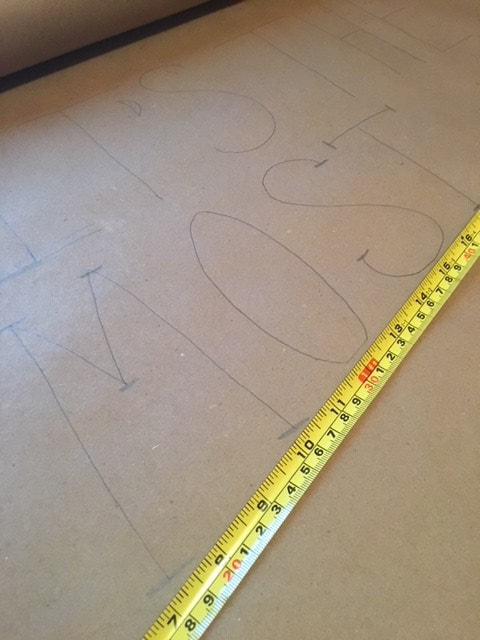 Once I had everything measured and the ends secured, I started hand lettering! I used my pencil to trace out the saying I chose. For the angled lettering, I used my tape measurer as a guide. 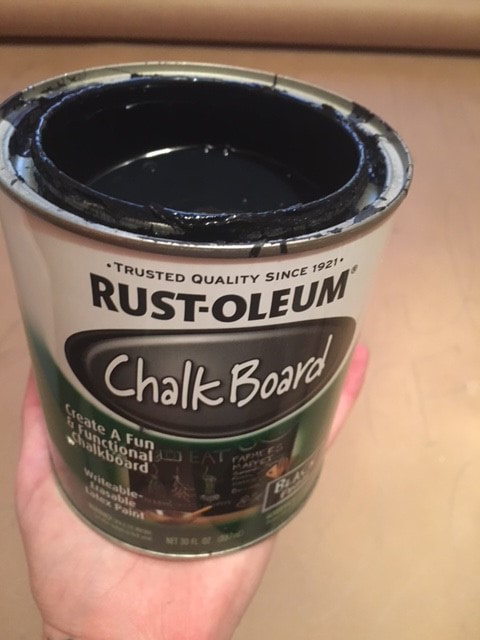 I'm really cheap, so I just used paint I already had. I wanted to do black lettering, so chose to use some leftover chalk board paint that seems to be a bottomless can! 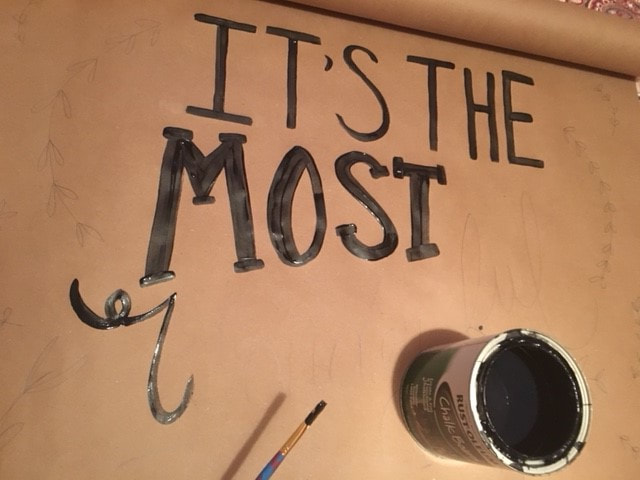 I used a small paint brush to trace over my pencil lines. I mixed fonts and strokes to give it a playful look (and to disguise any mistakes I made!). 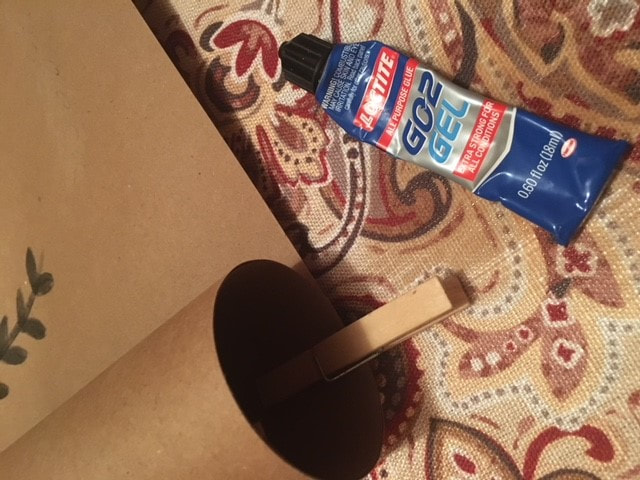 After the paint dried, I placed some glue under the rolled up paper to secure. I also added some staples later on to add extra reinforcement, because - gravity.  Next came the wrapping paper roll to hang the scroll from.  I tied my string to a pencil and looped it through the paper roll. I then inserted the paper roll into the top roll of the scroll.  Once the paper roll was through, I pulled the string to my desired length and tied/knotted the ends.  Here she is, in all of her glory! For being a beginner in hand lettering, I have to say I was pretty proud of myself. And just to give you an idea of what I was working from, here's the image that inspired me!  I went all out this year when it came to Christmas décor. I decked our halls inside and out in a day. I couldn't stop myself. I was that pumped to transition into the most wonderful time of the year! I felt a little silly though, because it was an abnormal 60 degree November day here in Iowa! I splurged a little bit this season and purchased a few new items to add to the decorations we've had for years. Much of what we have we 1) bought when we got married, 2) inherited when we bought our first home, or 3) inherited when we bought our second home! A lot of really great pieces, but many had seen better days... Although I bought some new items, some assembly was required. I rarely buy a completely ready-to-use piece. I normally buy the elements to make a ready-to-use piece. Here are just a few of the items I made or curated to make our home feel magical this holiday season!  DIY Christmas Wreath I forgot how expensive pre-made wreaths are - $50-$100 plus! I was not willing to pay that much because I wanted a wreath for both our front and back door. I ran across some plain wreaths that were in the $10-$20 range, and they were 50% off. More my style. I then browsed a Christmas accessory isle that had small, festive items that could easily be clipped into or twisted into a wreath. Three small accessories was all I needed to create a simple yet elegant wreath. After discounts, this wreath cost me under $10 to make! I plan to carry this wreath into other seasons by simply swapping out the accessories.  DIY Stockings I don't want to be misleading - I did not make these stockings, I just added the letters! Stockings are another item that can be pretty pricey. I found these stockings at the dollar store. I picked up a single piece of gold, glittery scrapbook paper for the lettering. Using a Sharpie, I drew out the letters on the back of the scrapbook paper. I'm getting better at hand lettering, you could certainly use stencils if needed. I then cut out the letters and glued them to the stockings! Easy as that. And by the way, we don't have kids...these stockings are for...OUR DOGS - Homer and Madison!! You could say we love them a little bit. 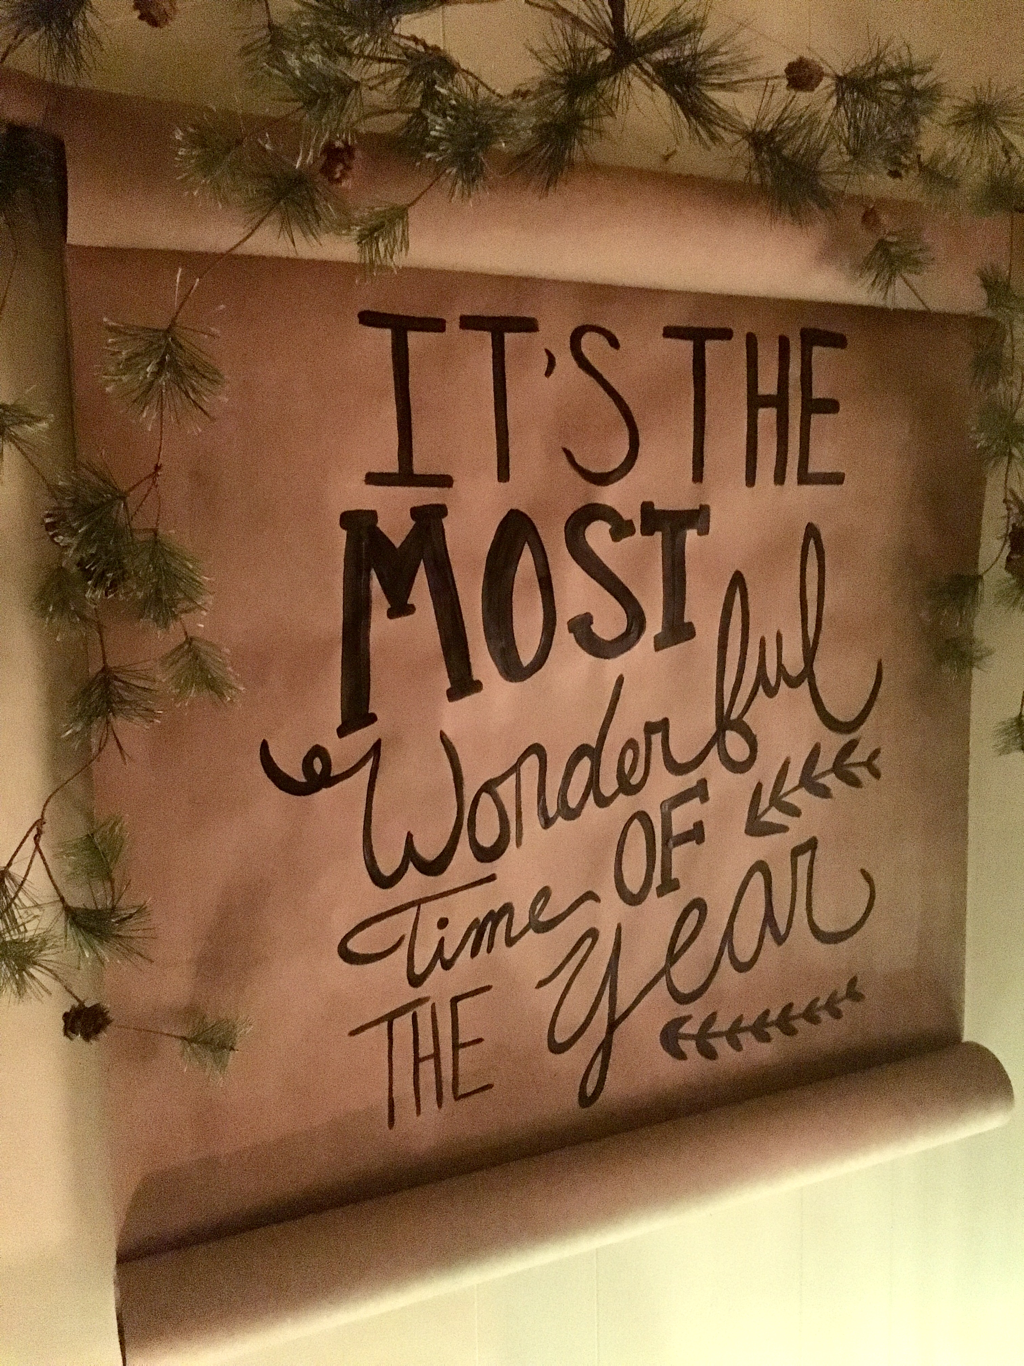  Curated Spaces I absolutely LOVE to shop my house. I shop my house before stepping a foot out the door to go to a store. I believe that if you can take a moment to look at what you have with fresh eyes, there are so many possibilities! The space above and the vignettes below are mostly pulled together from items I had. The only new items are the Poinsettia floral bouquets and the red/gold ornaments.  I upcycled this sled last Christmas. See how here. 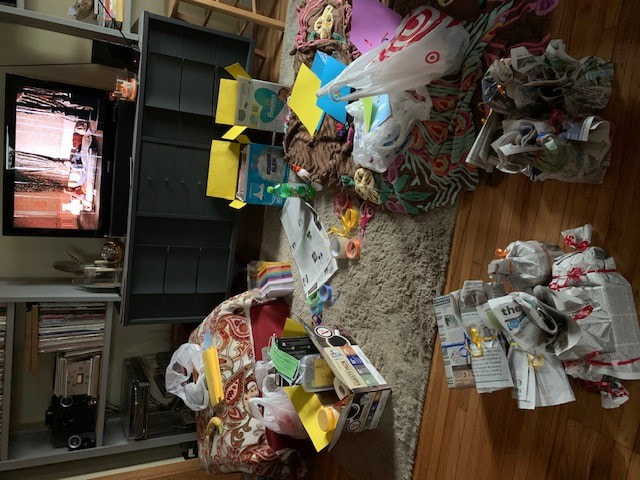 I also tried incorporating natural items from our property, like the branches and sticks in this planter. 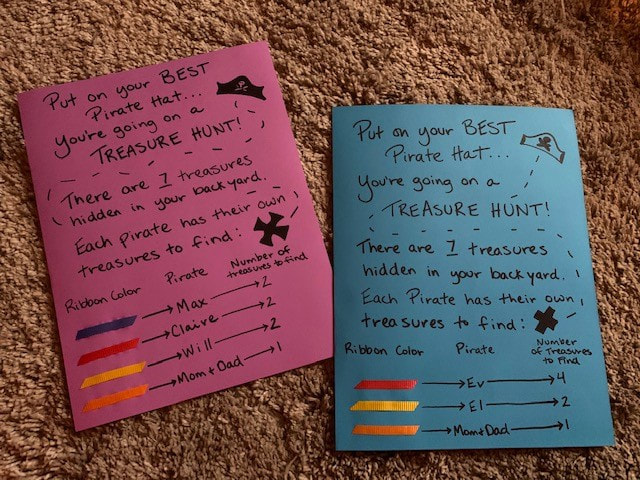 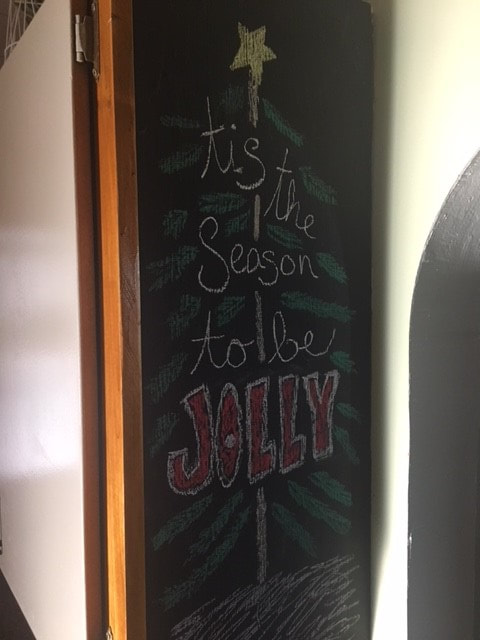 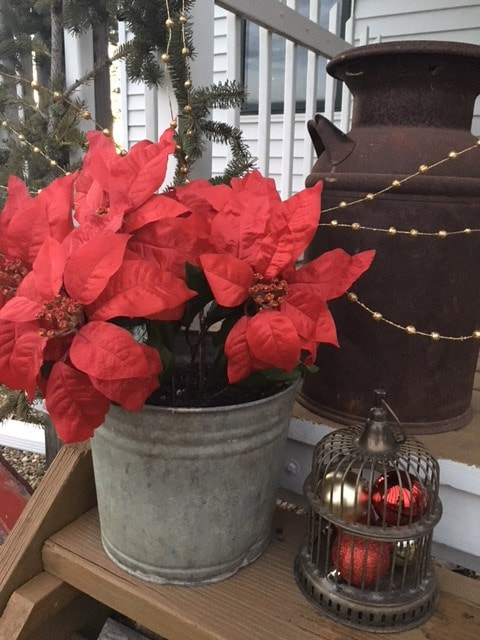  Over the summer months we completed a really fun project at our family cabin - a fishing pole photo display showcasing the Miller side (my mom's side) of our family.  Here's what you'll need:
We started by marking out where we wanted to secure the pole on the wall. We used one screw between the handle and reel, and one screw at the tip of the pole after determining how far we wanted the pole to bend above the doorway. From there, we added fishing line by tying it to the loops located on the pole itself. We cut the lines to various lengths depending on where we wanted the fishing lures and photo frames to fall. Once the line was in place, we started attaching the fishing lures and photo frames. The fishing lures have small hooks that pop out of the top, so we were able to easily secure them to the lines. To make sure the photo frames stayed on the line, we placed one thin poster mounting square on the back of each photo - pinching the fishing line between the mounting square and the back of the frame - so they dangle freely vs. being stuck to the wall. Here are some close ups of this project:   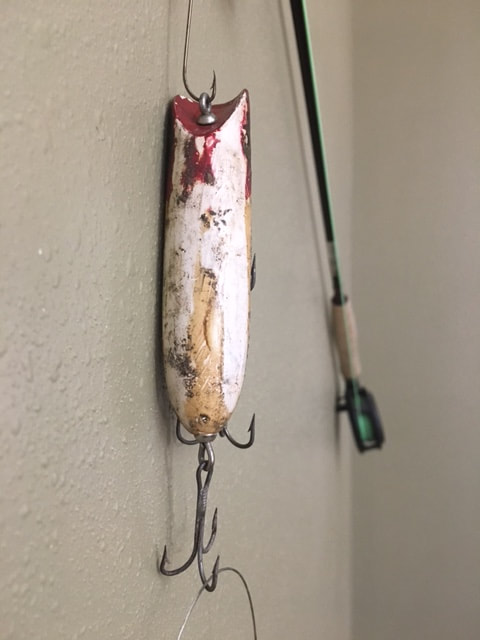 And here's my cute grandma with the finished project. We have her to thank for so many good memories at the cabin! 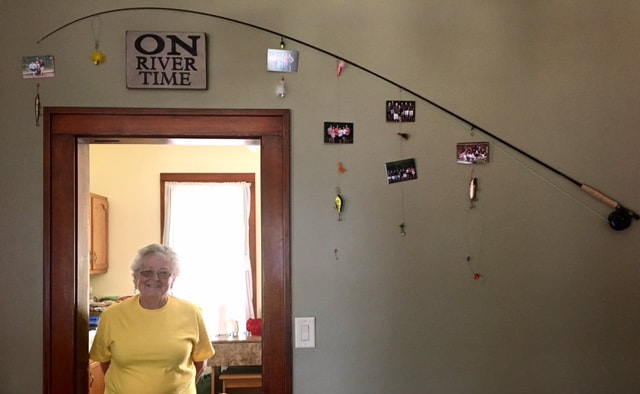 My Fall decorating routine is in full swing. Once September 1st hit and the temperatures started to dip, I was in the mood! When the mood struck, I also happened to be cleaning out our basement. It was great timing because I was able to "shop our house" for some décor pieces that I could use this Fall. I felt particularly inspired by these finds: 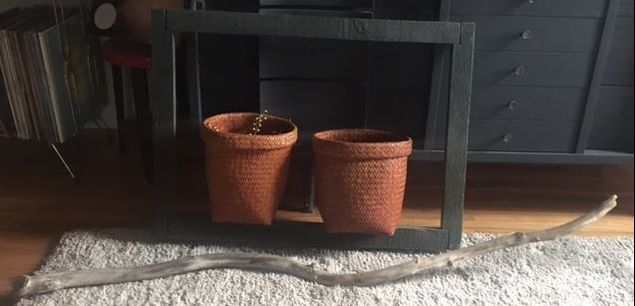 The frame and piece of driftwood were something I had hanging on the porch of our last house. The frame used to have a screen inside it, but it had come undone after being haphazardly shoved in the corner of the basement...which actually worked in my favor for this project. The baskets were finds I picked up at Gooselake Creations, but hadn't found the right spot for them yet. I played around with different ideas and really thought it would be neat to make a "3D" piece of art using the items mentioned above and some artificial flowers. Our dog, Homer, loved my vision and was interested in helping! 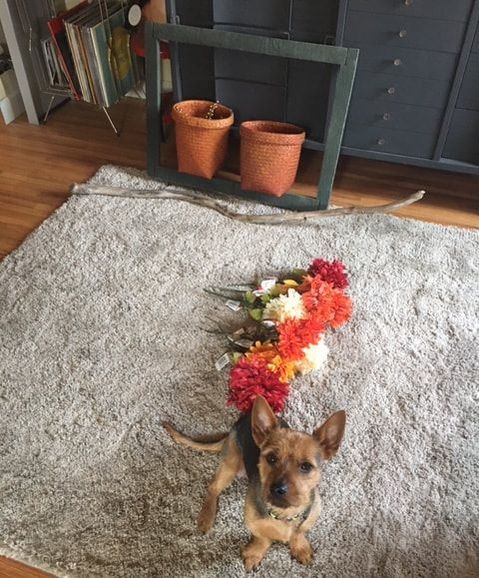 We had a large frame hanging in our entertainment center area already (see below), so I was able to utilize the existing nails for the frame. Because the baskets had some weight to them, I chose to nail them into the wall. A surprise I wasn't expecting was the outlet we added during our renovation in case we ever mount a TV to the wall. With the open frame, the outlet was not aesthetically pleasing! I chose to cover that with a piece of burlap. The burlap is optional if you do this project, it was a necessity for me! Once I had everything in place, I started arranging the flowers I purchased inside the baskets. I found some beautiful mums in cream, burgundy, orange, and yellow at Dollar Tree (one of my favorite places for artificial flowers). This project was as simple as that! See below for the finished product: 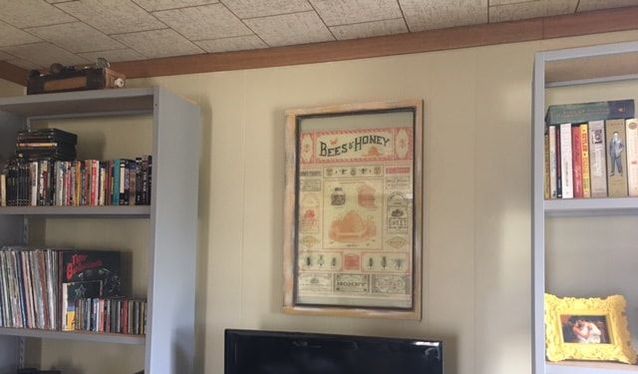 Area Before 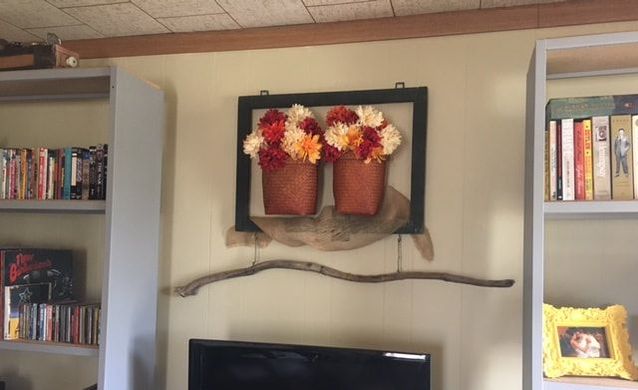 Area After 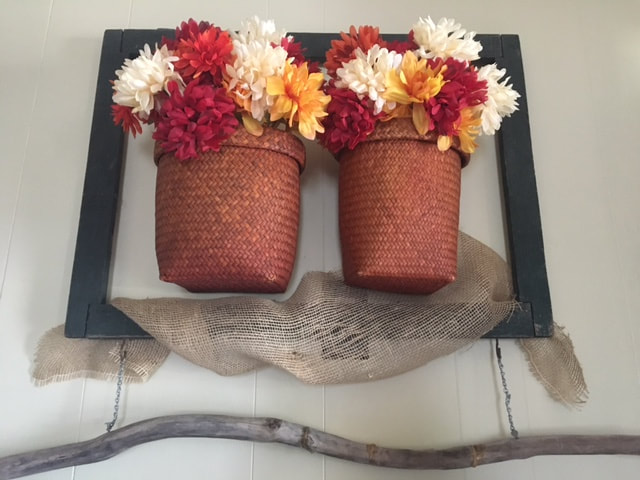 I really enjoy looking at homes when I'm driving to wherever I'm going. I like to look at the exterior styles, love when I can catch a glimpse of the inside (not in a creepy way, I promise), and am always looking at outdoor decor. There are just so many ideas out there to draw inspiration from! I'm a big fan of porches. I recently drove by a home that had colorful pennant banners hanging from the ceiling of their large, wraparound porch. It looked so adorable, I couldn't get it out of my head... We're tight with our budget right now, so I wanted to find a cheap option to execute this idea ASAP. Without any luck finding pre-made banners at discount stores, I decided to make my own with two items I already had at home: twine and burlap. Here are all the supplies you'll need:
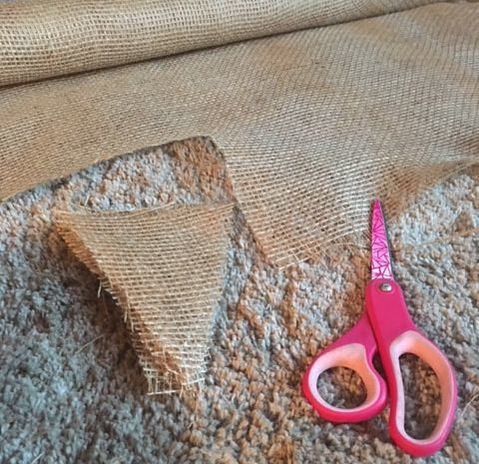 I knew I had two, eight foot strands of twine to fill with pennants, so I cut quite a few to start and then started laying them out along the twine I had measured out. Once I had all of the pennants cut, I started weaving the twine through the top of the pennants: 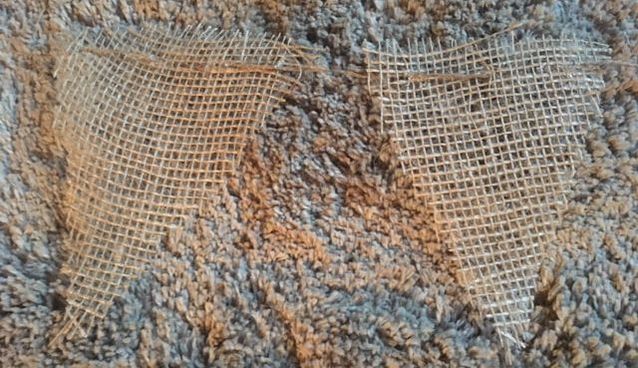 After I had all of the pennants on the twine, I put a dot of all-purpose glue where the twine and burlap intersected. 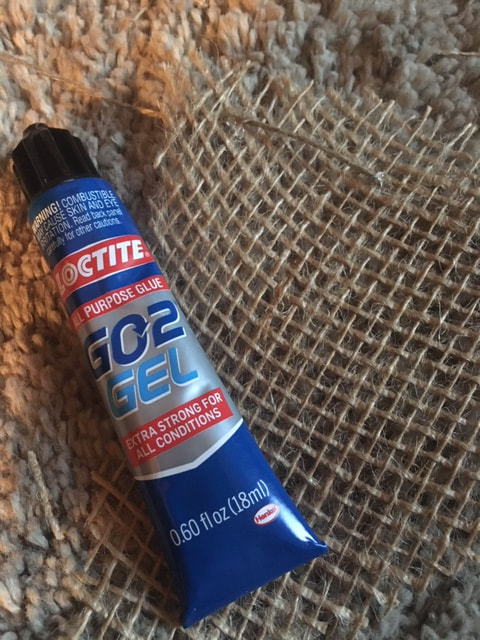 When the glue was applied to every pennant, I hung the banners up to dry:  And here's the final product on our front porch: 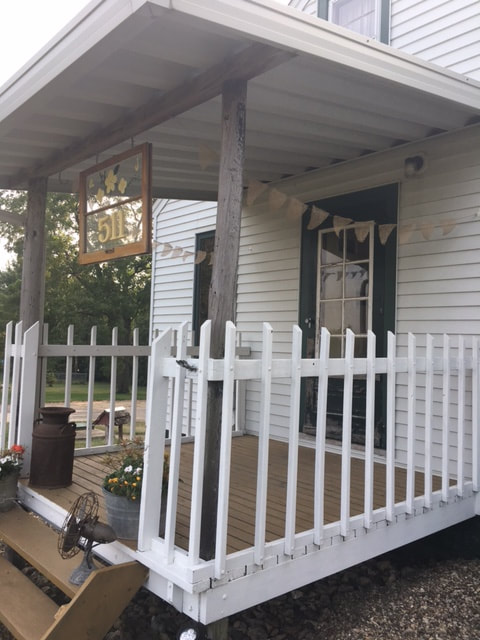  I think these turned out so cute and because they are plain burlap, they will definitely look good with my Fall decor, but will also look good during other seasons throughout the year! They would also work well indoors.
|
Archives
August 2022
Categories
All
|
 RSS Feed