Busy Hands, Happy Heart
|
I've got an easy DIY project for you that can be completed in under an hour for less than $15! This project is perfect if you're looking to create a cozy corner in your home or need to add extra lighting to a room, but don't have a lot of cash to spare. All you need is:
I chose to spray paint my clamp light oil rubbed bronze to match my home decor. If you like the industrial look, I think leaving the light untouched would look just as great. That would cut this project down to under five minutes! The first thing I did was disassemble the clamp light so I could spray paint certain portions of it. I didn't want any of the electrical pieces getting goo'd up with spray paint... 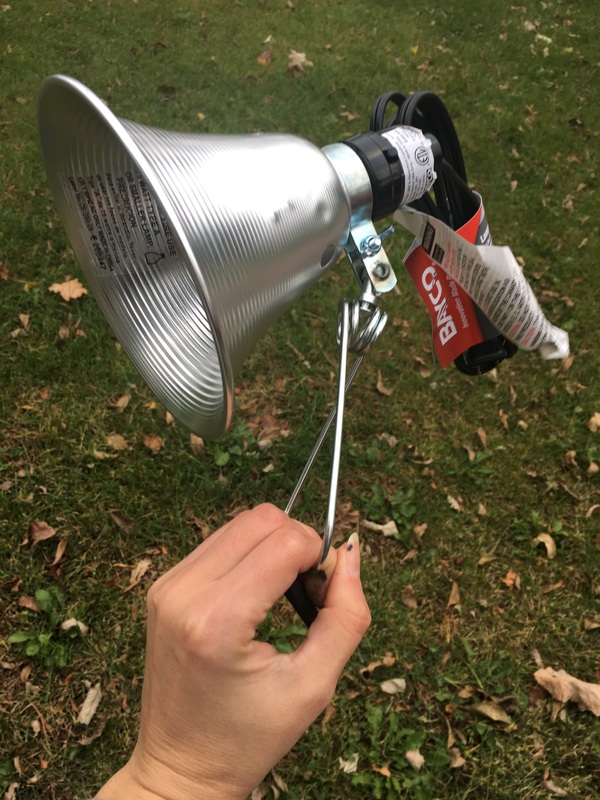 I painted the inside/outside of the "lamp shade" portion of the light, as well as the silver portions of the clamp. I applied two healthy layers of paint to both items, allowing for dry time in between. 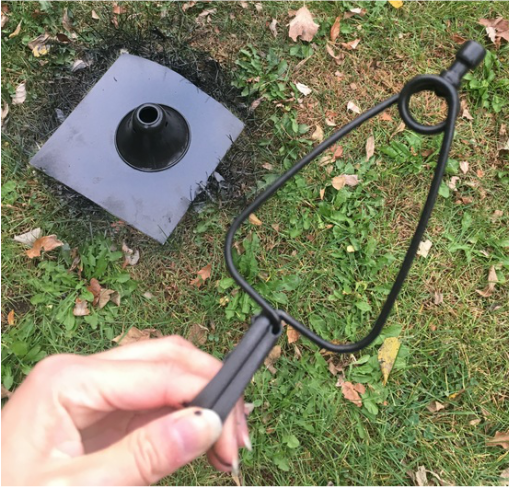 Once the pieces dried, I reassembled the clamp light and inserted the light bulb. All that was left to do from there was to clamp the light to the top of the driftwood and prop it into my chosen corner. See below for a few different angles of the finished lamp, including an evening view to show the amount of light it gives off. If you're looking for a brighter lamp, I'd recommend a higher watt bulb. The one I used was 60 watt. 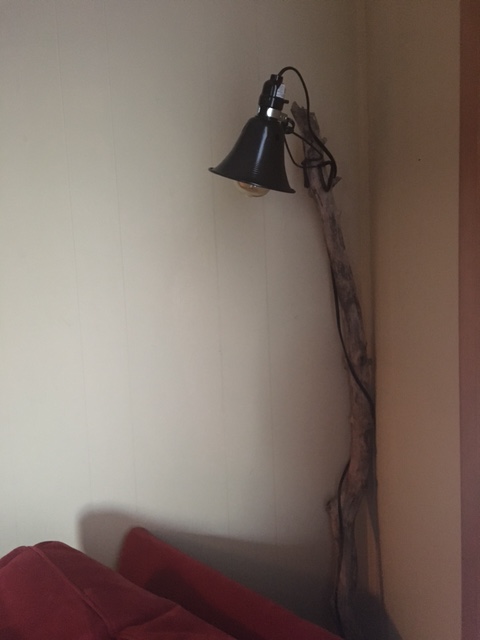 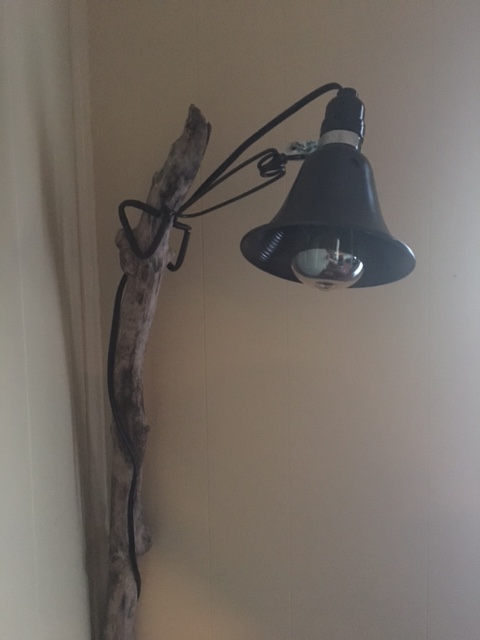  As you can see, the vintage bulb puts off a lovely warm glow in the far corner of our living room. This lamp is a piece I didn't know was missing until I created it.
Happy DIY'ing my friends!
1 Comment
Creating a unique headboard for our master bedroom was one of the most satisfying projects I've completed thus far. I knew I wanted to do something unique. After looking around at different ideas, and changing my mind several times, I settled on using salvaged barn doors. I am lucky my dad is a hoarder of old items like I am. He always has a vision for what he finds and keeps, just like I do. In his corn crib, I found two halves of a barn door that worked perfectly for what I needed. To start, we needed to cut off the handle on the side of the door facing the wall so the door was flush when it came time to hang it. We used a Cutoff Saw to get the job done. 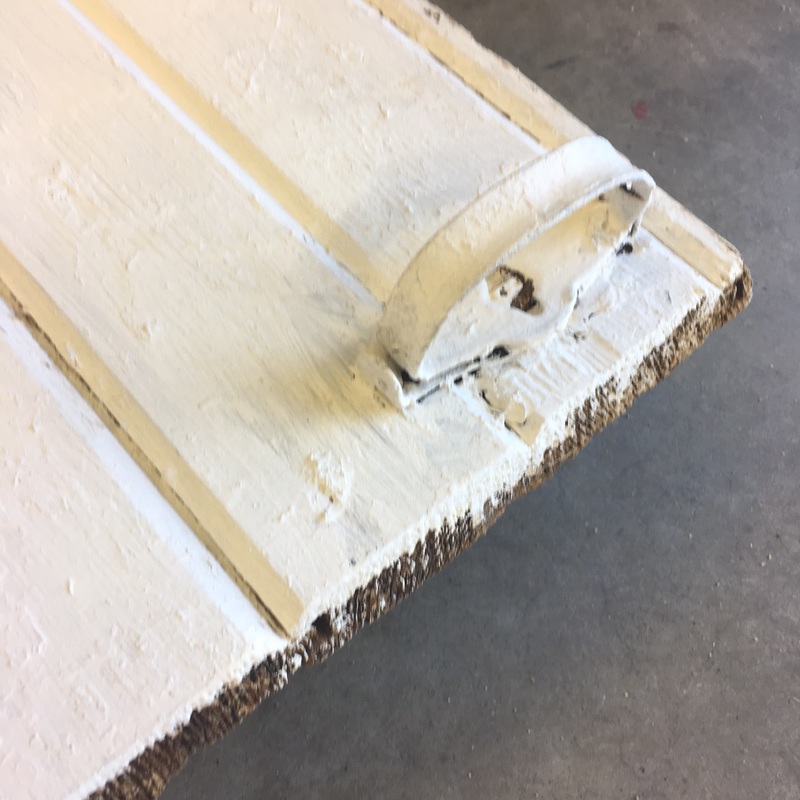 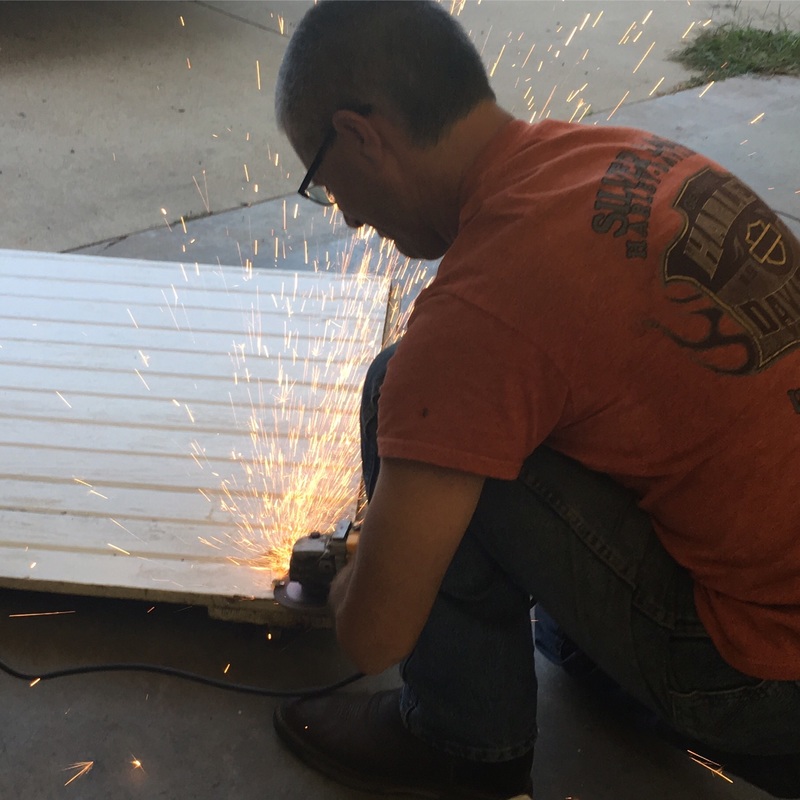 Next, I stained the doors with a stain/poly mix in the color "Honey Pine." I used the same stain that I used on our kitchen cabinets and the wood trim of the new opening to our living room for consistency in wood color throughout the house. 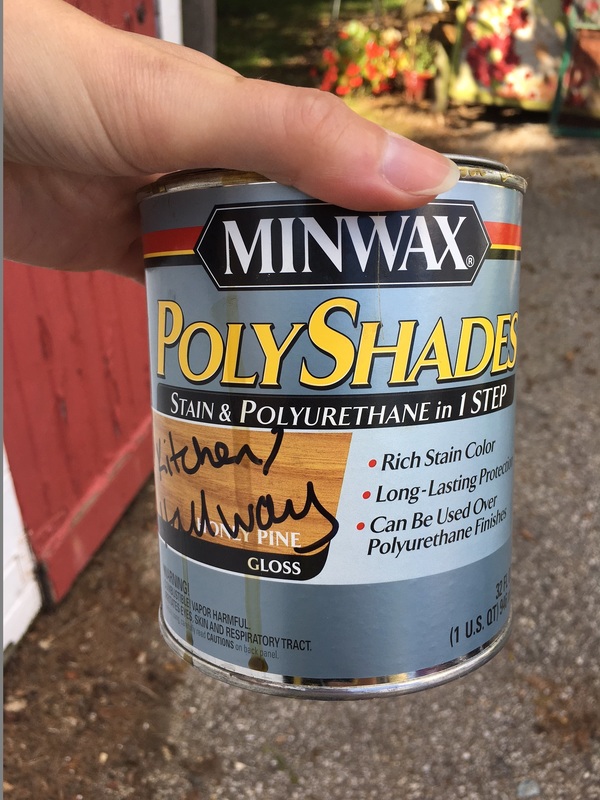 A trick I learned on HGTV is that you should wipe down the wood with a damp cloth before staining because it allows the wood to better absorb the stain. 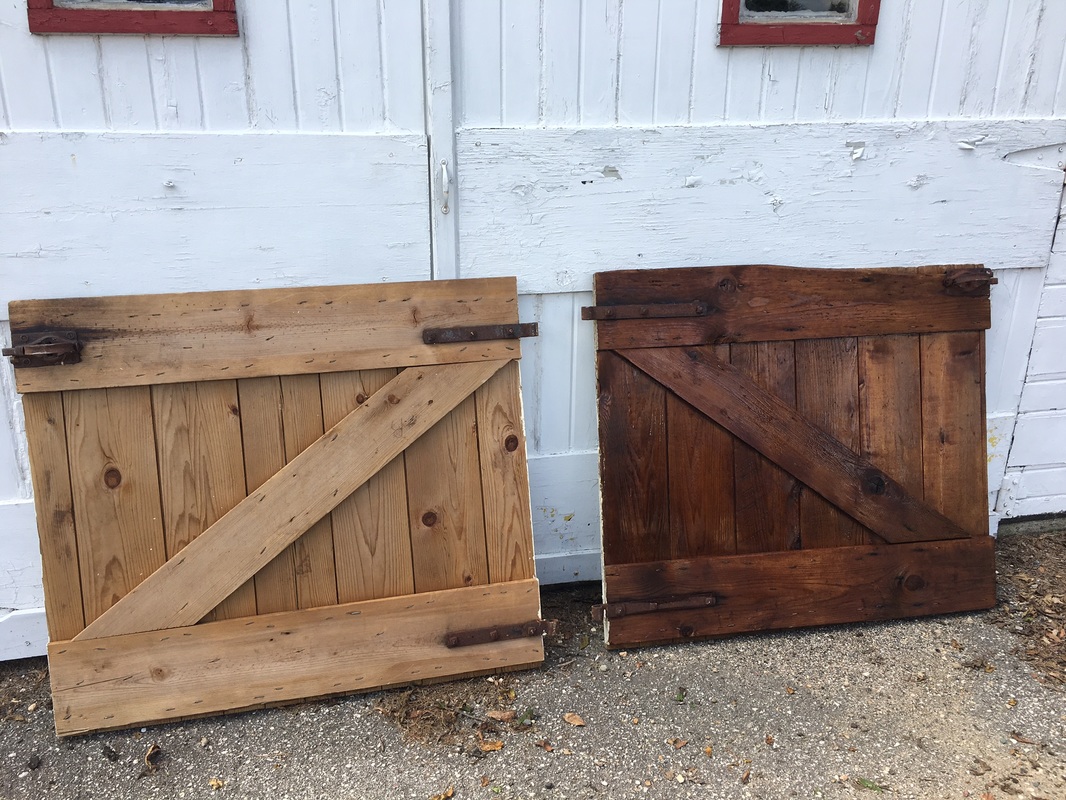 The door on the left is unstained, the door on the right is stained. 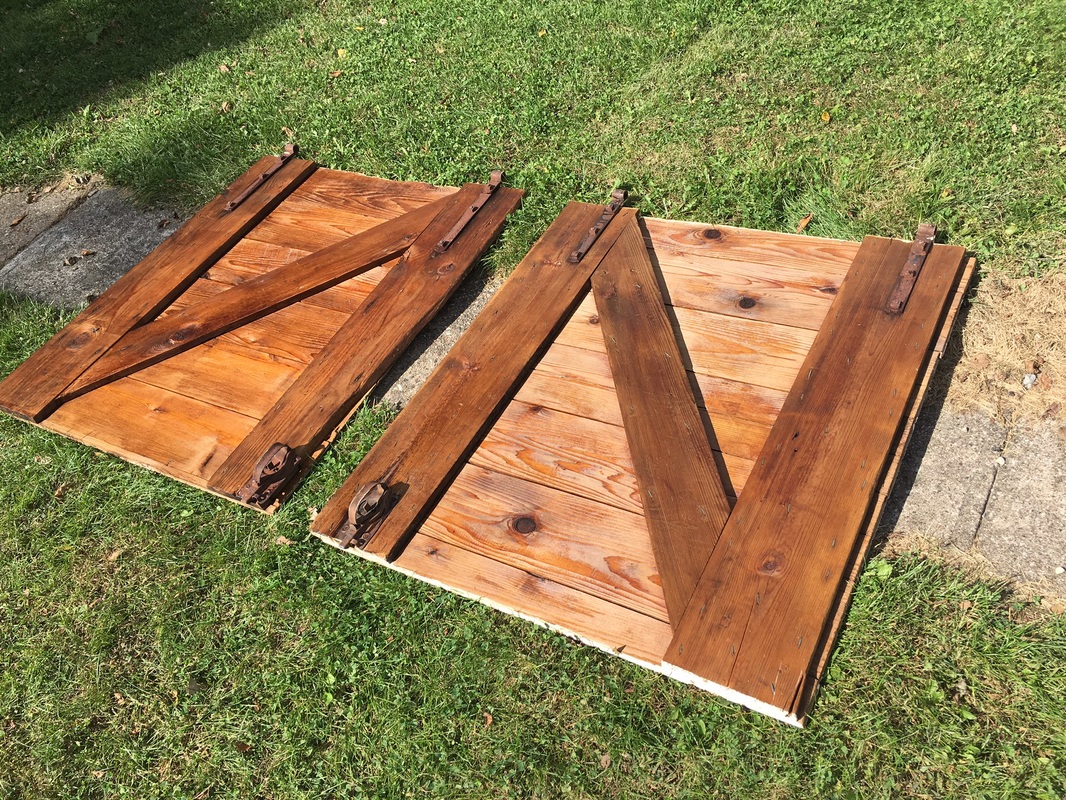 Both stained and ready to hang! Joel marked out the studs in our bedroom with our new handy, dandy stud finder. Because the weight of the doors was a bit heavier than the artwork we were used to hanging, we wanted to make sure to secure them to studs in the wall for better stability. The blue tape indicates the studs we were working with. After positioning and leveling, we started placing the long screws. (SIDE NOTE: This is a three person job! Two people holding the doors, one person placing screws.) 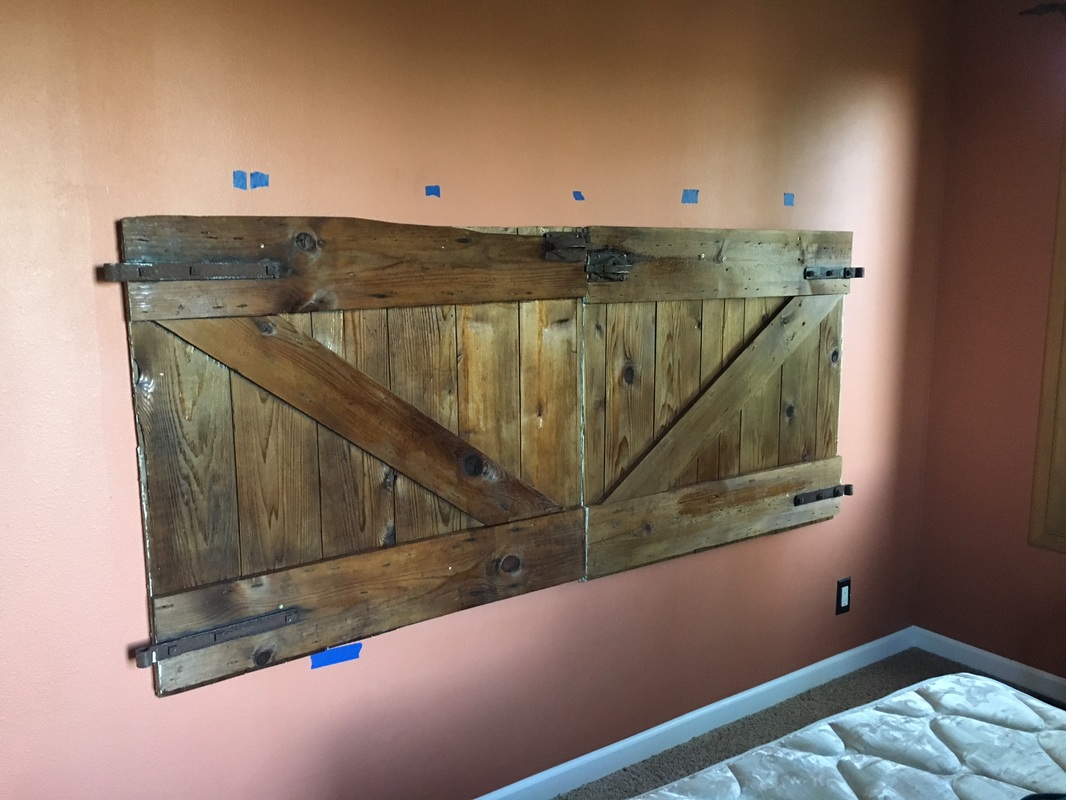 We ended up putting two screws on the top half and two screws on the bottom half, screwed into the studs. Before I moved everything back into place, I hung some screen artwork I created with leftover black paint and a salvaged screen.  When that was done, I got everything back in order and marveled at how great everything turned out! If you have any questions, feel free to reach out. My contact info is under "Contact" on my blog. Here's the final product: 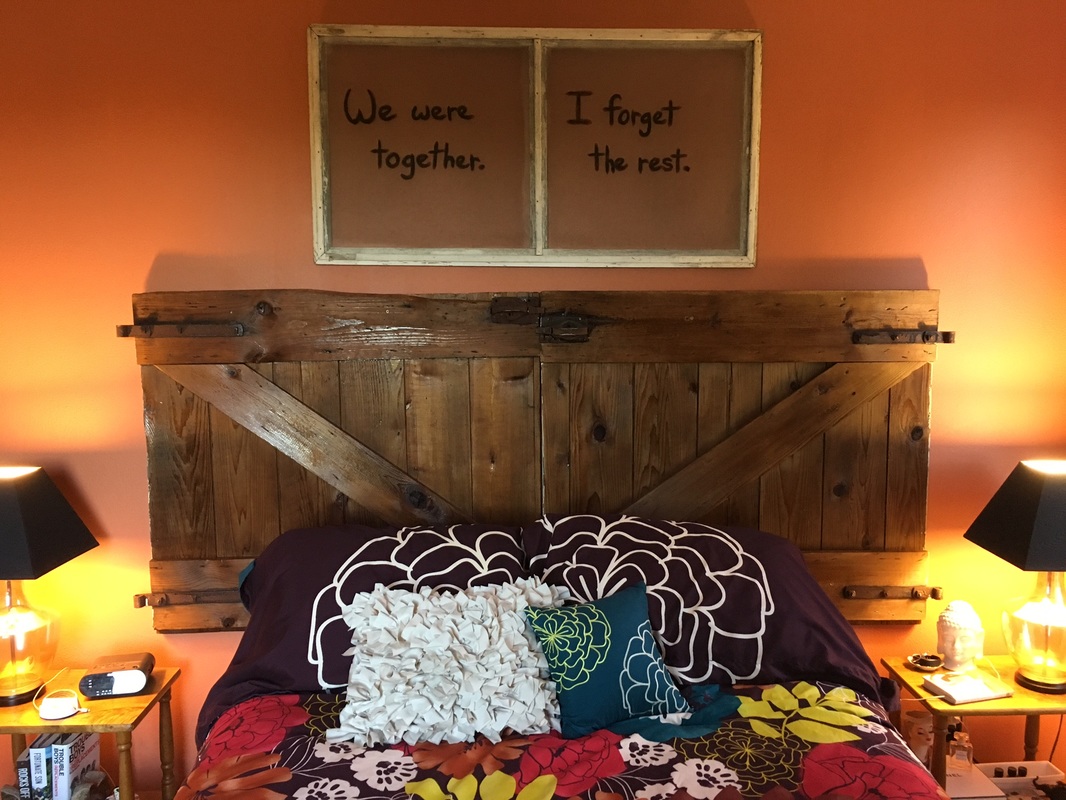 As we continue to decorate our new home, I've had fun pulling together pieces that are ours and pieces that were the previous owners', making some unique pairings. The photo below is from our master bedroom, just as you walk in the door. The previous owners had a charming "Good Morning" framed embroidery piece that I knew I just had to keep and use. I got the rusty, metal shelf from a thrift store in Mason City awhile back. The cheese grater (yes, that's a cheese grater!) and small milk bottle were from the previous owners. And finally, the mason jars and artificial flowers were items I had left over from centerpieces at past events I planned. I wanted wall decor for our bedroom that was welcoming, simple, and carried a touch of "country." I feel like I accomplished what I was aiming for, all at no cost, just thinking creatively about the items we already had!  |
Archives
August 2022
Categories
All
|
 RSS Feed