Busy Hands, Happy Heart
|
Our dining room has always lacked a little something. It’s nice, but it’s “meh.” It’s typically a catch-all room – a dumping ground for when we are coming and going. I haven’t been inspired enough to add a unique style to it. Until…I ran across my dream fabric. That changed the game! My fantastic friend who has a love for all things old and/or Mid Century Modern (the office of the business he owns is right out of Mad Men) gifted me with a table set when I told him what I wanted for our dining room. It couldn’t have been more perfect. He needed to get rid of it, I wanted it, so it worked out for both of us. I’m terrible at remembering to take before photos…so here are the benches that I reupholstered and the old fabric next to the new (perfect) fabric: 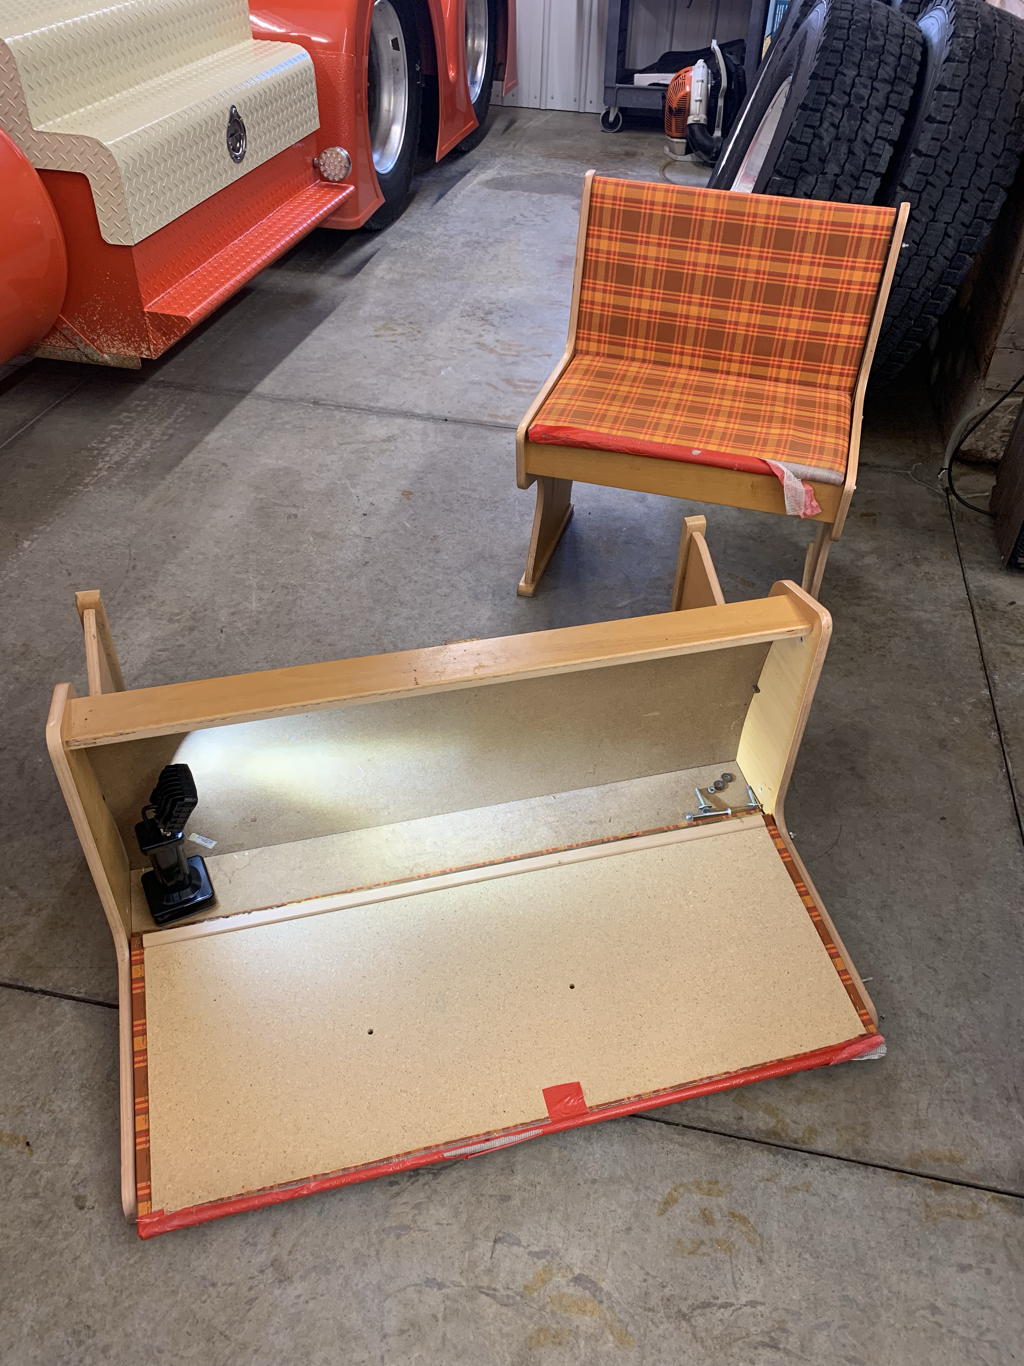  This is what you’ll need for this type of project:
So as I mentioned, deconstruction comes first. I had to take these benches completely apart to do this project. I used the flathead screwdriver and pliers to pull out the staples, utilizing the hammer as needed to get the screwdriver under the tough staples.  After this point, my parents stepped in. My mom is amazing with anything fabric. I couldn’t have done this without her. She did the measuring, I tried to comprehend. Me + Numbers = Disaster. Using the old fabric as the template, we cut the new fabric to size. After she cut, I reinforced the edges of the fabric by ironing them over, applying fabric tape as needed to the areas of the fabric that would get pulled at the most when someone sat down 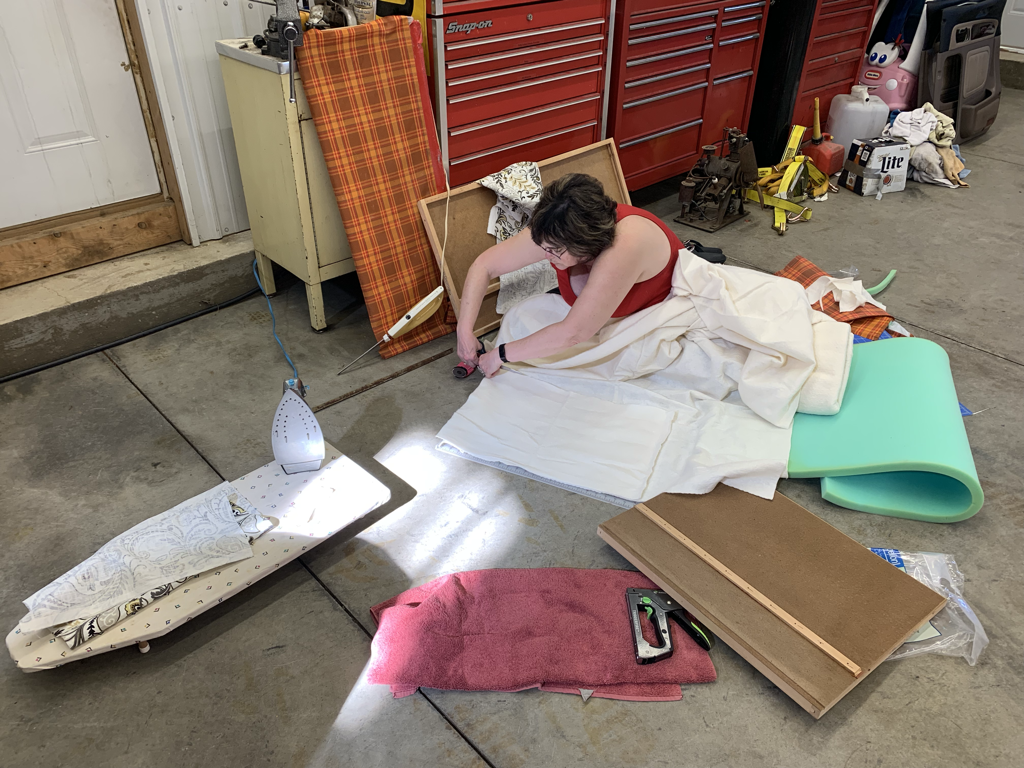 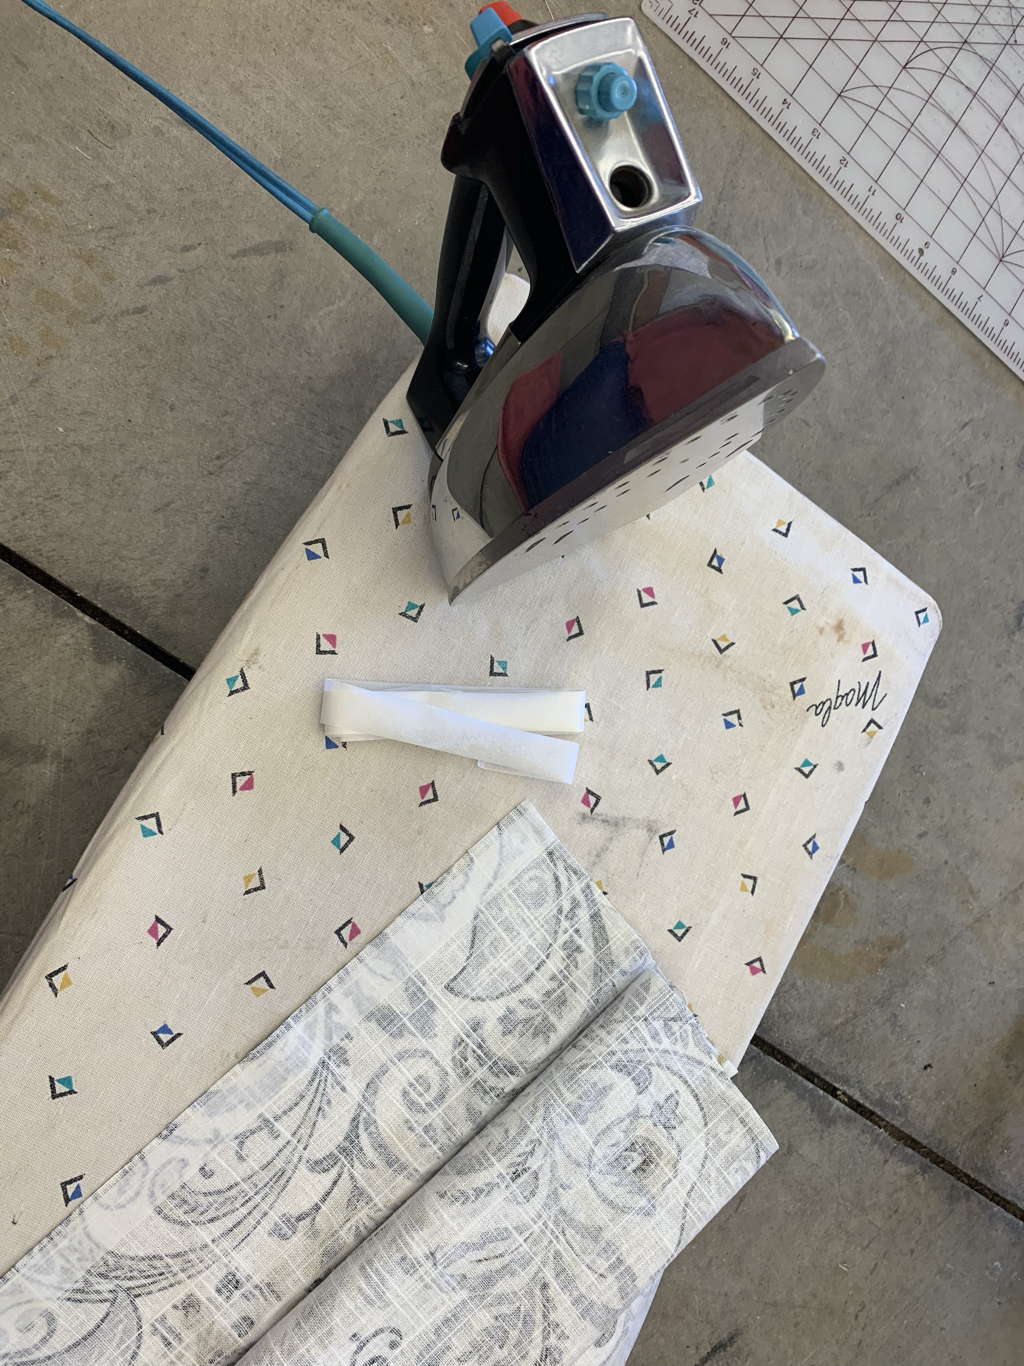 After we had the fabric ready, we measured the back and seat of each bench to cut the batting and foam. Using the electric knife, we rounded the edges of the foam all the way around.  Then it was show time! As my mom held everything together securely (bench back/seat, batting/foam, fabric), I came in with the staple gun to secure the fabric to the back/bottom of each piece. That was by far the easiest and fastest part of the project! After we stopped to admire our work, my dad jumped in to help me reassemble. It was tense, we had to get creative (because I didn’t take very good photos ahead of time…surprise, surprise), but we did it! Also could not have done this without my dad because he has the patients and tools to help get the job done. He helped me put better screws in the outsides of the benches as well so they feel completely solid when you sit down. 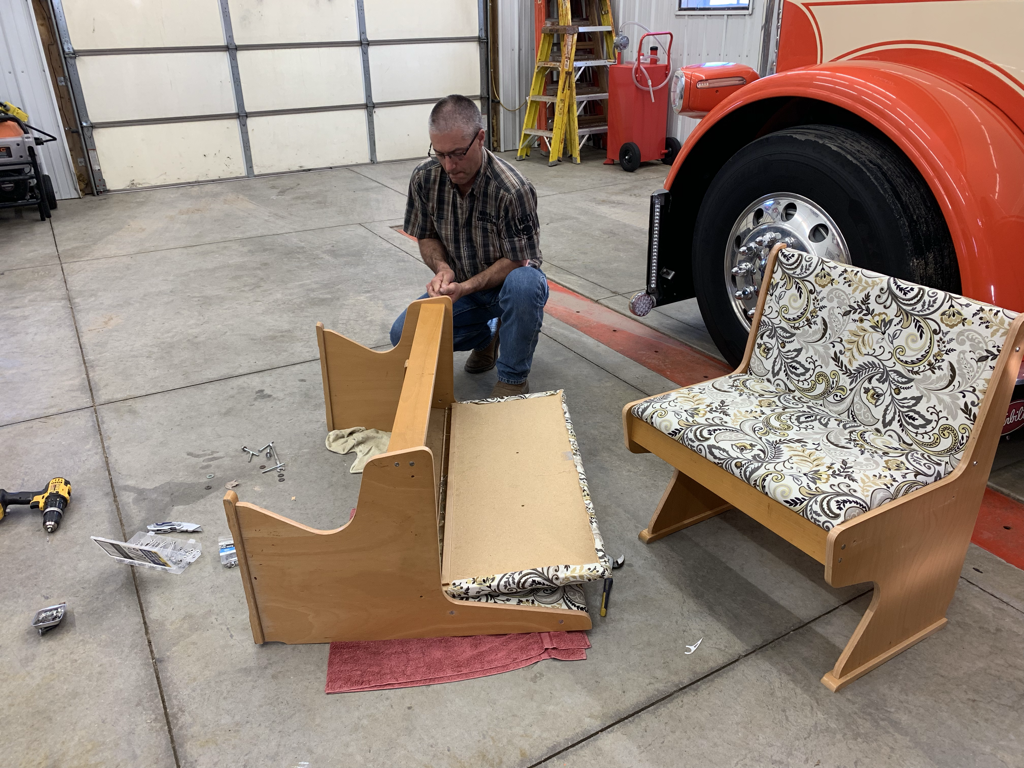 Here they are in our dining room, back with the table they came with! I’m. In. Love. The fabric was everything I needed to move forward with creating a specific feel for that space. It also inspired me to revamp our mudroom around the corner, which I’ll share in my next DIY post!  Check out my past DIY project to see the mattress spring frame light fixture I made to go above our dining room table. It goes together great with the new fabric and is just another piece that is helping me achieve a cohesive look in this room.
0 Comments
Leave a Reply. |
Archives
August 2022
Categories
All
|
 RSS Feed