Busy Hands, Happy Heart
|
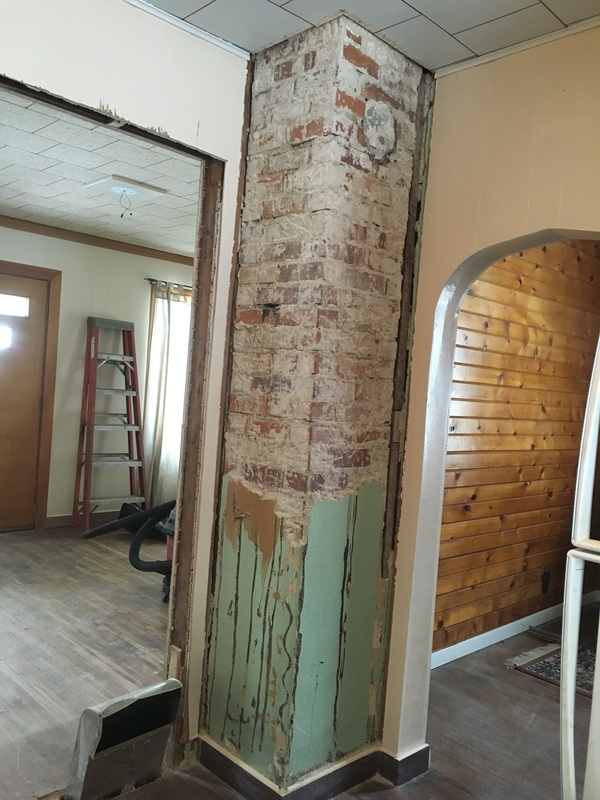
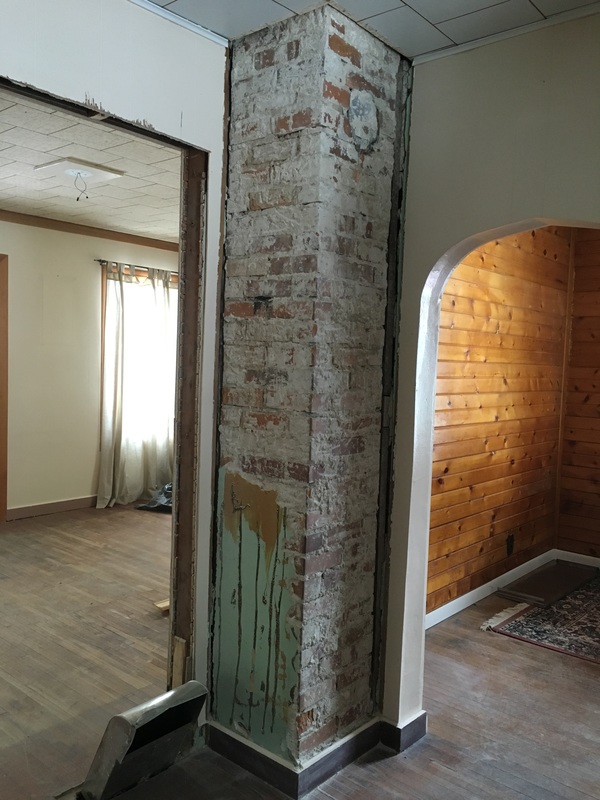
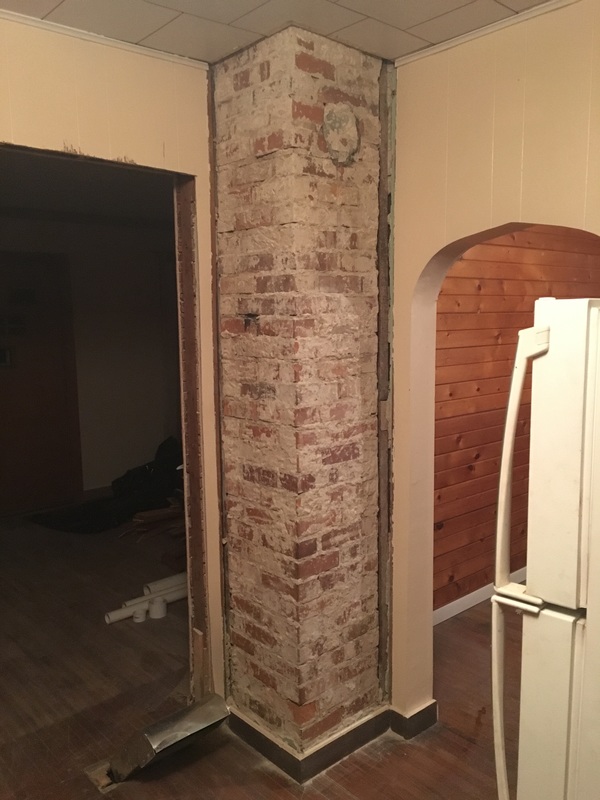
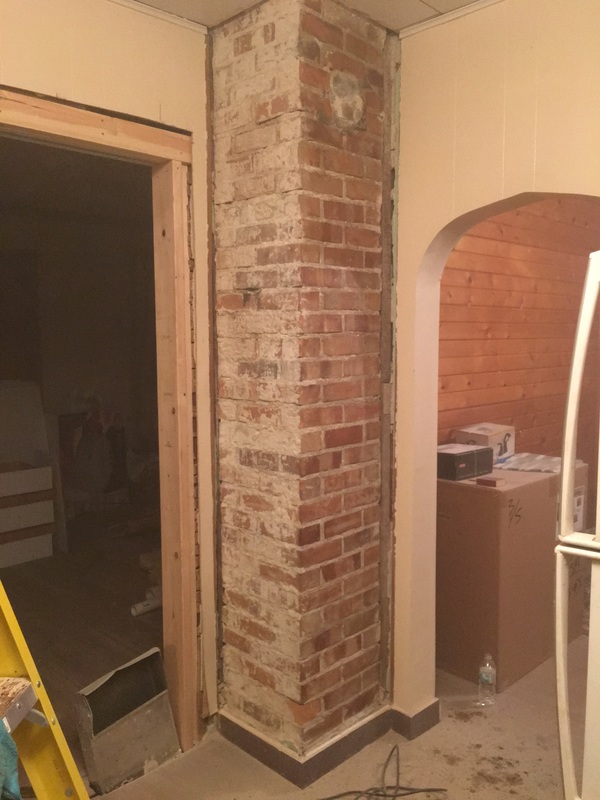
Joel and I were very excited to expose the chimney in our new farmhouse. But, we were discouraged when we removed the painted paneling covering to discover that the chimney was not already exposed, but covered in cement plaster: 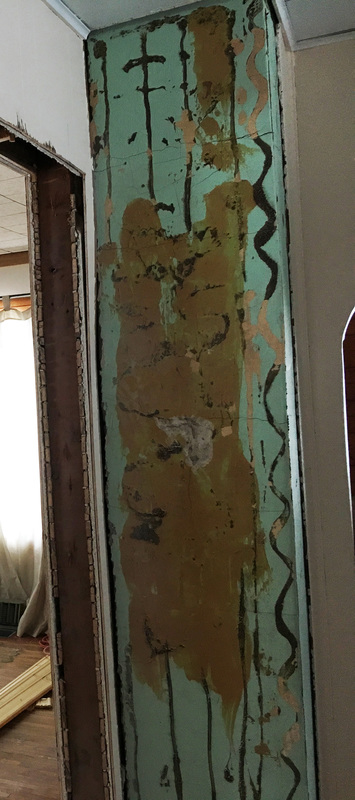 We didn't let this get us down for long. The day after the discovery, we started to chip away at the plaster with a basic flat head screwdriver and hammer. The pry bar (pictured below) did not work very well. We needed the precision of the flat head to get into the nooks and crannies, without damaging the brick. Also something good to note, don't be like us - Wear a Protective Face Mask! We heard that the green paint is a potential indicator for lead paint. It was too late for us - but not for you! 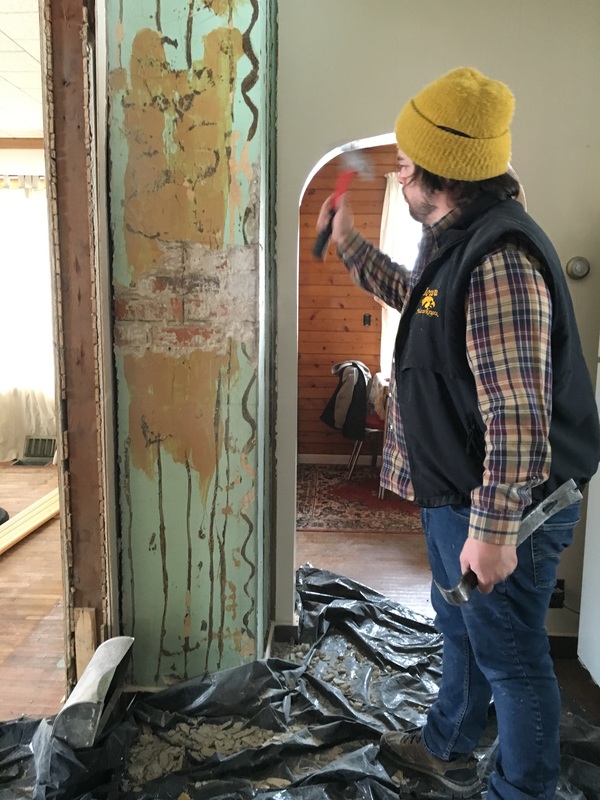 Here are images from the progress we made on the chimney after a few days work with the screwdriver and hammer: After we removed all of the big chunks of plaster, it was time to get after the remaining pieces on the surface with a grinder. I used this type of brush attachment for the grinder to get the effect you'll see later on (it was under $20 from Menards): 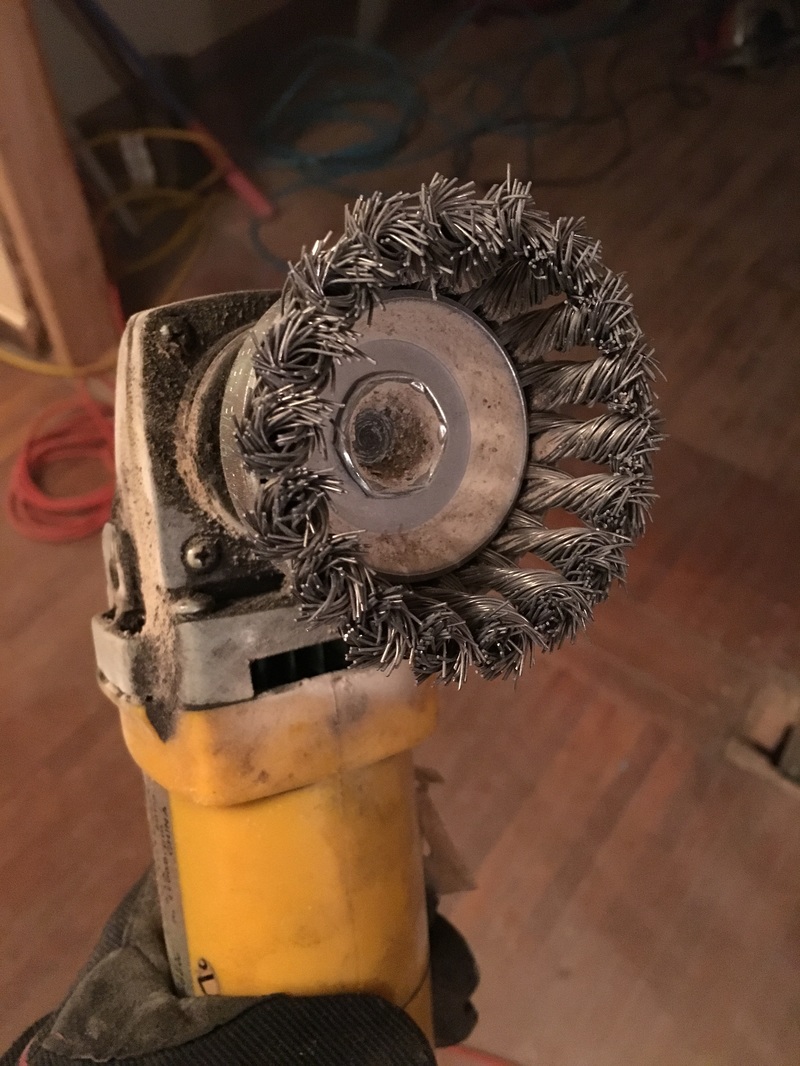 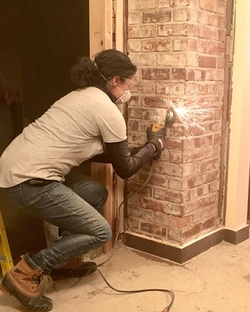 WARNING: In case you don't know - grinders create sparks! Wear protective eye wear, a face mask, long sleeves, pants, and durable shoes. Removing remaining plaster with the grinder felt a little like being sandblasted...so just be safe! Here are photos of how well the grinder worked. The picture on the left shows the right side done with the left side yet to do. The picture on the right shows the finished product. When the grinding process was complete, we washed the brick several times to remove dust and dirt. When the cleaning process was finished, Joel filled in gaps in the mortar with the caulk pictured below. I'm sure there are a million other (better) products out there, but this worked for us. You need to spread the caulk around with your finger to blend it in with the existing mortar. 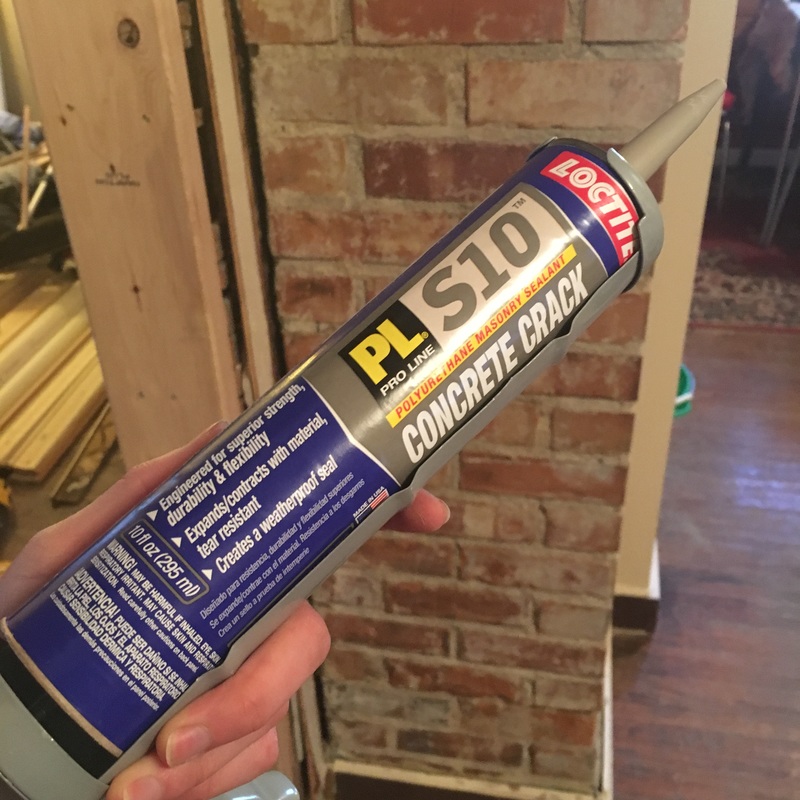 After the caulk was done and dry, we sealed the entire chimney. We used a commercial grade brick sealant. It is milky, water-like liquid and very strong, so make sure you open some windows! A little goes a long way. We were able to cover the chimney in two coats of sealant with less than one paint tray full of the liquid. When you have the sealant ready to go, we just used a roller to cover the chimney and a paint brush to get into the cracks. The sealant gives the brick a nice sheen, brings out the richness of the brick color, and protects it from wear and tear. After all of the steps above were completed, we had a beautiful exposed chimney! If you have specific questions about the steps I mentioned or the products we used, feel free to email me. Happy exposing (of the chimney - nothing indecent)! 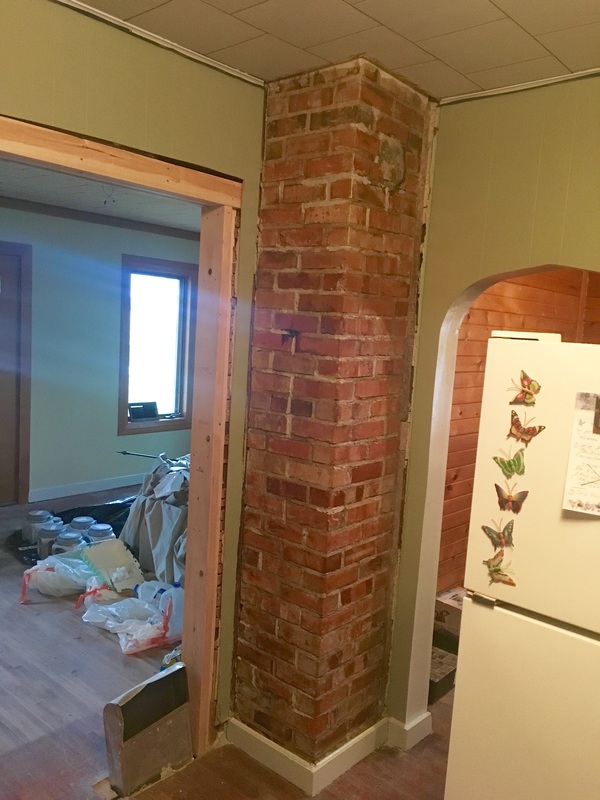
0 Comments
Leave a Reply. |
Archives
August 2022
Categories
All
|

 RSS Feed