Busy Hands, Happy Heart
 I've been obsessing over kraft paper scroll signs for a year or two now. I don't know why it never occurred to me to make one until this year...I continue to see them in the homes of some of my favorite home décor bloggers and just had to at least give it a try. I'm really glad I did. Here's what you'll need:
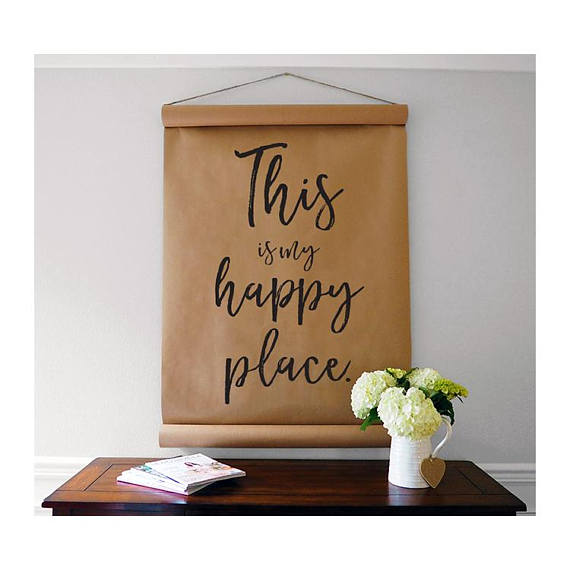
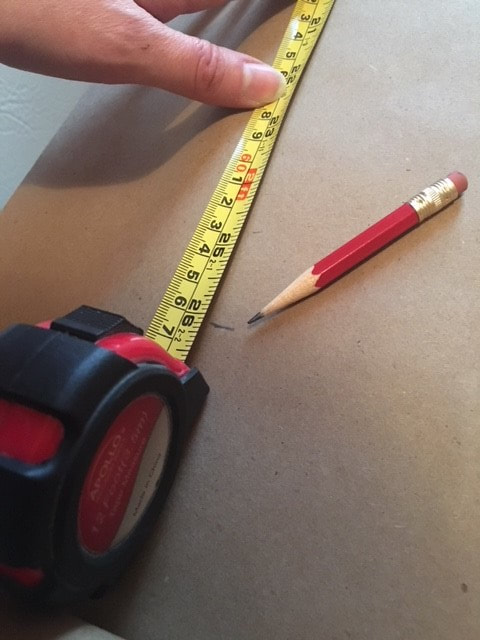 First you'll want to measure the wall space where the scroll will hang. Figure for an extra two inches on both the top and the bottom where the paper will be rolled. I had 30 inches of wall space to work with: two inches for the top roll, 26 inches for the hand lettering area and two inches for the bottom roll. Unroll a section of your paper, allowing the free end to roll up as desired. Measure and mark the area you will do hand lettering on. 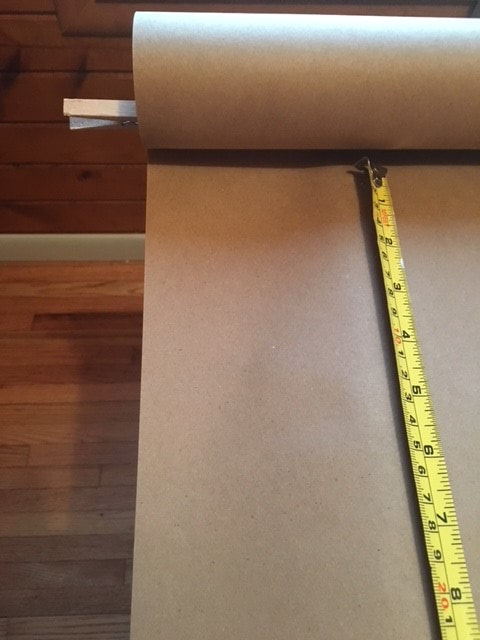 Secure the free end of the paper with clothespins. Determine how much rolled paper you want at the other end of the scroll and cut free from the whole roll of kraft paper. Secure this end with clothespins as well. 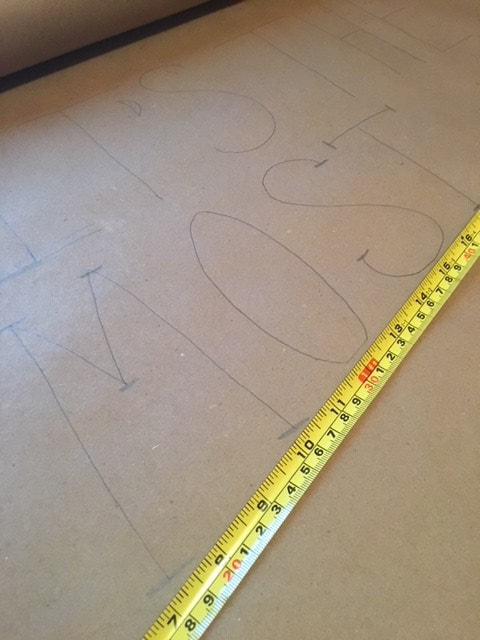 Once I had everything measured and the ends secured, I started hand lettering! I used my pencil to trace out the saying I chose. For the angled lettering, I used my tape measurer as a guide. 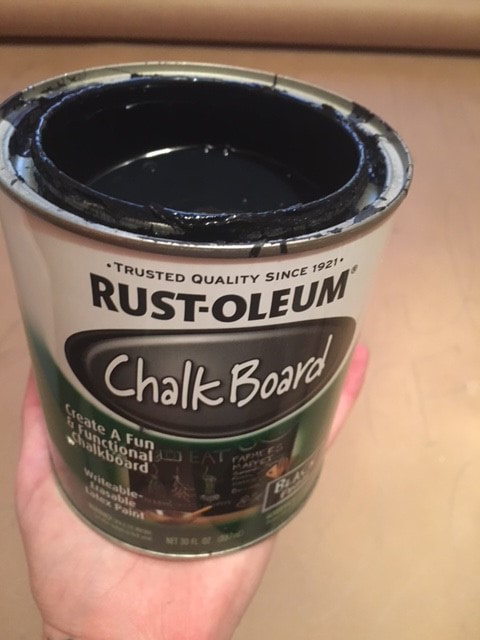 I'm really cheap, so I just used paint I already had. I wanted to do black lettering, so chose to use some leftover chalk board paint that seems to be a bottomless can! 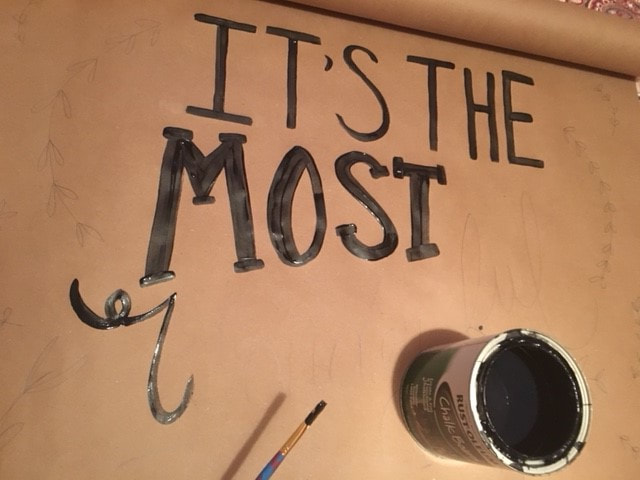 I used a small paint brush to trace over my pencil lines. I mixed fonts and strokes to give it a playful look (and to disguise any mistakes I made!). 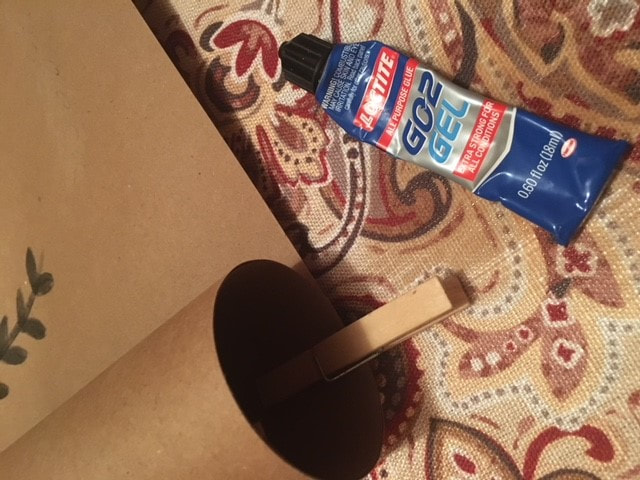 After the paint dried, I placed some glue under the rolled up paper to secure. I also added some staples later on to add extra reinforcement, because - gravity. 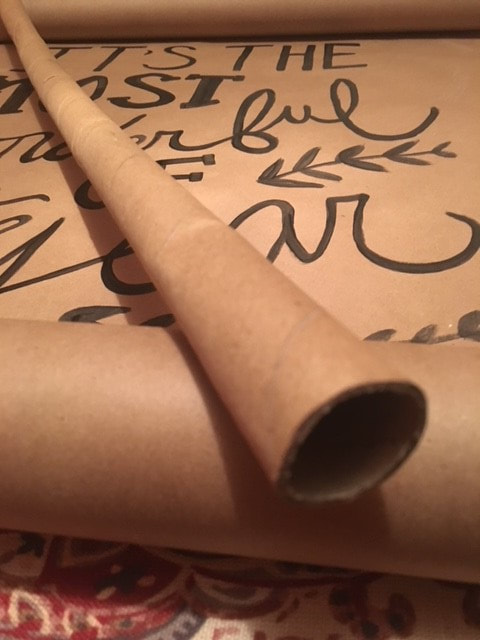 Next came the wrapping paper roll to hang the scroll from. 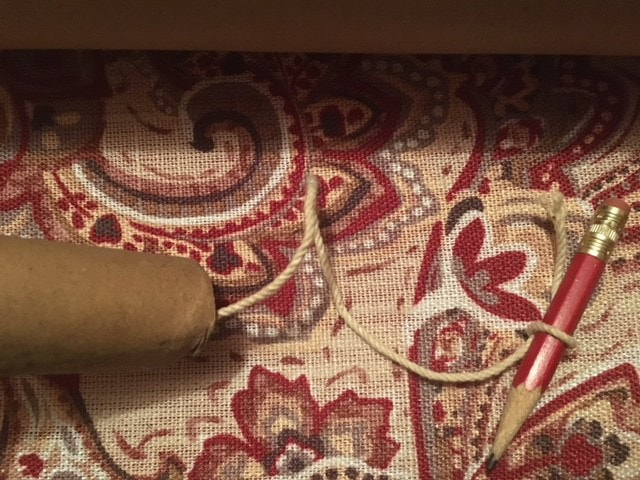 I tied my string to a pencil and looped it through the paper roll. I then inserted the paper roll into the top roll of the scroll.  Once the paper roll was through, I pulled the string to my desired length and tied/knotted the ends.  Here she is, in all of her glory! For being a beginner in hand lettering, I have to say I was pretty proud of myself. And just to give you an idea of what I was working from, here's the image that inspired me! 
1 Comment
|
Archives
August 2022
Categories
All
|
 RSS Feed